Introduction
Hi, guys. Welcome back to today's ChargerLAB. Recently, we did a teardown video of the Enphase IQ7+ microinverter, you can click the relate articles to check that out. And today, we got our hands on another model - the IQ8X. So without further ado, let's take it apart to check out its internal components.
Product Appearance
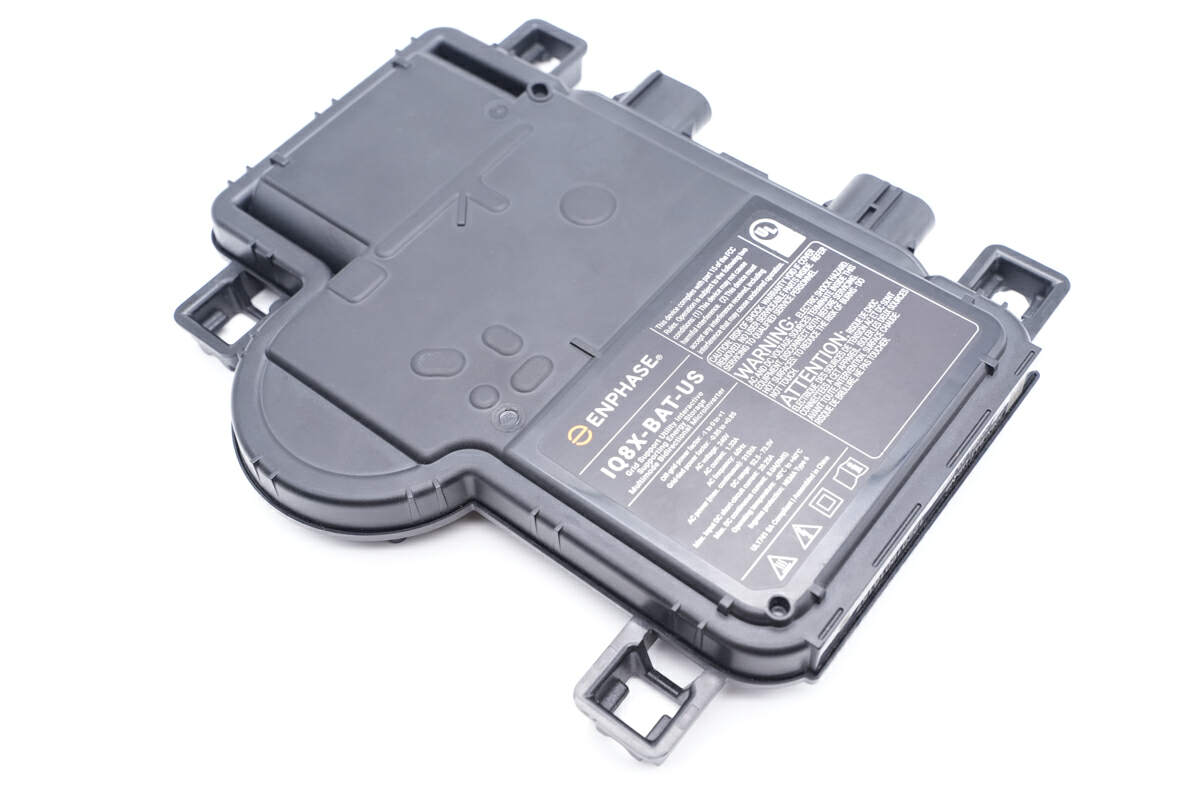
It adopts a black plastic shell with a matte design, just like the IQ7+.
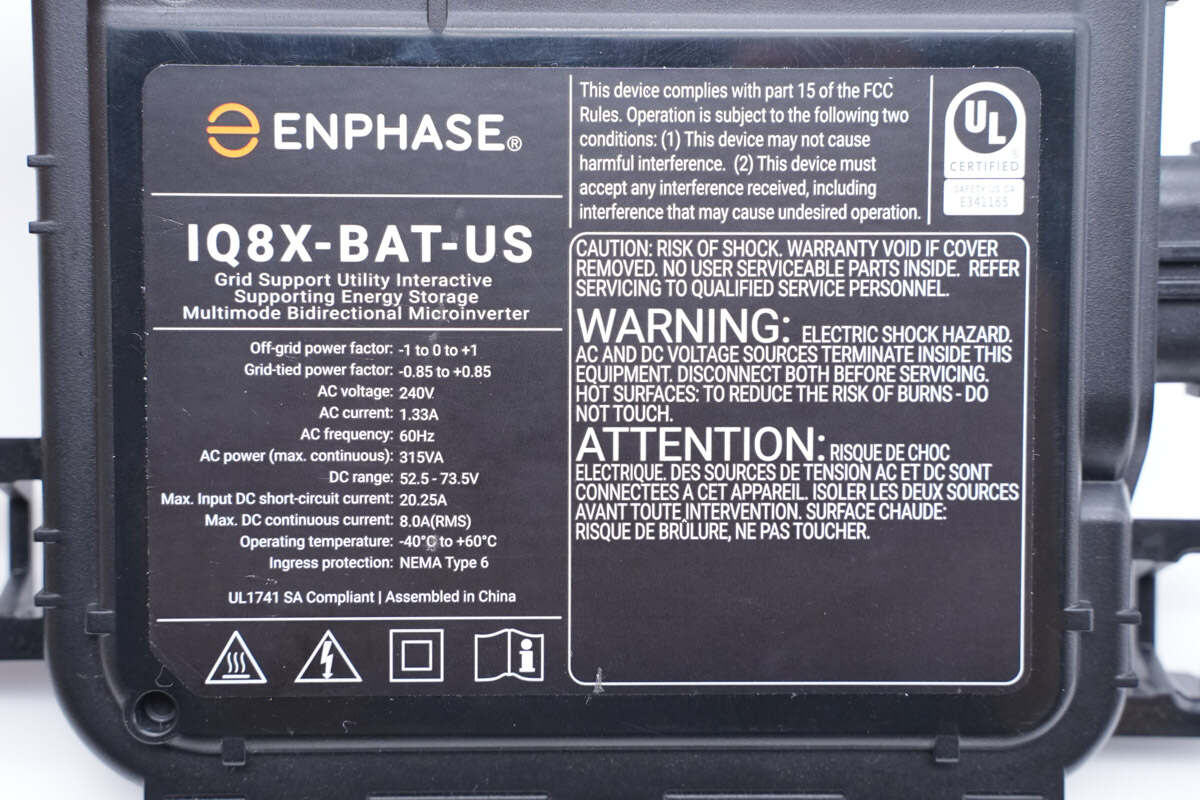
All the specs info is printed here. The off-grid power factor range is +/-1, and the grid-tied one is +/-0.85. The maximum continuous AC output is 315VA, and the maximum continuous DC input power is 588W. The operating temperature is -40℃ (-40℉) to 60℃ (140℉) with IP67 ingress protection. It also has passed UL certification.
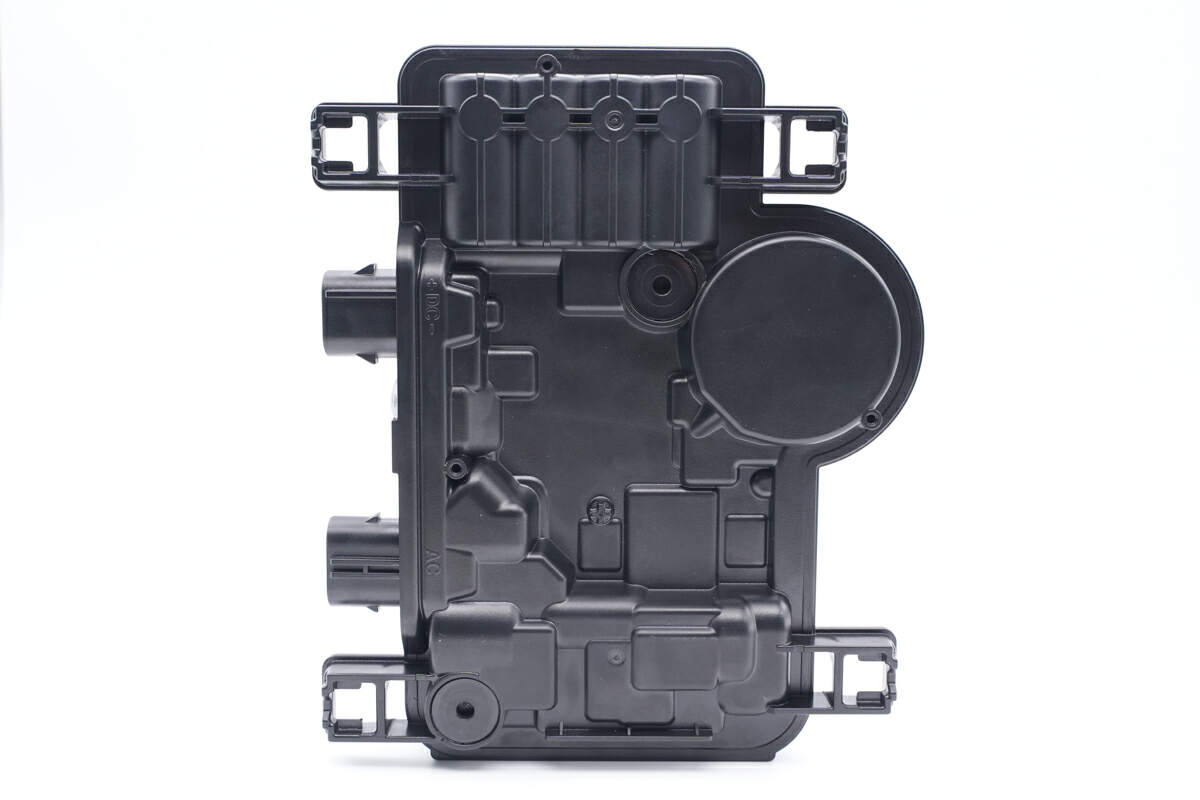
And they're many irregular protrusions and depressions on the back, corresponding to the internal components.
Flip to this side.
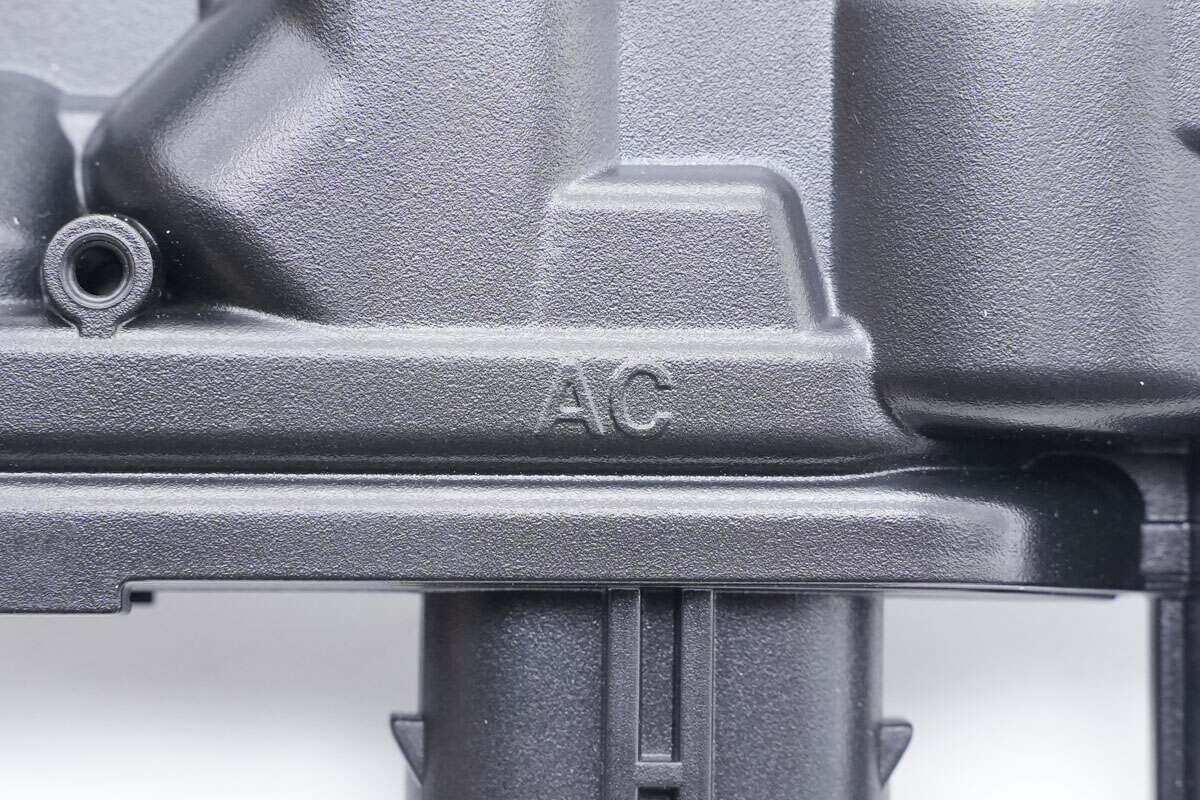
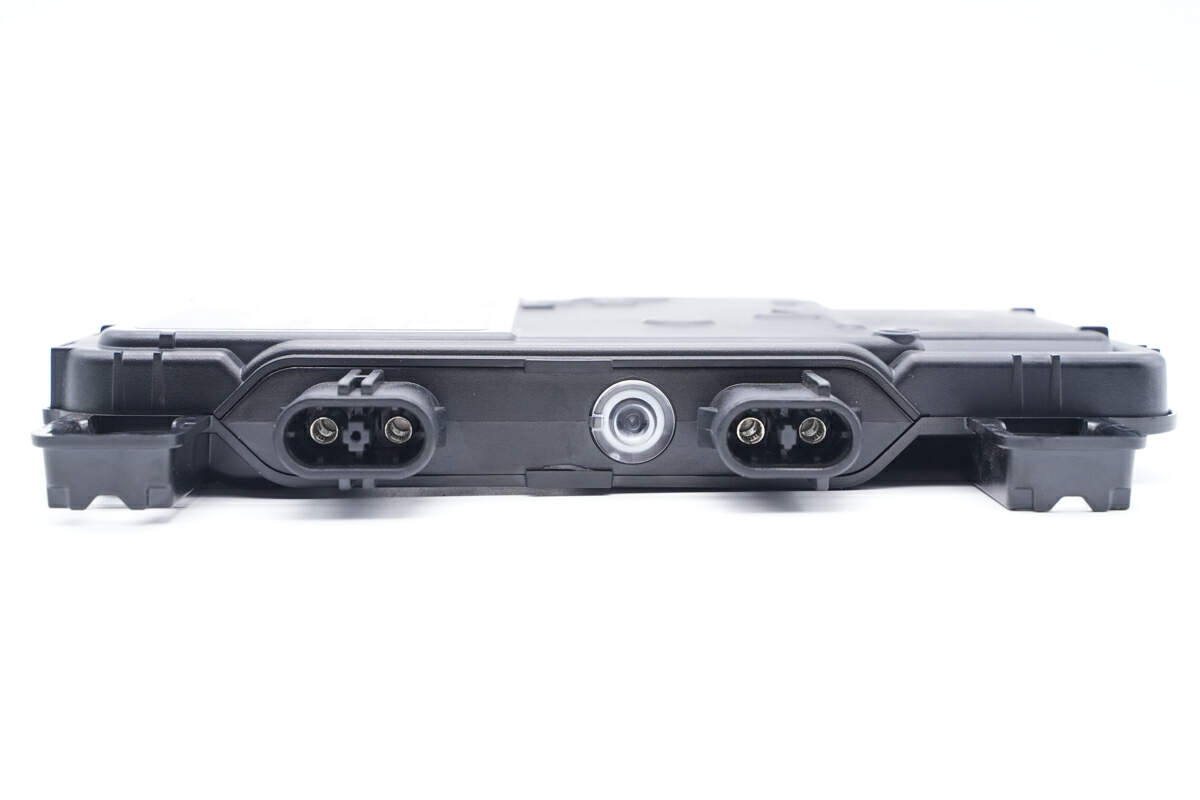
The AC output port is on the left,
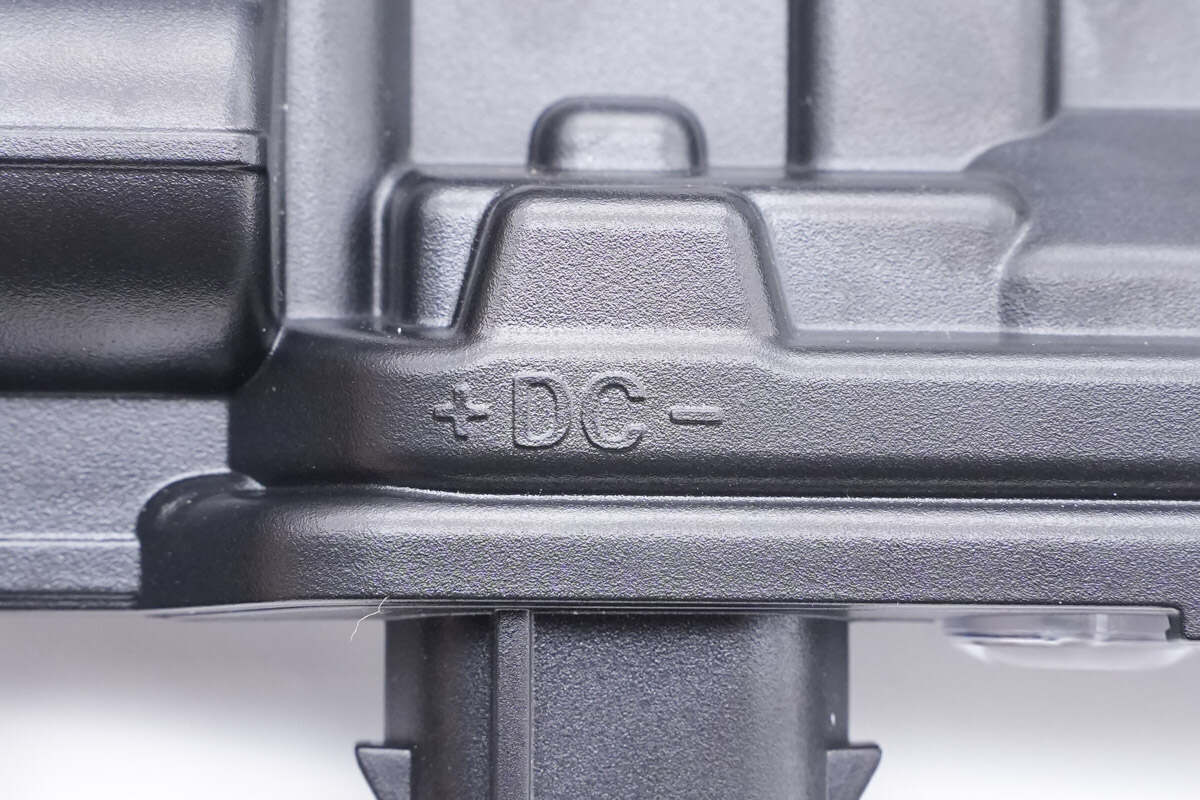
and the DC input port is on the right side.
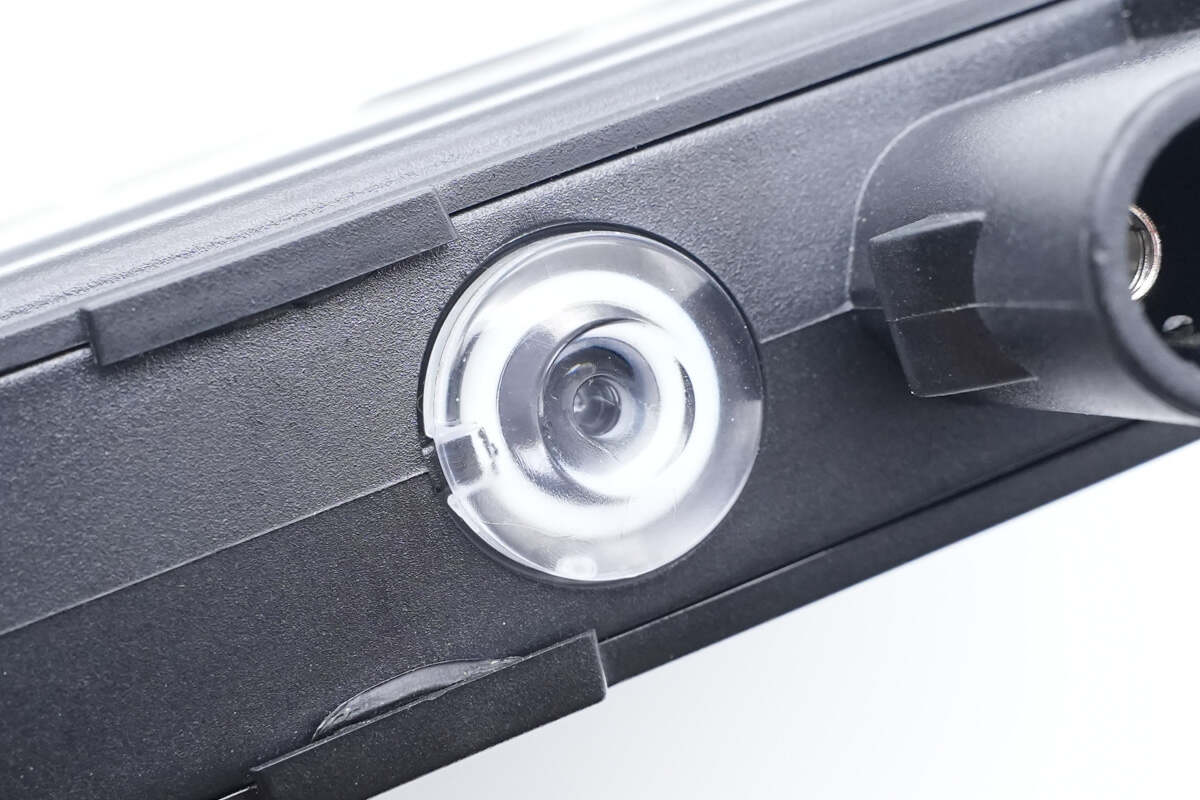
An indicator light is in the middle.
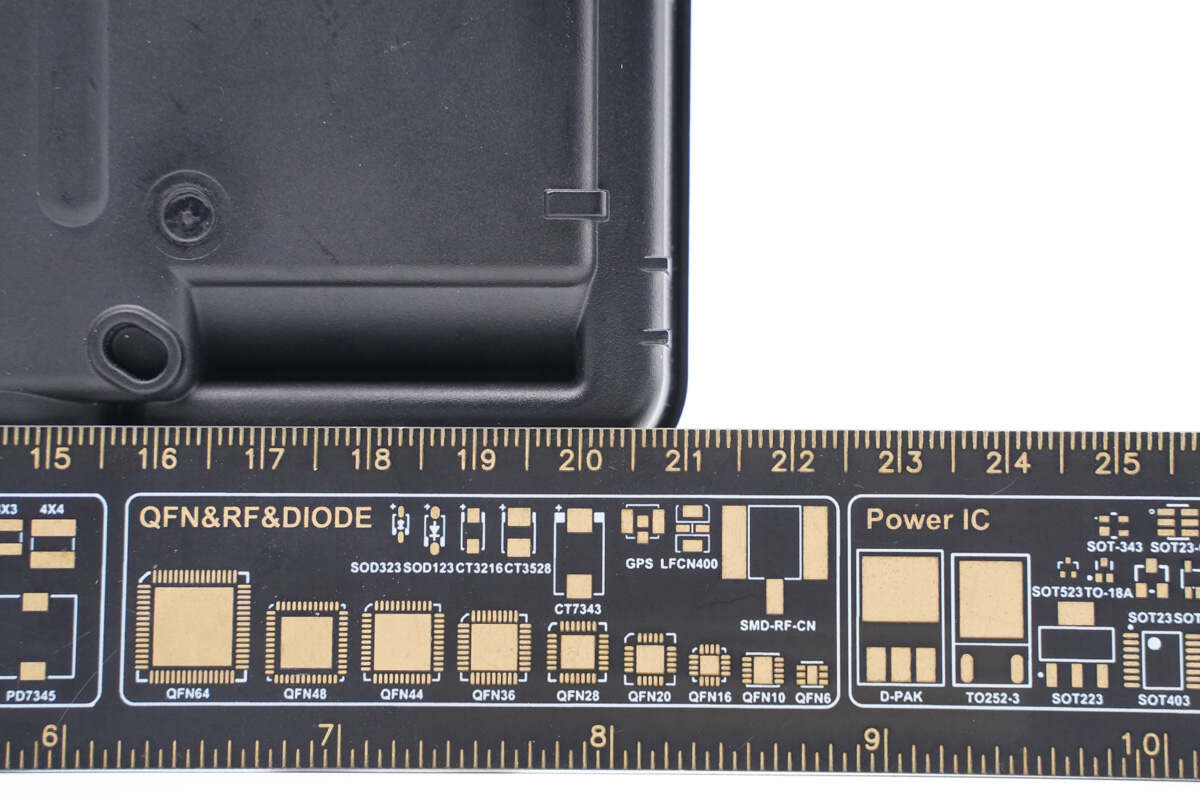
The length of this microinverter is about 21cm (8.27 inches).
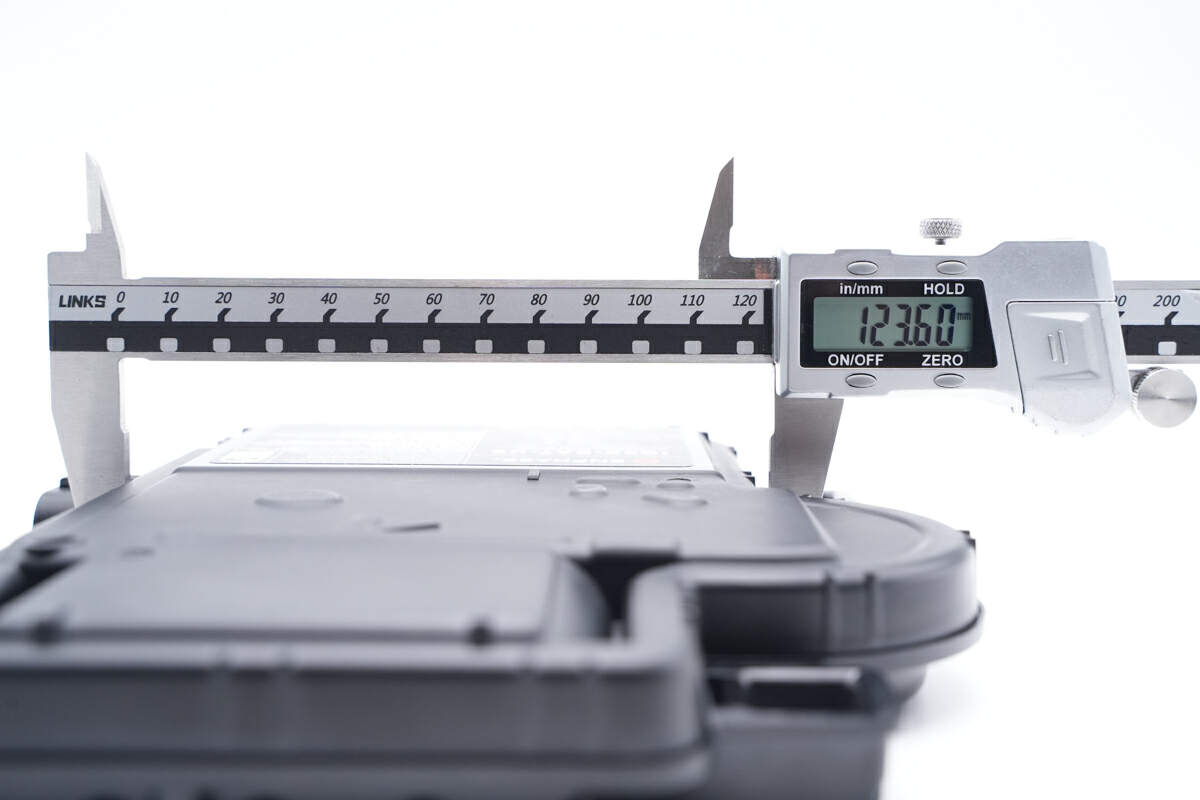
The width is about 12cm (4.72 inches).
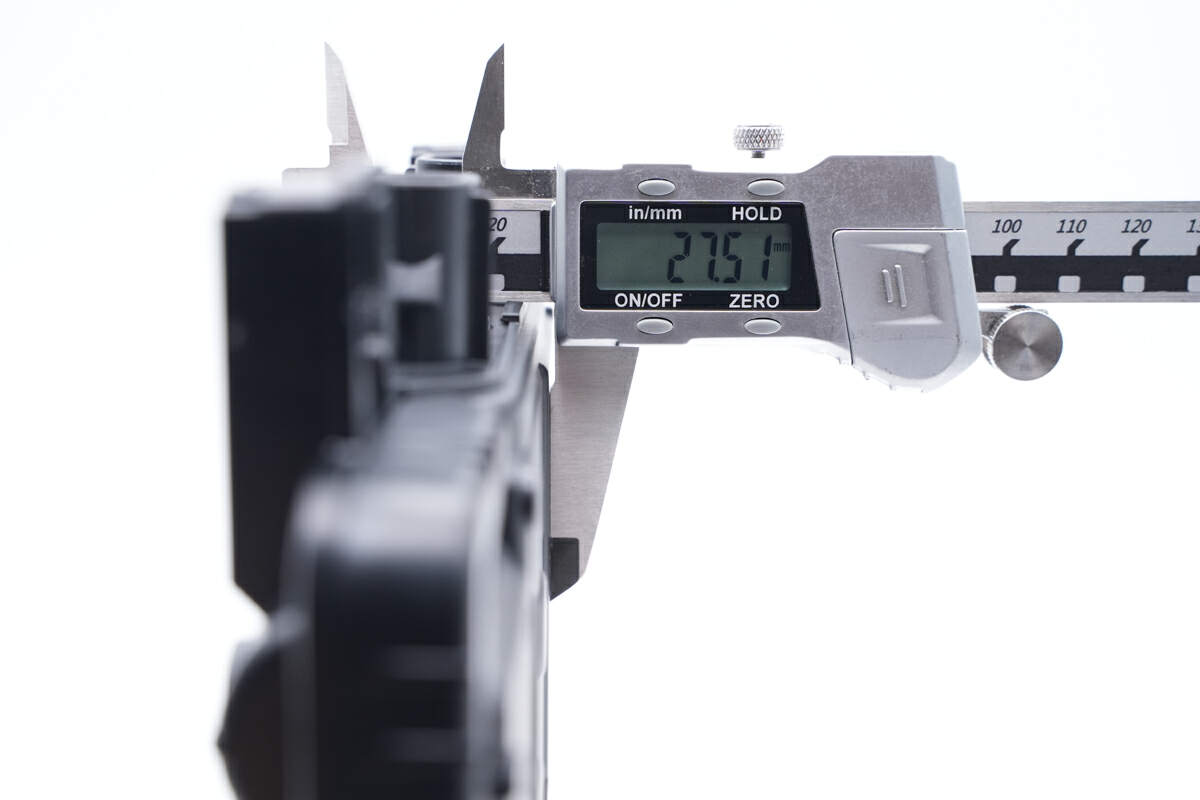
And the height is about 3cm (1.18 inches).
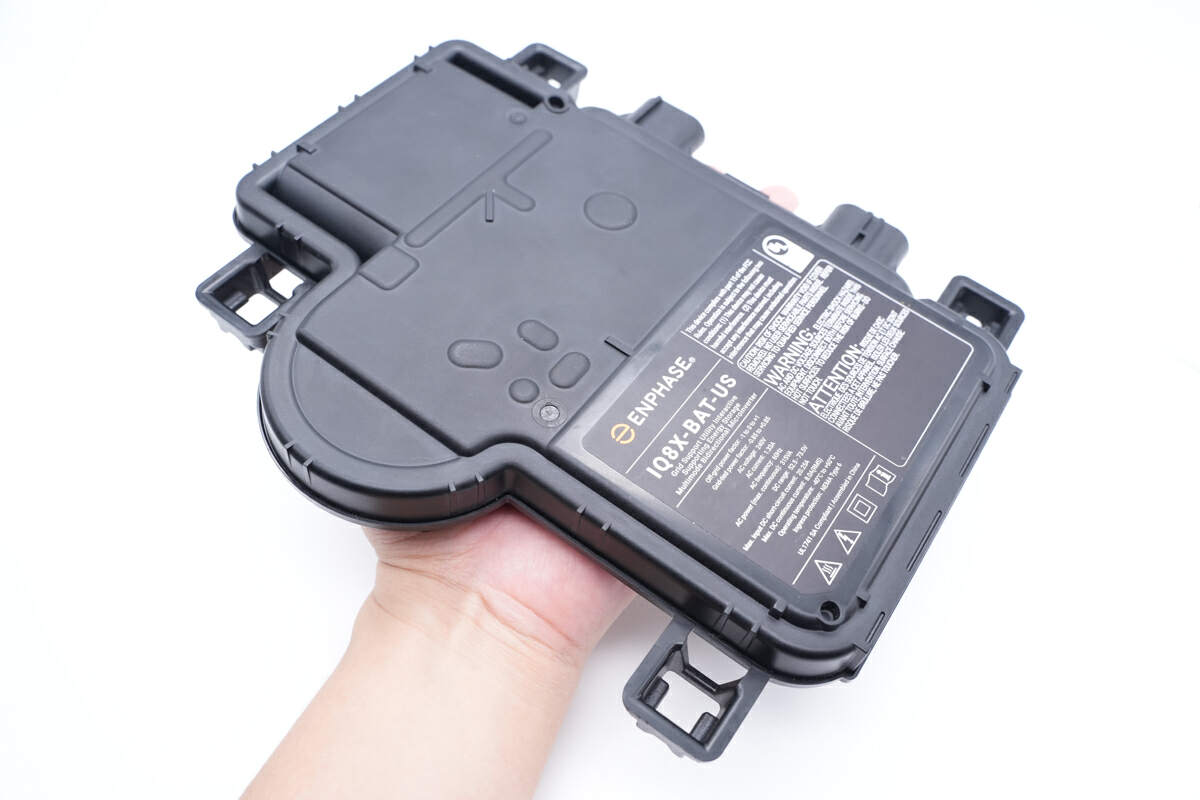
This is how it looks like on my hand.
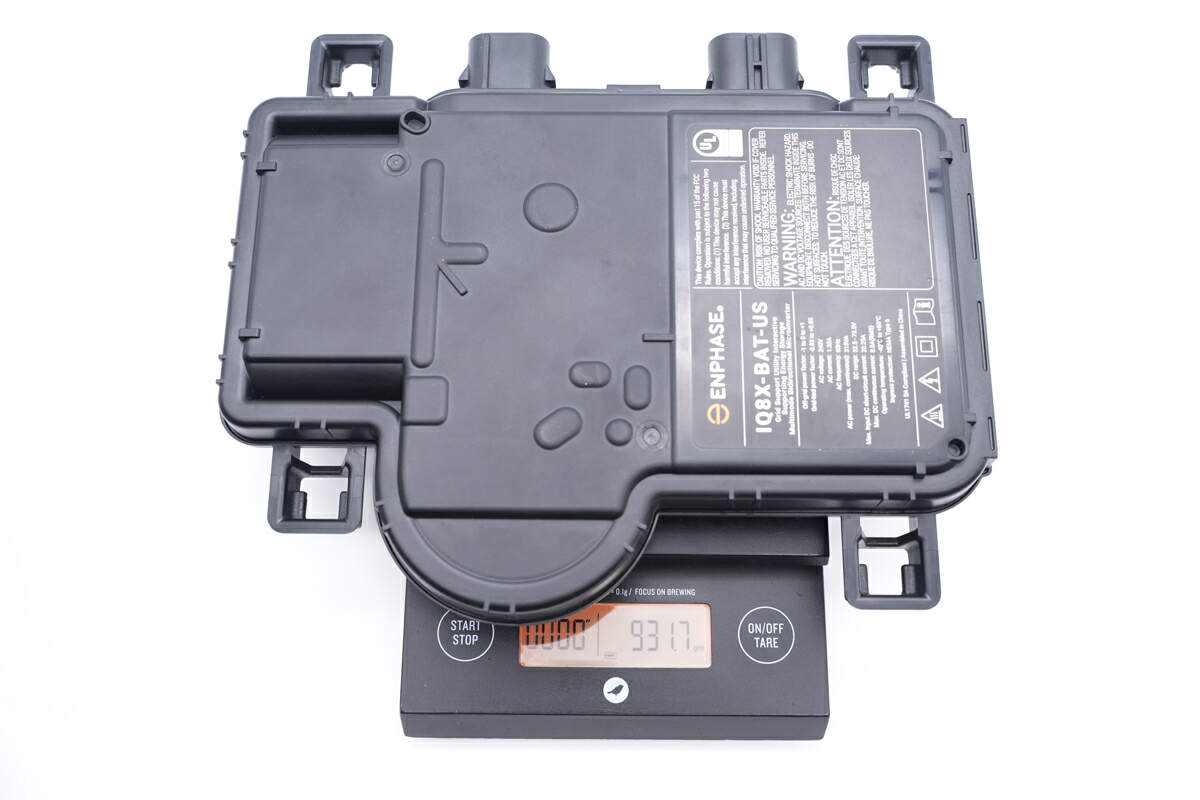
And the weight is about 932g (2.05 lb).
Teardown
Now that we have completed our brief introduction of this microinverter, it's time to take it apart and examine its internal components and structure.

Use a spudger to pry along the gap.

Then heat it up with a heat gun.

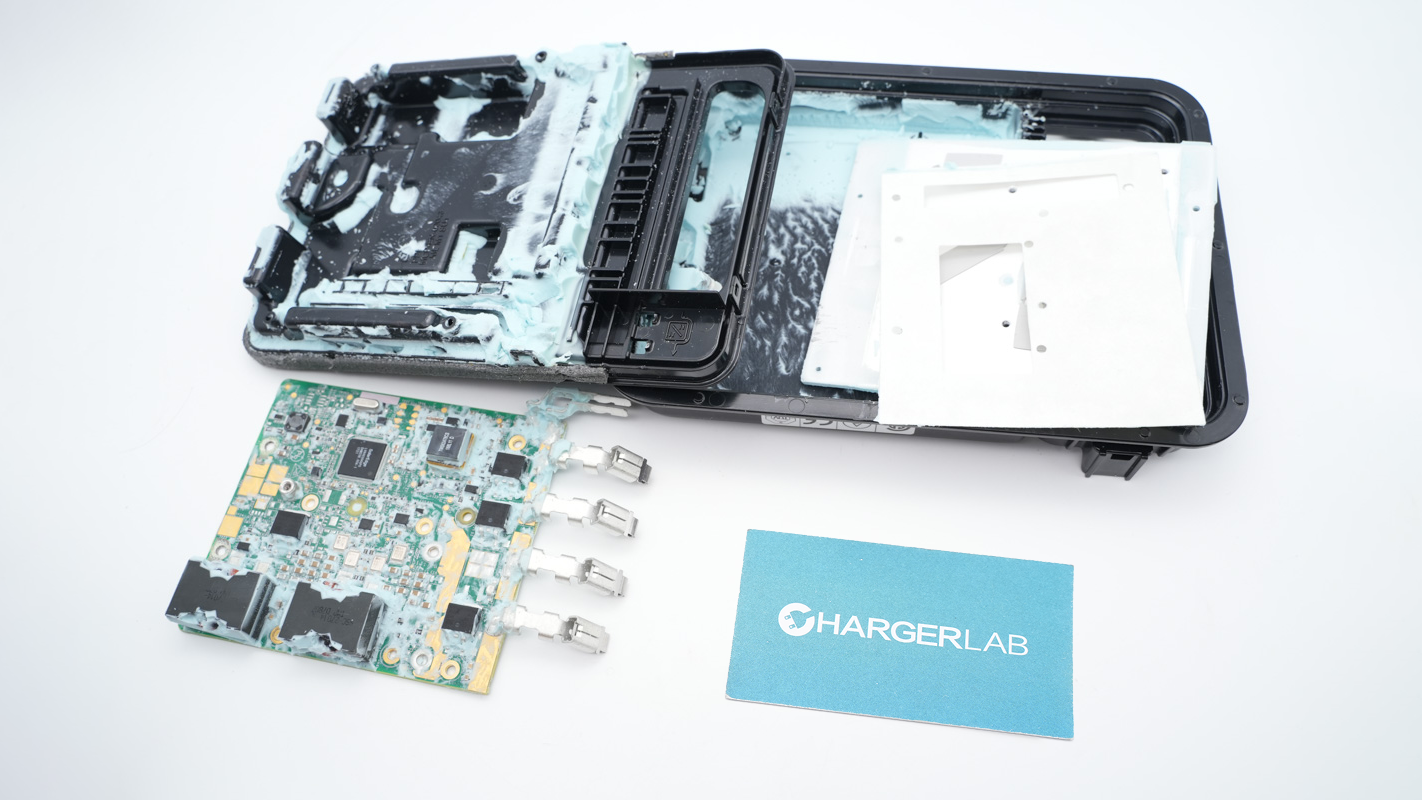
Remove the case.
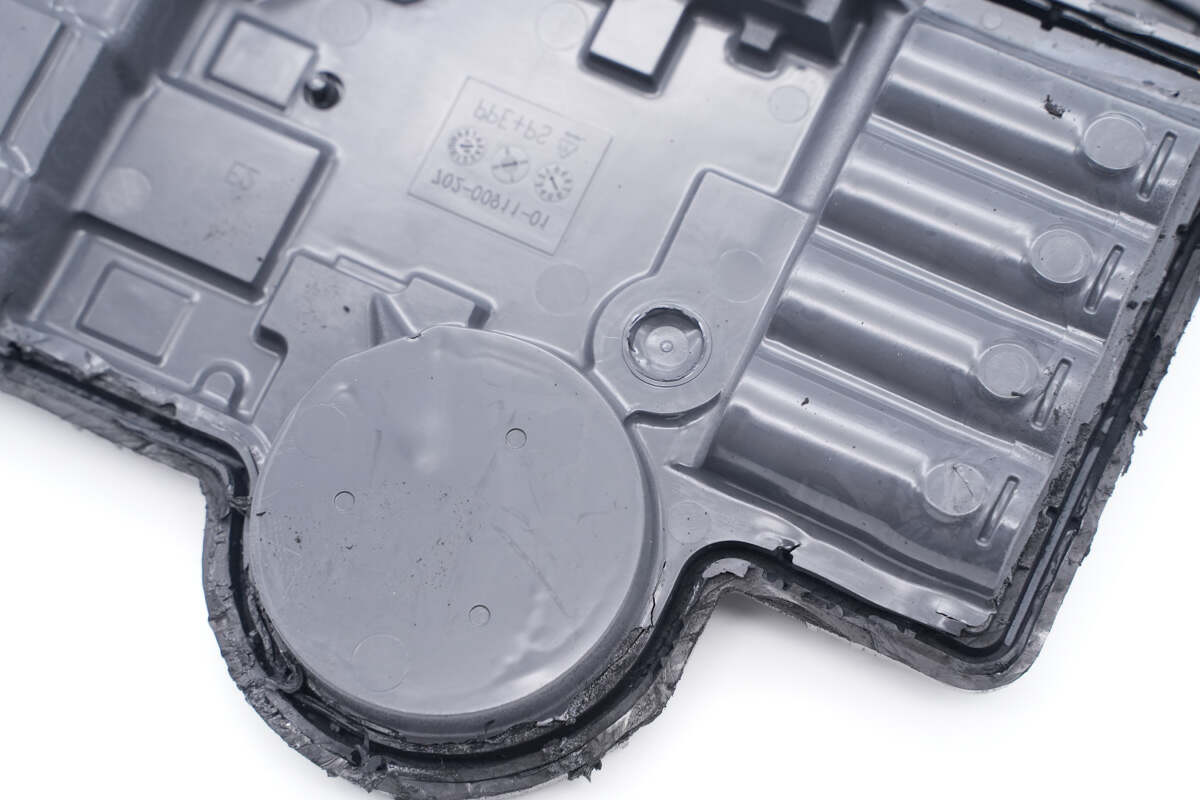
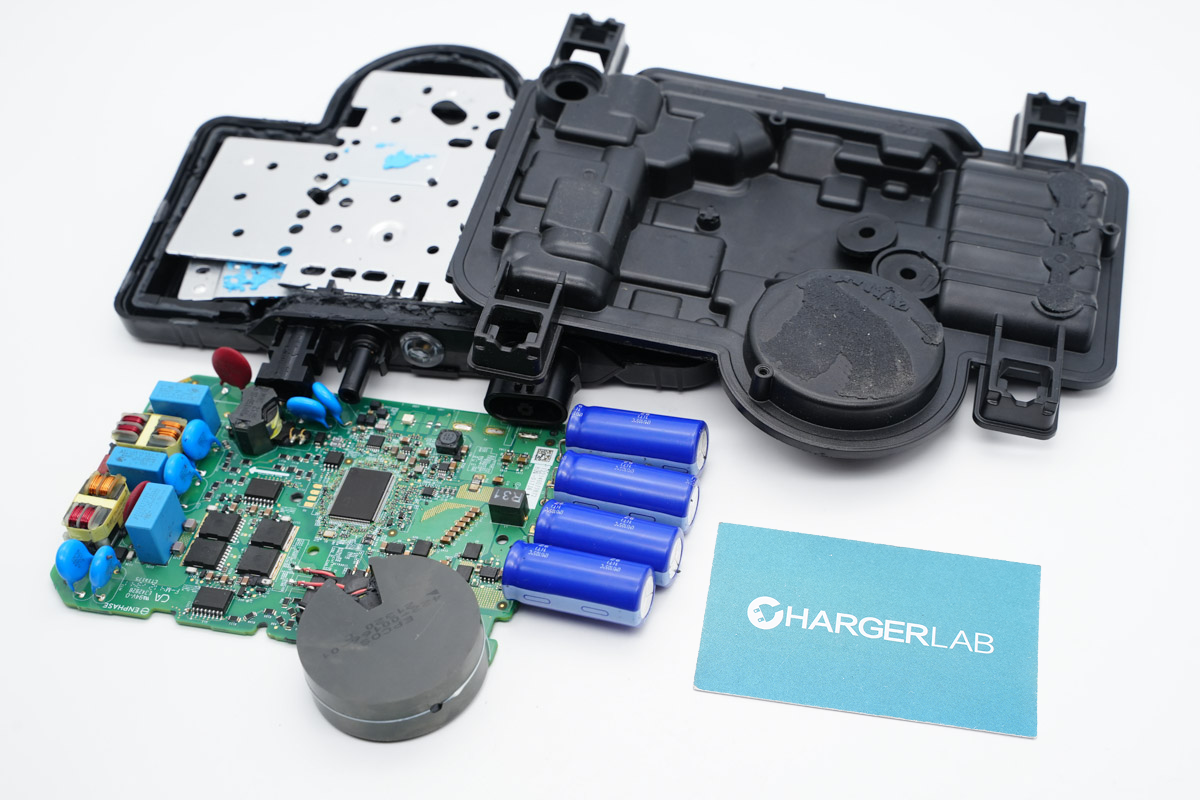
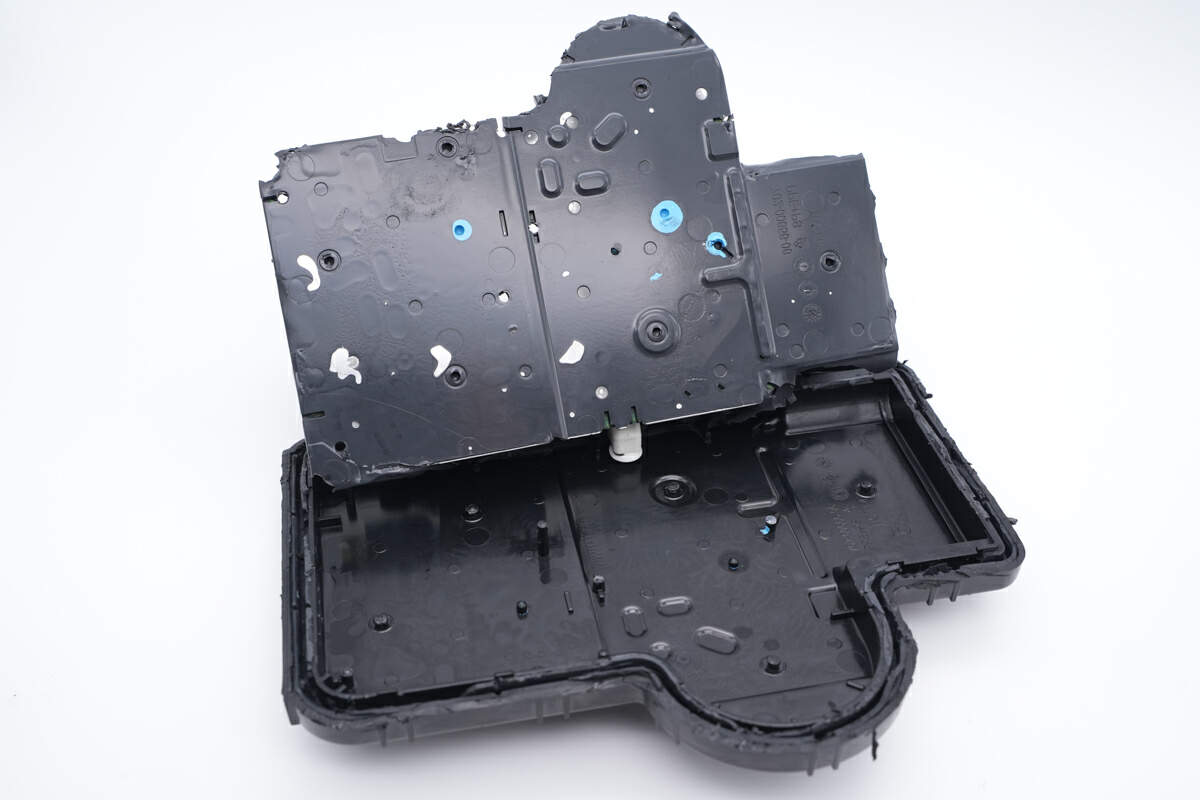
It's filled with massive black silicone adhesives for sealing and heat dissipation.
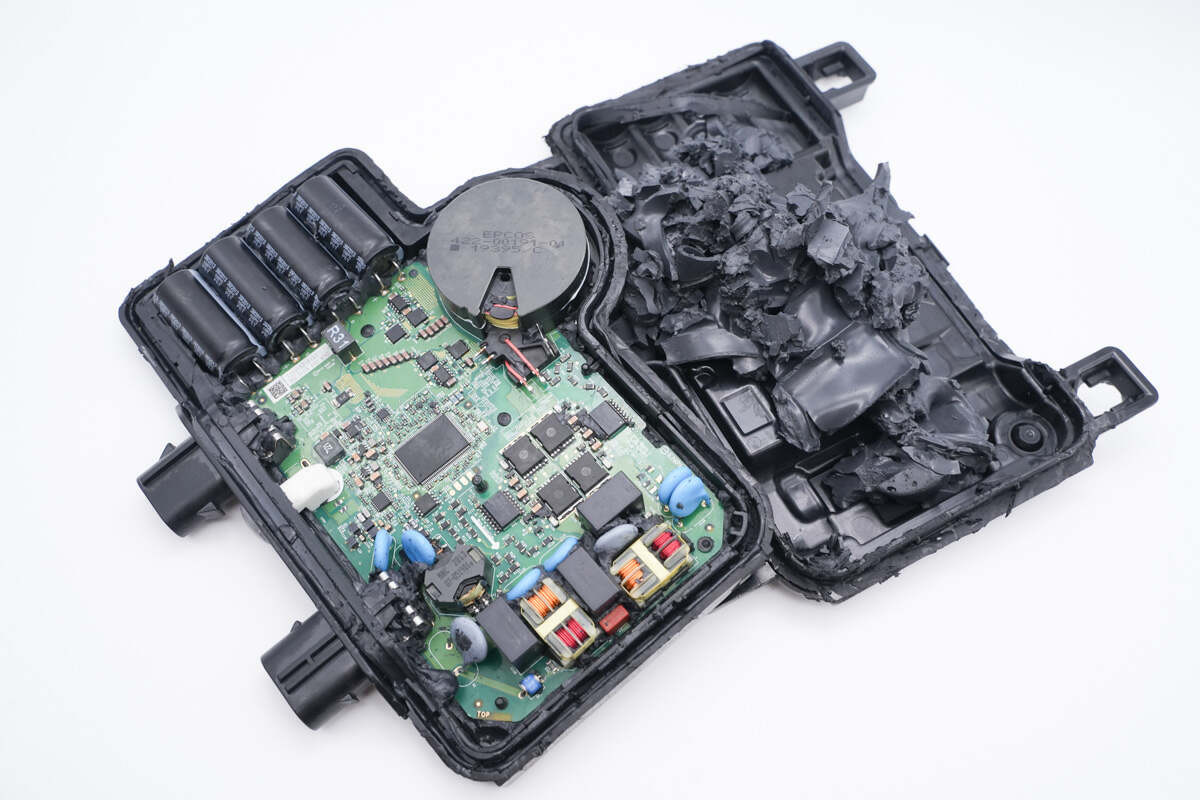
Clean up the adhesives.
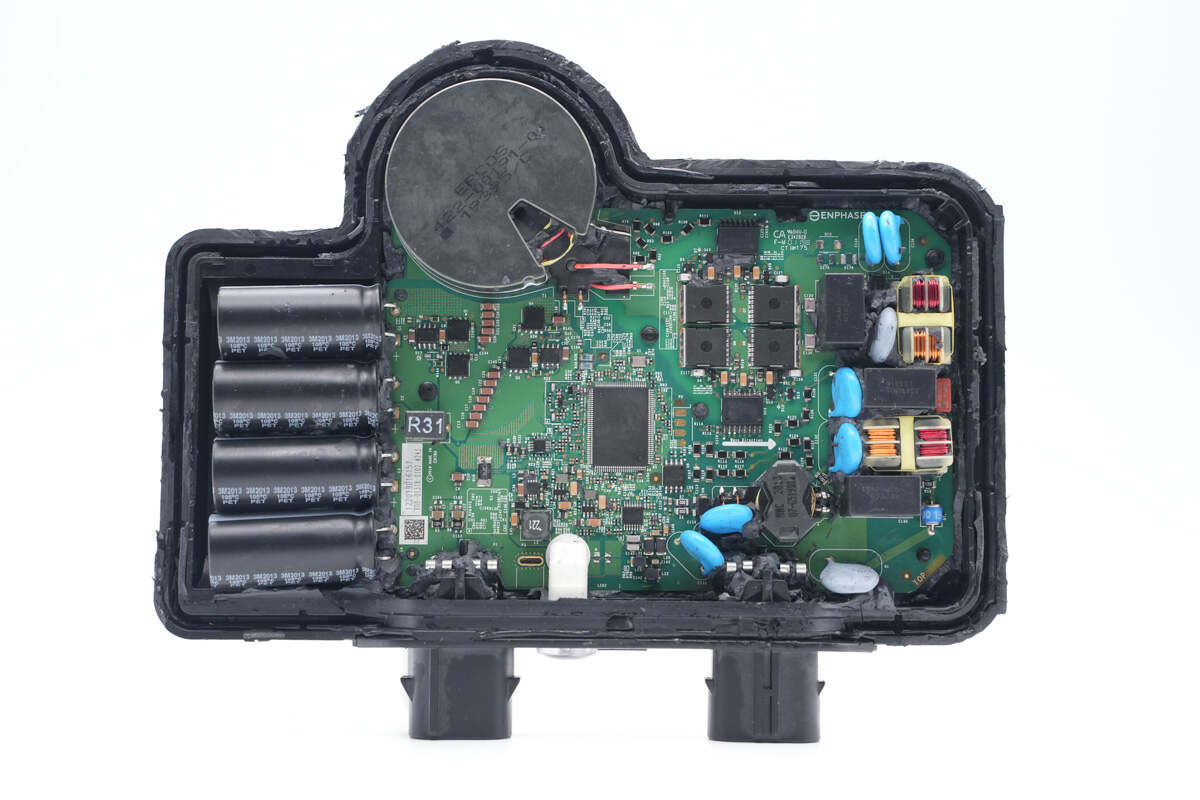
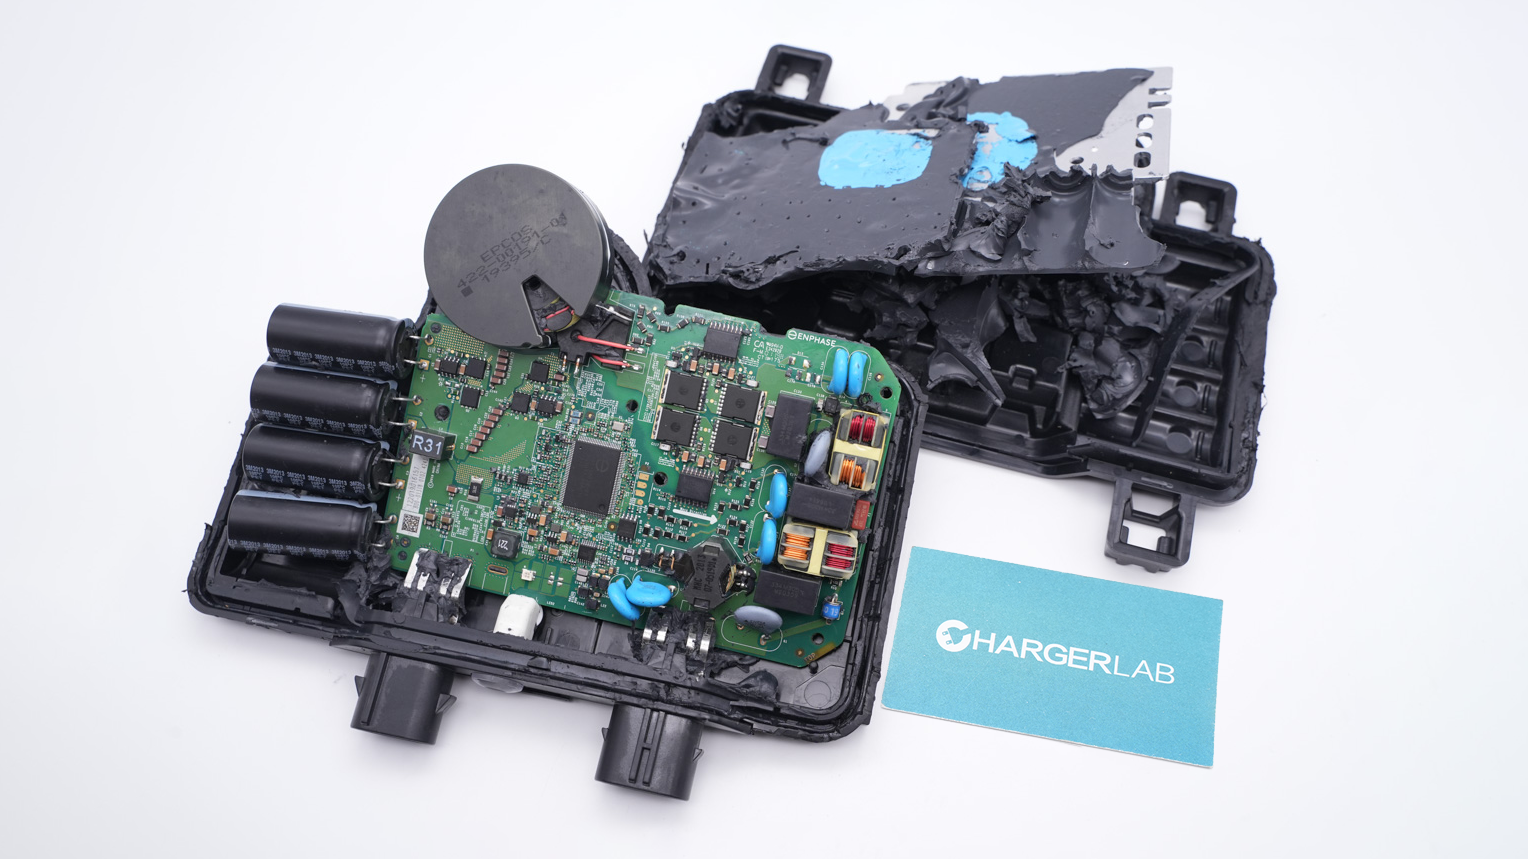
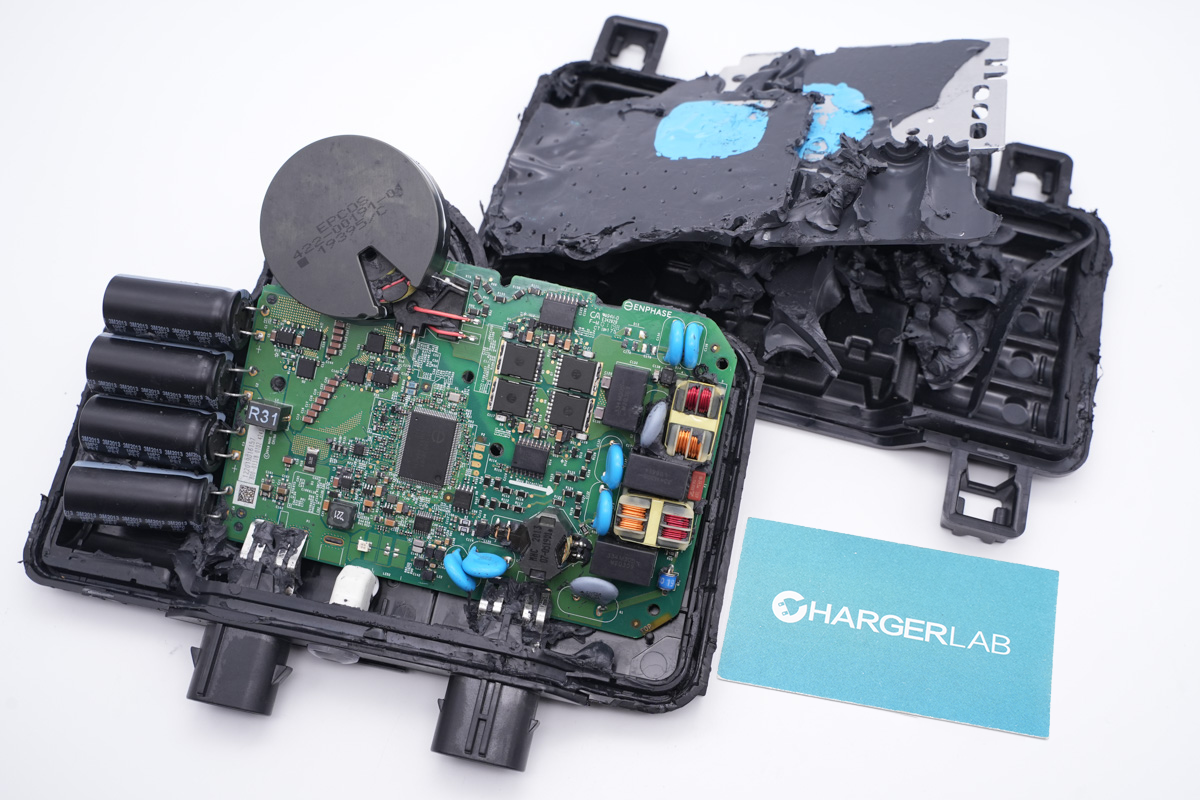
Then, let's introduce the major components.
They are four capacitors on the left, and the inverter transformer is at the top. The low-voltage MOSFET for boosting and the corresponding driver are on the bottom, and two circuits for output filtering and power line communication are on the right.
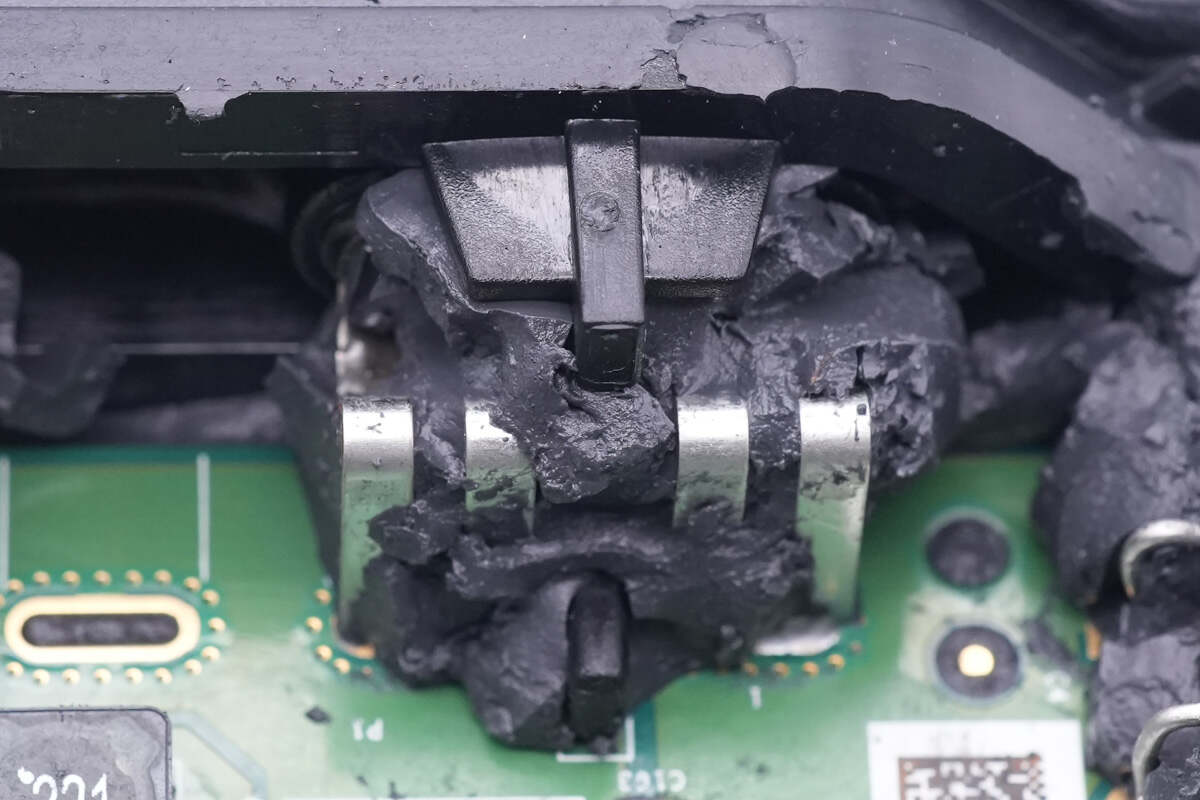
Take a closer look at the AC input pins.
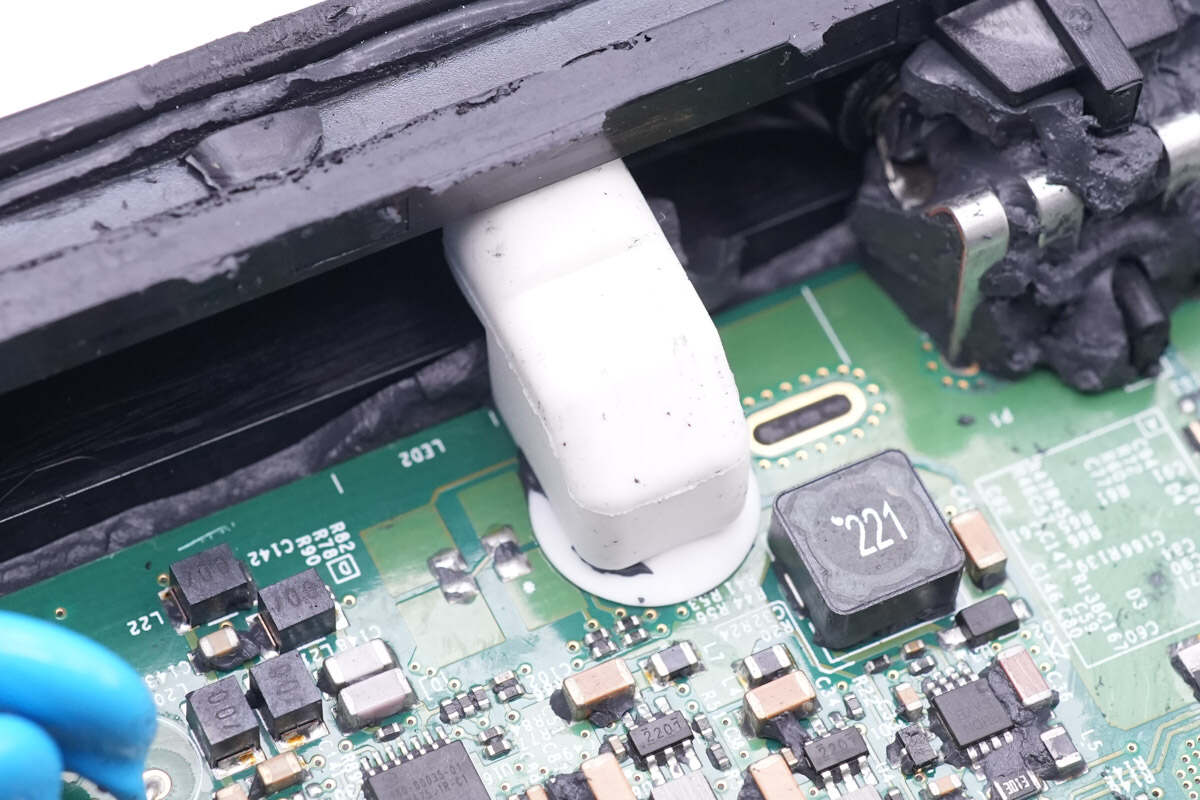
And here is the indicator light.
Take out the entire module, then you can see a black aluminum heat sink on the back.
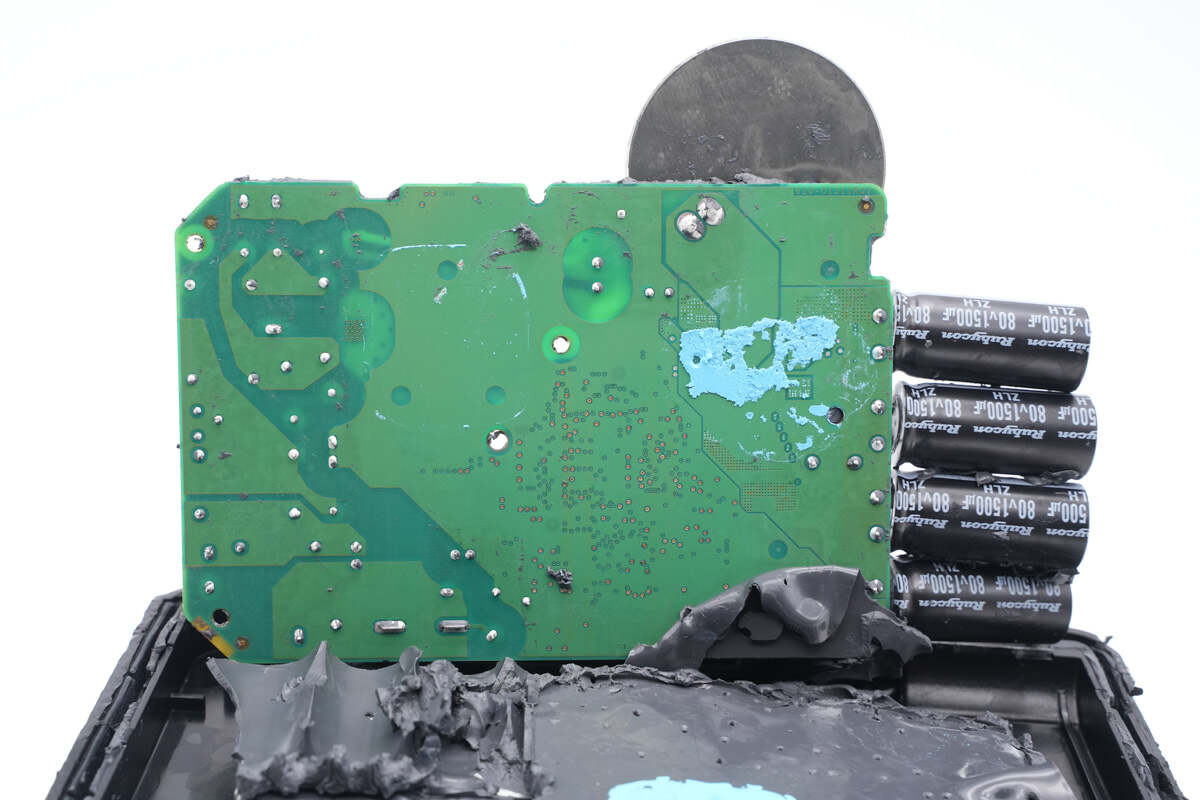
And no components on the back.
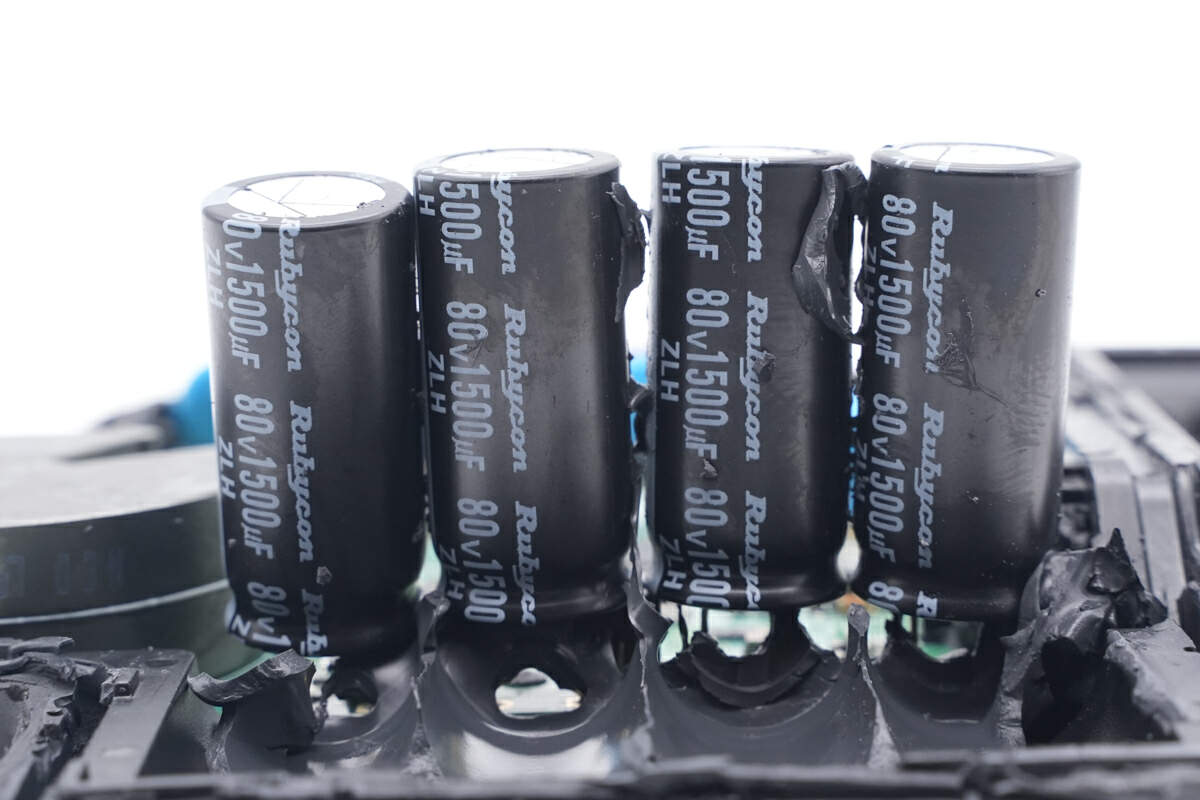
These four DC capacitors are used for input filtering. They are from Rubycon ZLH series, which are connected in parallel. 80V 1500μF.

This R31 inductor is also used for input filtering.
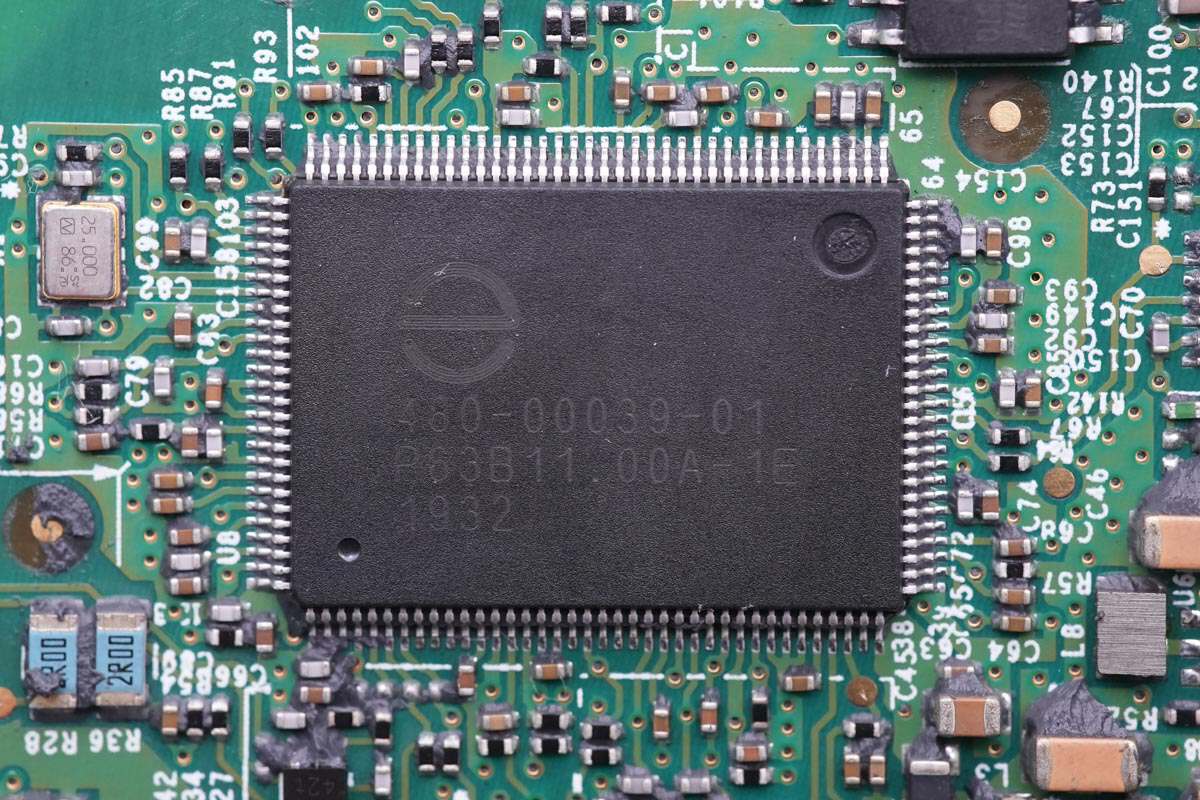
The master controller marked with 480-00039-01 and P63B11.00A-1E 1932 is from Enphase, which controls the boost and output modulation. In this system, the half-bridge driver manages the DC boost, while the AC modulation is controlled through an isolated driver.
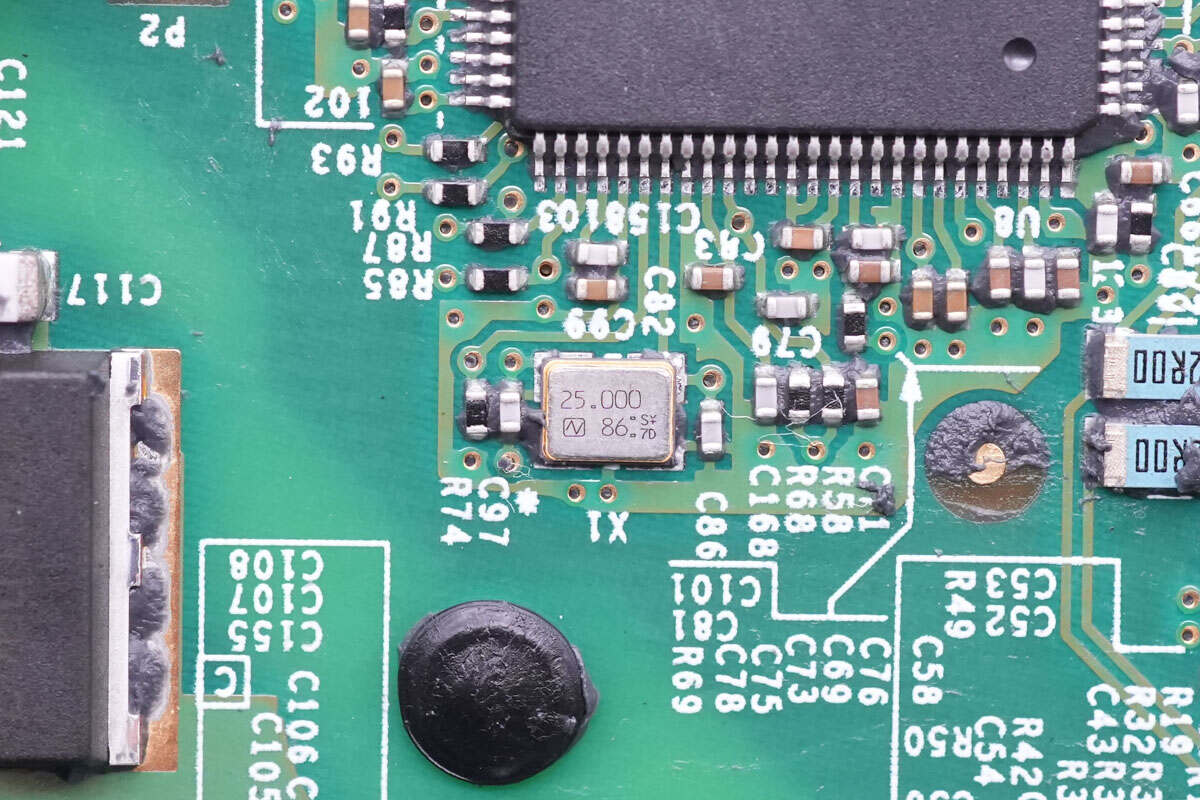
And the external crystal oscillator of the controller is below it. 25MHz.
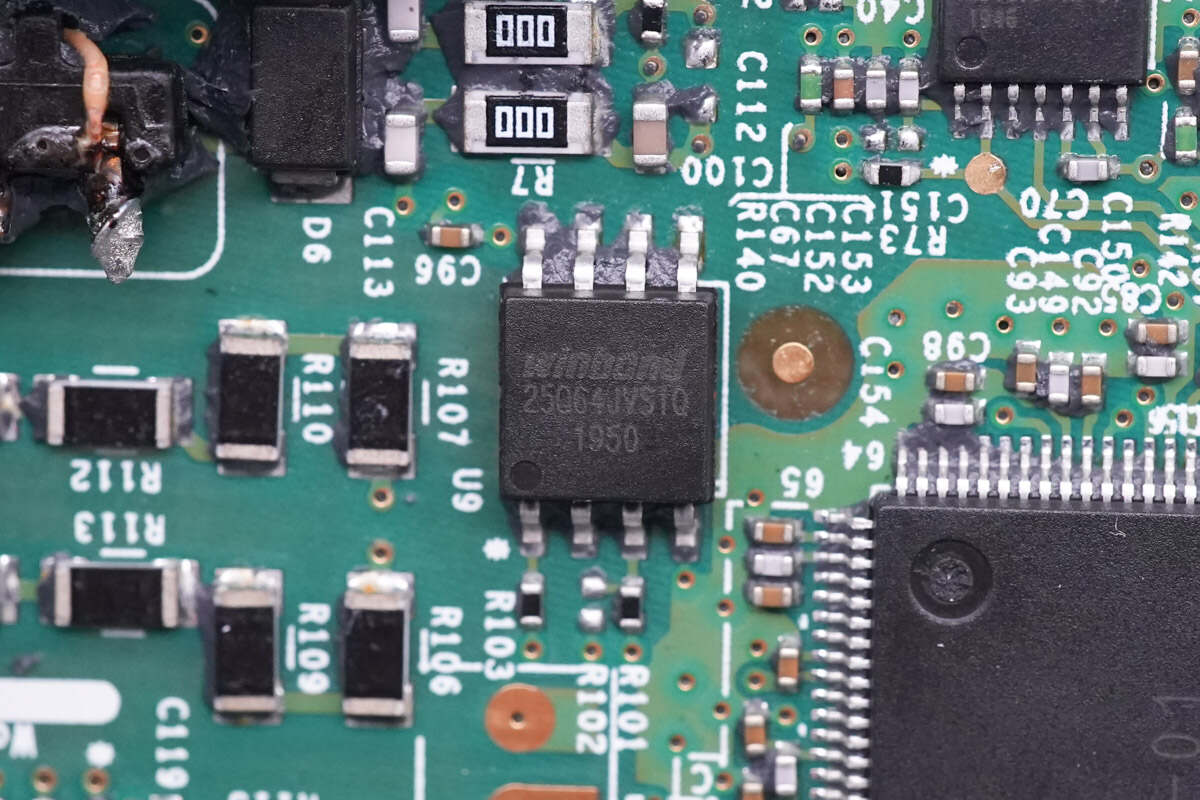
The 8MB memory is from Winbond. Model is W25Q64JVSSIQ.
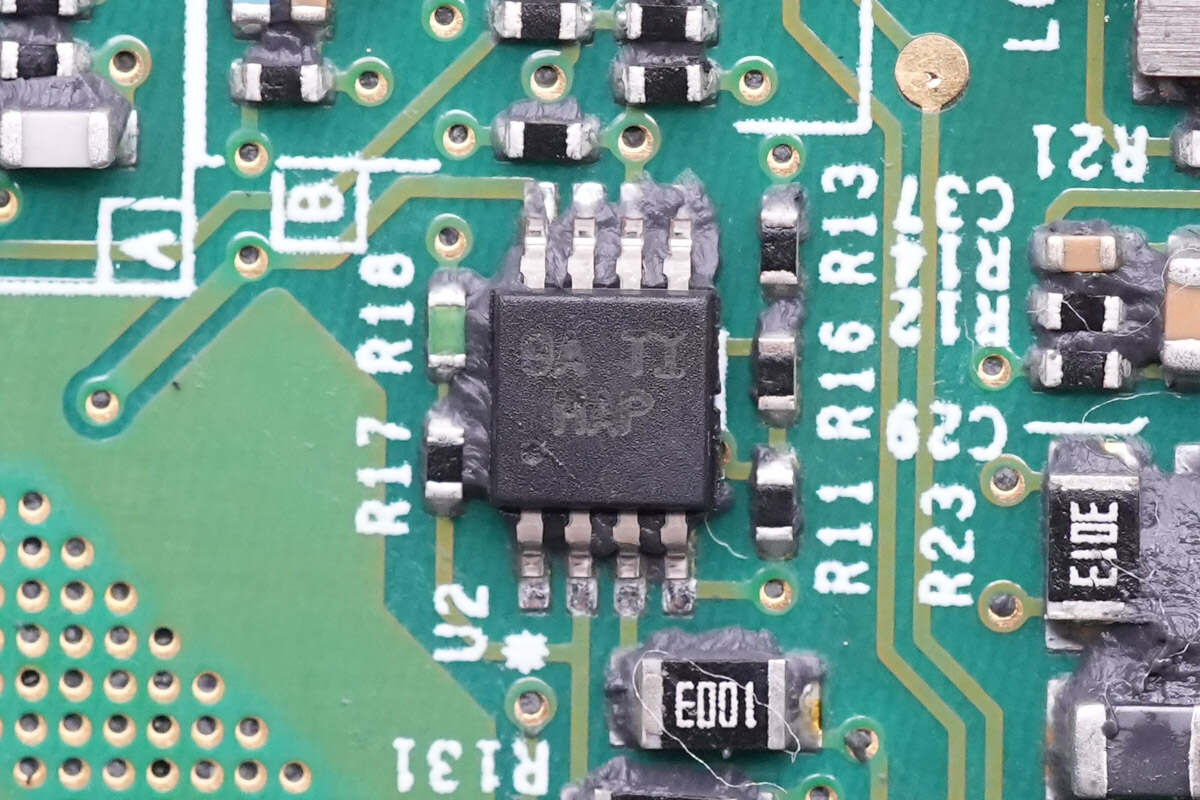
This buck chip is from TI, which is a wide voltage input converter that supports 95V input and 350mA output. Model is LM5008.
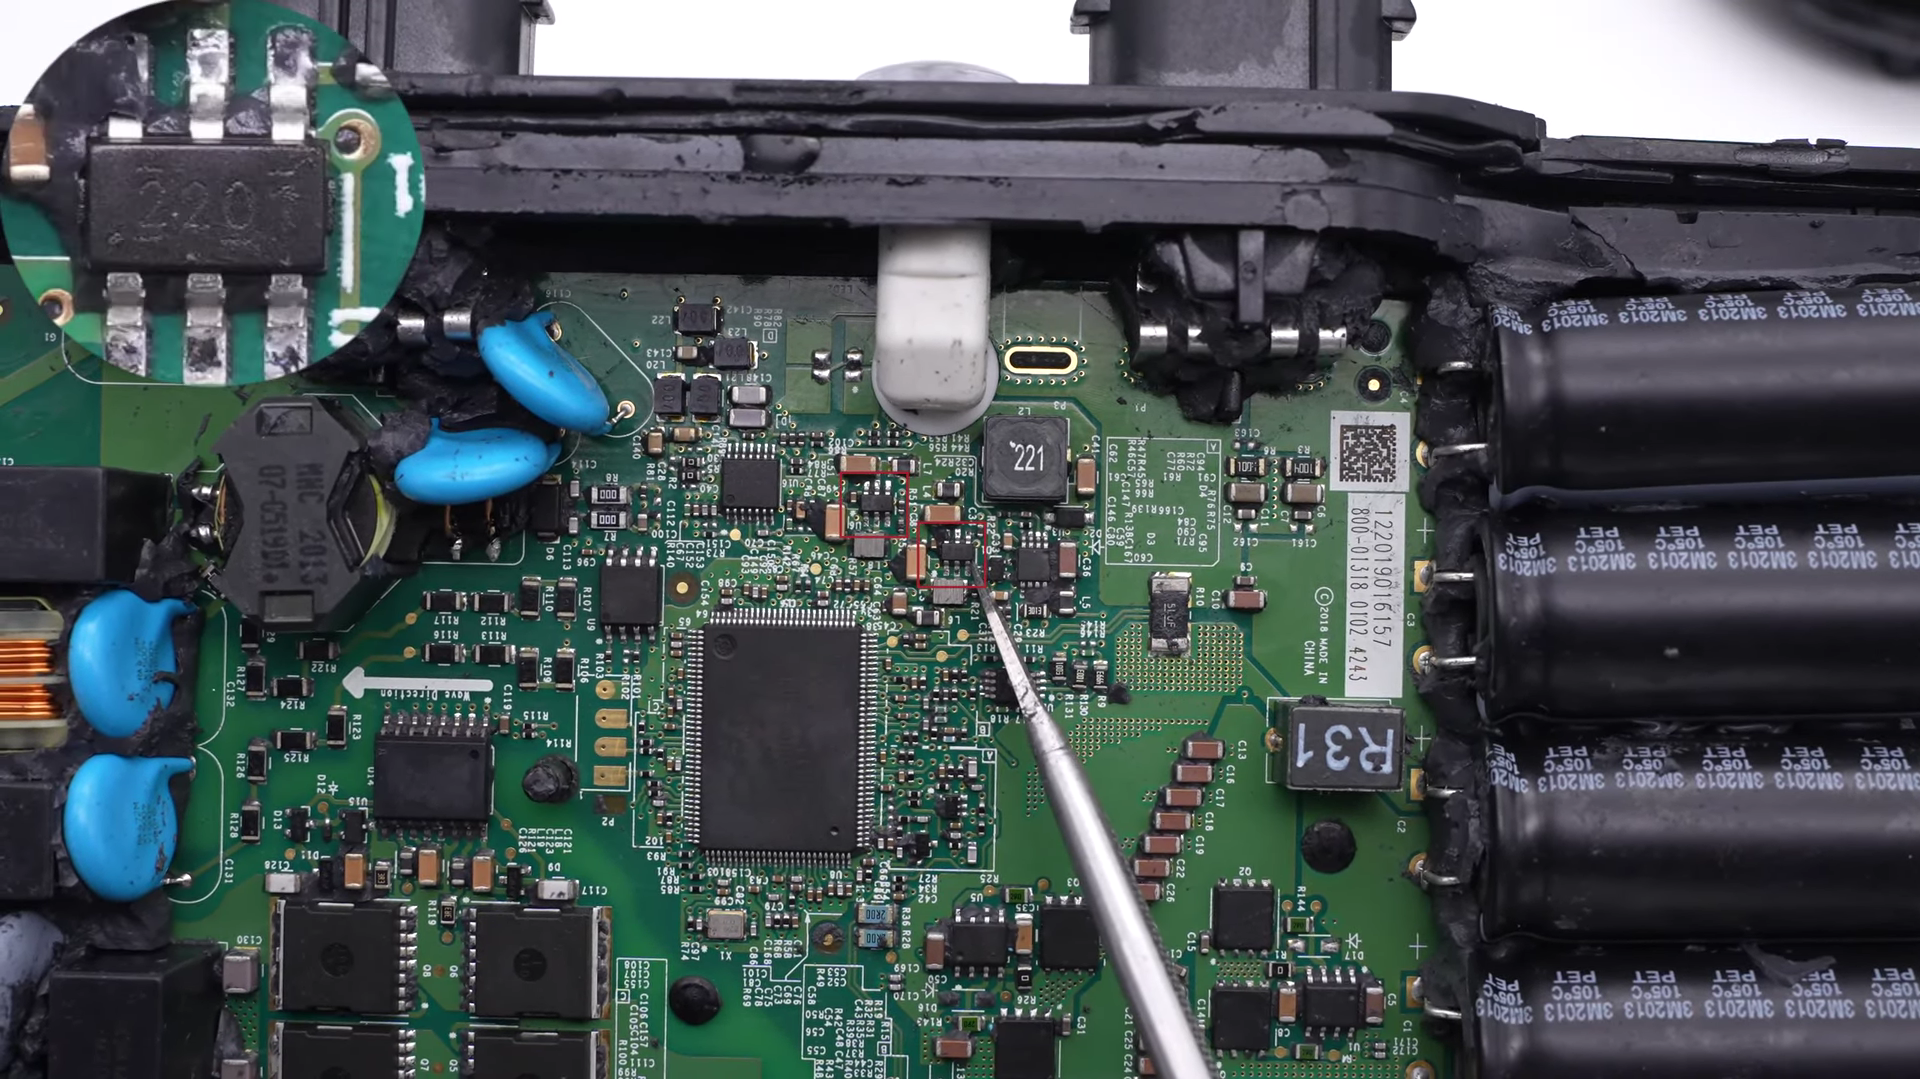
And those two smaller chips are also from TI. They are synchronous buck converters that support 17V input and 2A output, and adopt SOT23 package. Model is TPS562201.
The dual voltage comparator is from TI, model LM2903, which is used for protection and detection.
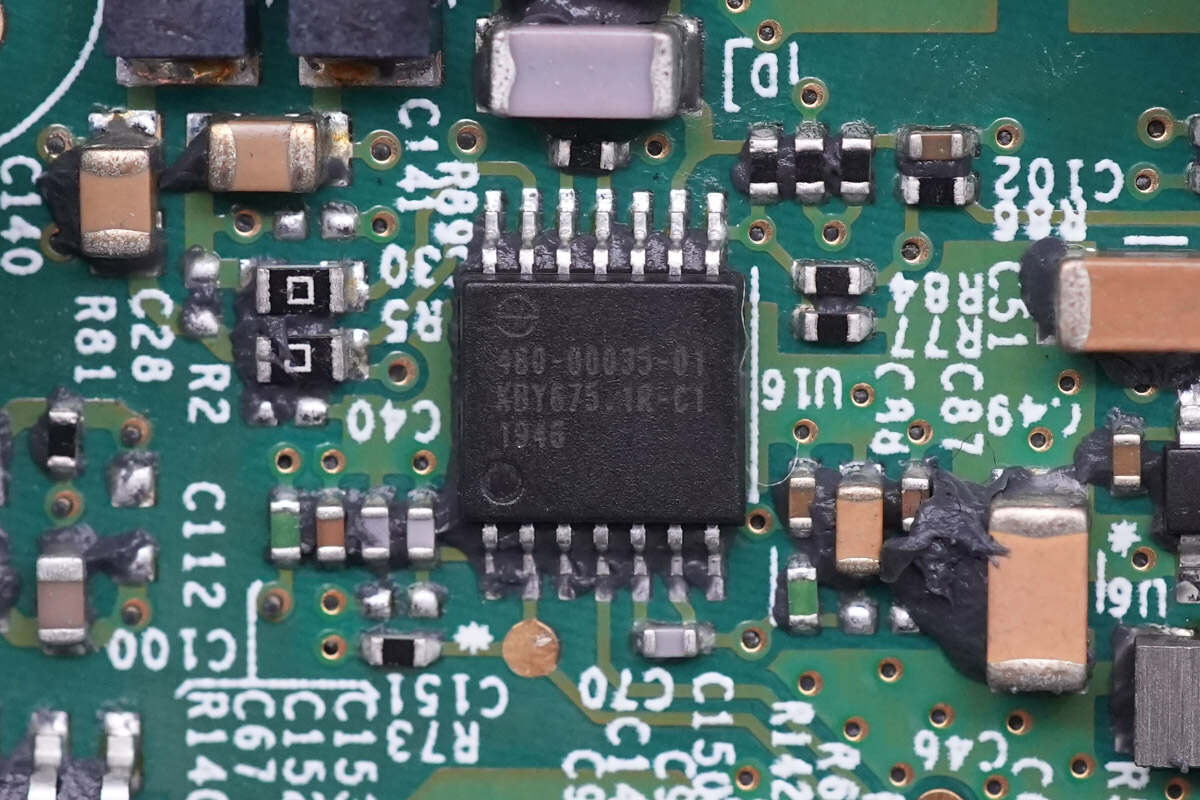
Here is another chip customized by Enphase, which can communicate with the power line, and it's marked with 480-00035-01.

These seven MLCC filter capacitors are used for DC input and connected in parallel.
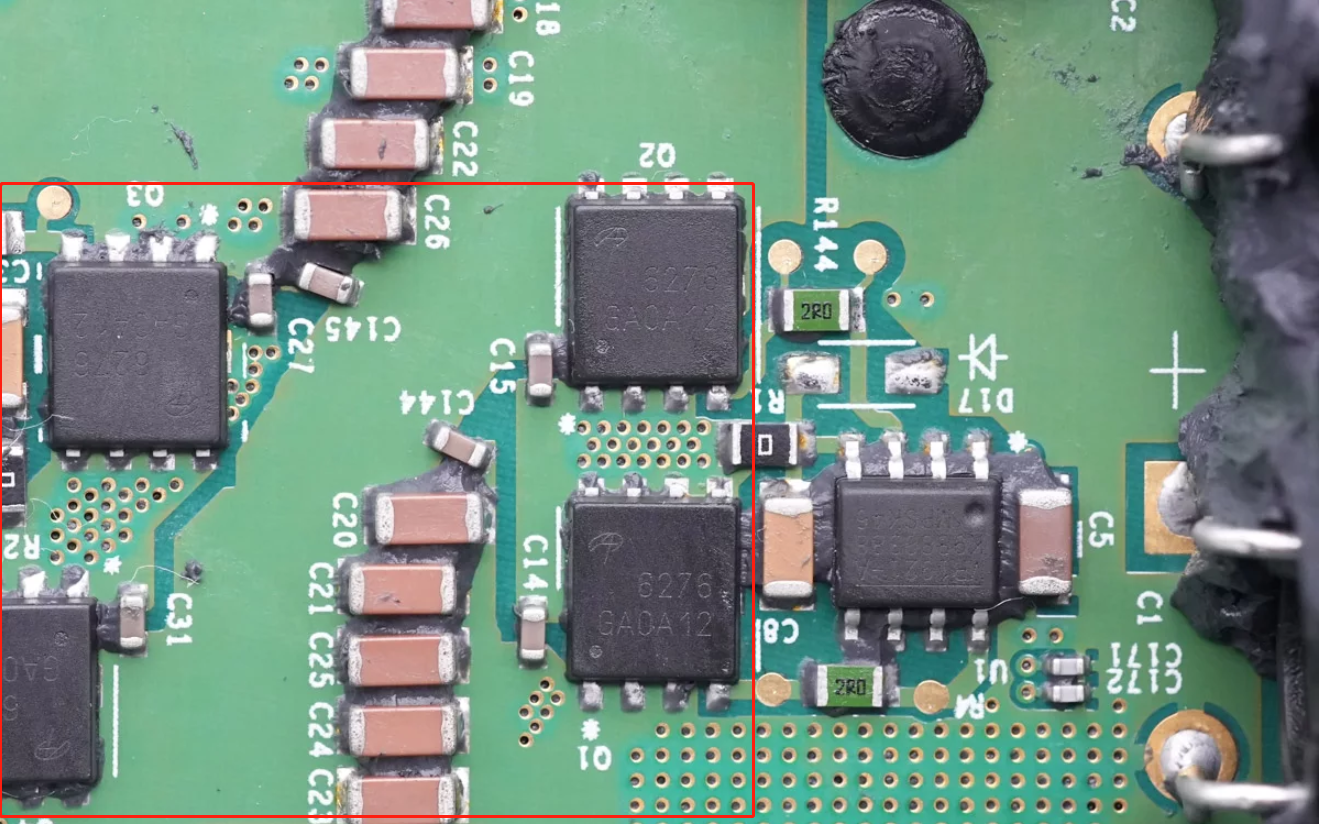
Those four MOSFETs are from AOS and can form an H-bridge for DC input. 80V 2.2mΩ for each one. Model is AON6276.
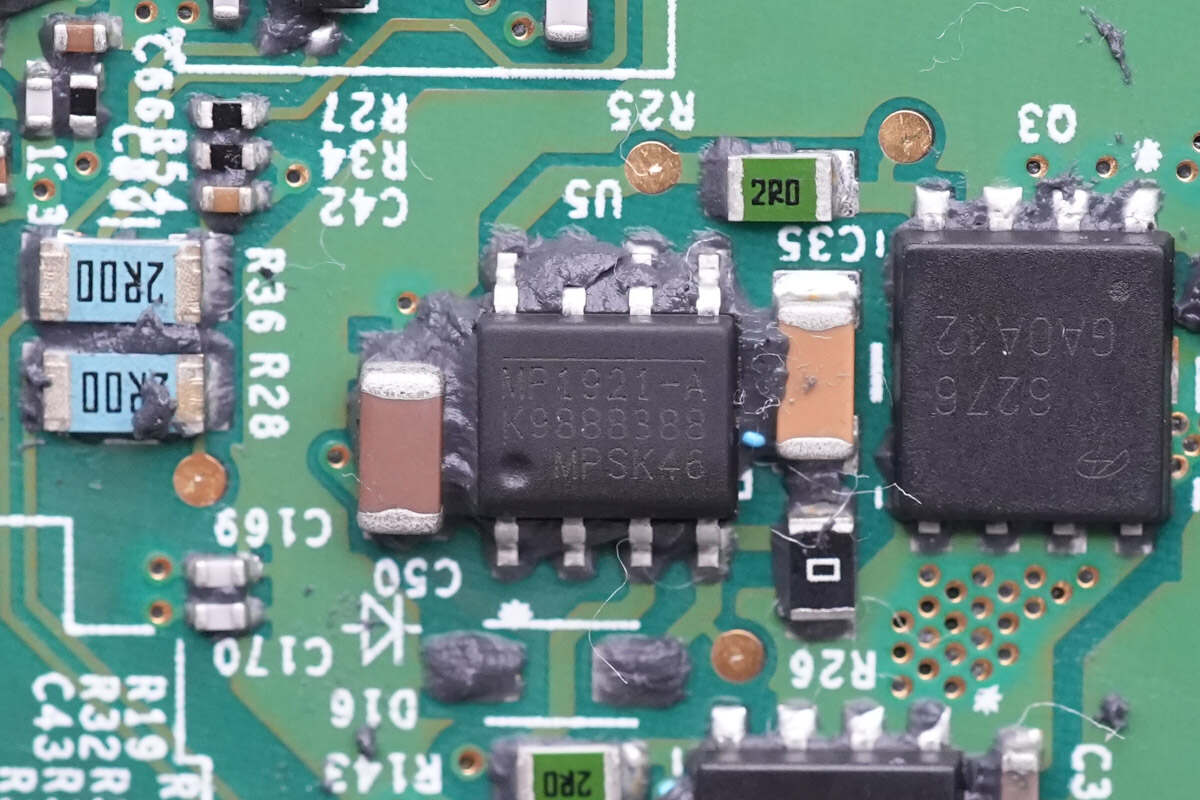
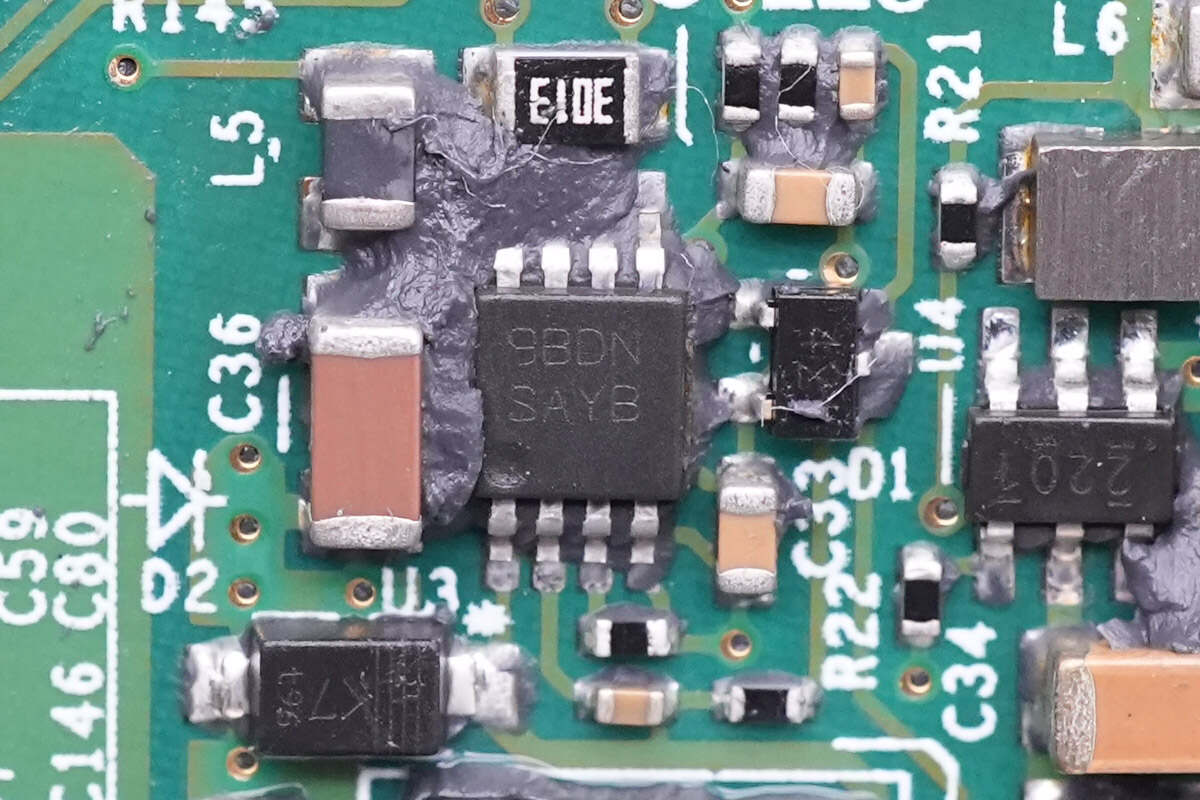
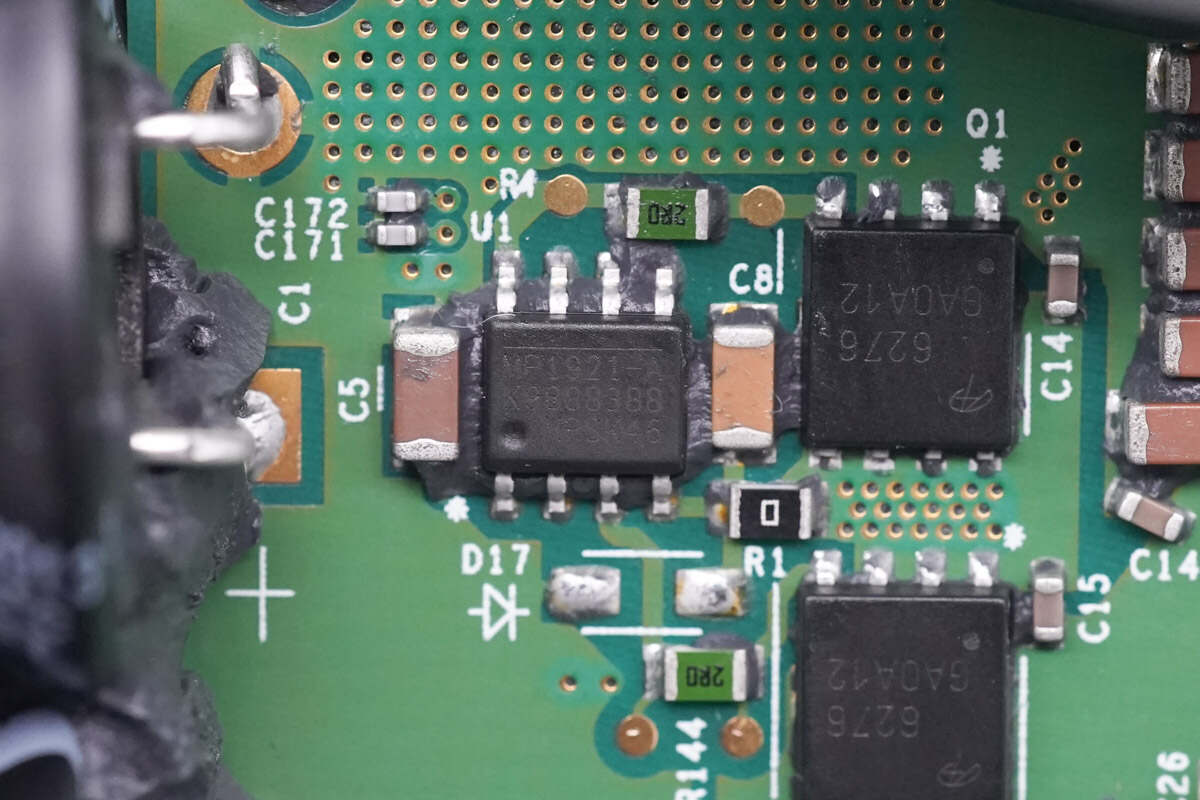
This 100V half-bridge driver is from MPS, model MP1921A, which is used for low-voltage MOSFET. The chip features an integrated bootstrap diode, allowing independent control of the upper and lower transistors.
Here is the other one.
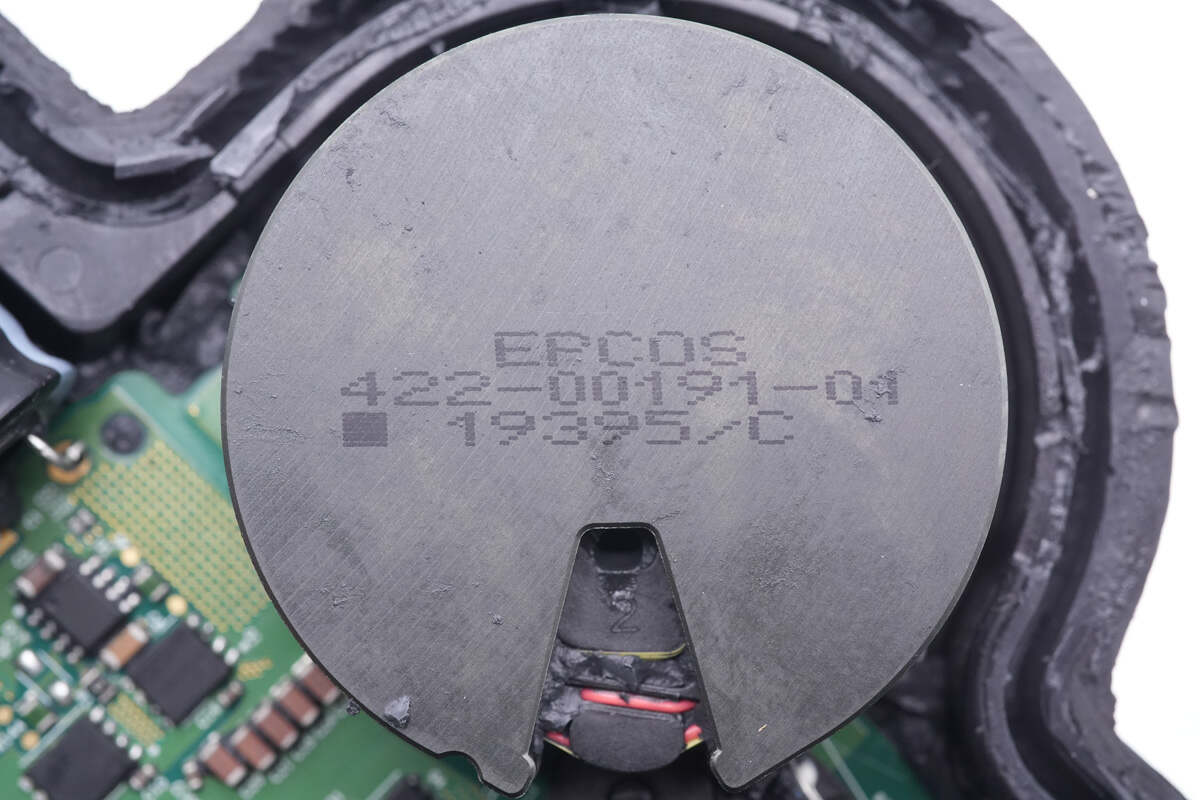
The big circular inverter transformer is from EPCOS and integrates the output current mutual inductance.
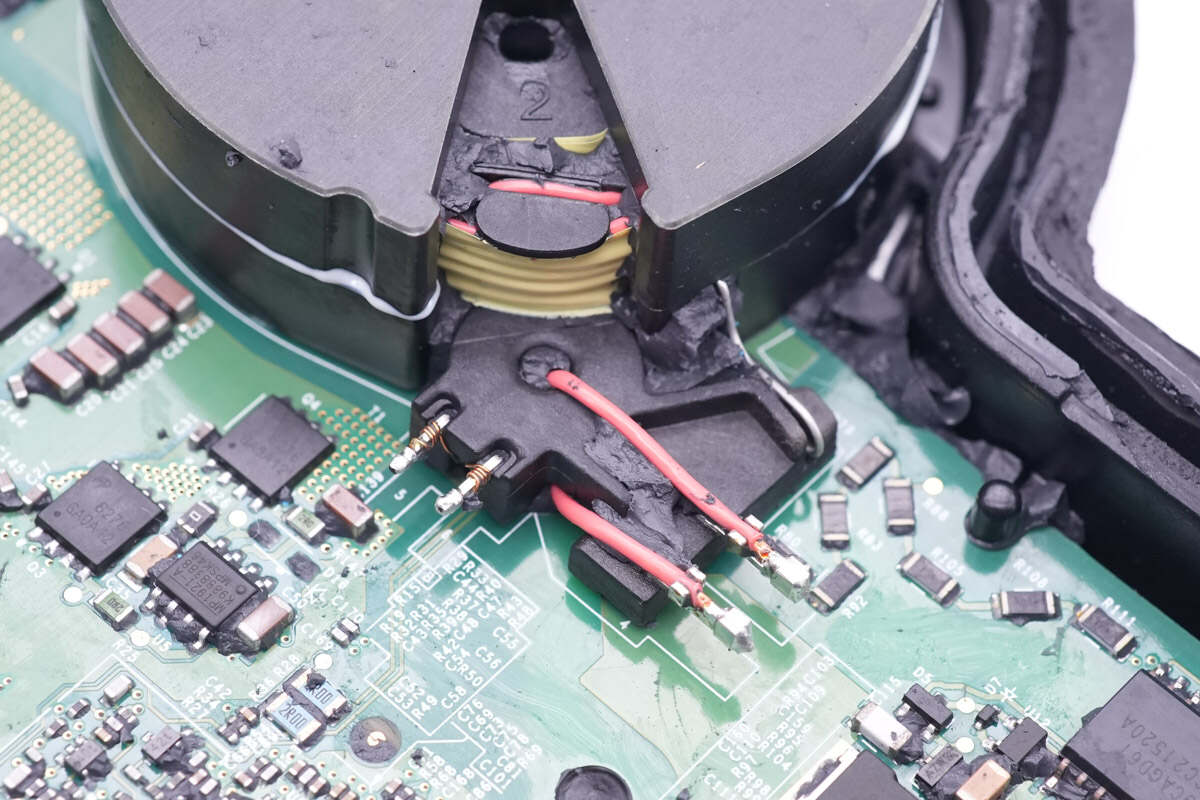
And the output insulated wire goes through it.
The four output modulating MOSFETs marked with 60R102G7 are from Infineon and adopt TOLL package. But the real model is IPT60R102G7. 650V 102mΩ.
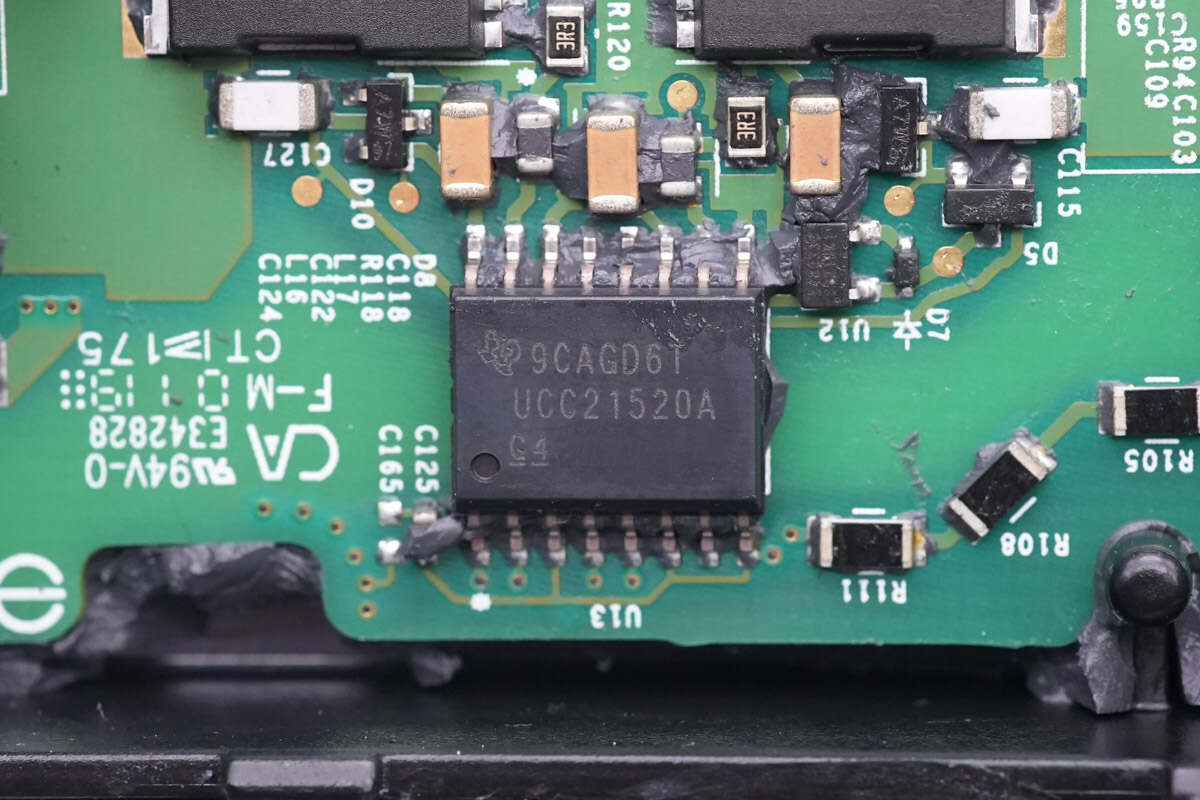
The dual-channel isolated driver is from TI, which is used to modulate the drive for MOSFETs. Model is UCC21520A.
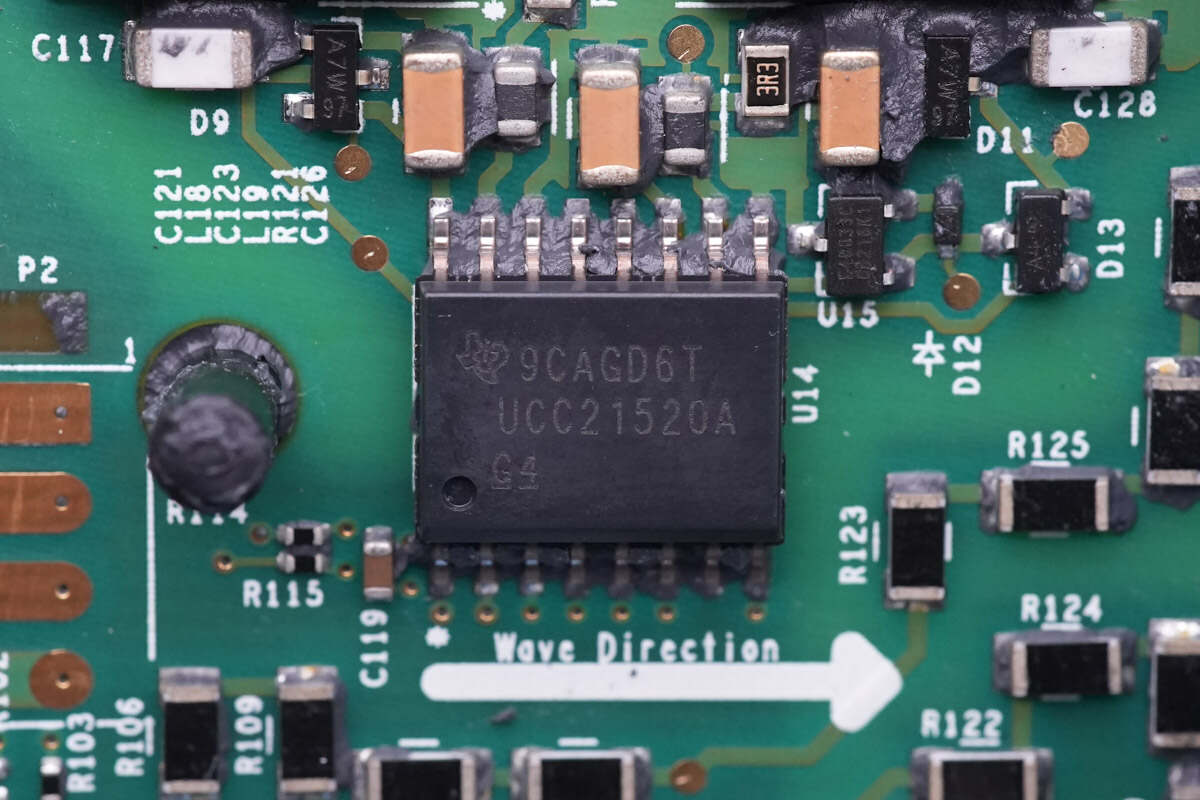
And here is another one.

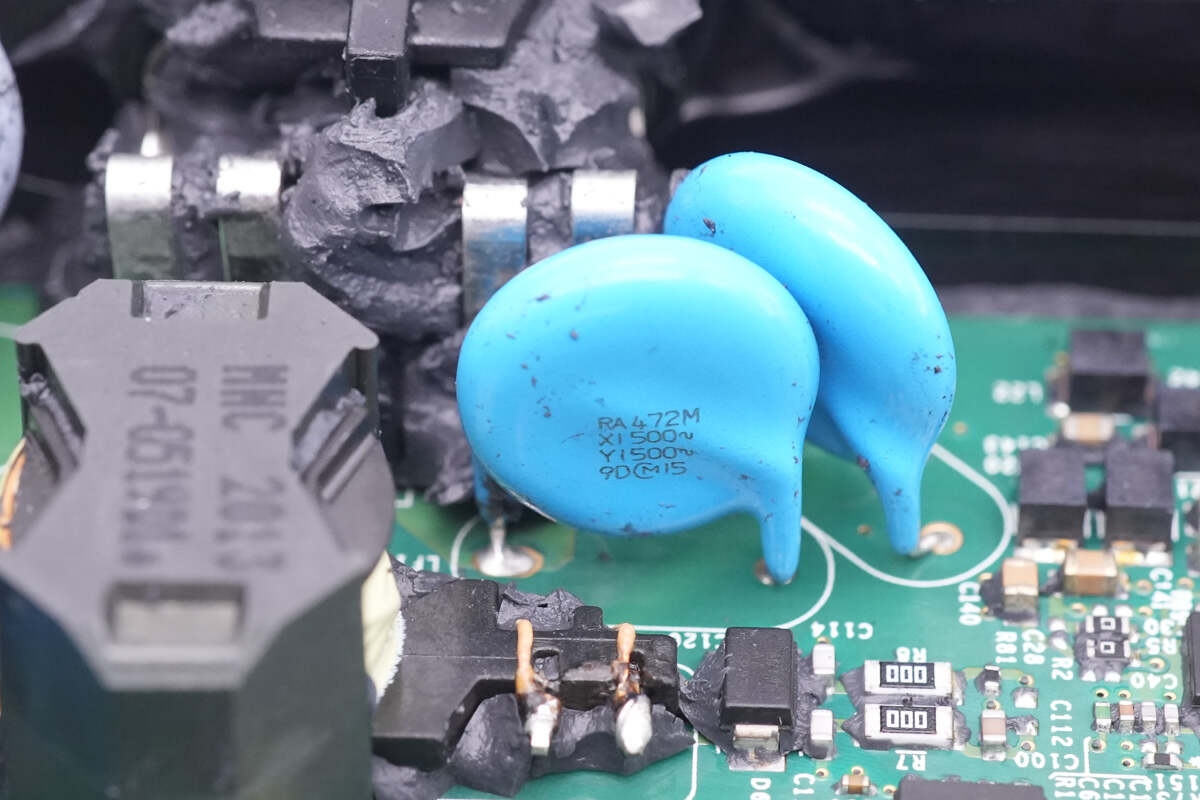
This is a 0.33μF safety X2 capacitor.
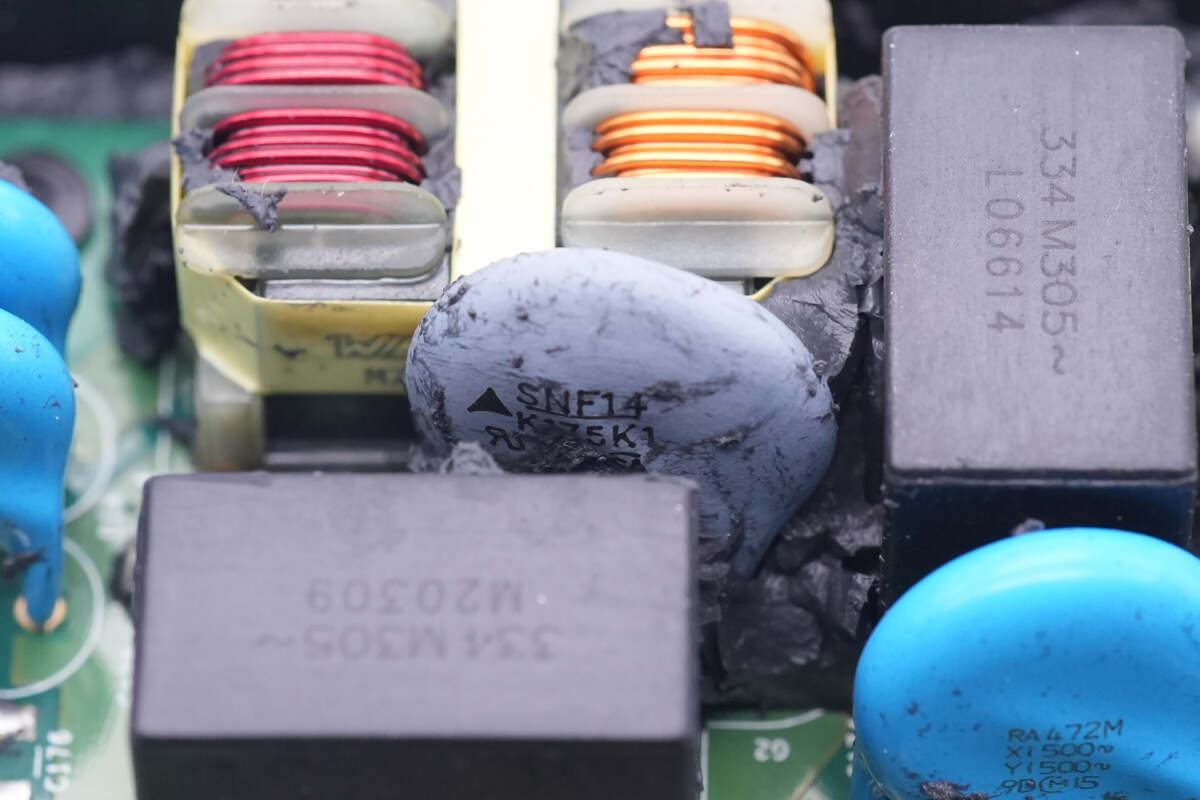
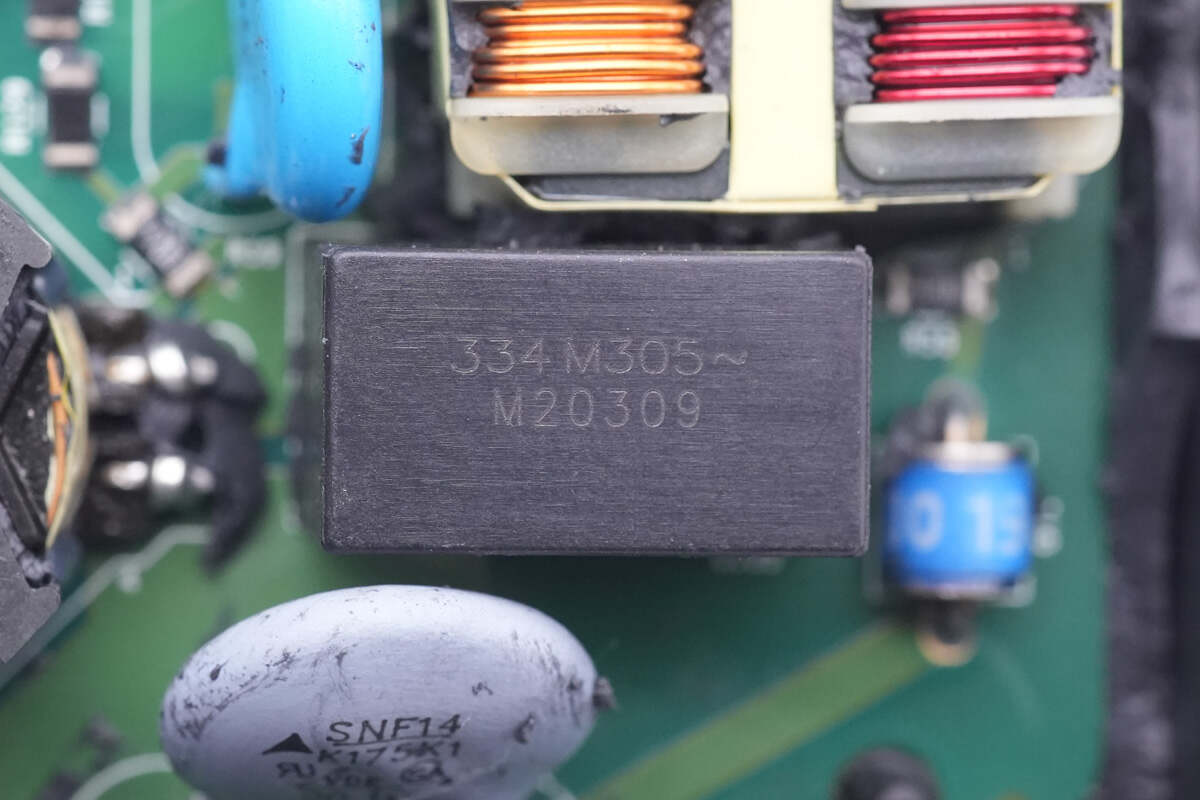
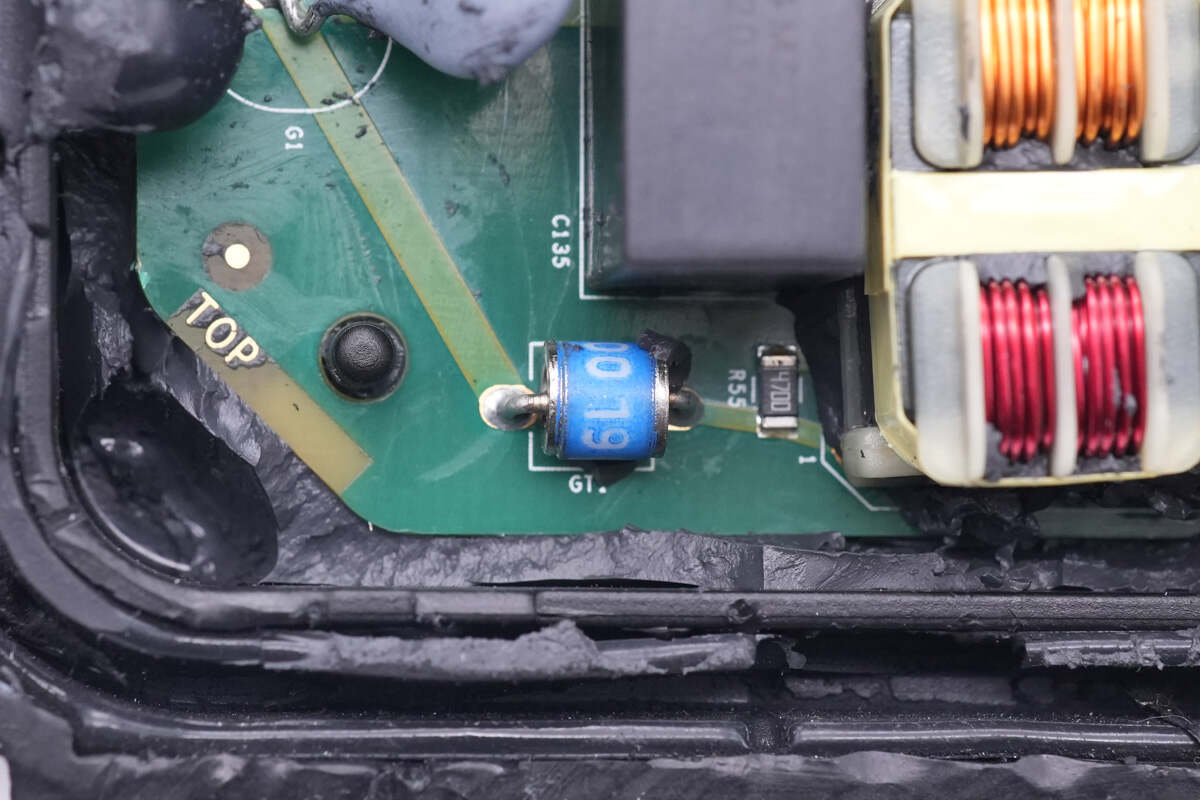
And this varistor is from EPCOS SNF14 series, which is used for output overvoltage protection.
This TVS (Transient Voltage Suppressor) is connected in series with a varistor, serving the purpose of overvoltage protection.
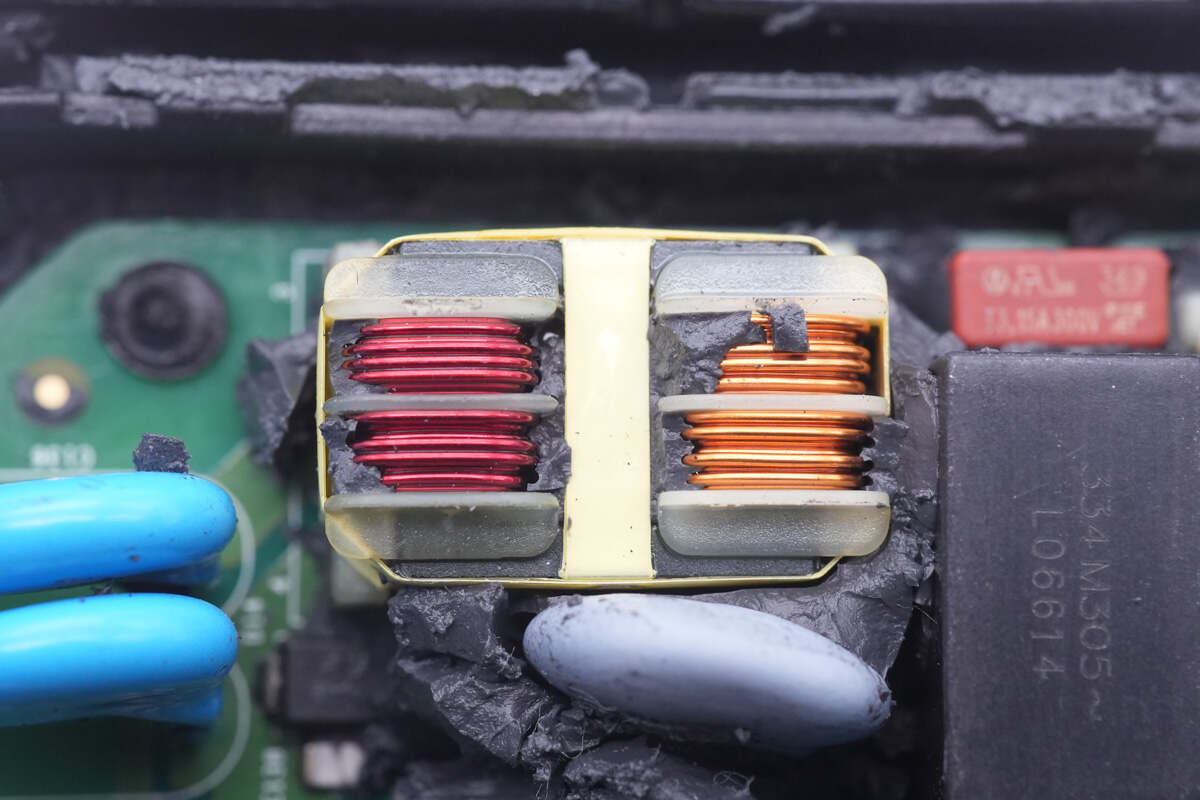
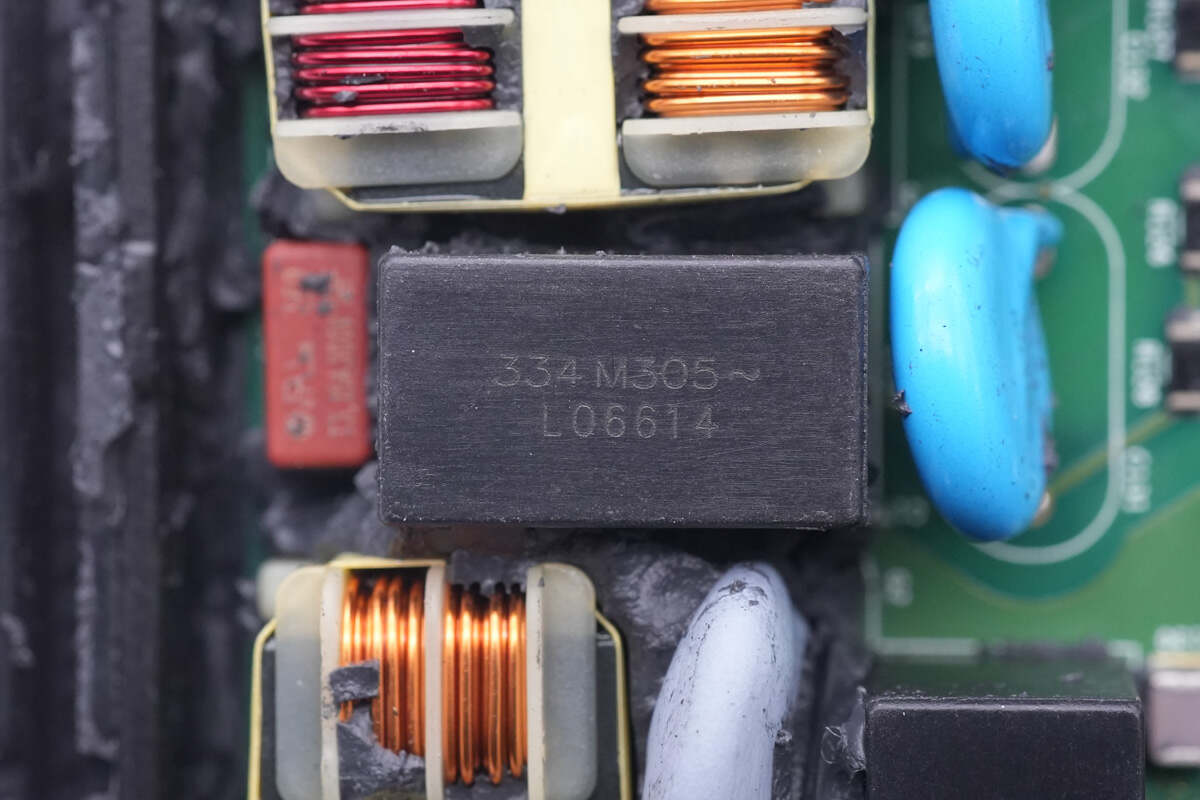
The common mode choke is composed of two small parts in red and copper color.
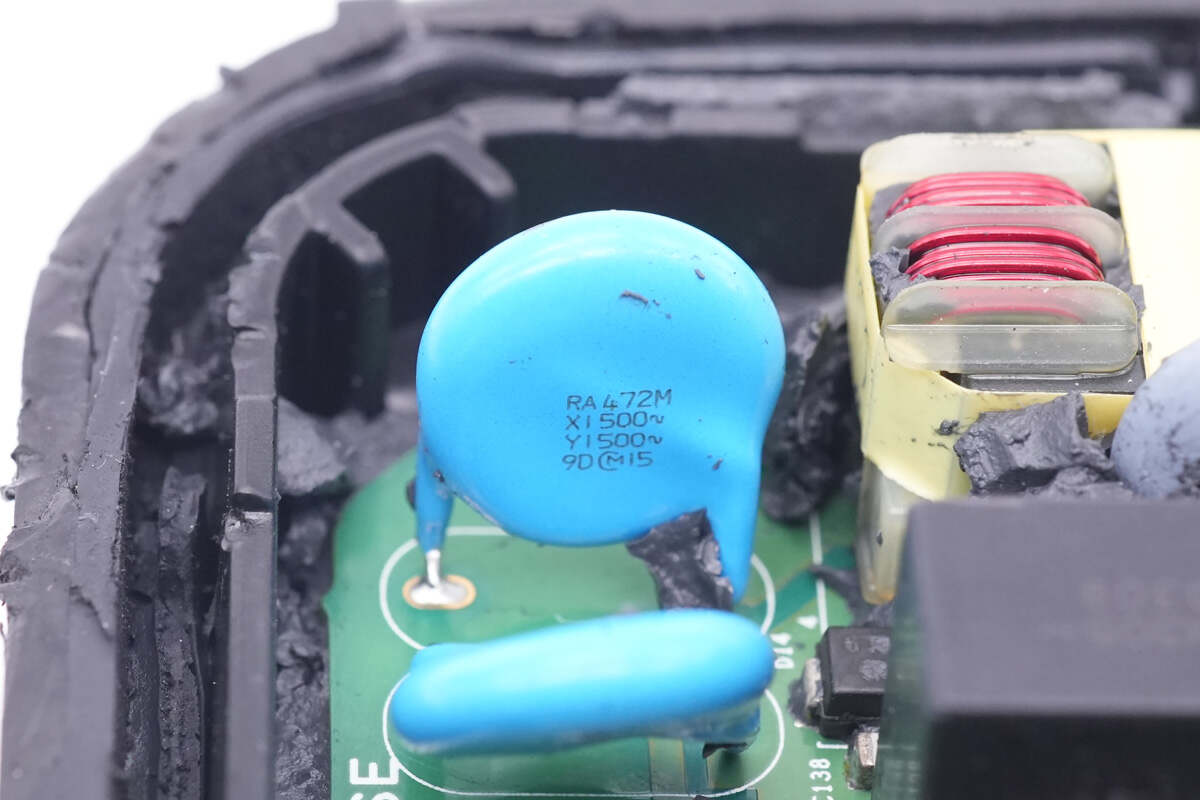
These are two output Y capacitors.
This is another 0.33μF safety X2 capacitor.

The output fuse next to it is from Littelfuse. 3.15A 300V.
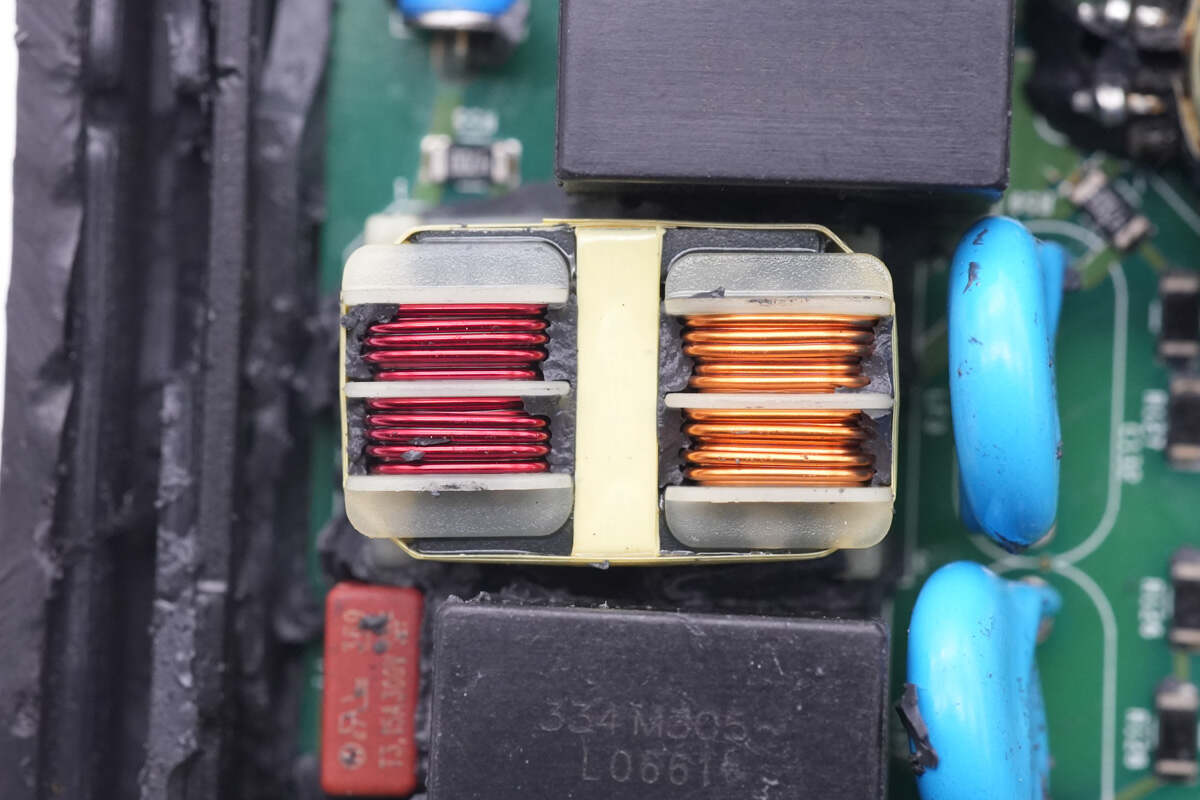
Here is another same common mode choke.
And this is yet another 0.33μF safety X2 capacitor.
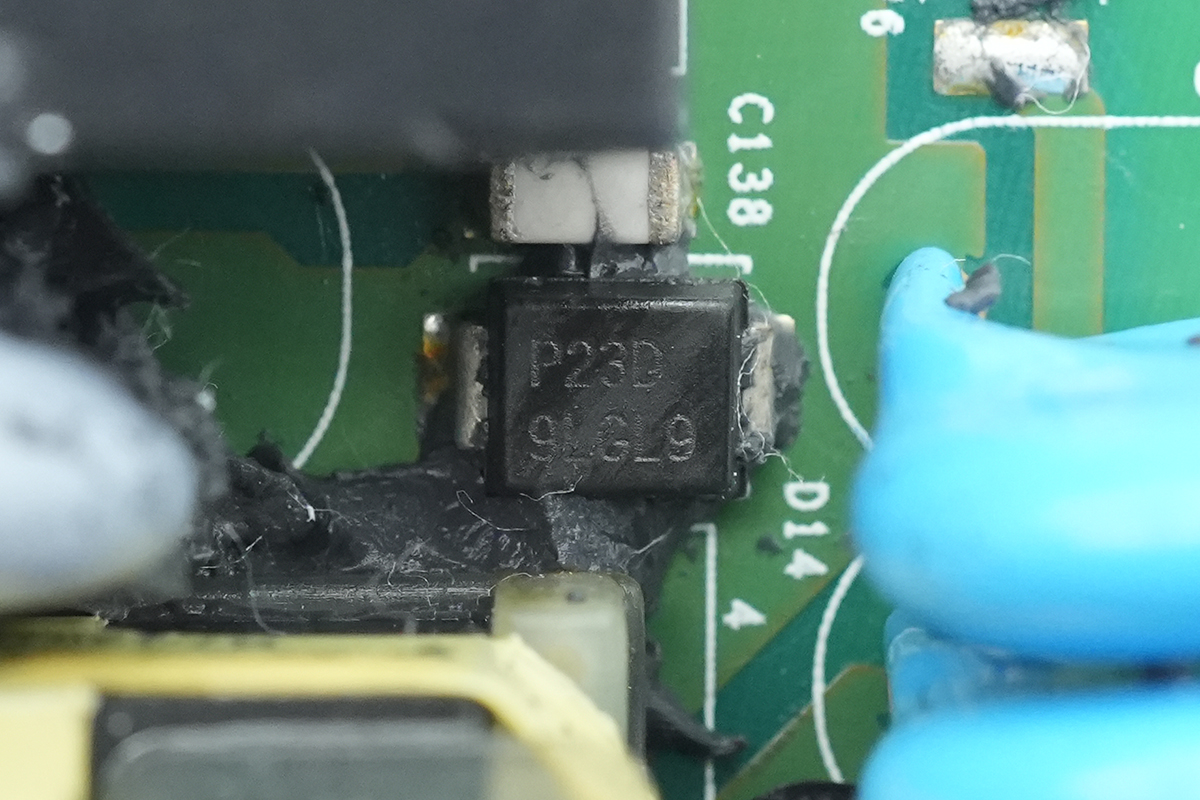
This little discharge transistor next to it is connected in series with the varistor that prevents overvoltage.

The output varistor is from EPCOS SNF14 series.
These are two output Y capacitors.
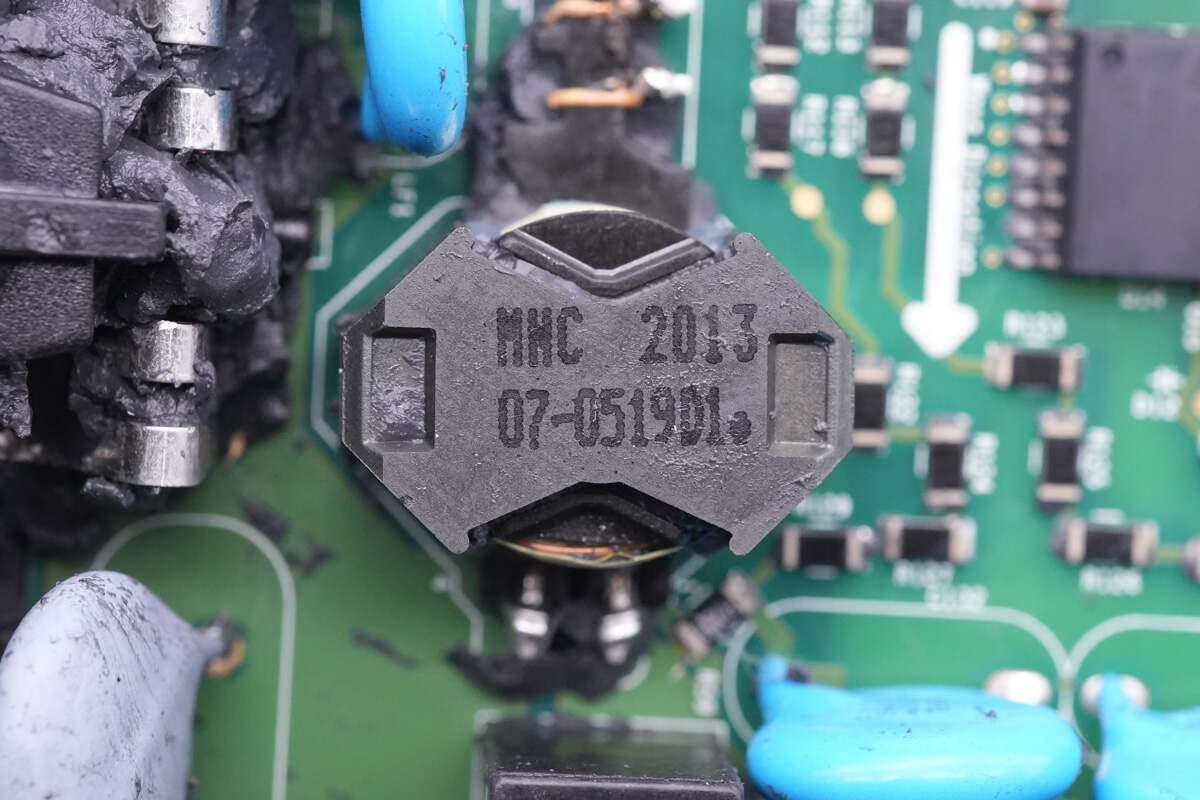
The transformer next to it is used to modulate power line communication.
Well, that's all components of this Enphase IQ8X microinverter.
Summary of ChargerLAB
Enphase boasts a diverse range of microinverter products, encompassing not only the grid-tied IQ7 series solar inverters but also the off-grid IQ8 inverters designed for energy storage applications. These inverters are configured through power line communication, allowing for adjustment of various parameters including output voltage. Notably, the IQ8 model is capable of providing inverted output during power outages, thereby catering to energy storage demands.
After taking it apart, we found its internal design is nearly identical to the IQ7+, and the major components are from top-tier brands like EPCOS, TI, Infineon, etc. Besides, the massive silicone adhesives can make it perform great in severe weather. So, in terms of product quality, the IQ8X is just as good as IQ7+.
Related Articles:
1. Teardown of Enphase IQ8X Microinverter (Video)
2. Review of Jackery SolarSaga 200W Portable Solar Panel
3. Teardown of Enphase IQ7+ Microinverter (For Solar Energy)