Introduction
Along with the launch of the iPhone 16 series, Apple also launched a new MagSafe charger to replace the old MagSafe charger launched four years ago. The appearance has not changed much, except that the cable has been changed to a woven one, which is more durable.
When it is paired with a 30W charger, it can provide 25W of wireless output power, which can charge the iPhone 16 and iPhone 16 Pro to half capacity in 30 minutes. Next, let's take it apart to see its internal components and structure.
Product Appearance
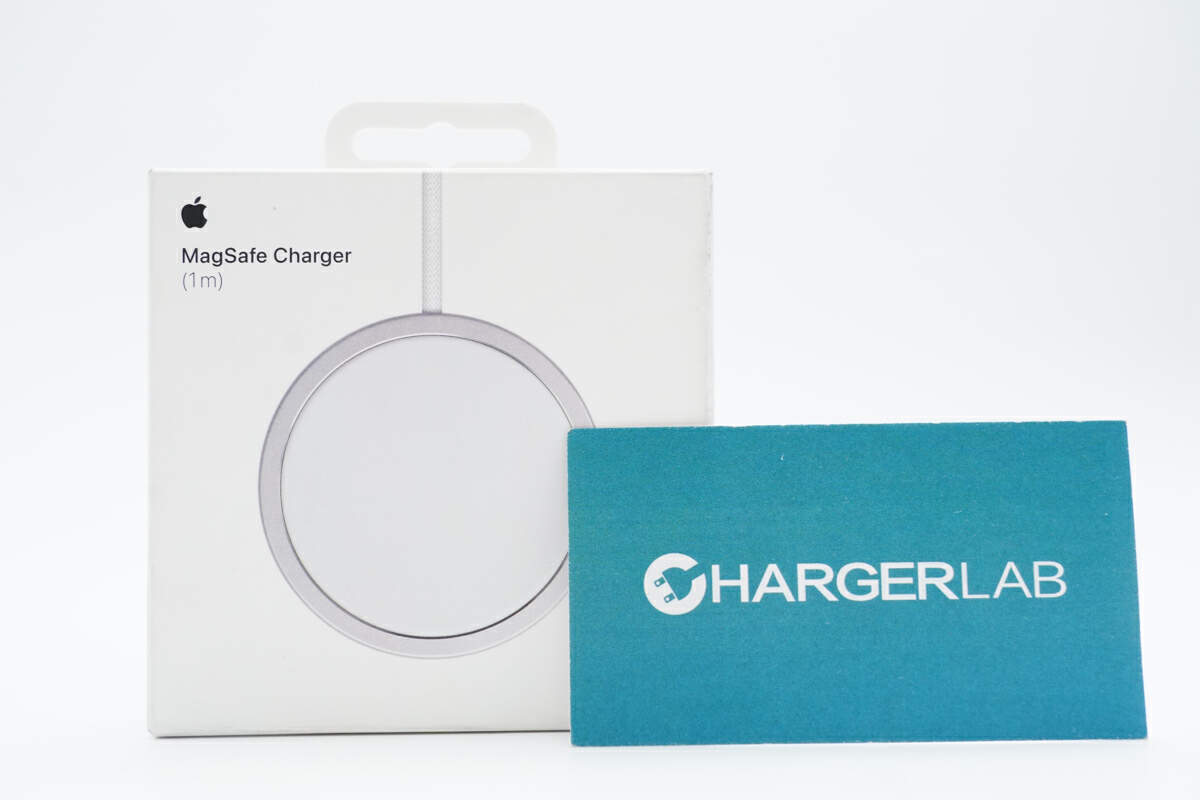
It comes in a white box with the Apple logo, MagSafe Charger, and product appearance printed on it.
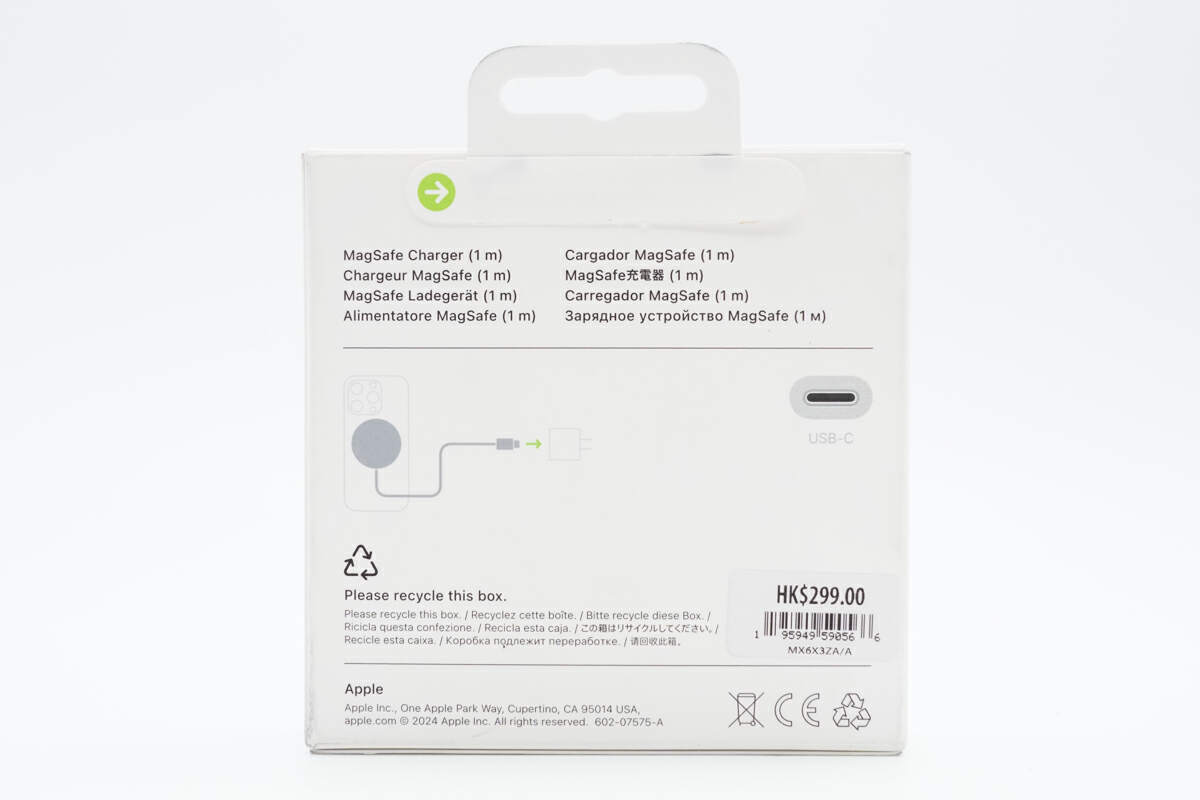
The product name and product usage diagram are printed on the back, and the charger has passed the CE certification.
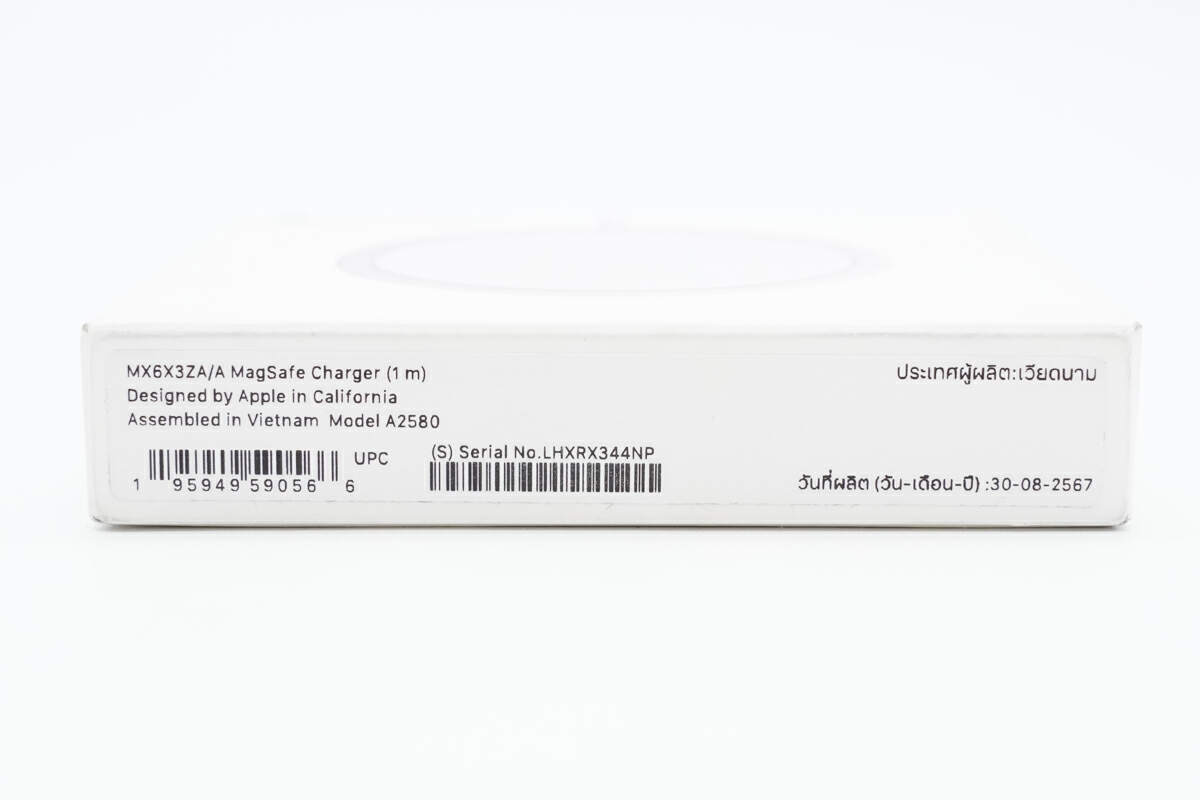
The model: A2580 is printed on the bottom of the box, and it is assembled in Vietnam.
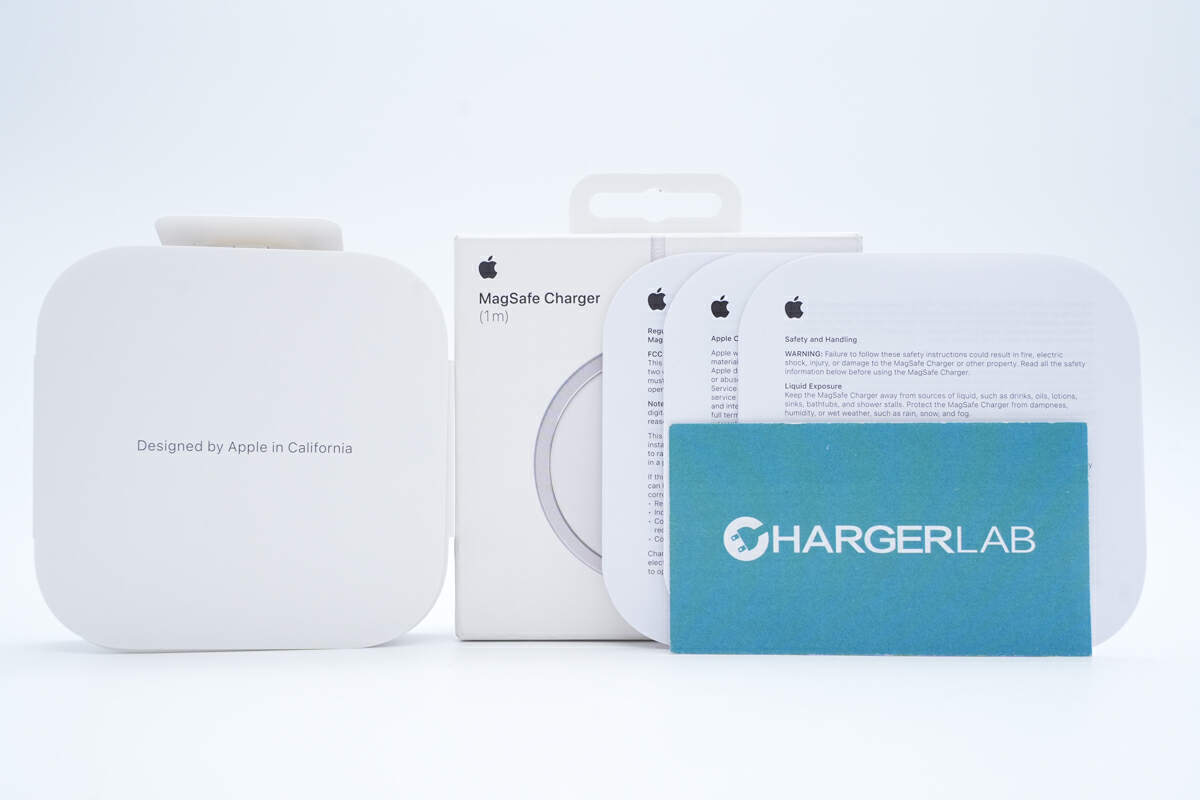
The box contains some documents.
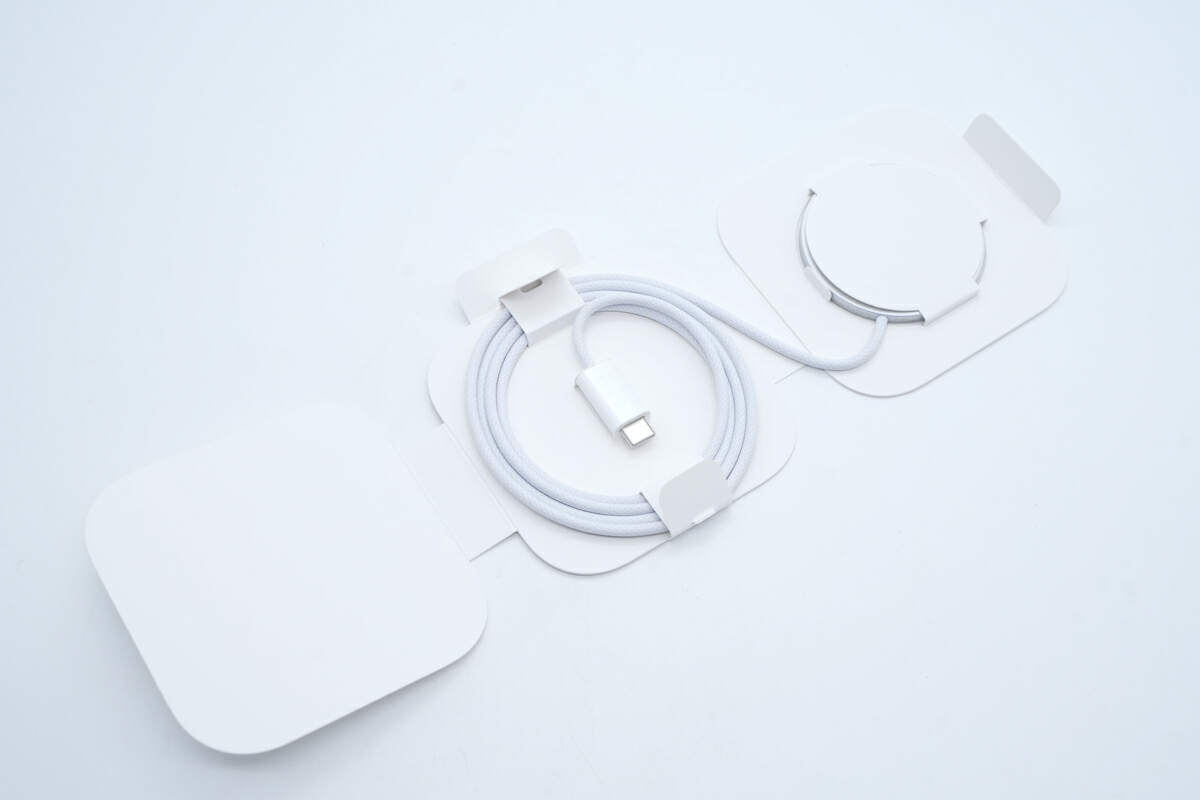
The MagSafe charger is secured with cardboard.
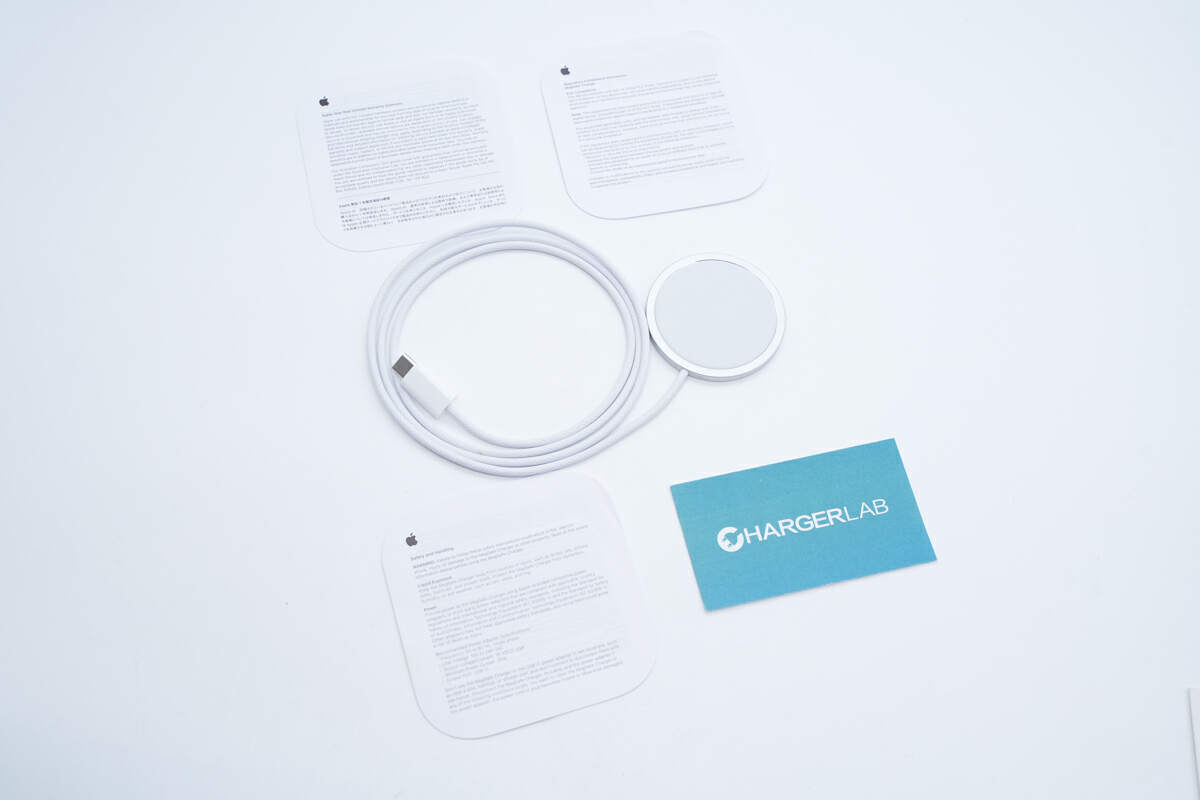
Here is the MagSafe charger and the documents.
The MagSafe charger adopts a woven cable.
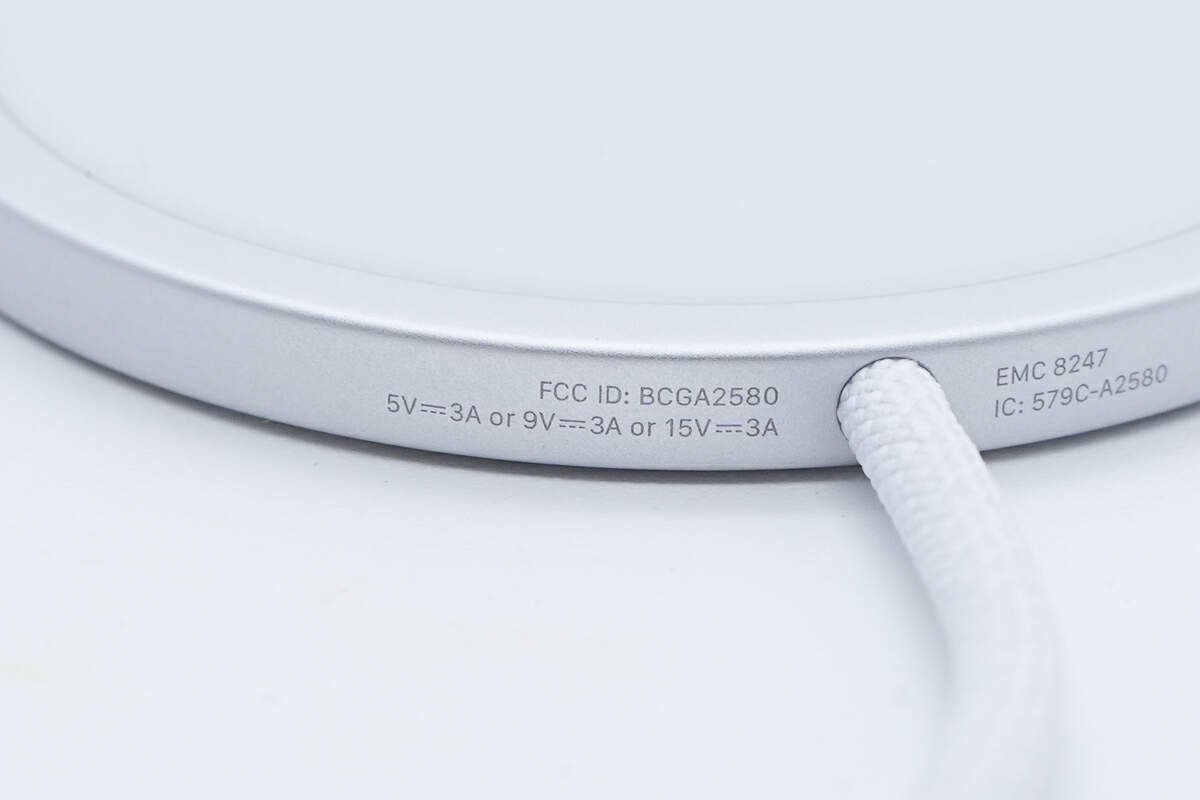
It supports input of 5V3A, 9V3A, and 15V3A.

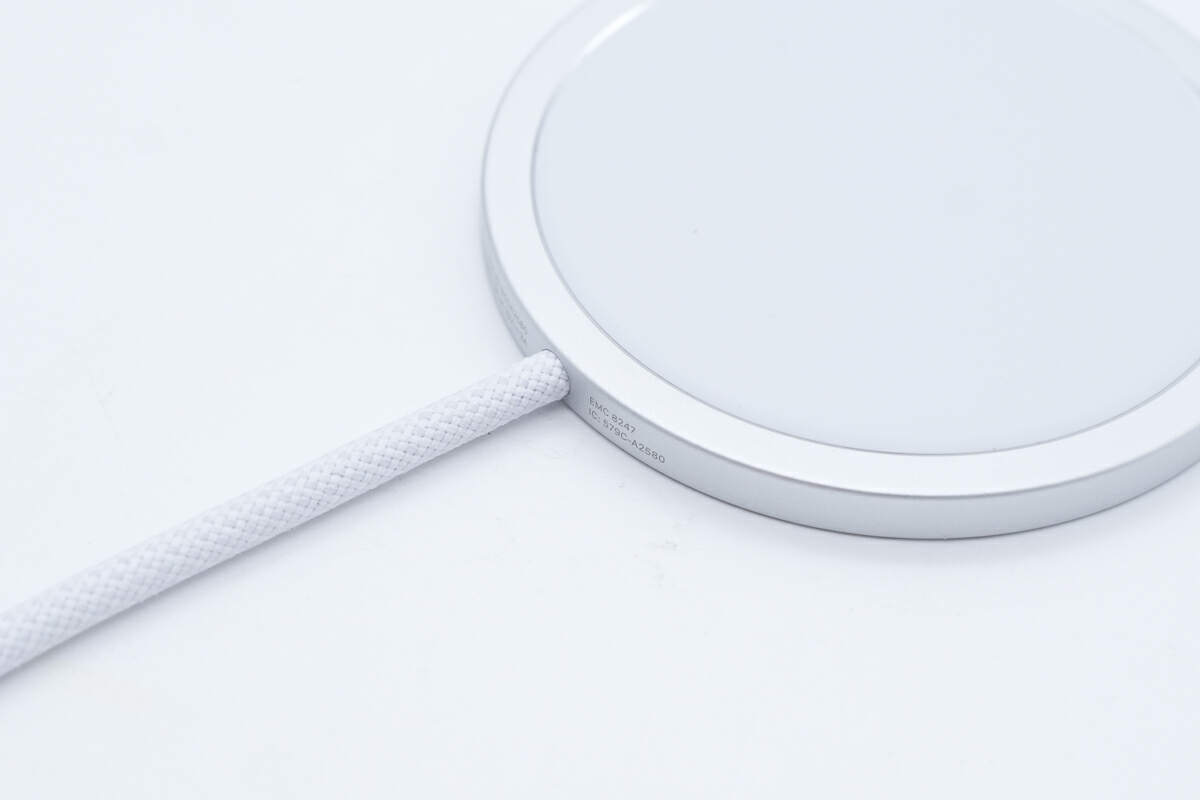
Here is the printing on the other side.
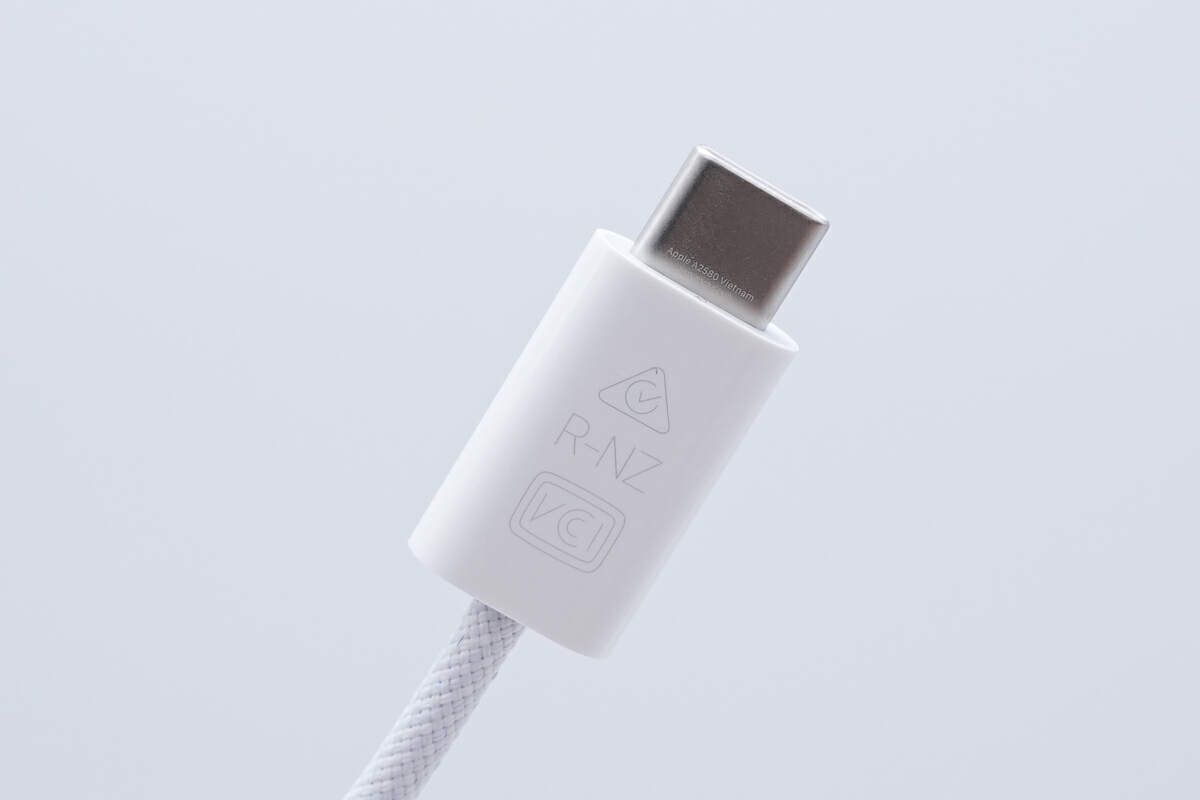
The New Zealand R-NZ and Japan VCCI certification logos are printed on the USB-C connector.
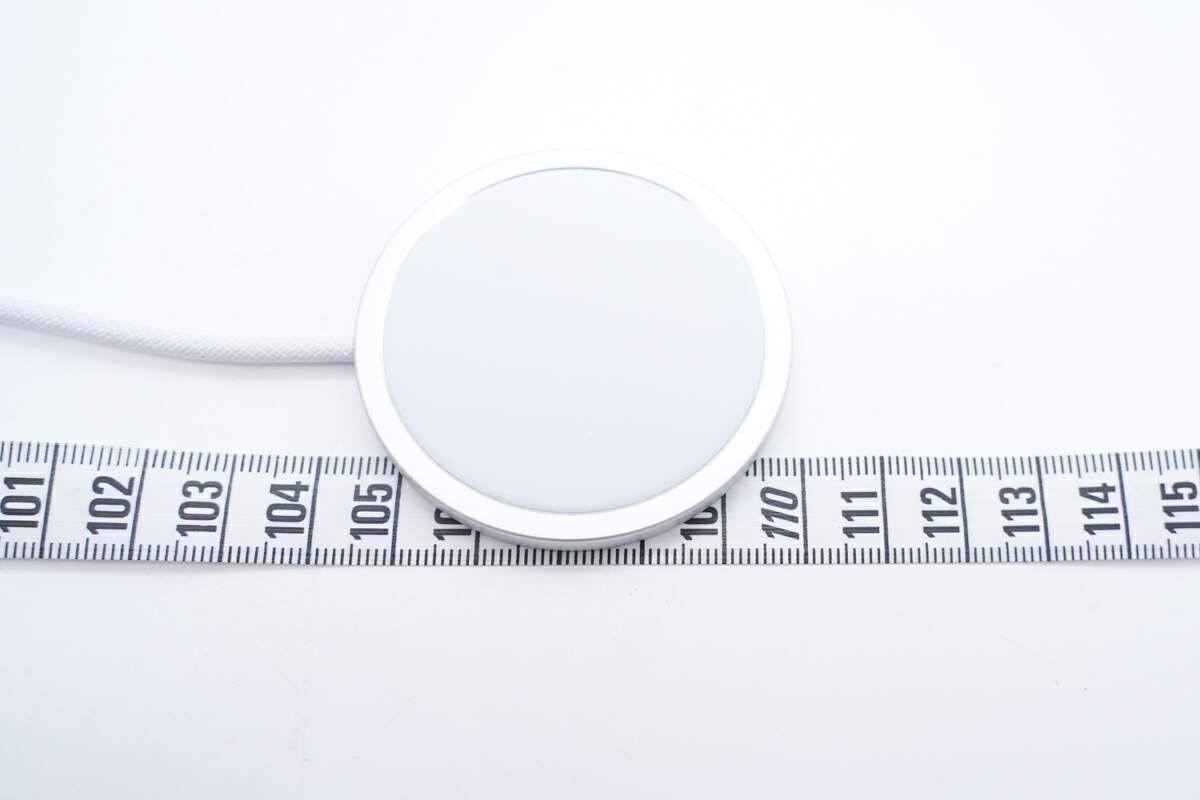
The total length of it is about 110 cm (43.31 inches).
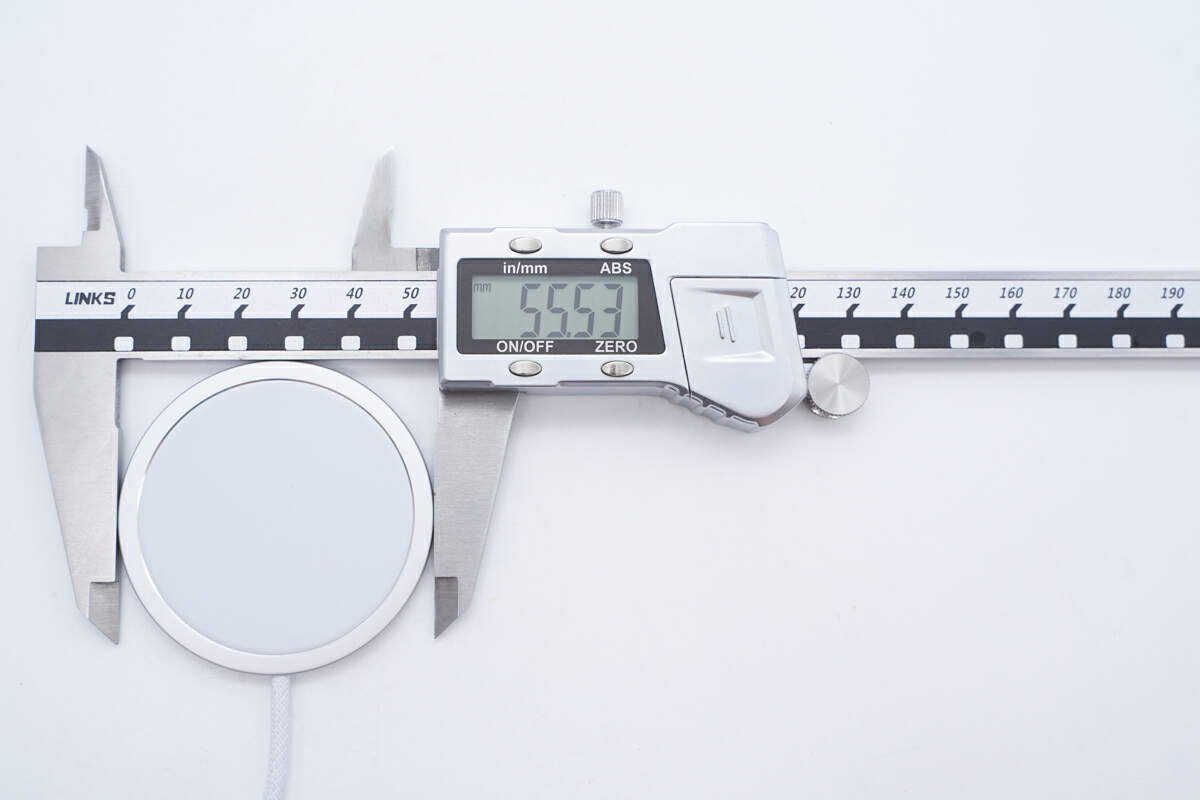
The diameter of the wireless charge panel is about 55.5 mm (2.19 inches).
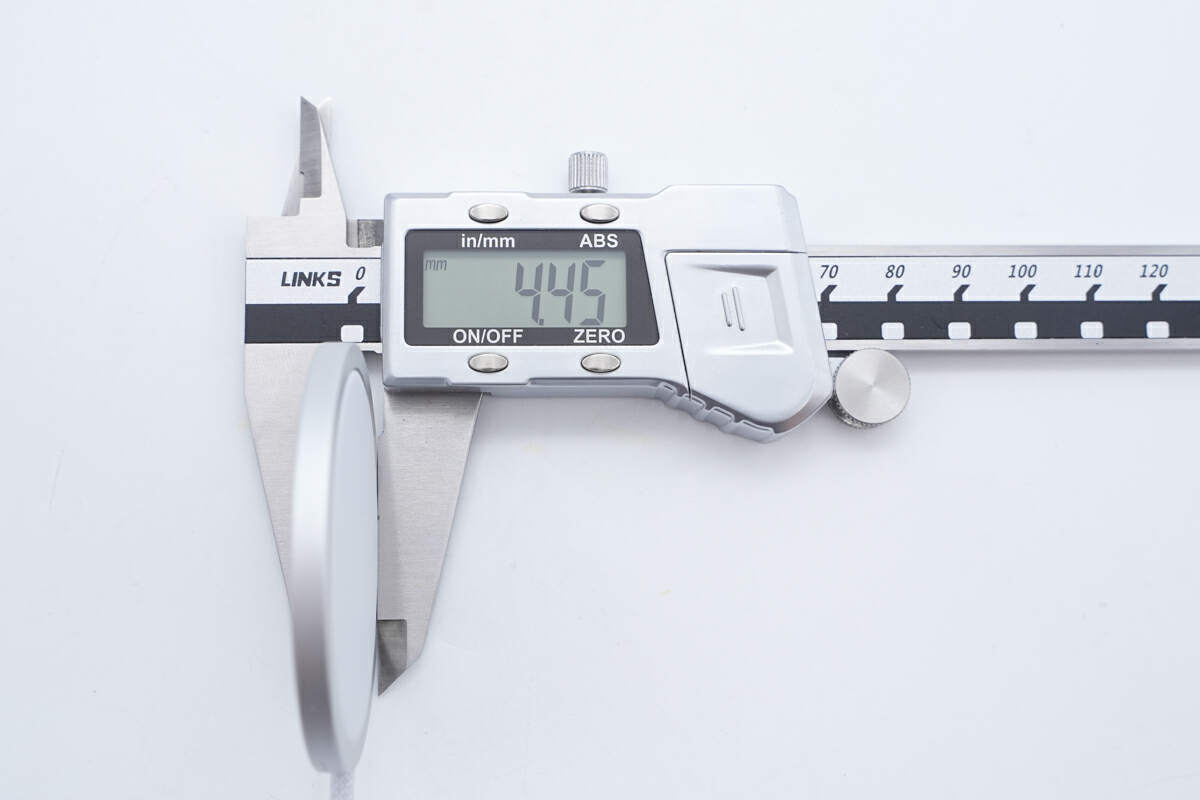
The thickness is about 4.45 mm (0.18 inches).
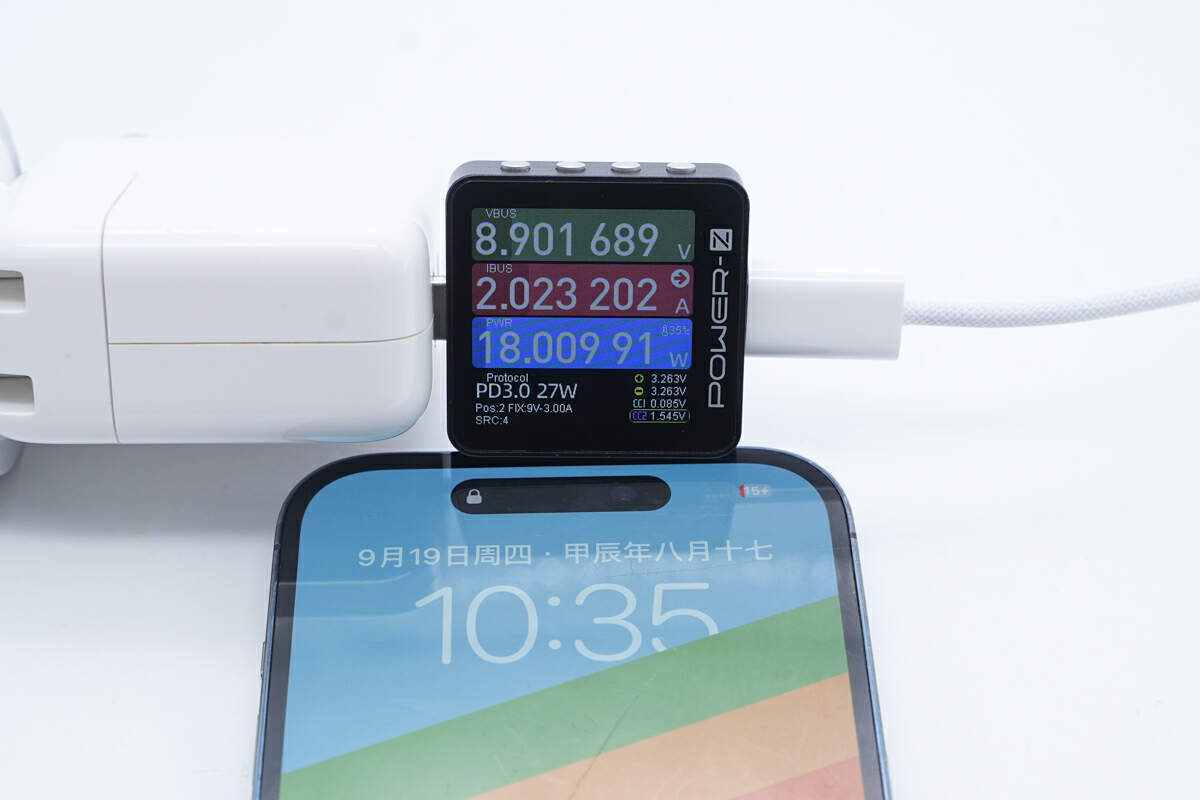
Using an Apple 30W charger and the new MagSafe Charger to charge the iPhone 14 Pro, the measured input power is approximately 18W.
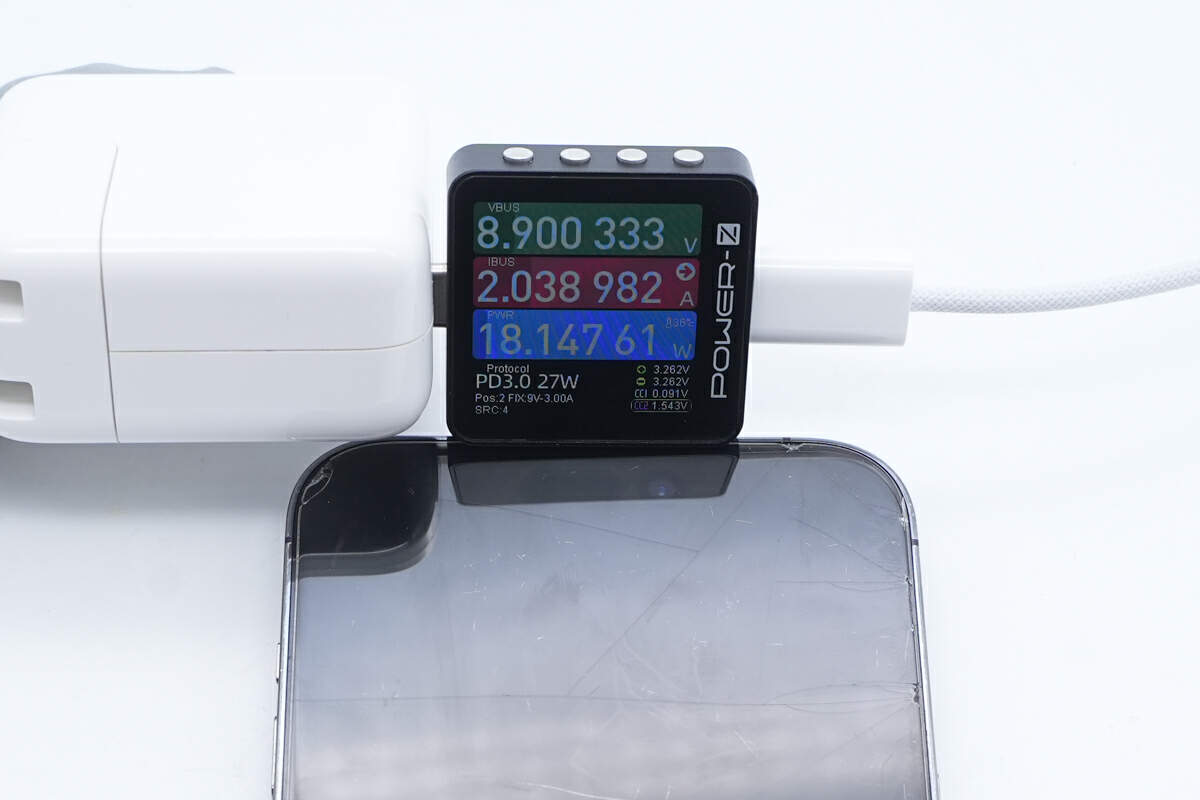
When charging the iPhone 14 Pro Max, the input power is approximately 18.15W.
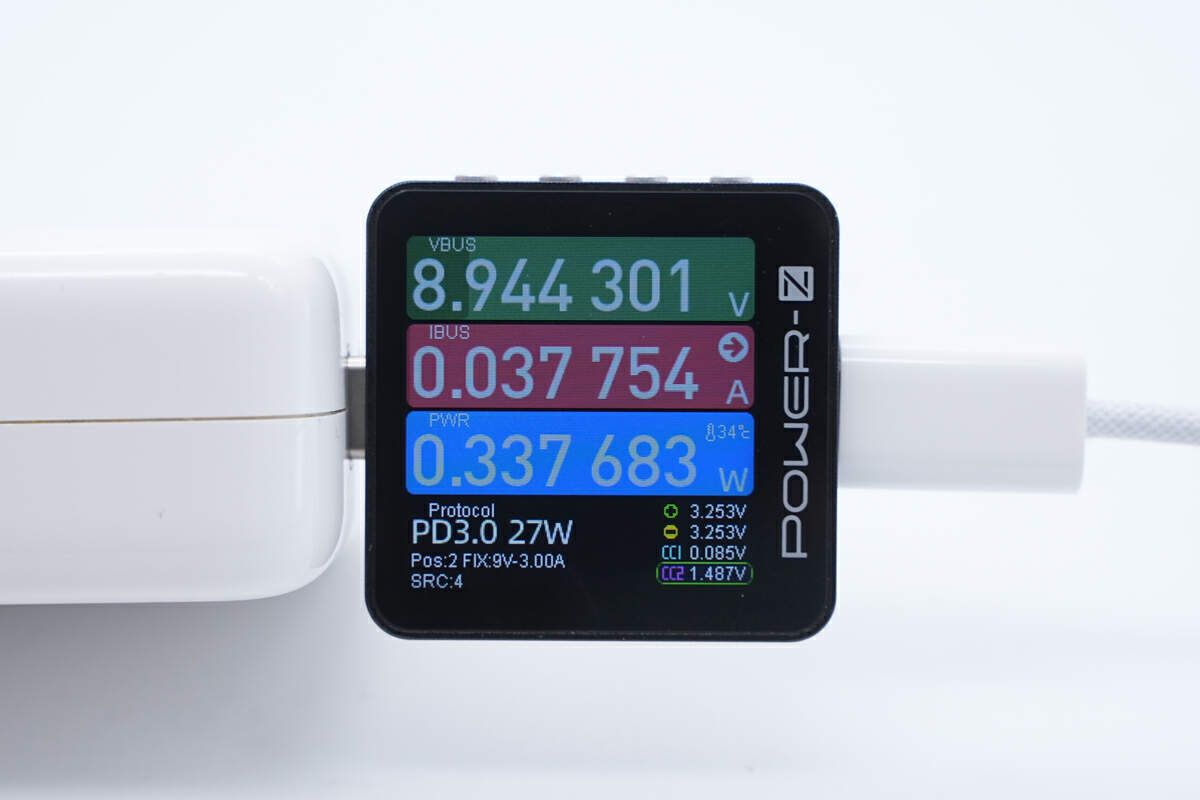
The standby power is about 0.34W.
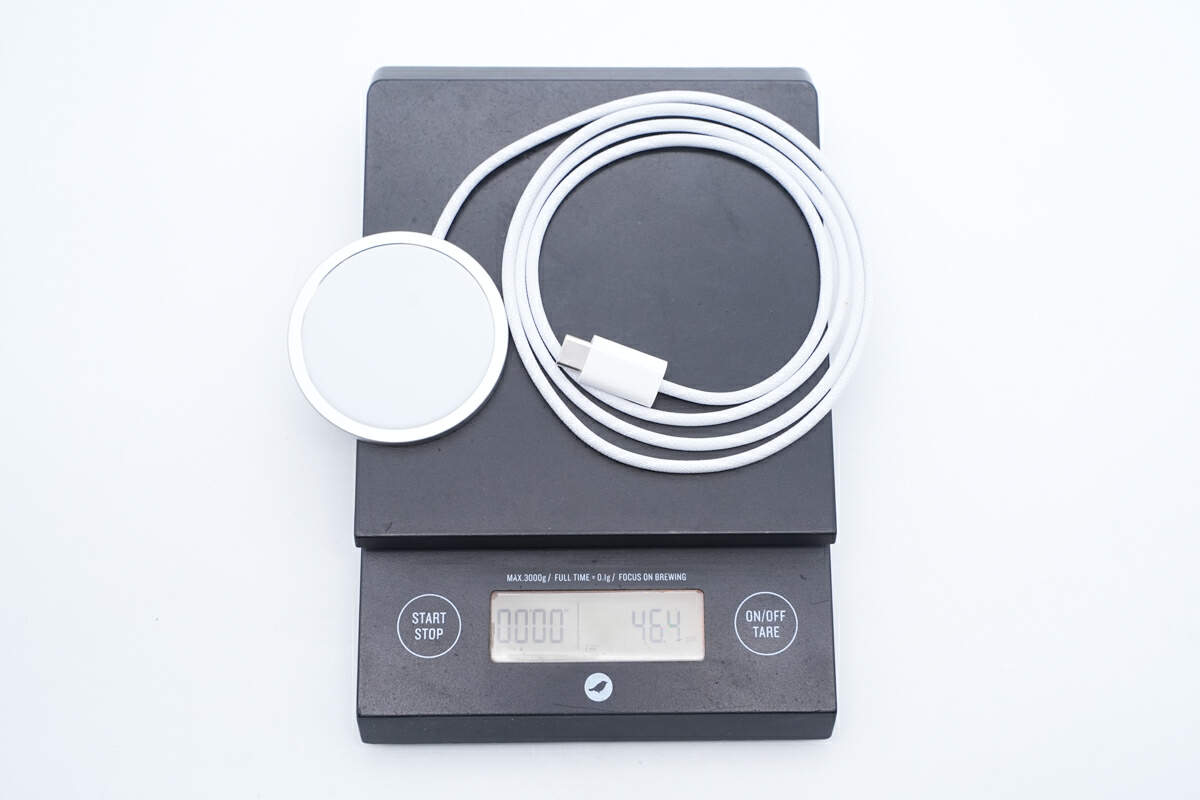
The weight is about 46.4 g (1.64 oz).
Teardown
Next, let's start to take it apart and take a look at the internal components.
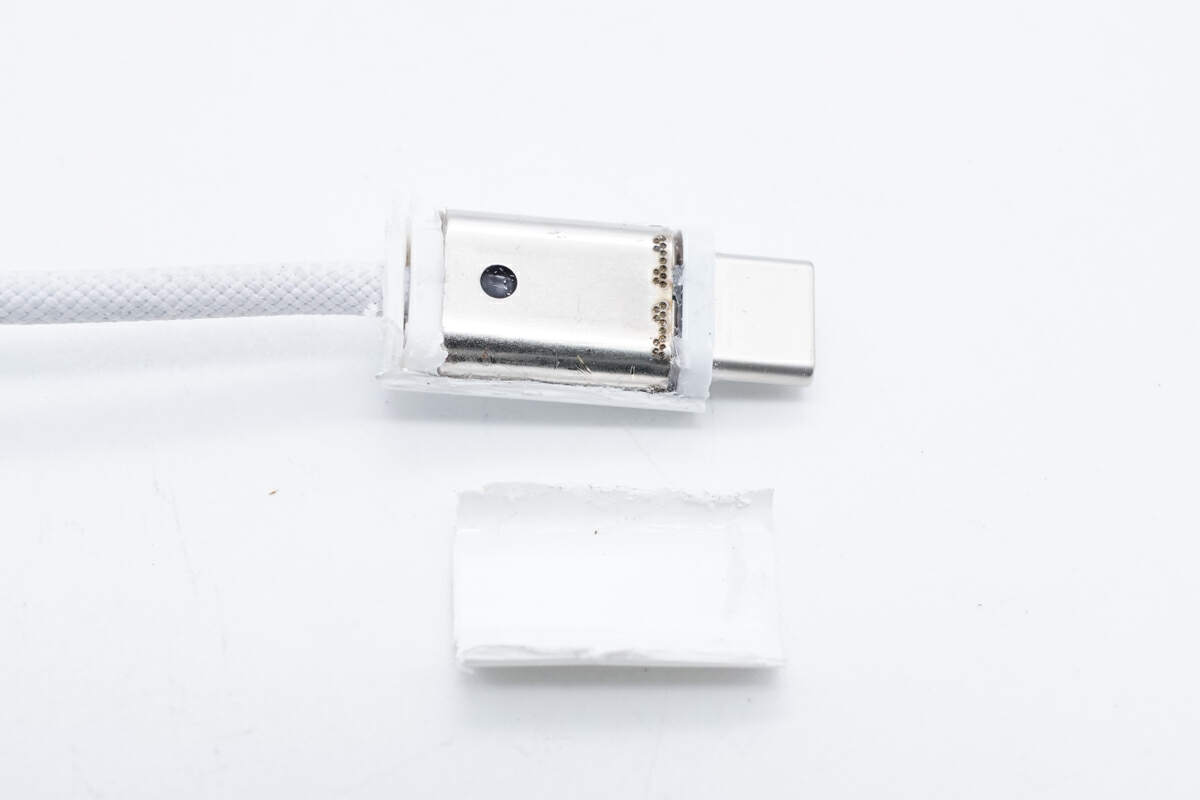
First, use a cutting machine to open the plastic case of the USB-C connector.
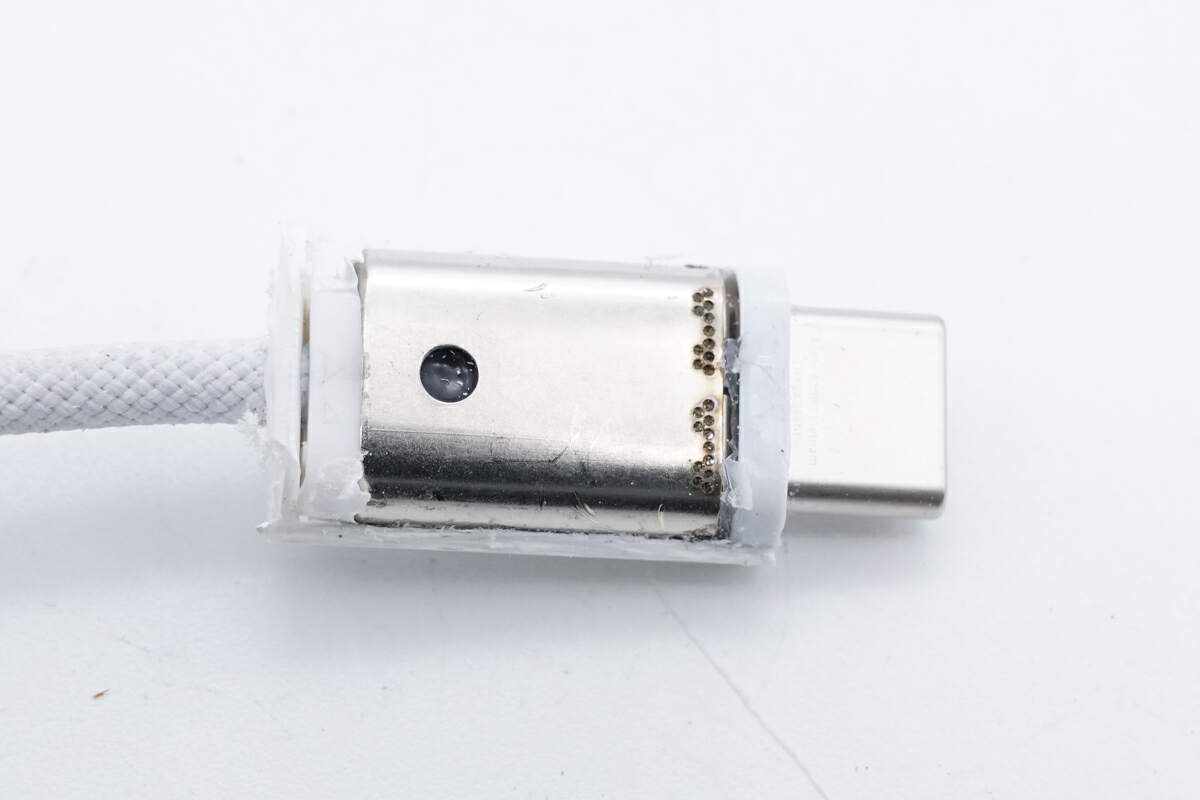
The interior is a stainless steel shell fixed by spot welding.
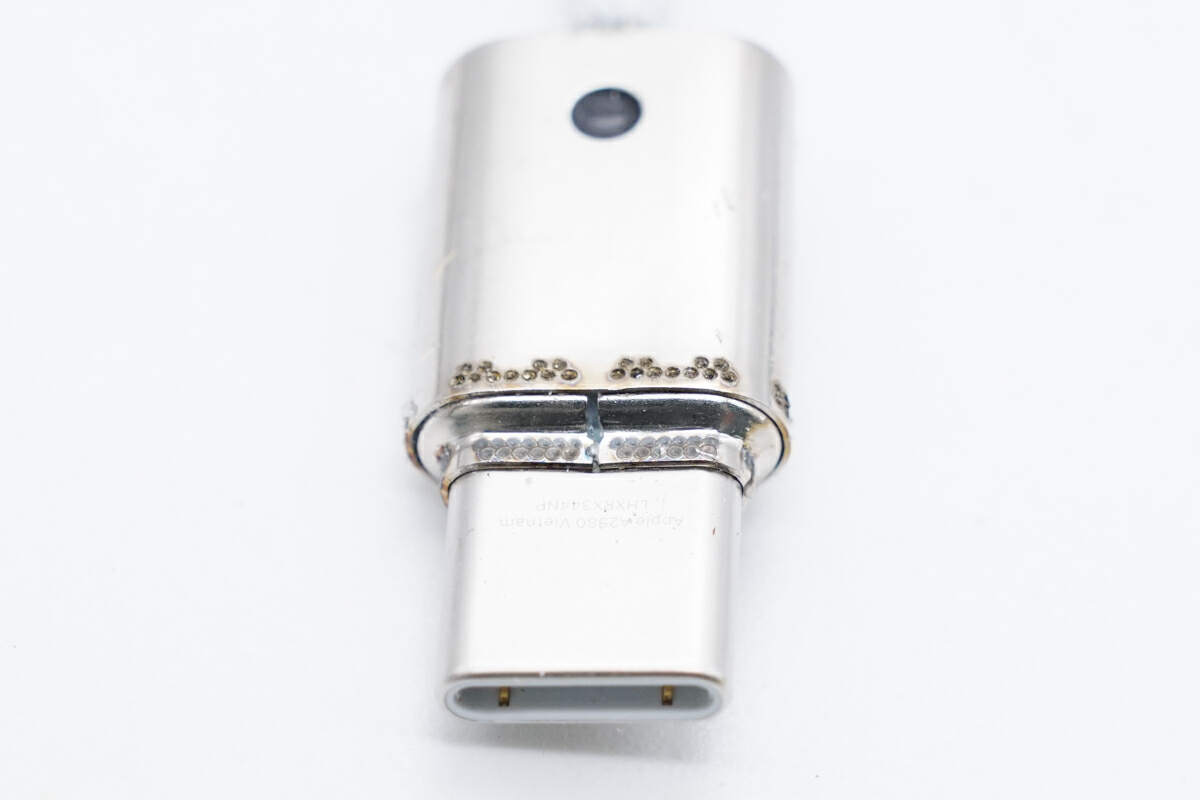
The stainless steel shell and the USB-C plug are fixed by spot-welding metal sheets.
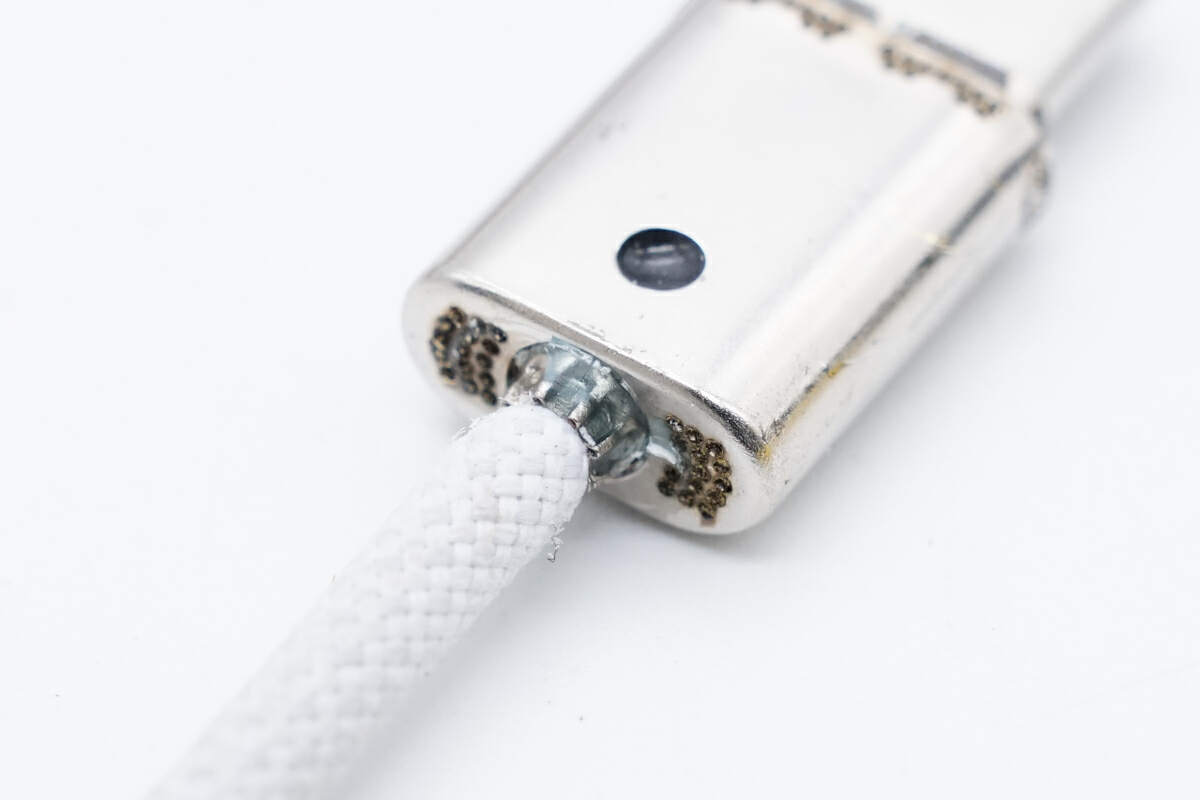
There are also solder joints at the tail.
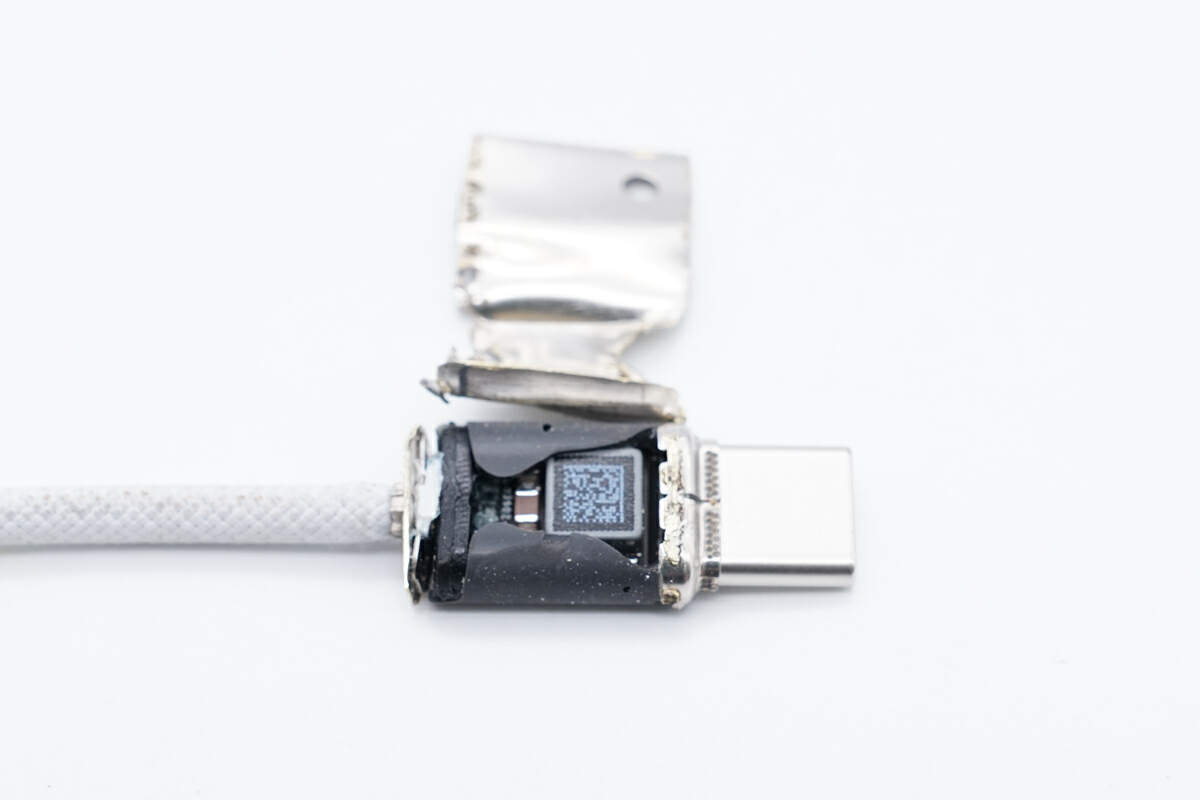
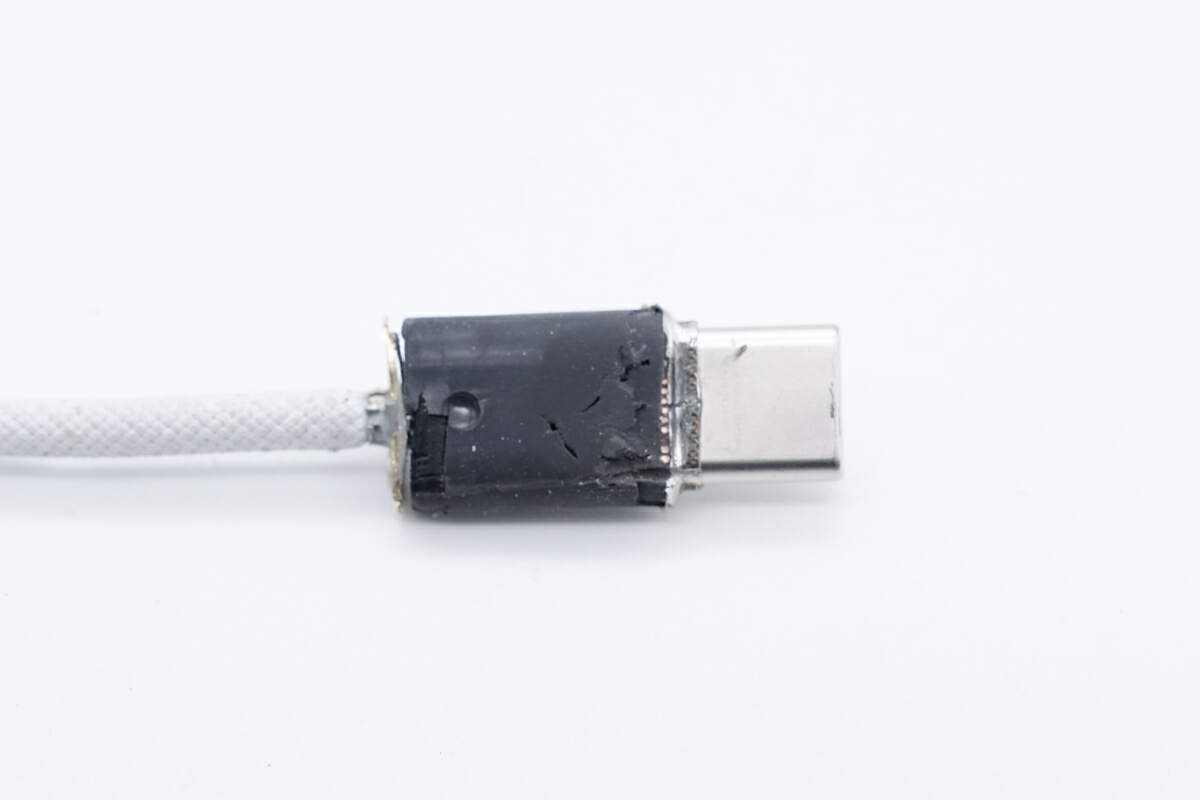
Open the stainless steel shell, there is a PCBA module inside, and it is filled with black potting compound.
The other side is filled with potting compound.
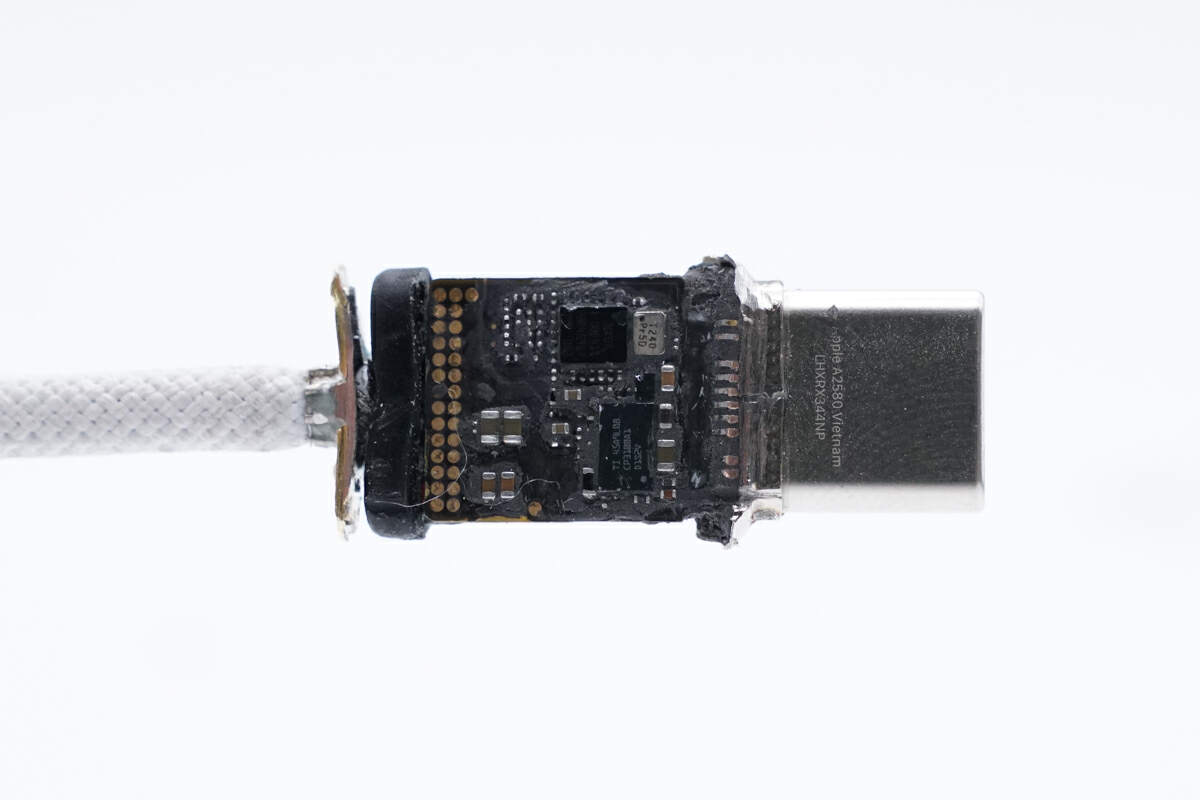
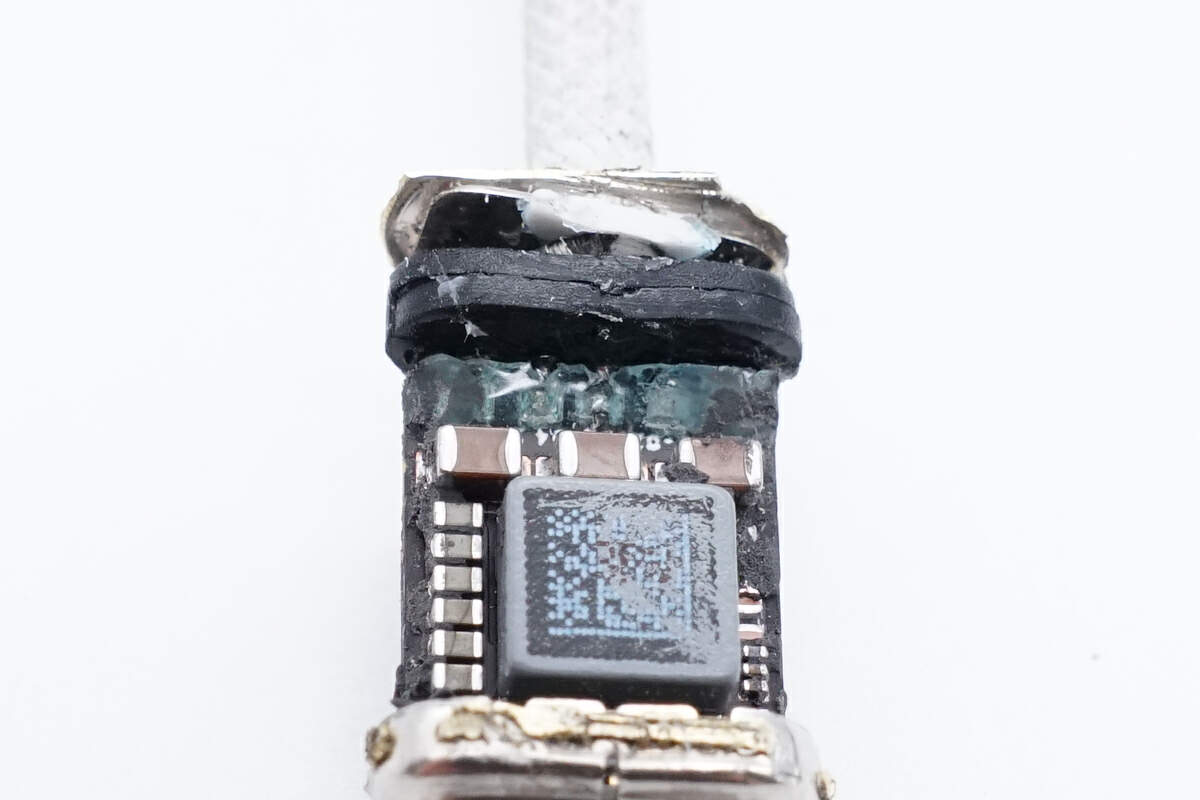
Clean the potting compound, and there are two chips on the PCBA.
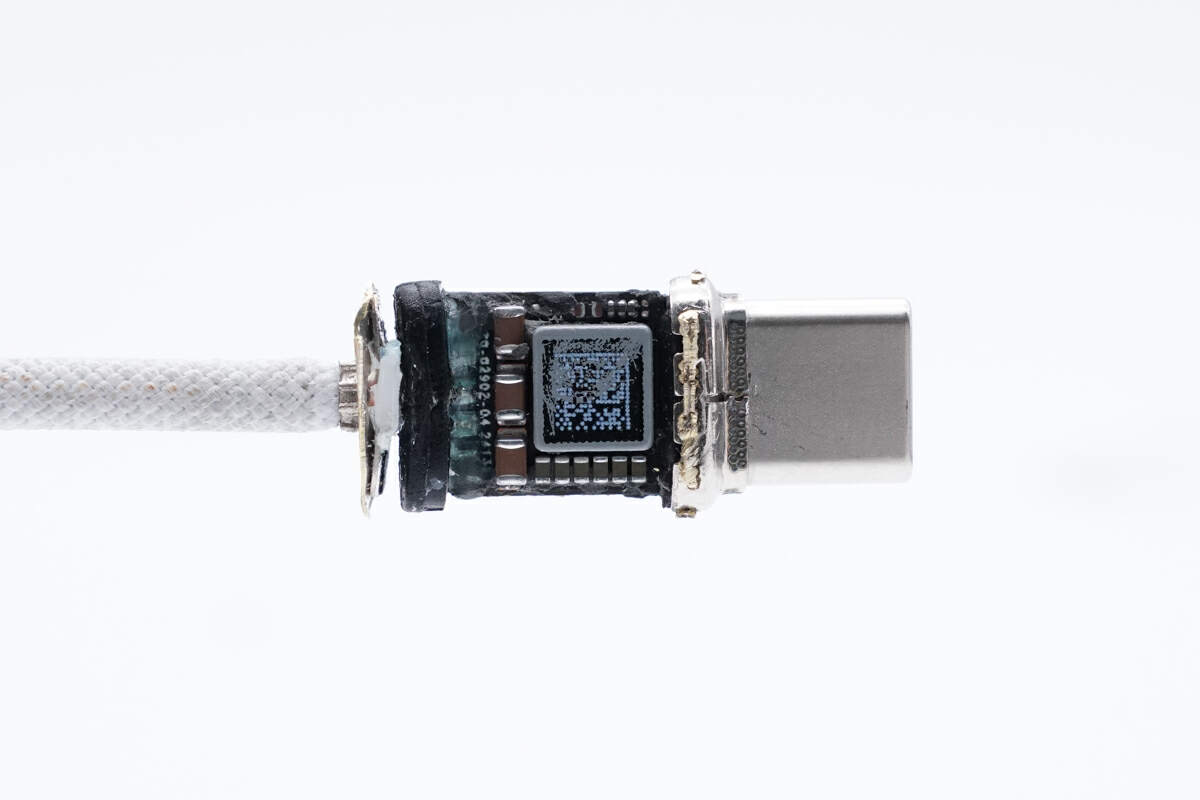
The other side has an alloy inductor and filter capacitor.
There are solder joints at the tail end of the PCB for connecting wires, and the solder joints are reinforced with glue.
Clean off the glue, and the solder joints will leak out.
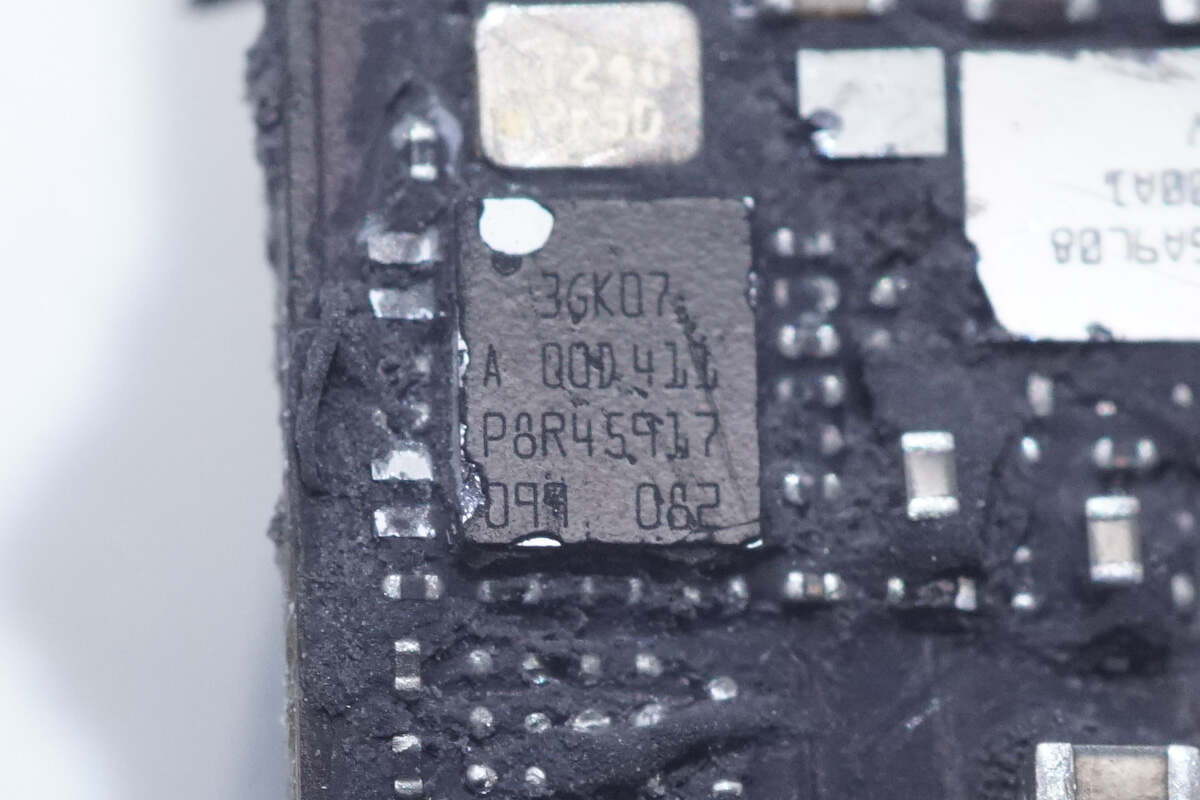
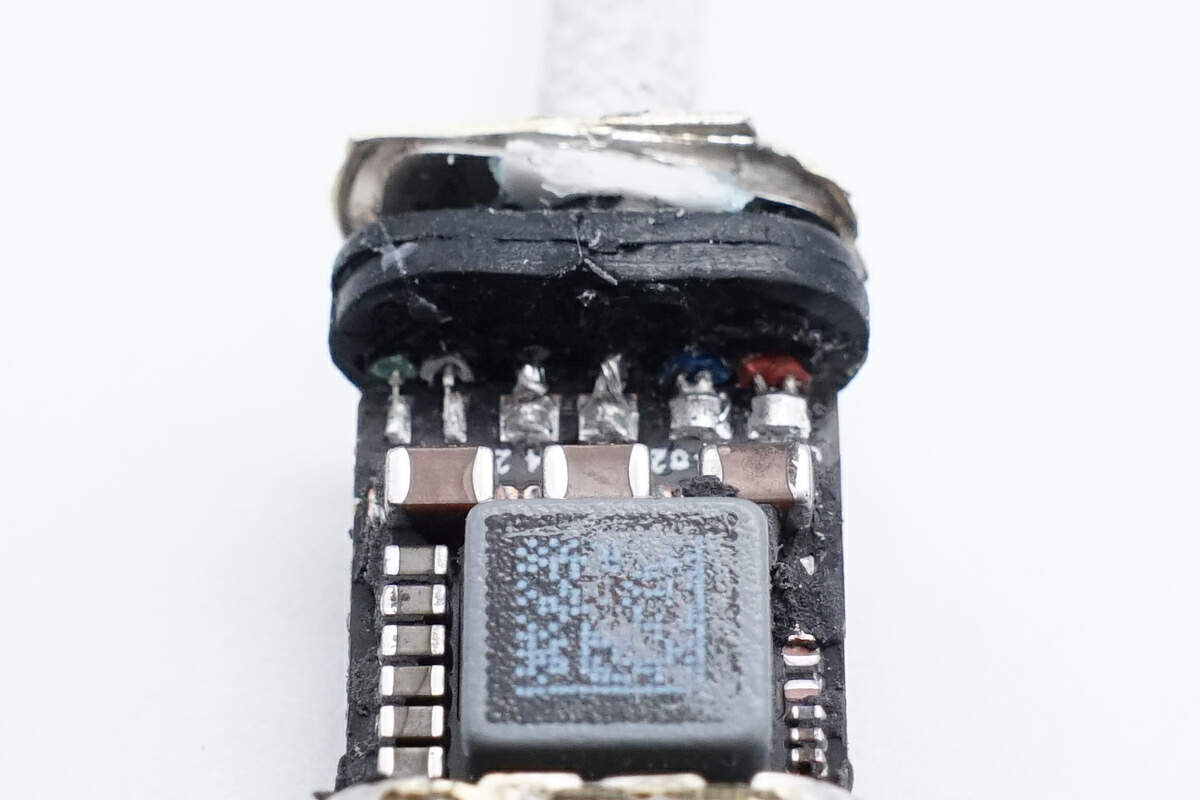
The chip used for USB-C control is marked with 3GK07 A QOD411 P8R45917 099 082.
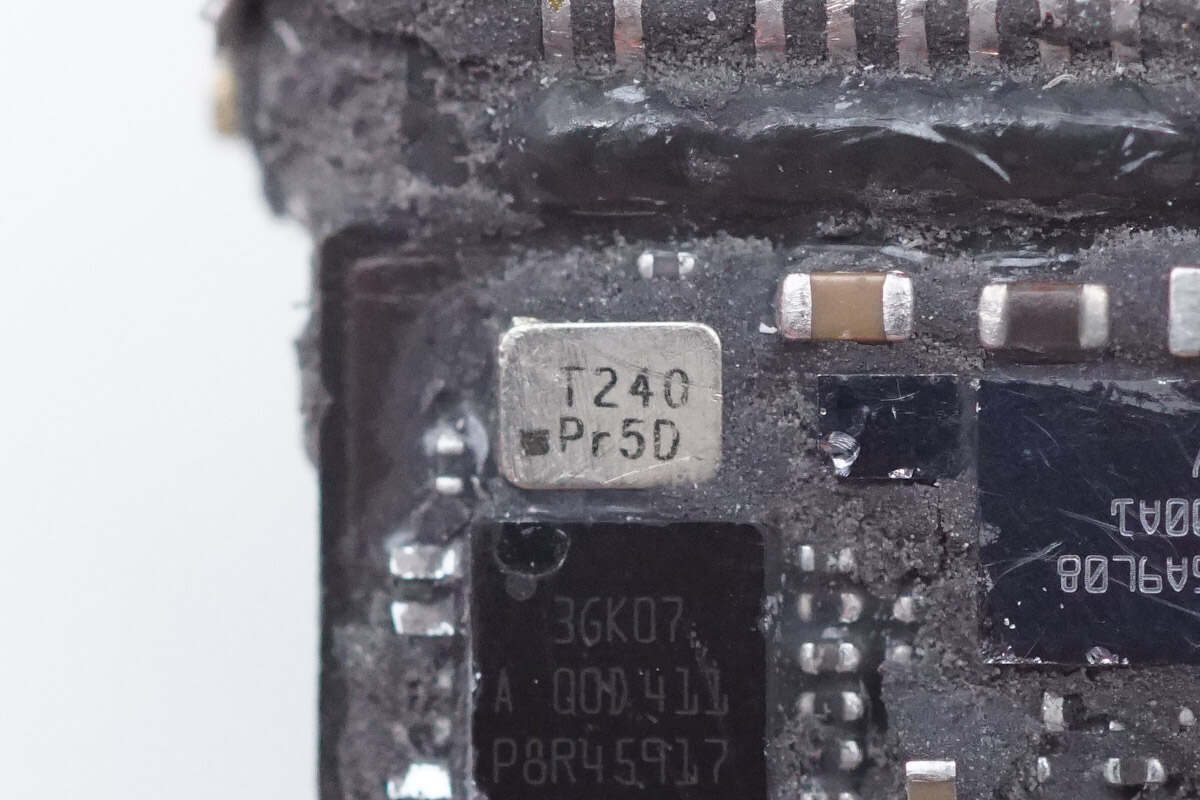
This is the crystal oscillator used with it.
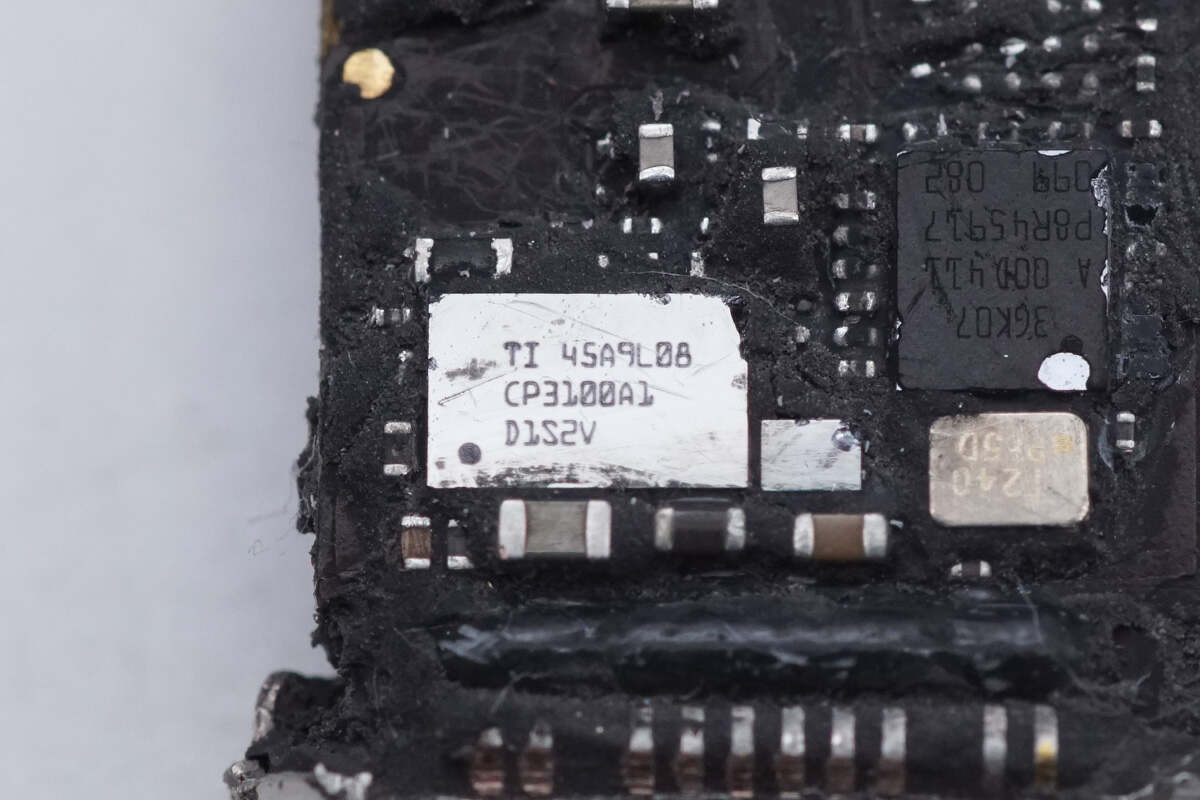
Another chip is from TI and marked with 45A9L08 CP3100A1 D1S2V.
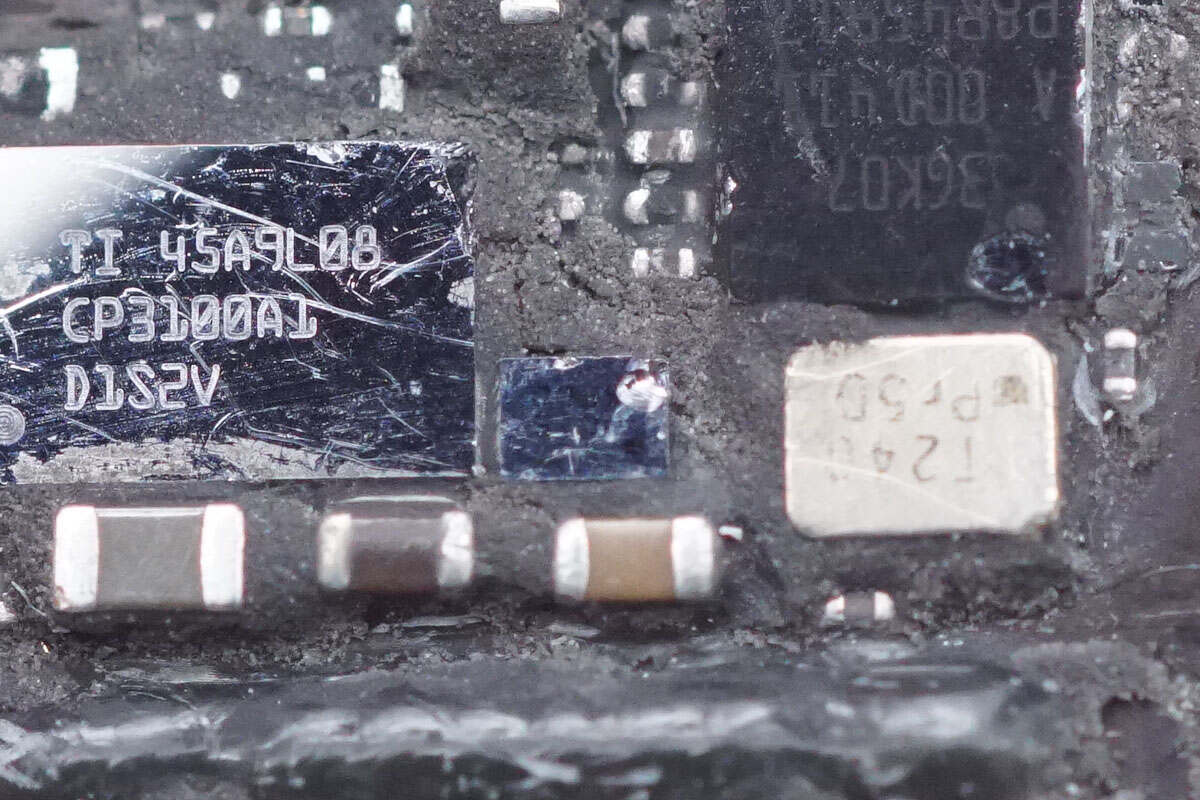
There is a small chip between the two chips.
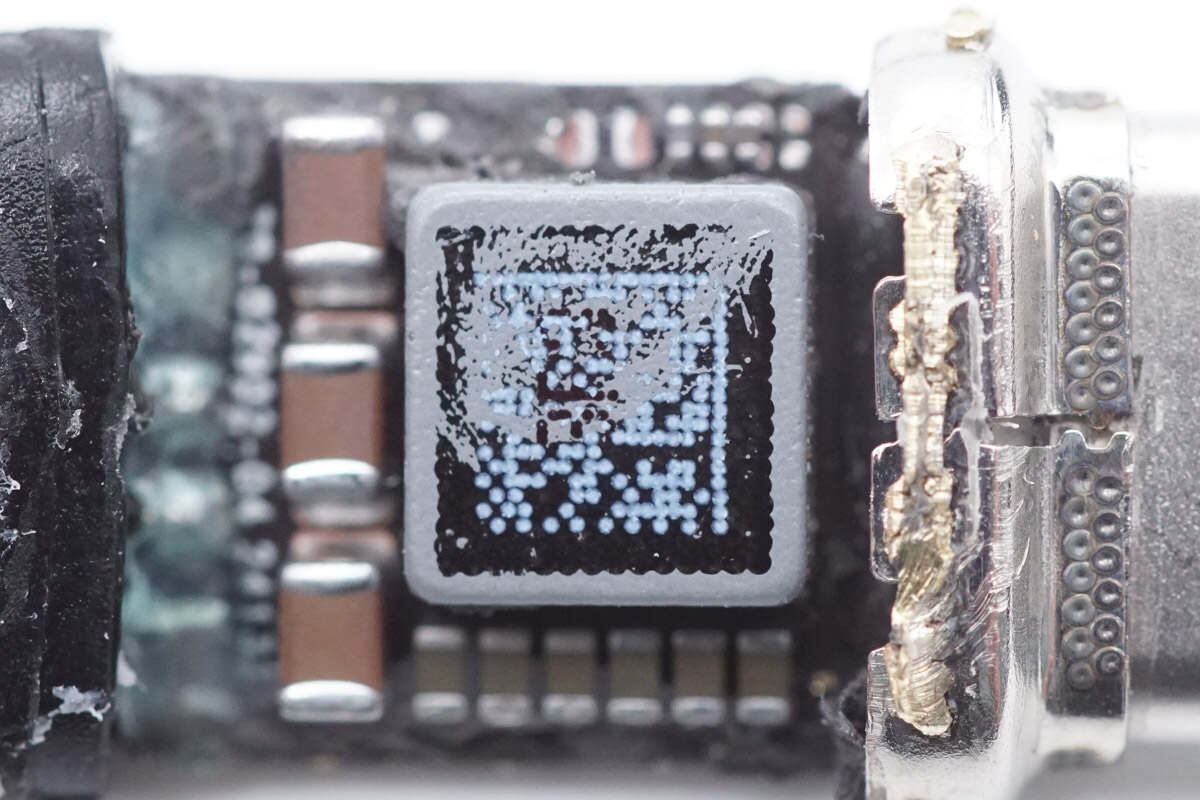
The alloy inductor is sprayed with paint and a QR code.
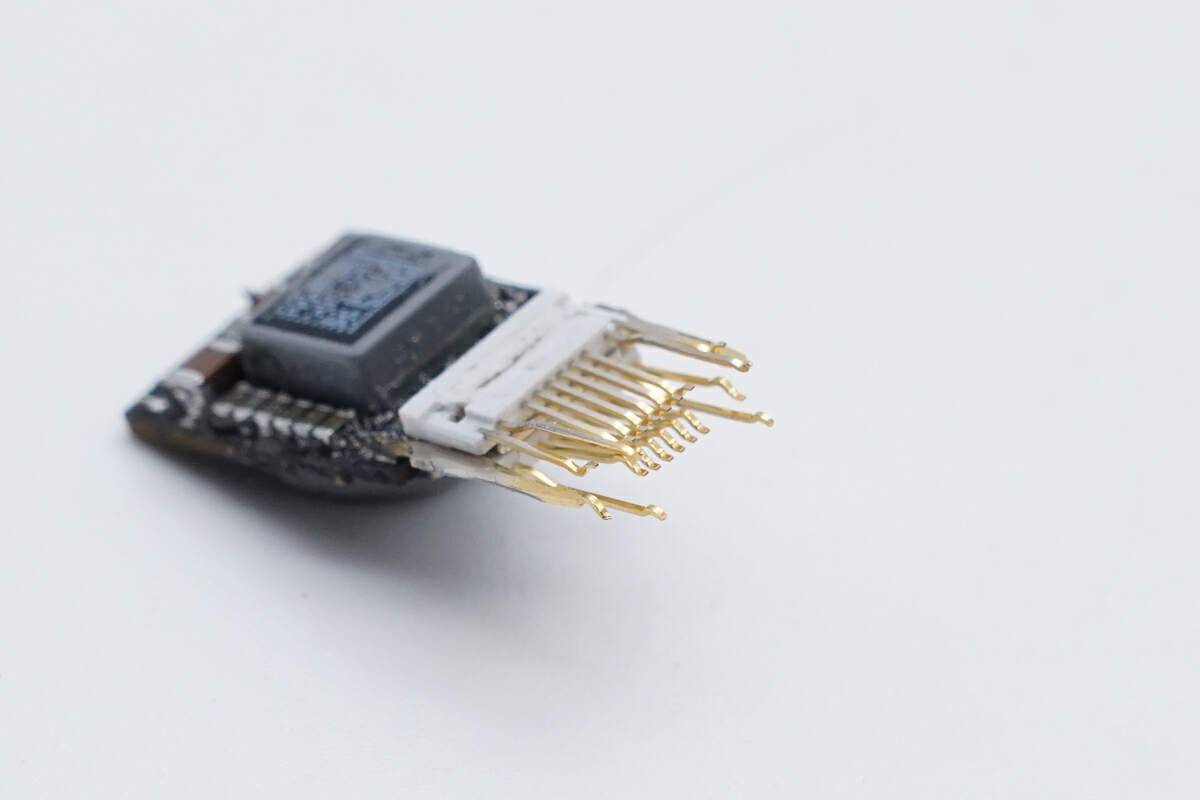
Remove the metal shell and plastic frame of the USB-C plug, and you can see the gold-plated pins inside.
Next, disassemble the wireless charging panel and pry off the cover from the edge.
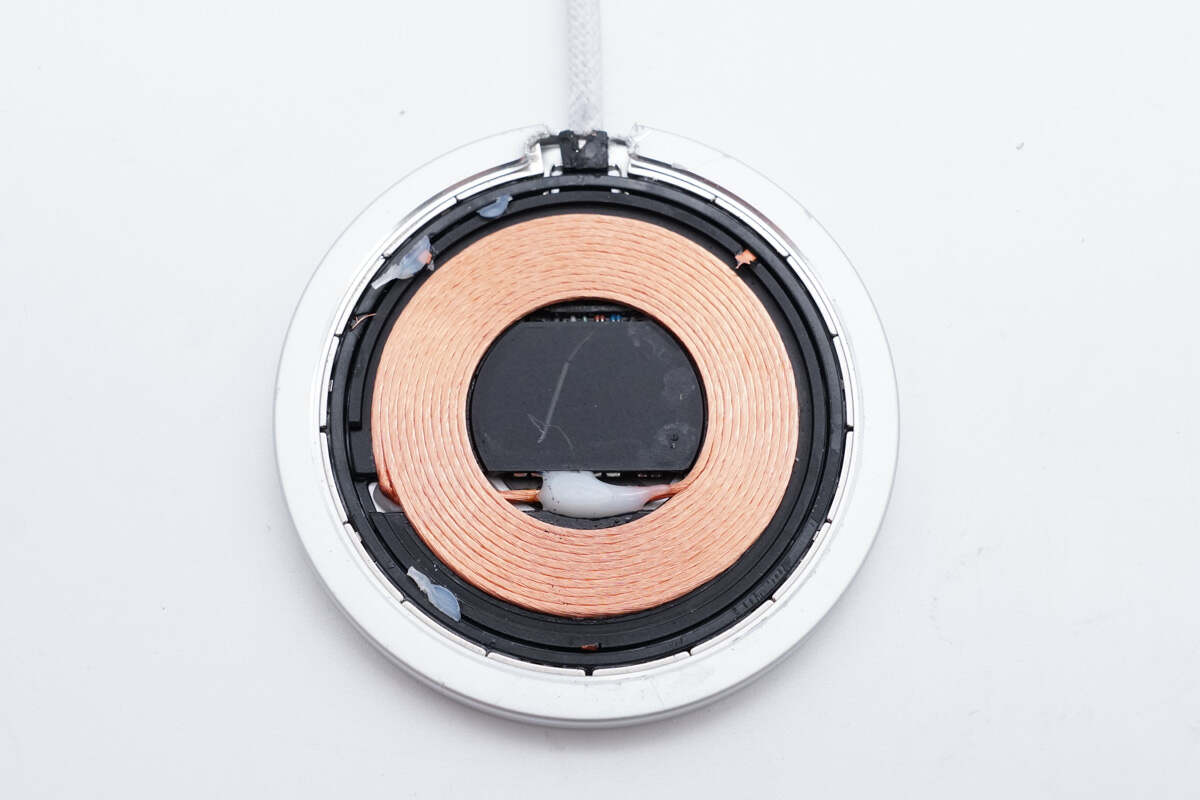
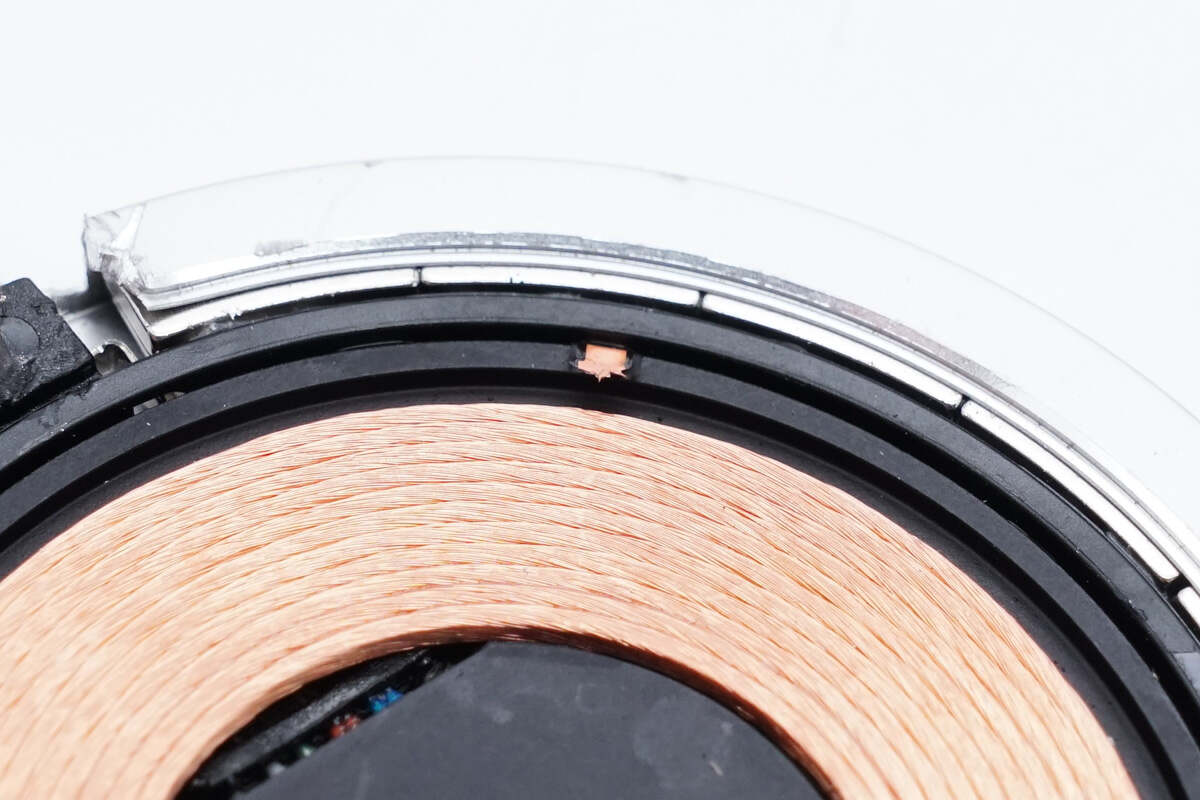
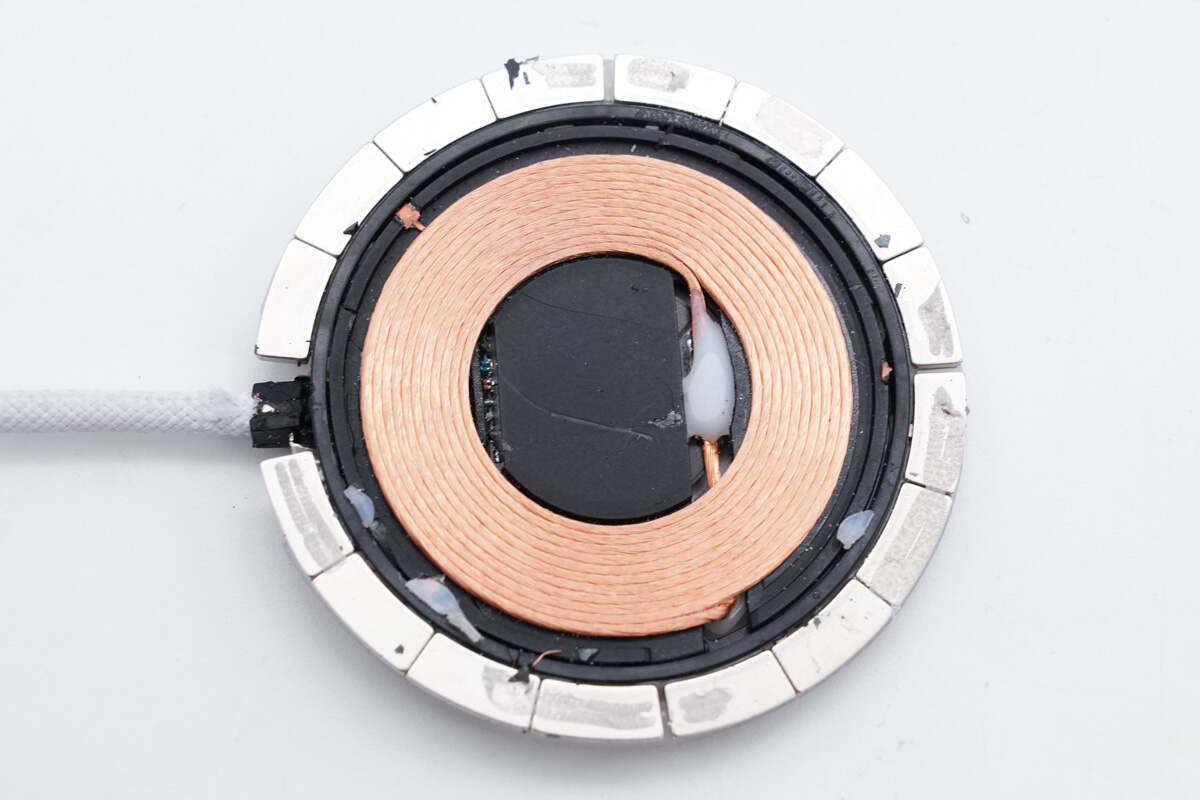
There is a wireless charging coil inside and magnets on the edge for attaching the phone.

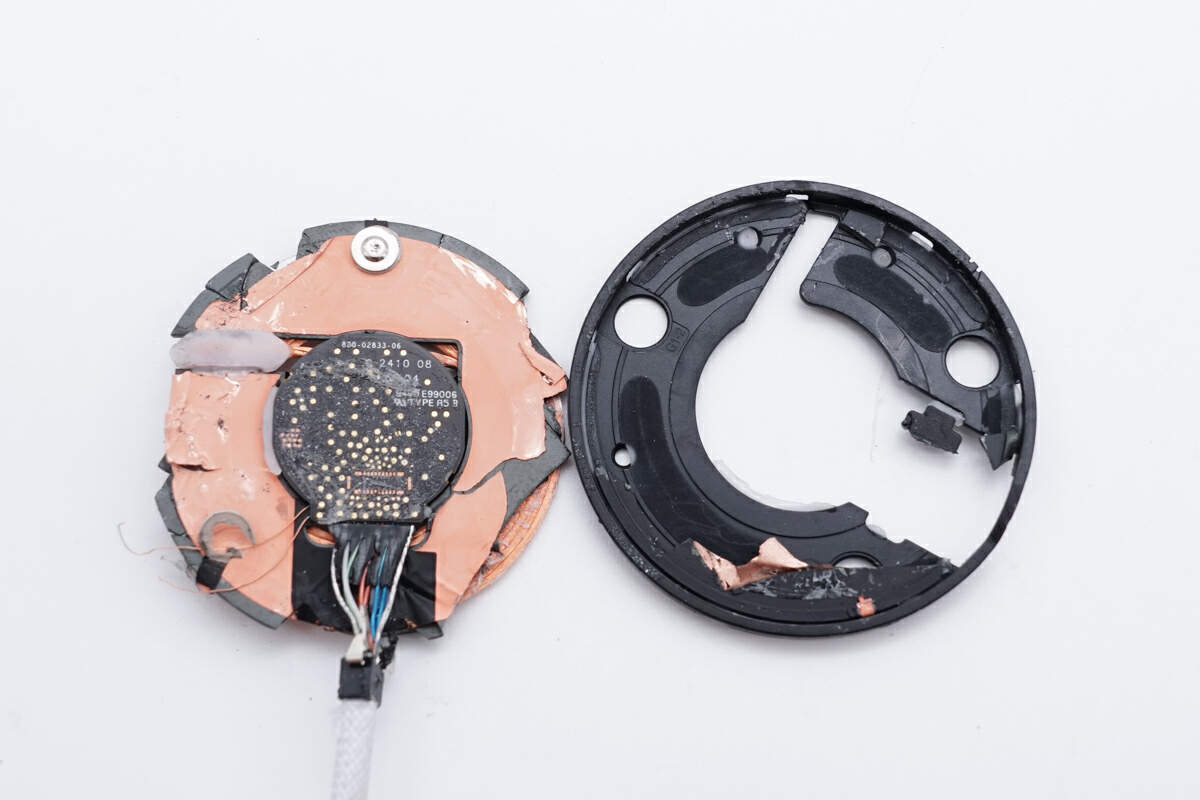
There is copper foil inside the cover for shielding, and a coil for communication is provided on the edge.
The copper foil is connected to the inside of the wireless charging panel.
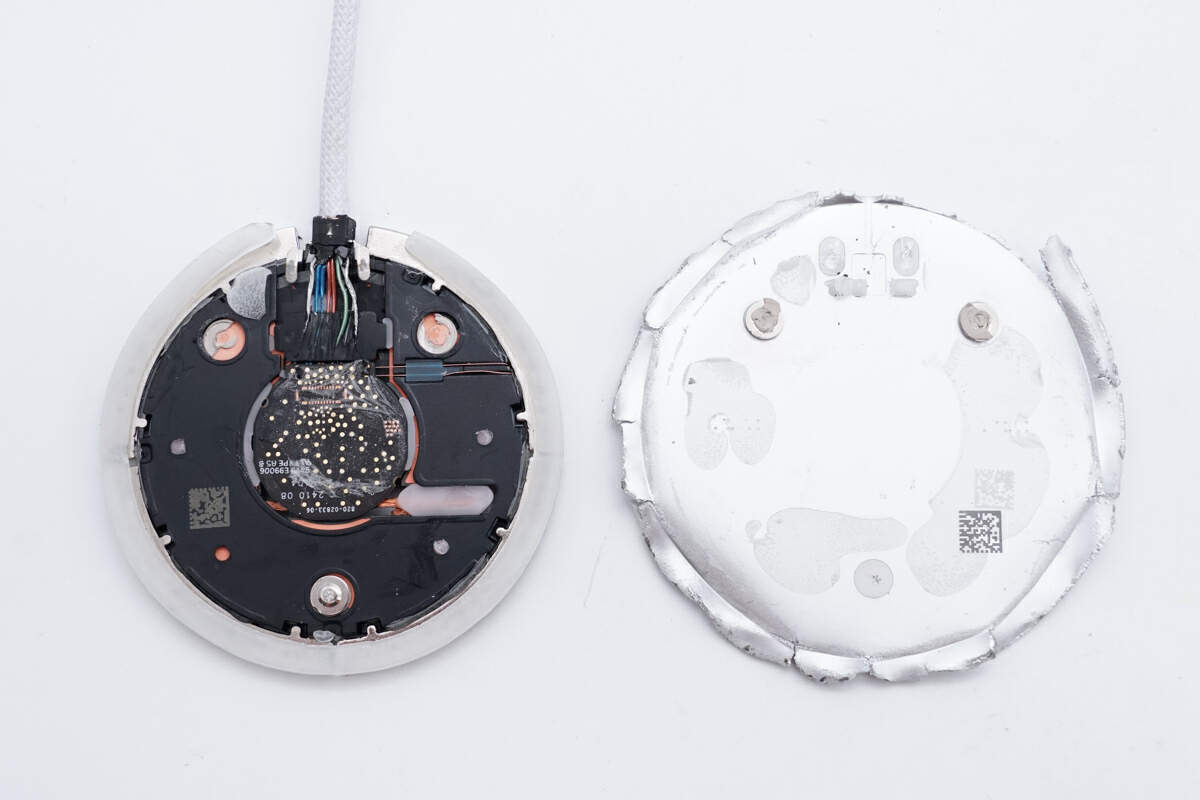
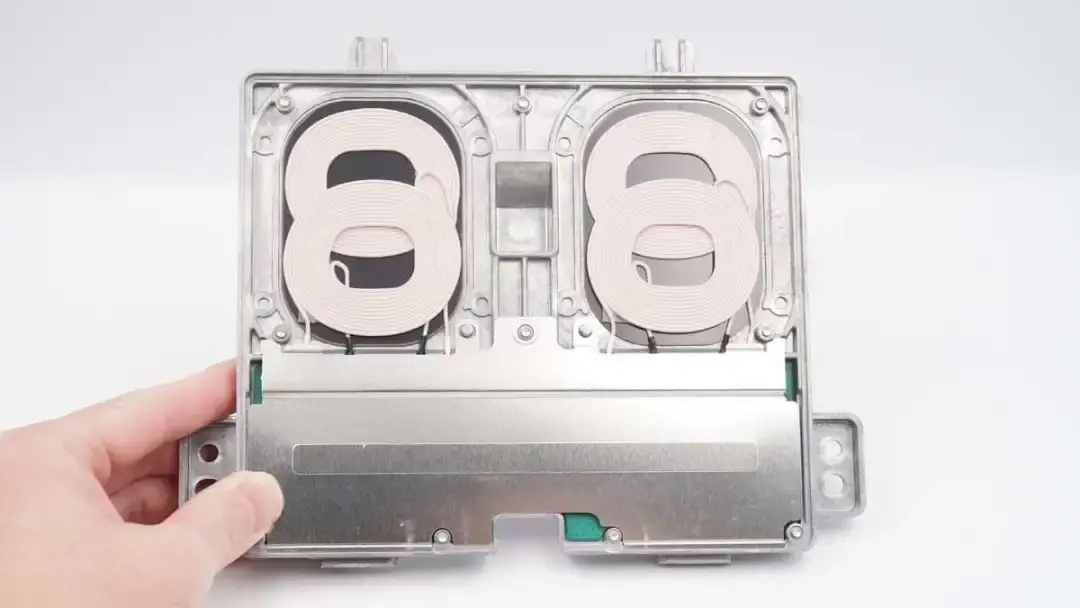
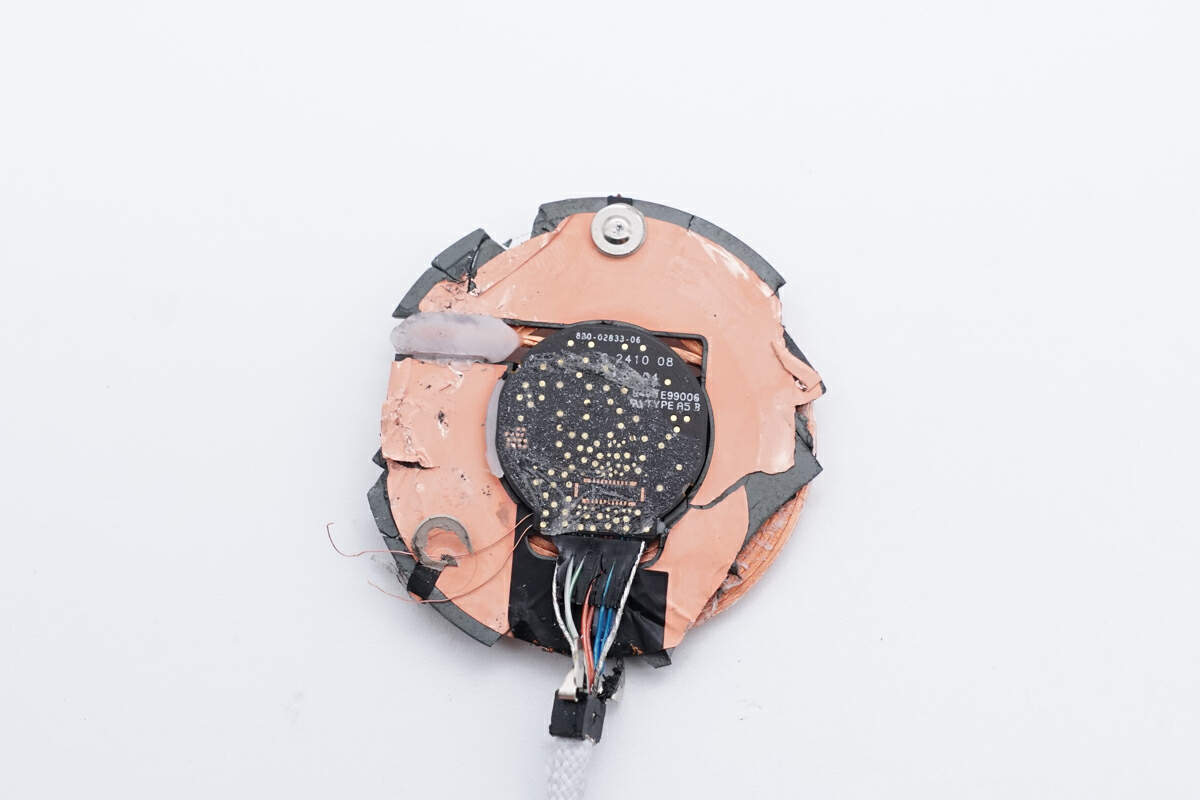
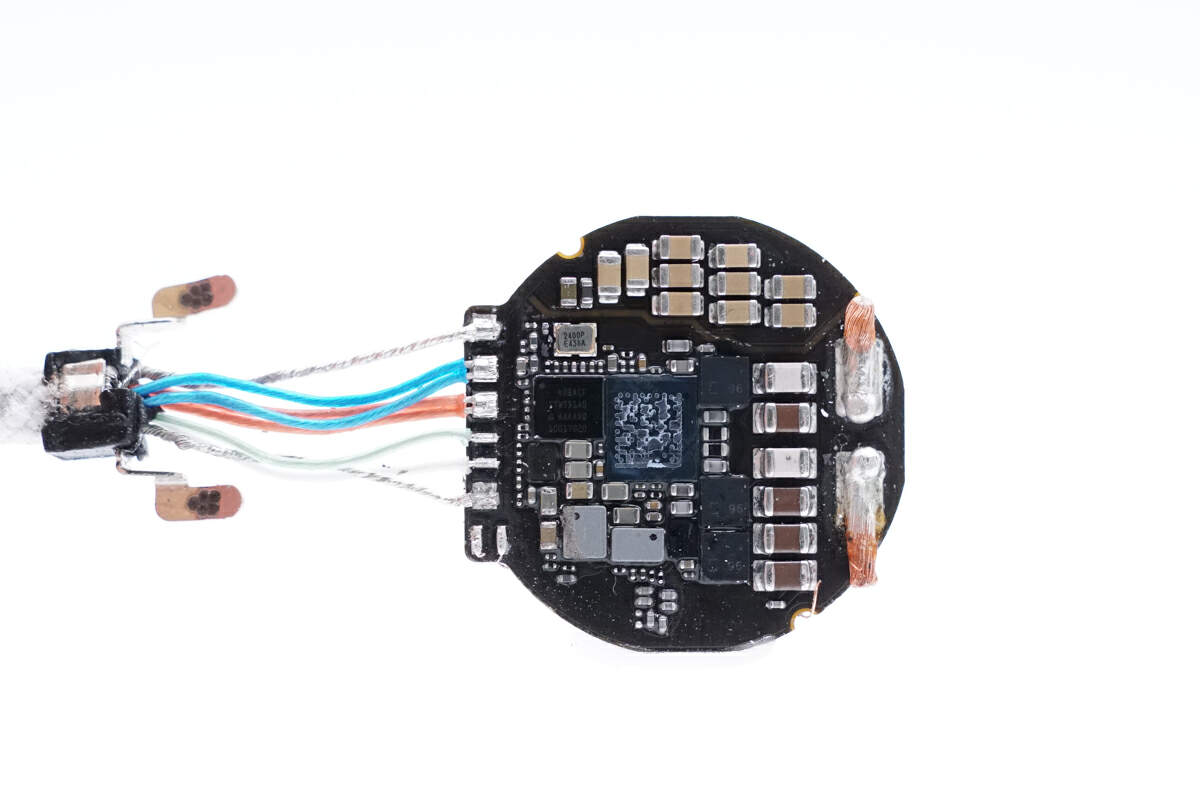
Remove the aluminum shell that wraps the magnets and take out the internal wireless charging coil and PCBA module.
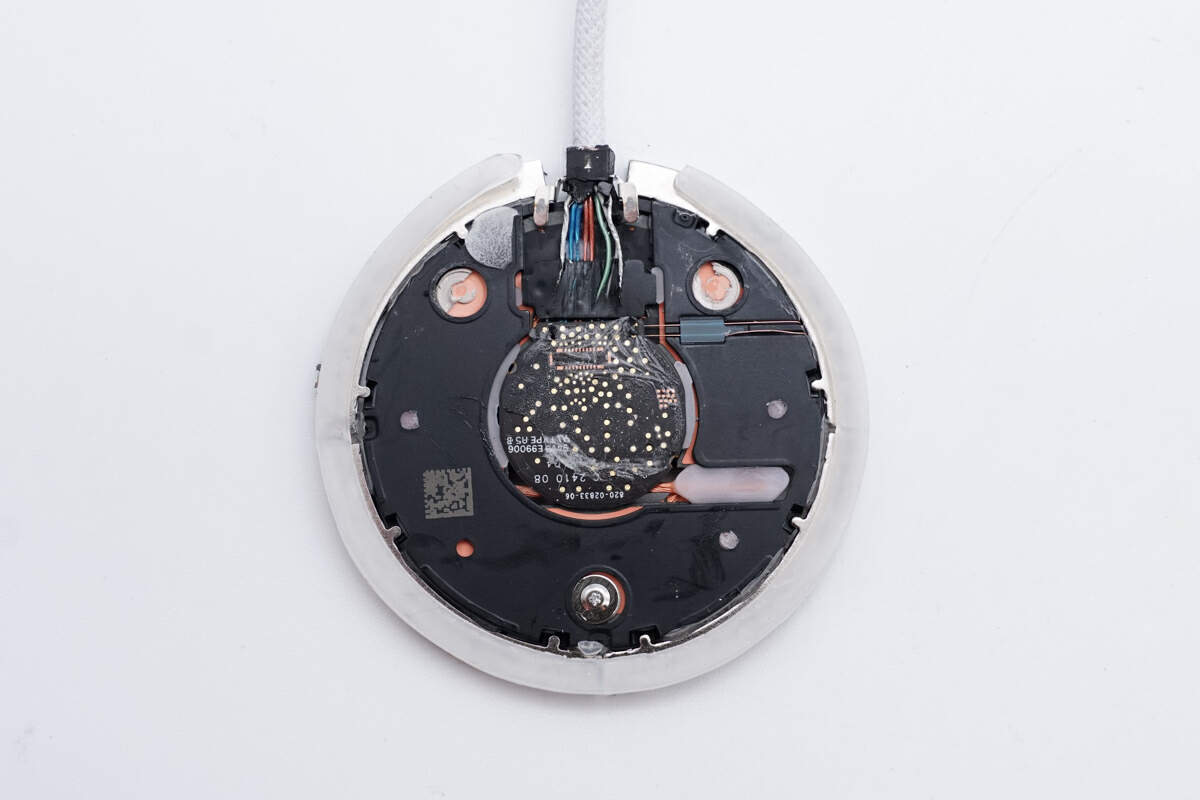
The PCBA module is attached to the aluminum alloy shell with double-sided tape for heat dissipation, and a black plastic plate is provided between the magnetic isolation sheet and the aluminum alloy shell for insulation.
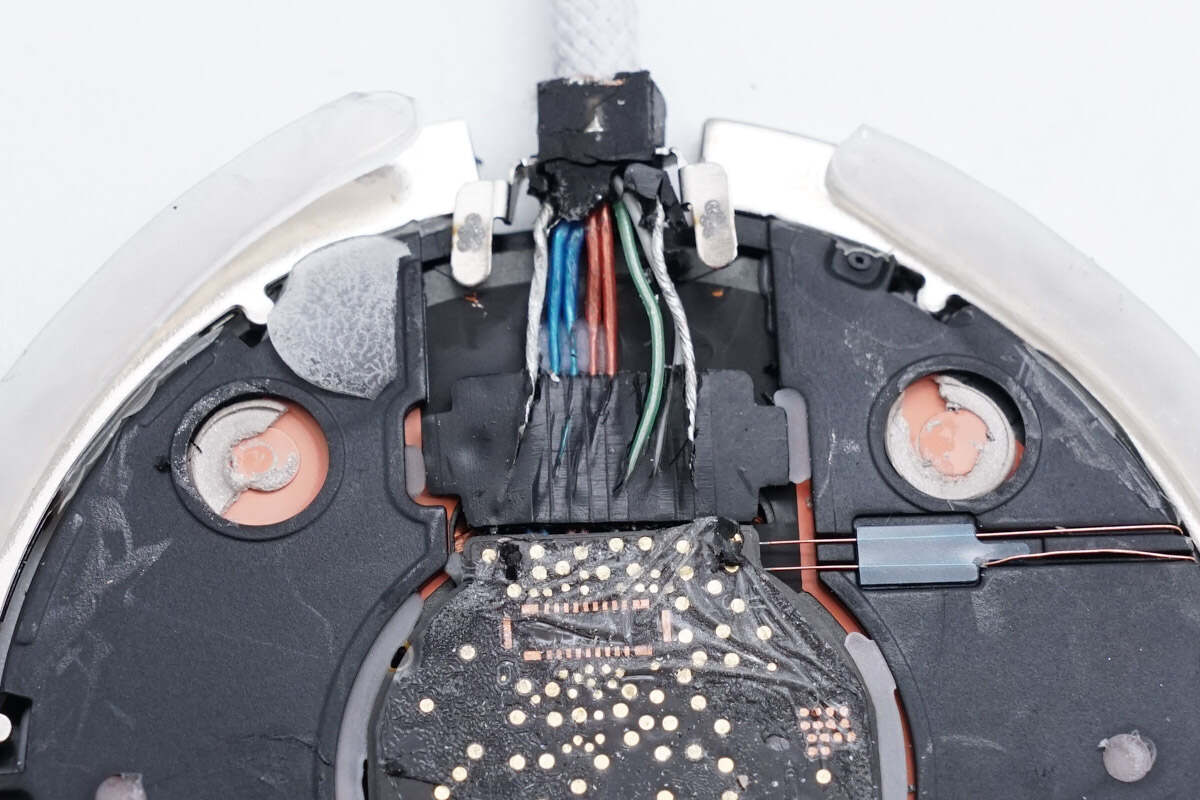
The connecting wires are fixed by clips.
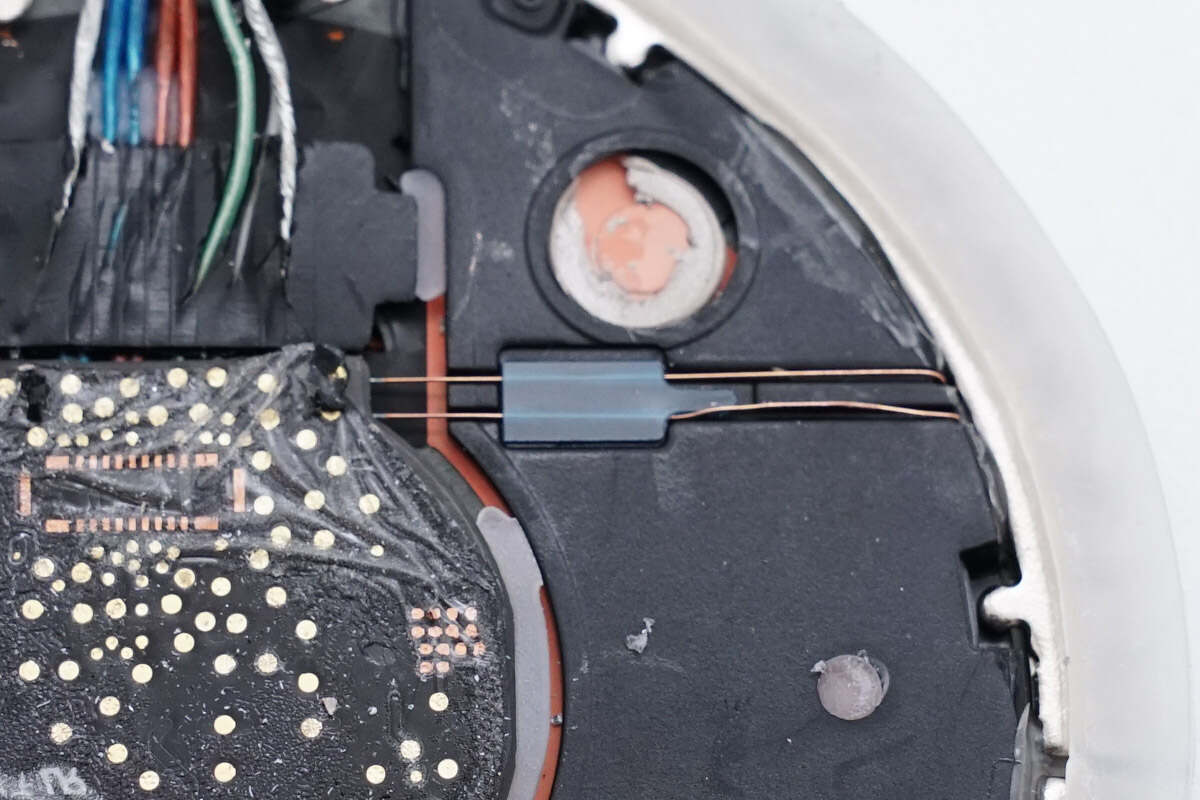
These are the wires that connect the communication coil inside the cover.
The solder joints of the coil are insulated by gluing.
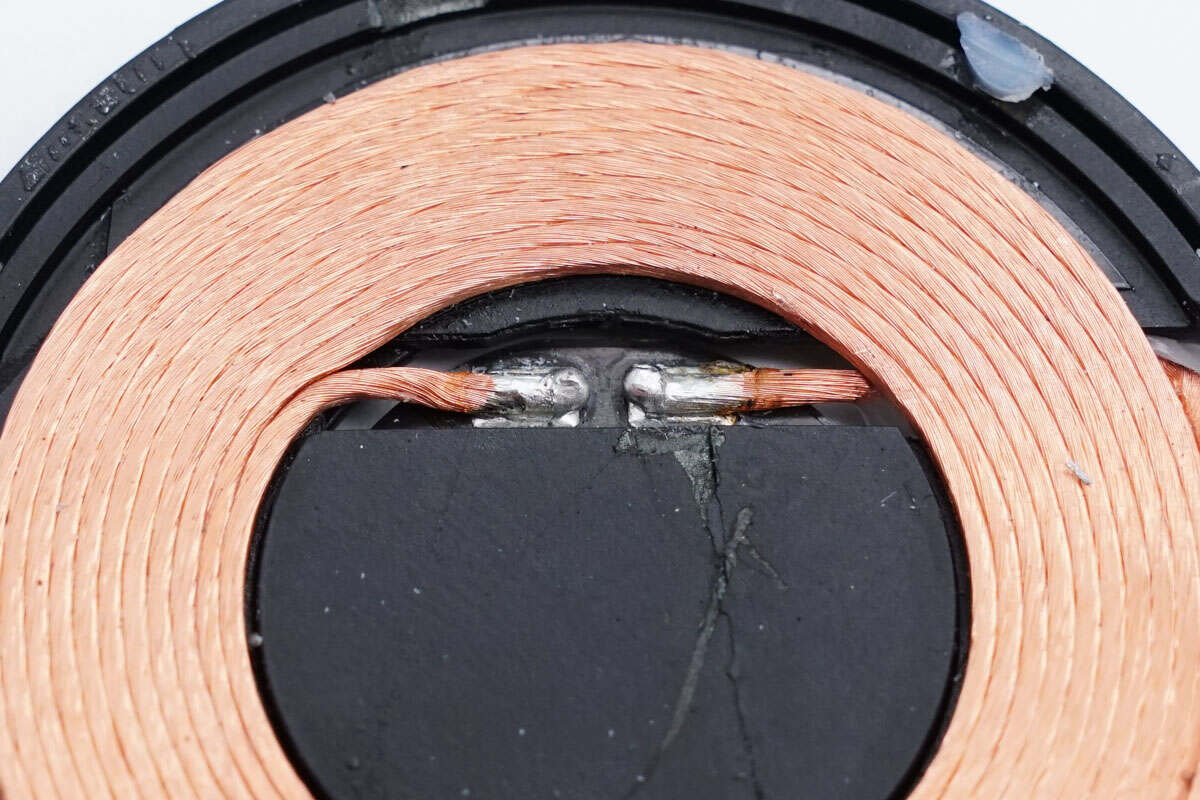
The wireless charging coil is wound with Litz wire.
Remove the magnetic shield from the plastic frame.
There is copper foil on the back of the magnetic isolation sheet for shielding.
The PCBA module is powered via wires.
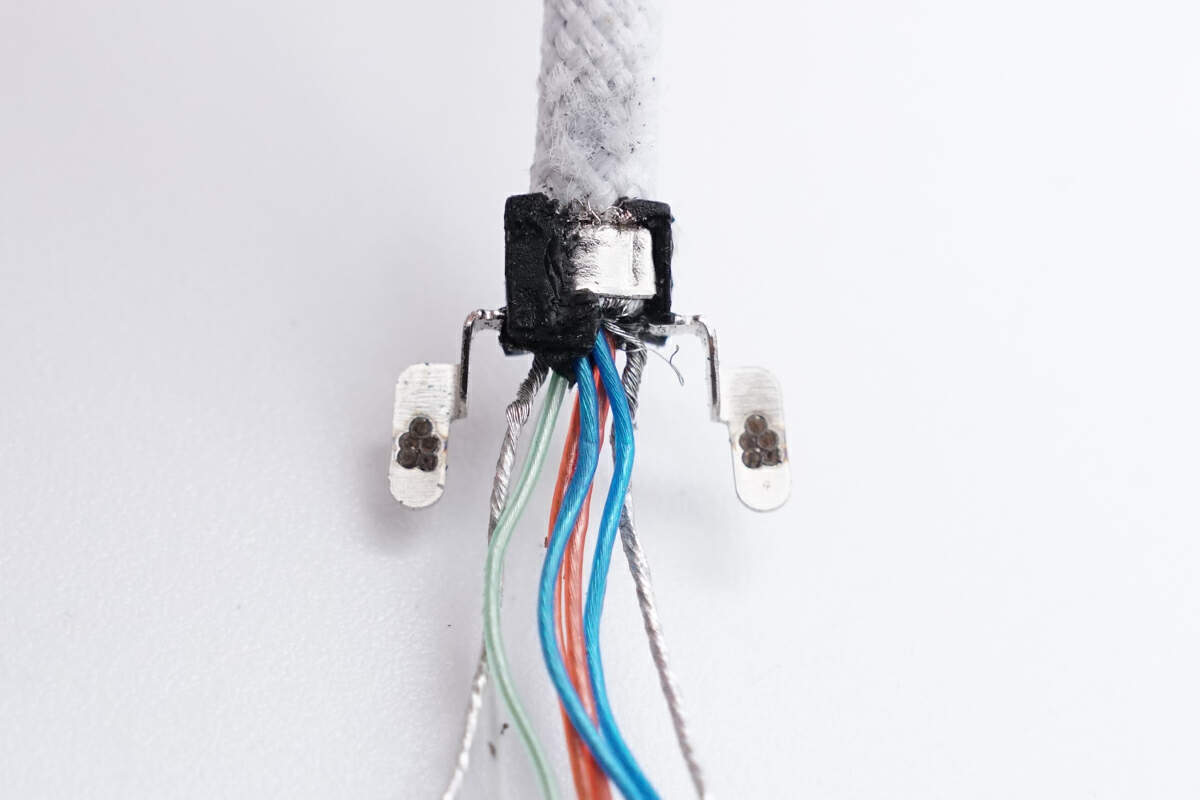
The clips that hold the wires are connected to the aluminum alloy shell by welding.
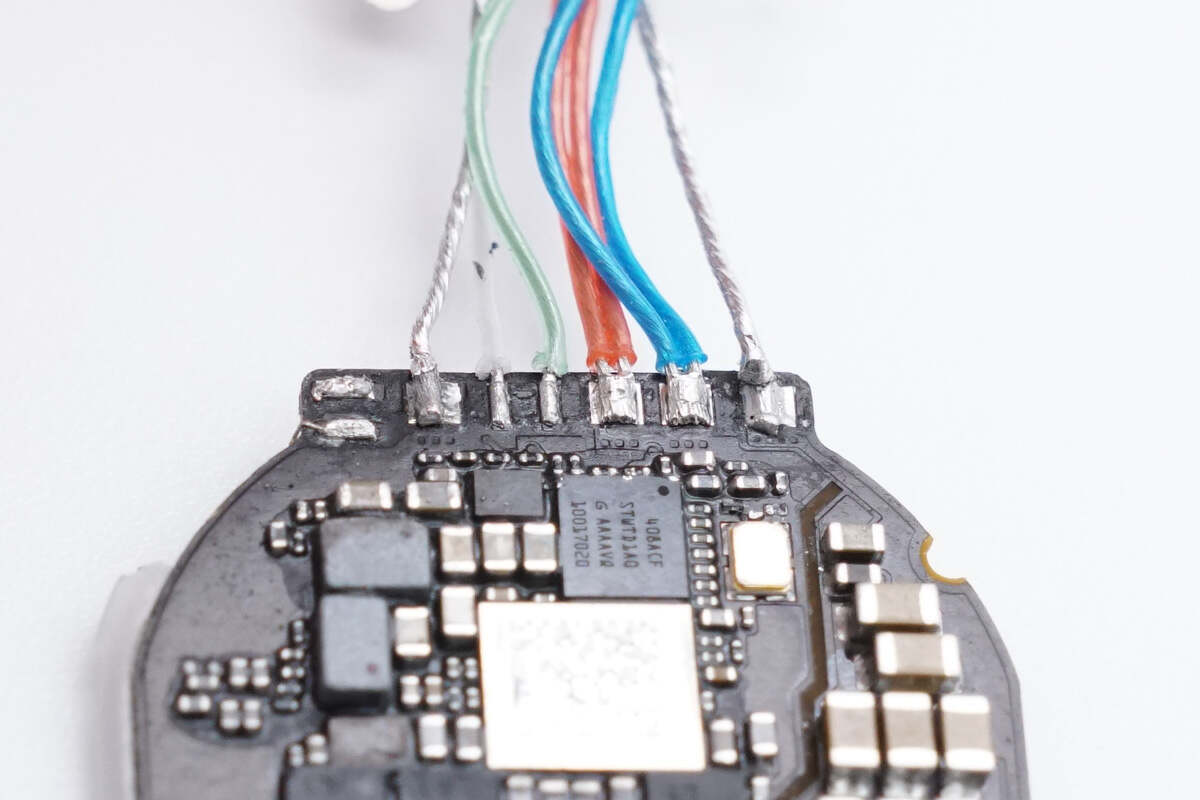
The wires are connected by soldering.
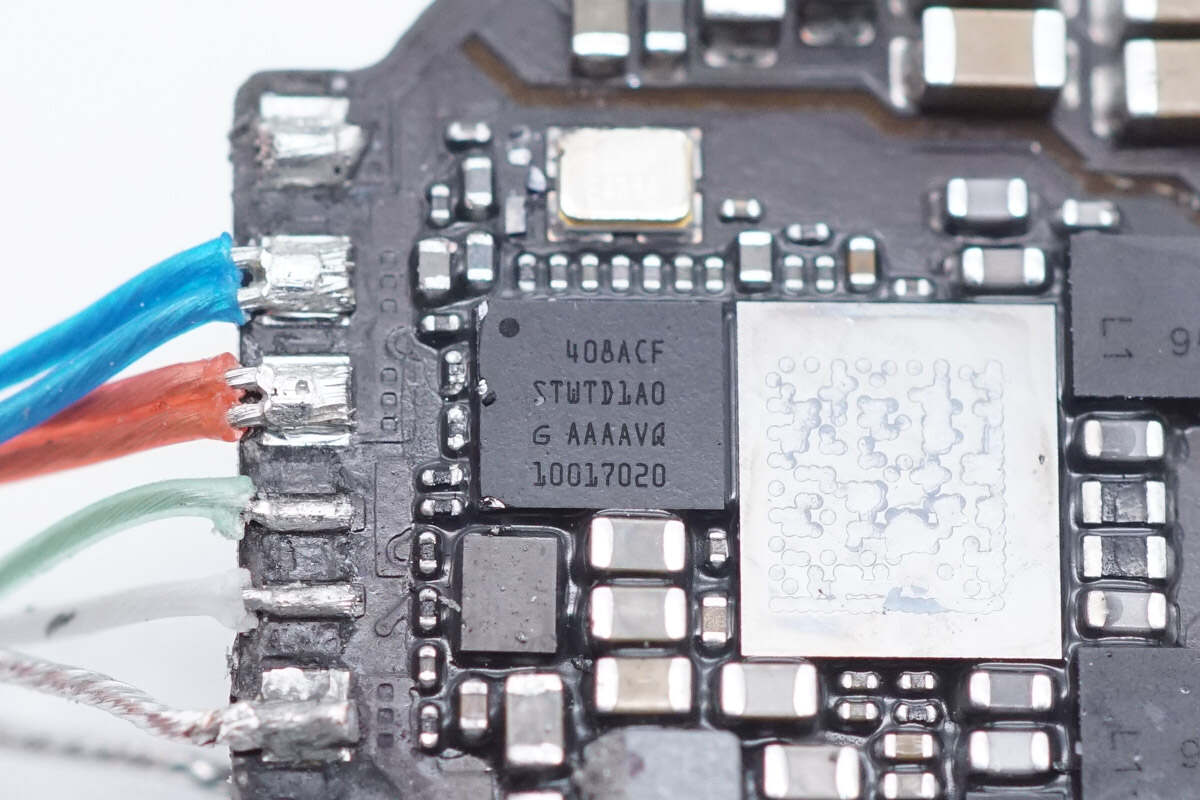
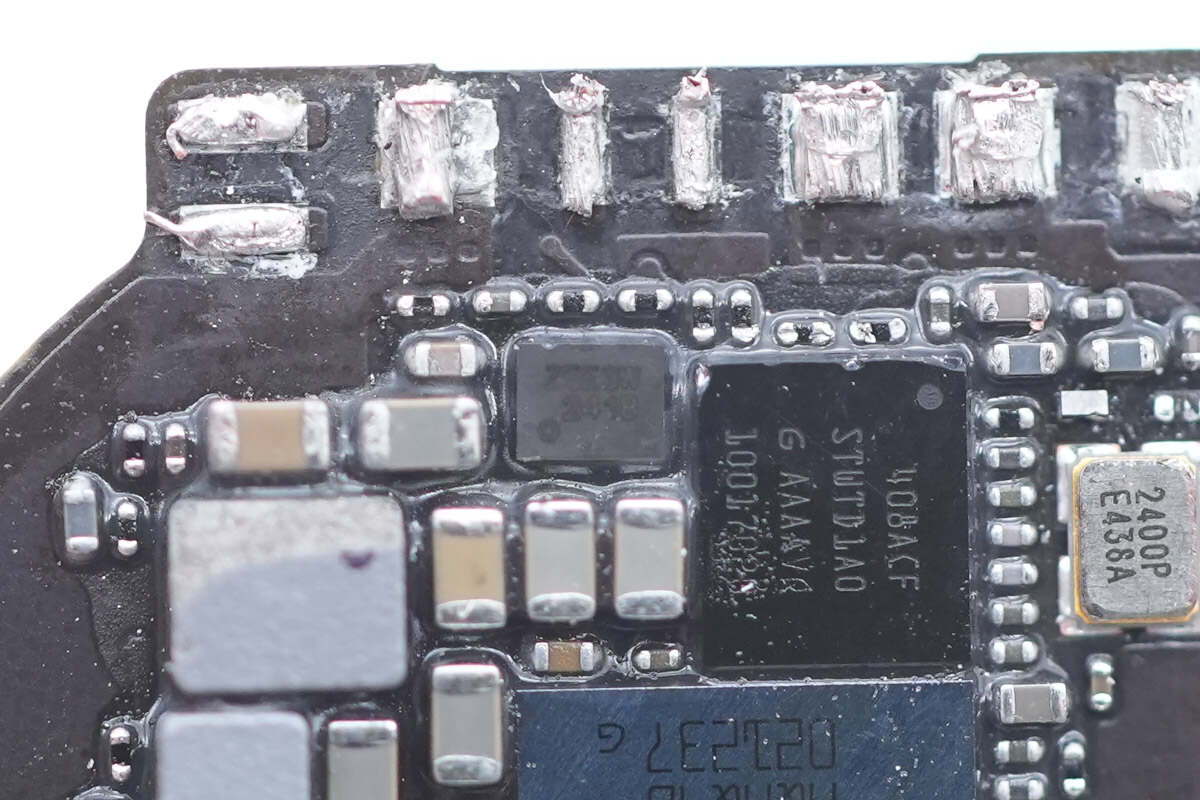
One of the chips comes from STMicroelectronics and is marked with STWTD1A0, which is presumed to be the master control chip.
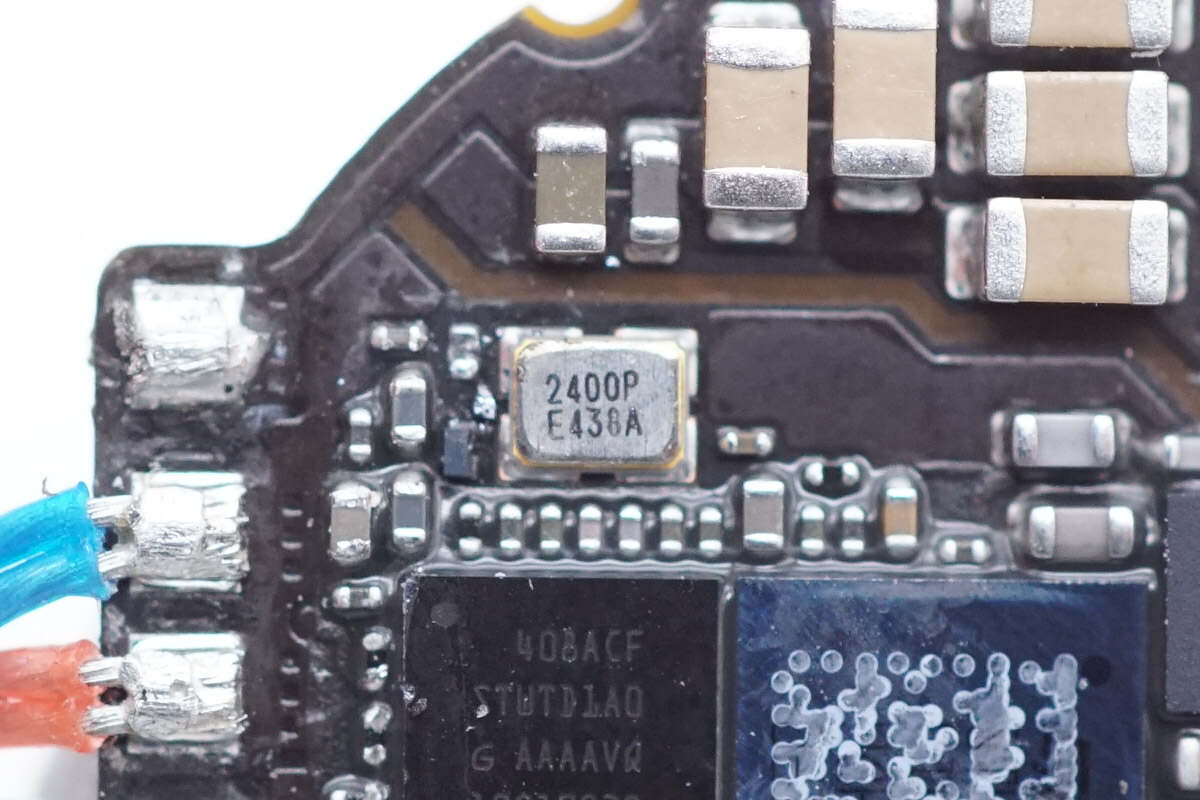
This is the external crystal oscillator.
The surface of the chip is covered with glue, making it difficult to recognize the printed content.
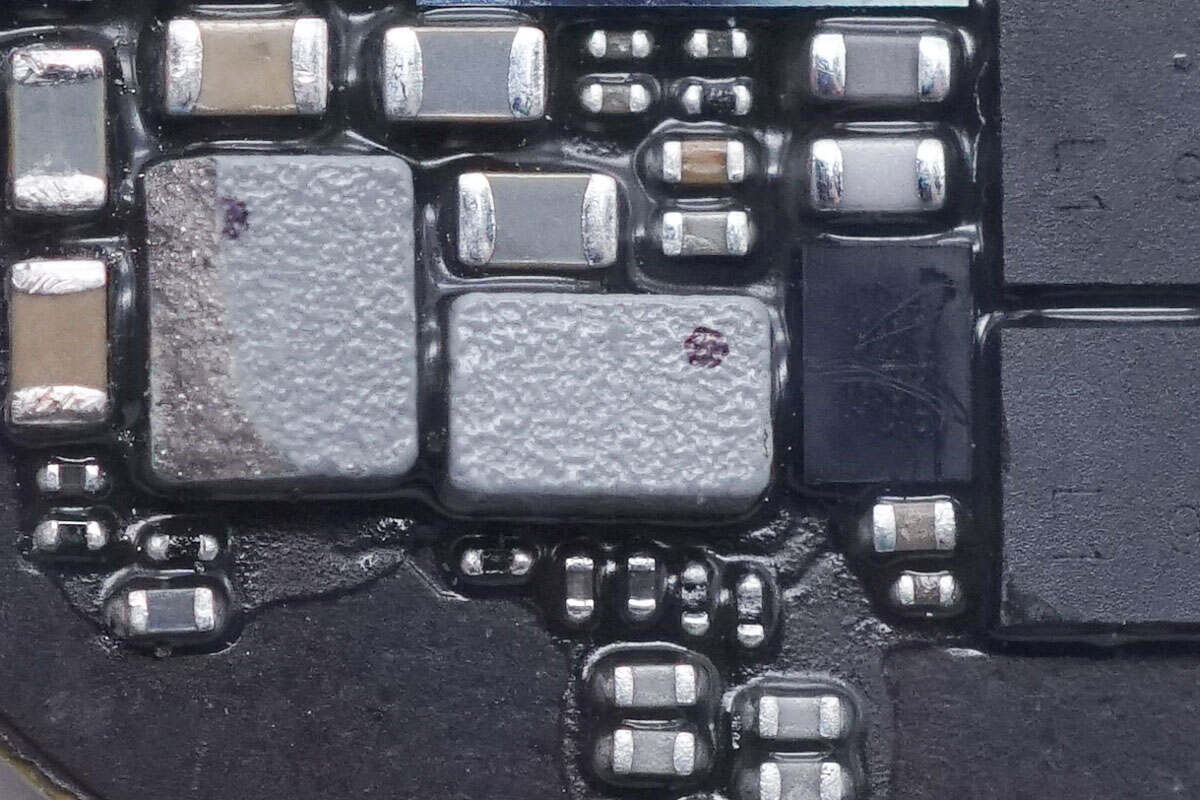
These are two SMD inductors.
The other chip is also covered with glue.
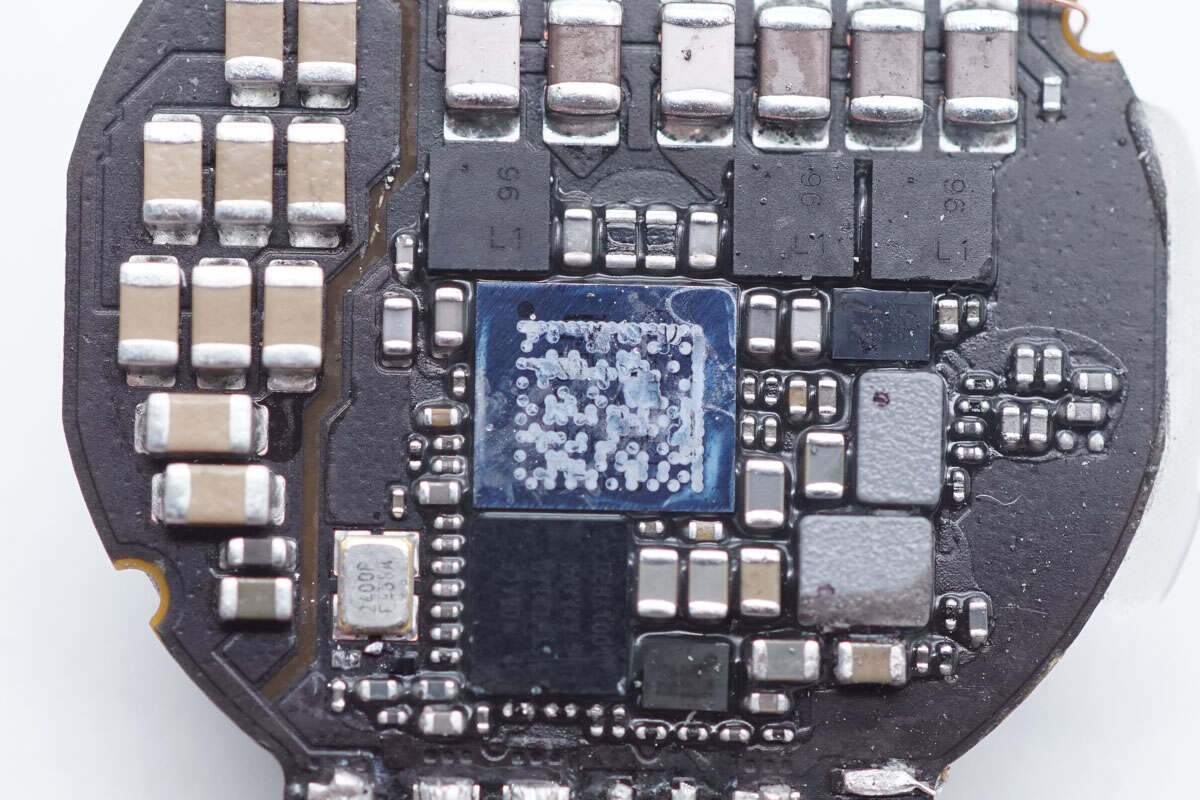
A QR code is sprayed on the surface of this chip.

Clean off the QR code on the surface. The wireless charging chip is from STMicroelectronics. Model is STWTA1A1.
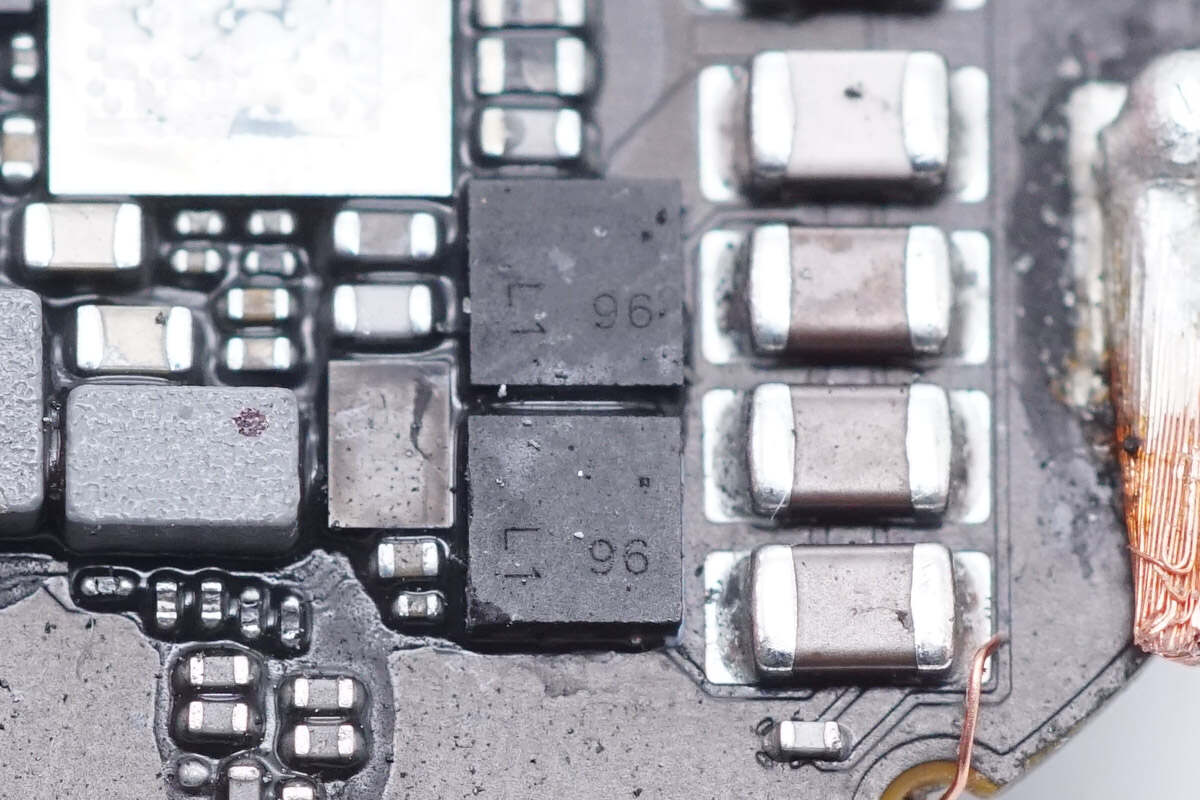
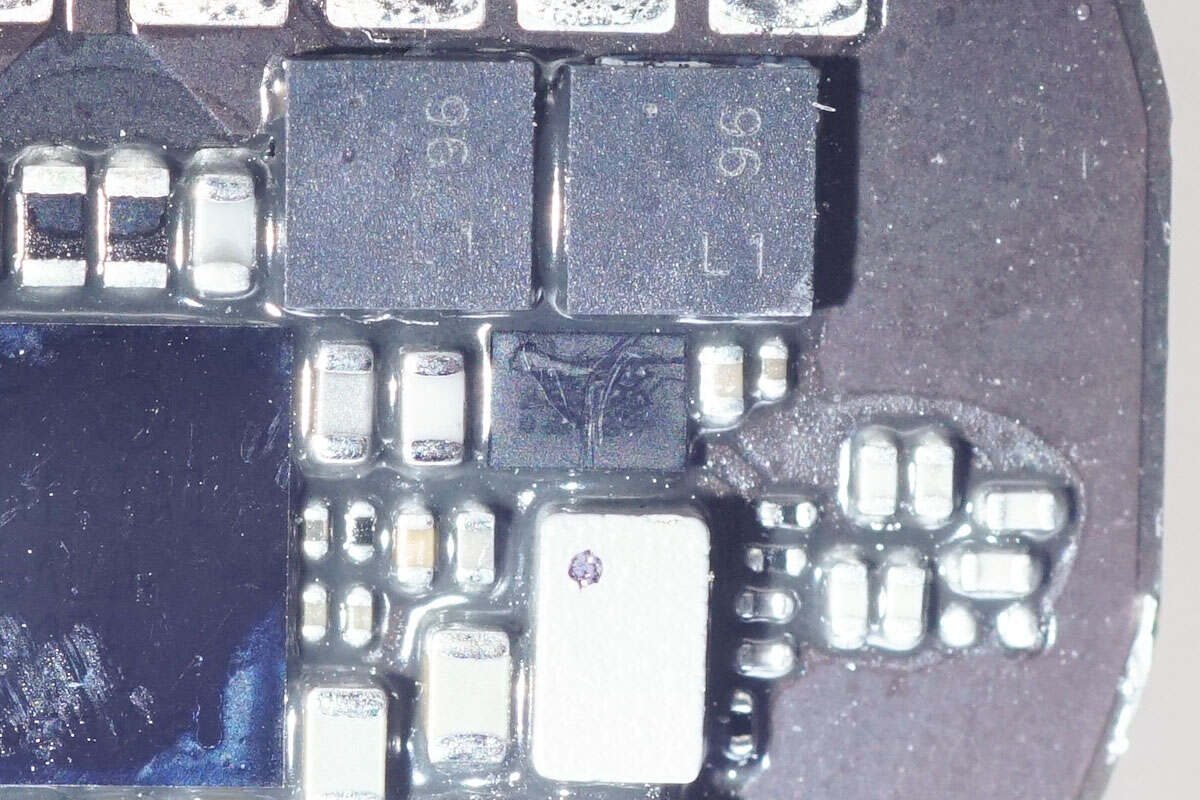
Two MOSFETs marked with 96 are used for resonant capacitor switching.
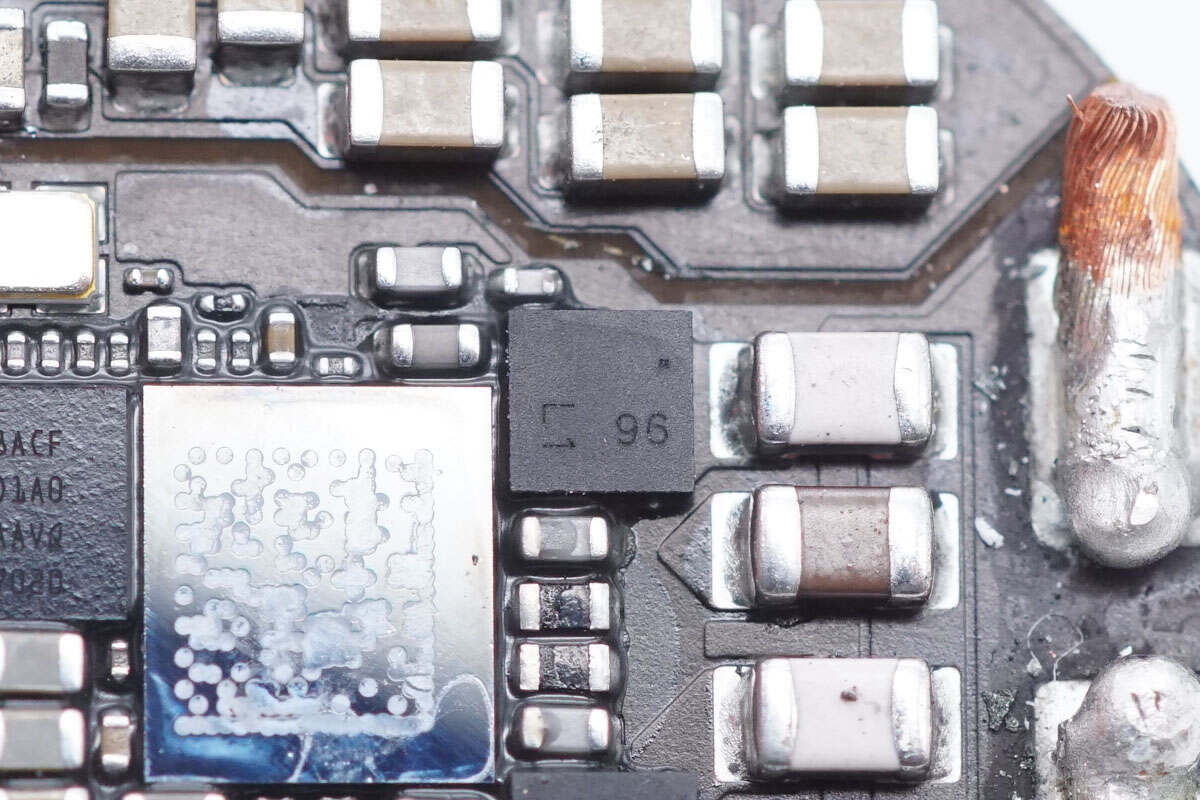
The other MOSFET is identical to the previous two.
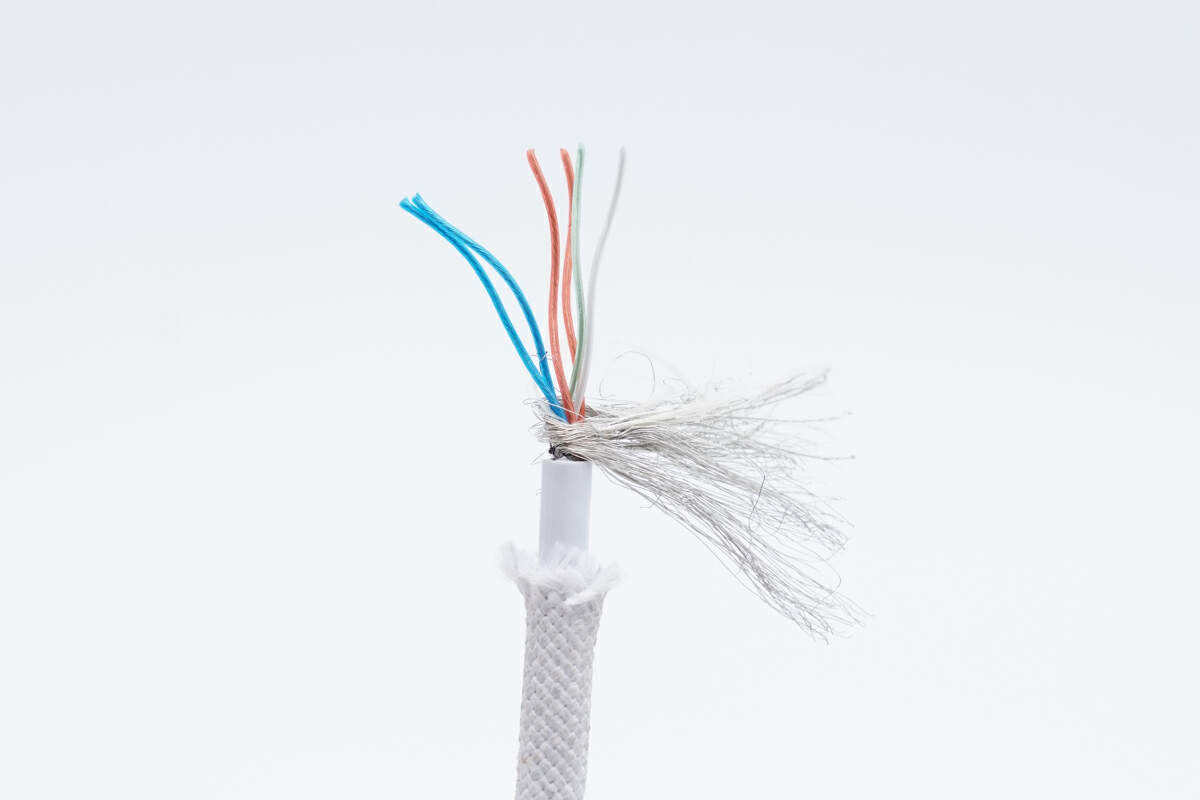
The cable has orange and blue power wires, green and white data wires, and a metal shielding net.
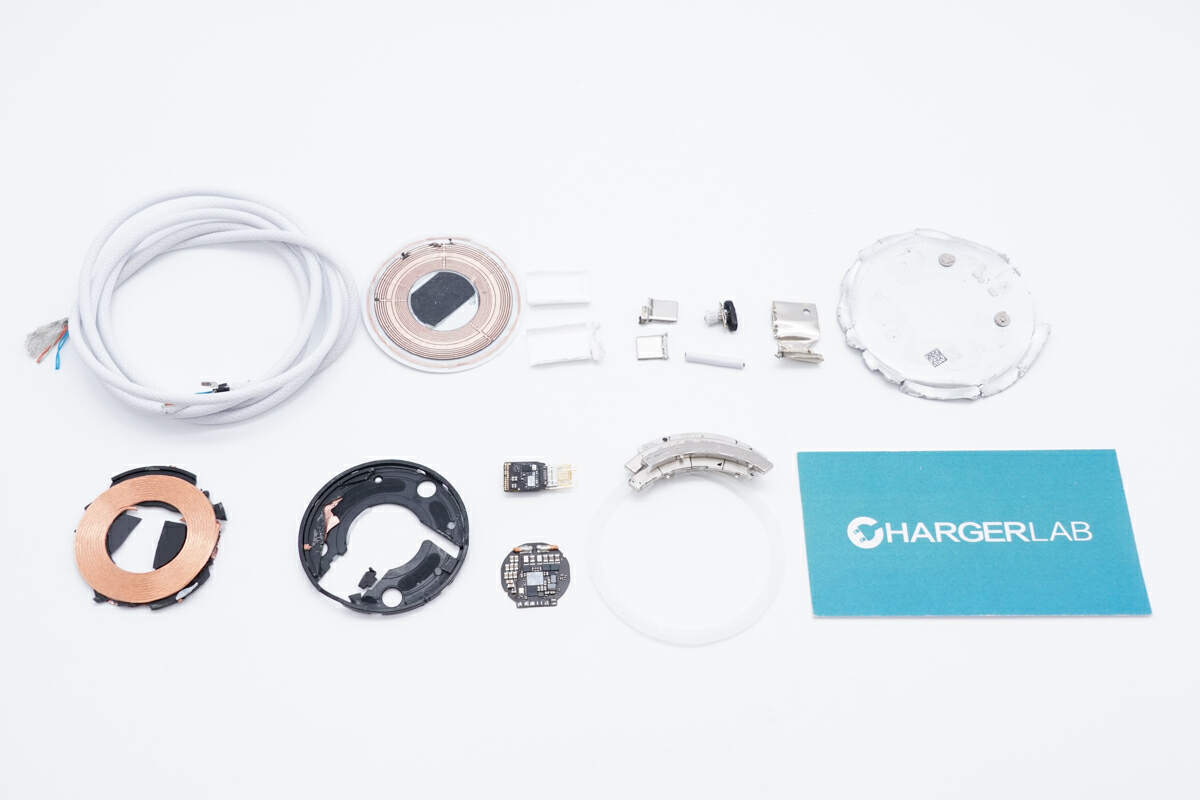
Well, those are all components of the new MagSafe Charger.
Summary of ChargerLAB
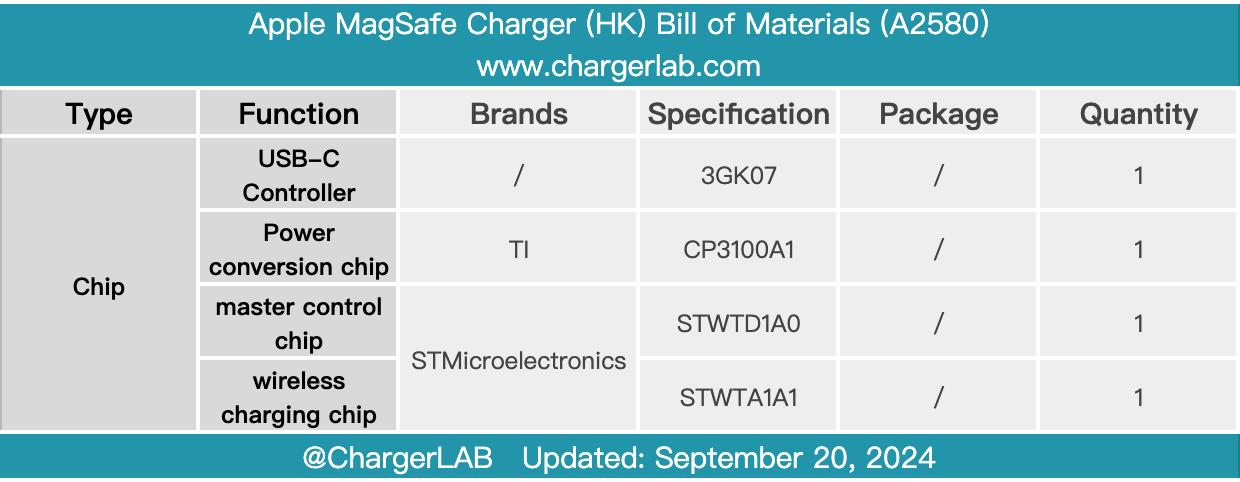
Here is the component list of the new Apple 25W MagSafe Charger (HK) for your convenience.
Apple's new MagSafe Charger continues the design of the old product. It uses a woven cable to avoid cracking and breaking of the traditional TPE outer skin and has a longer lifespan.
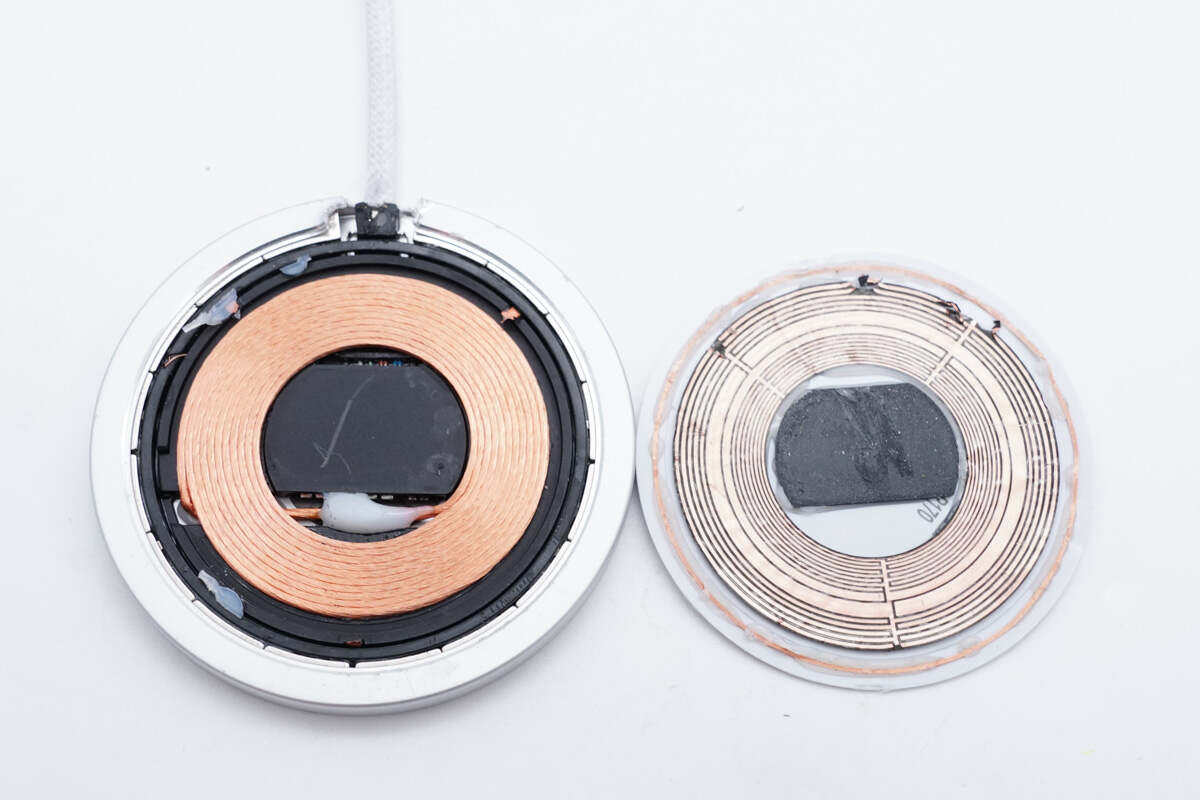
After taking it apart, we found the new MagSafe Charger is more integrated than the old one. Compared with the old MagSafe Charger, it integrates more functions and reduces the number of peripheral components.
The USB-C plug is protected by a steel sleeve, and the PCBA module is filled with potting compound to improve heat dissipation. The PCBA module is glued to the aluminum alloy shell to enhance heat dissipation. Thanks to the improvement in integration, the PCBA module area is significantly reduced, simplifying the internal layout design of the charger.
Related Articles:
1. Teardown of Apple 25W MagSafe Charger (HK)
2. Standard MagSafe | Teardown of Apple MagSafe Charger (For iPhone 12)
3. Latest Teardown of Apple MagSafe Battery Pack for iPhone 12 Series