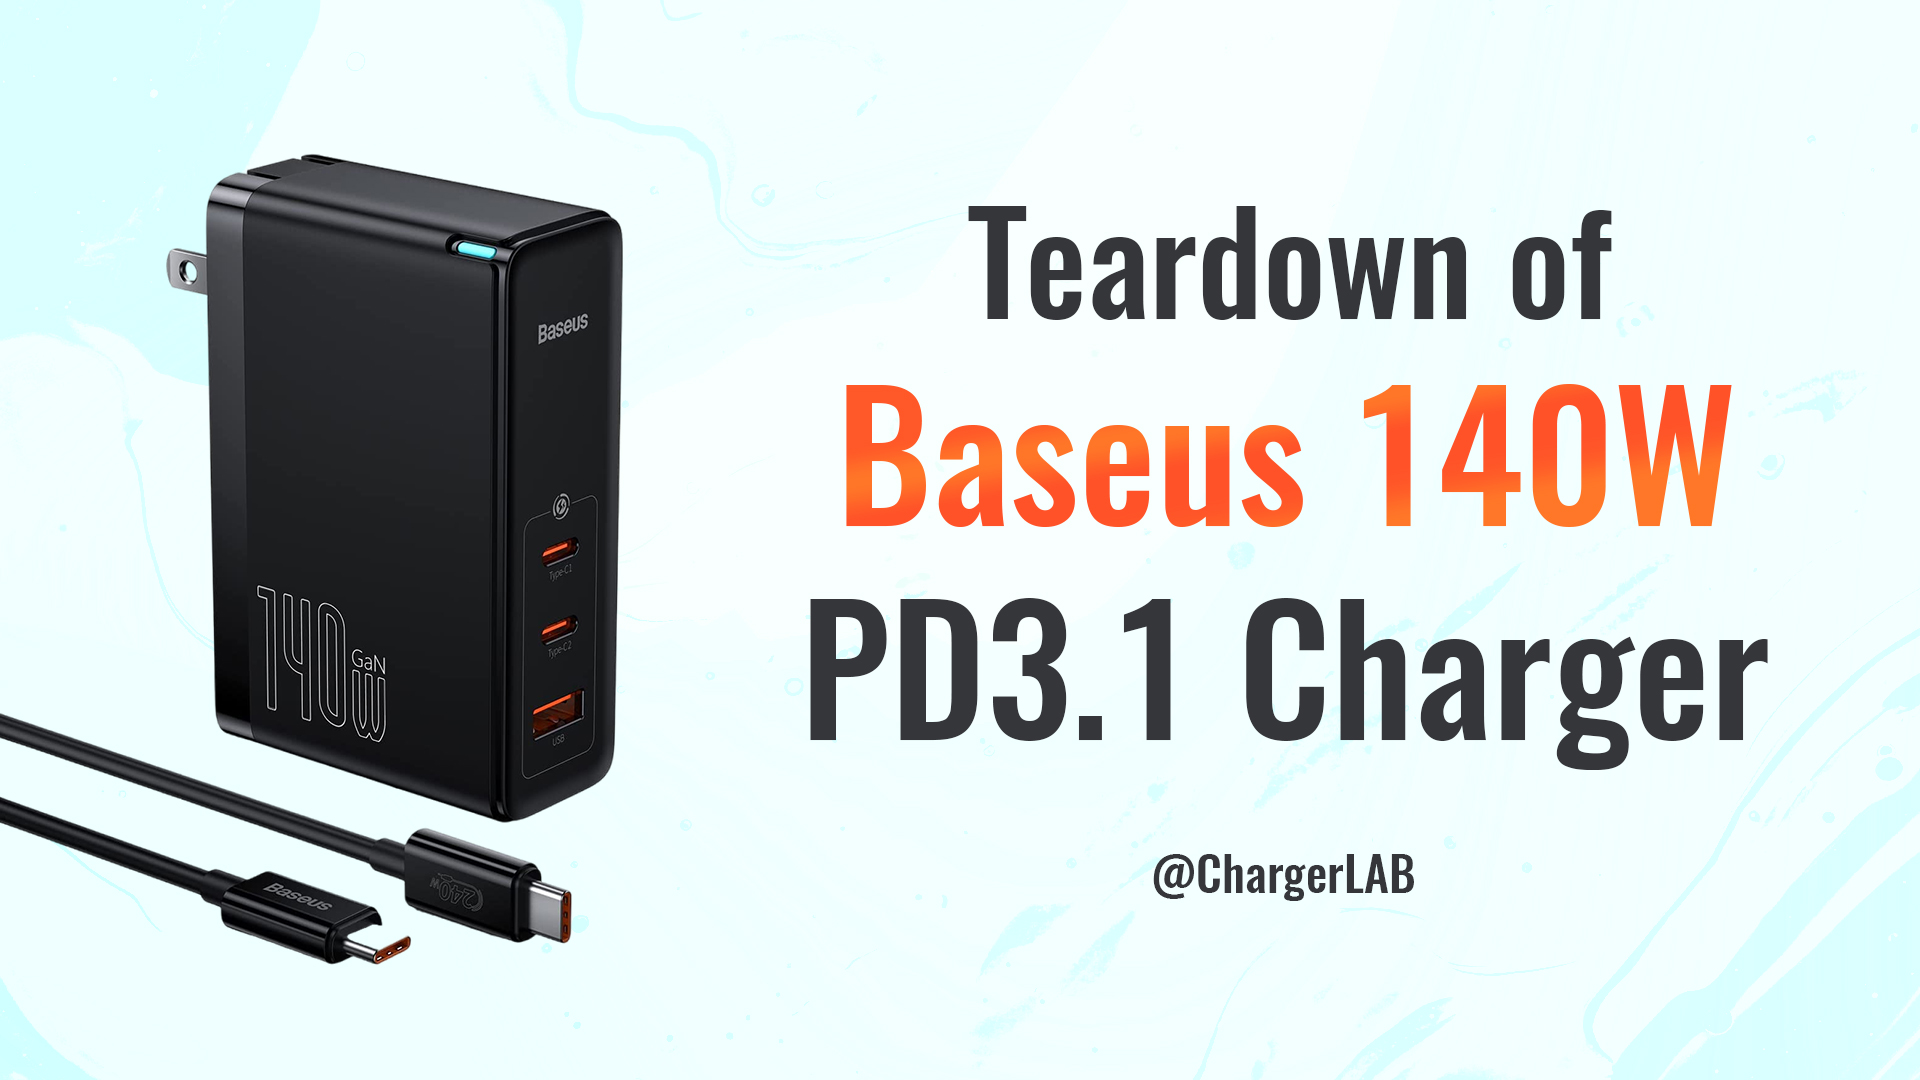
Introduction
Several weeks ago, we posted a review video of the Anker 3-in-1 MagSafe Cube. It's so compact but can charge three devices at the same time. Many of you guys are questing for the teardown of this little cube. So, let's take it apart to see what it looks like inside and why it can be so small.
Product Appearance
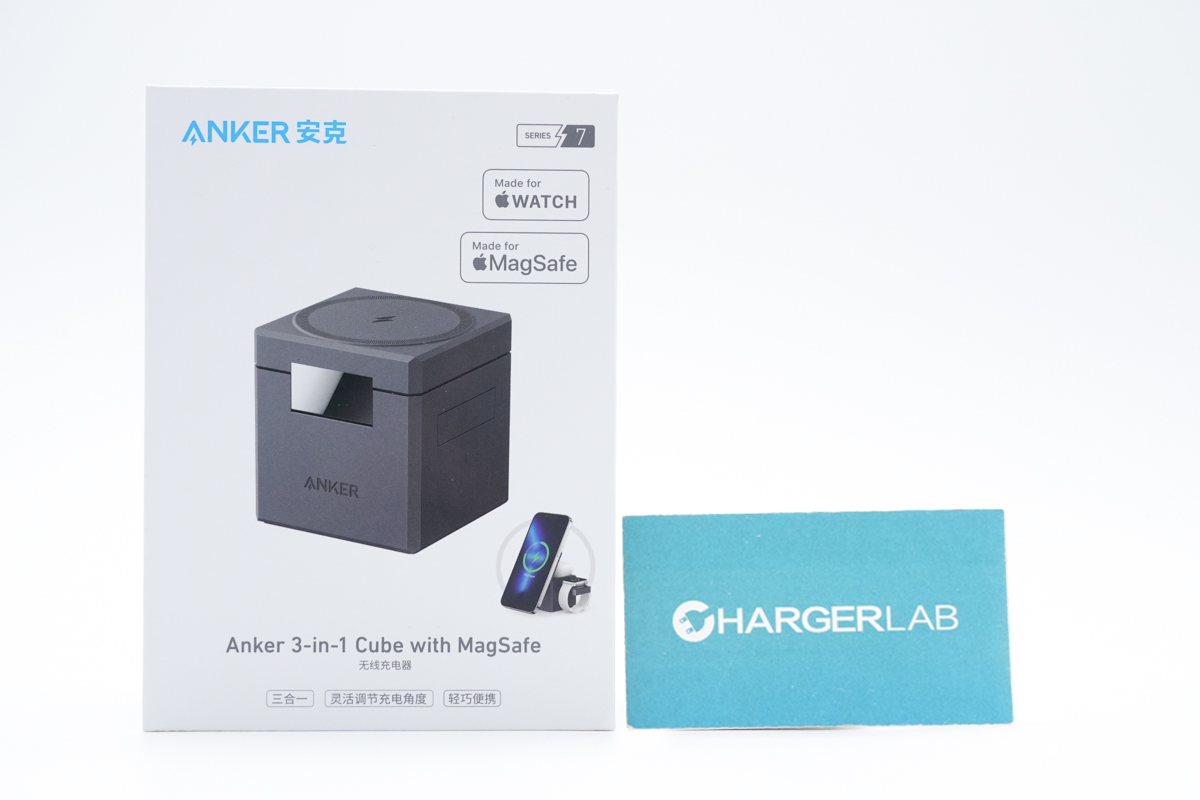
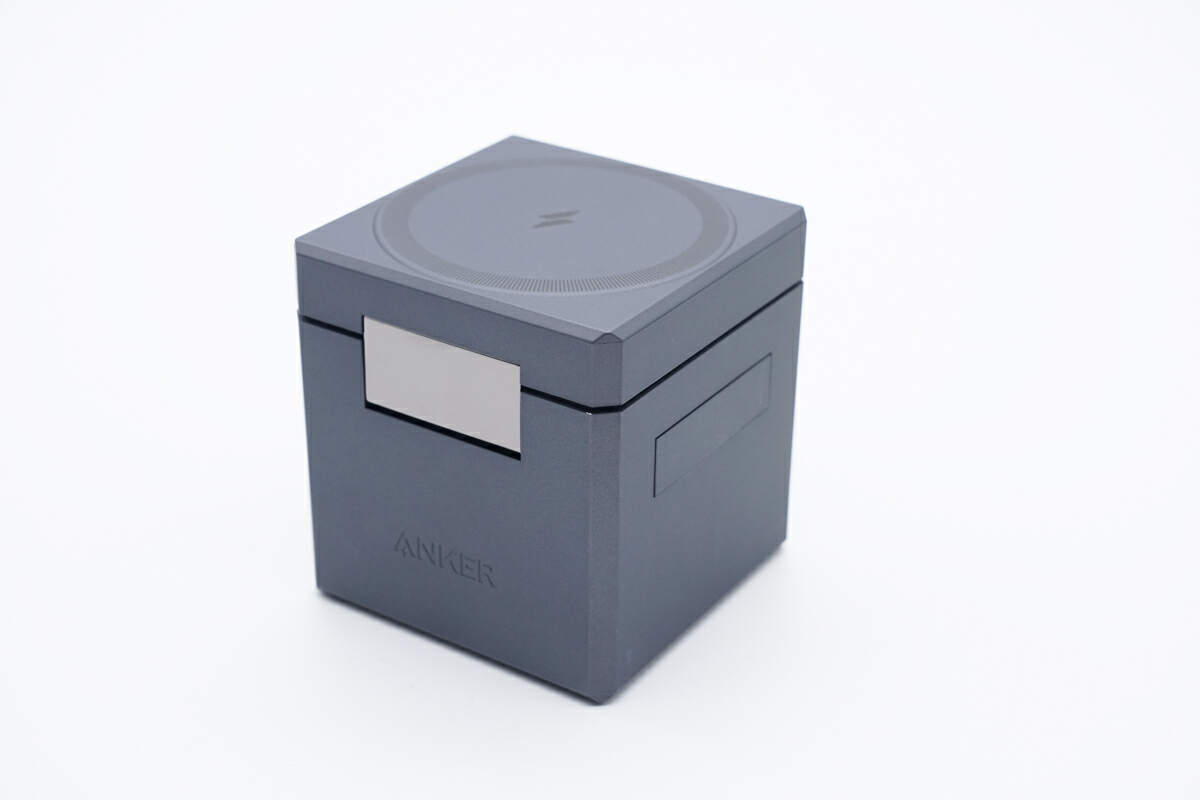
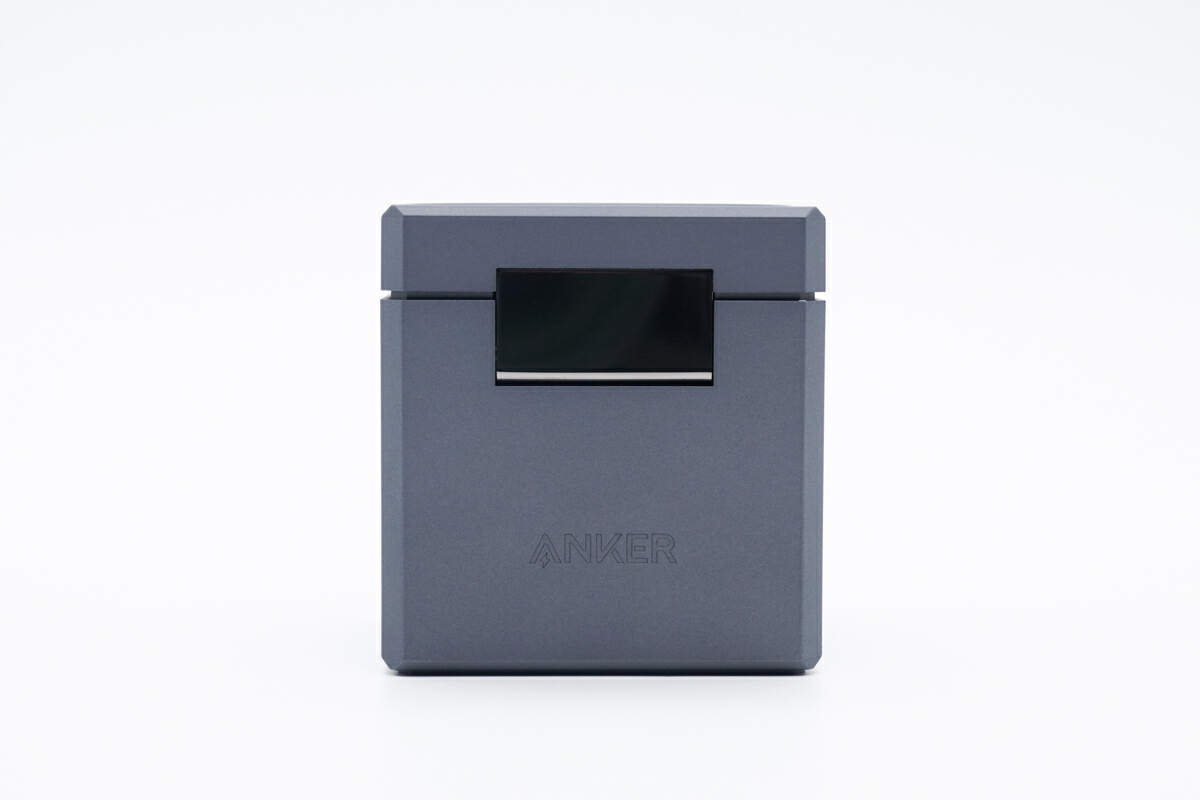
The packaging box adopts a classic Anker minimalist design with MFW and MFM certification labels on the corner.
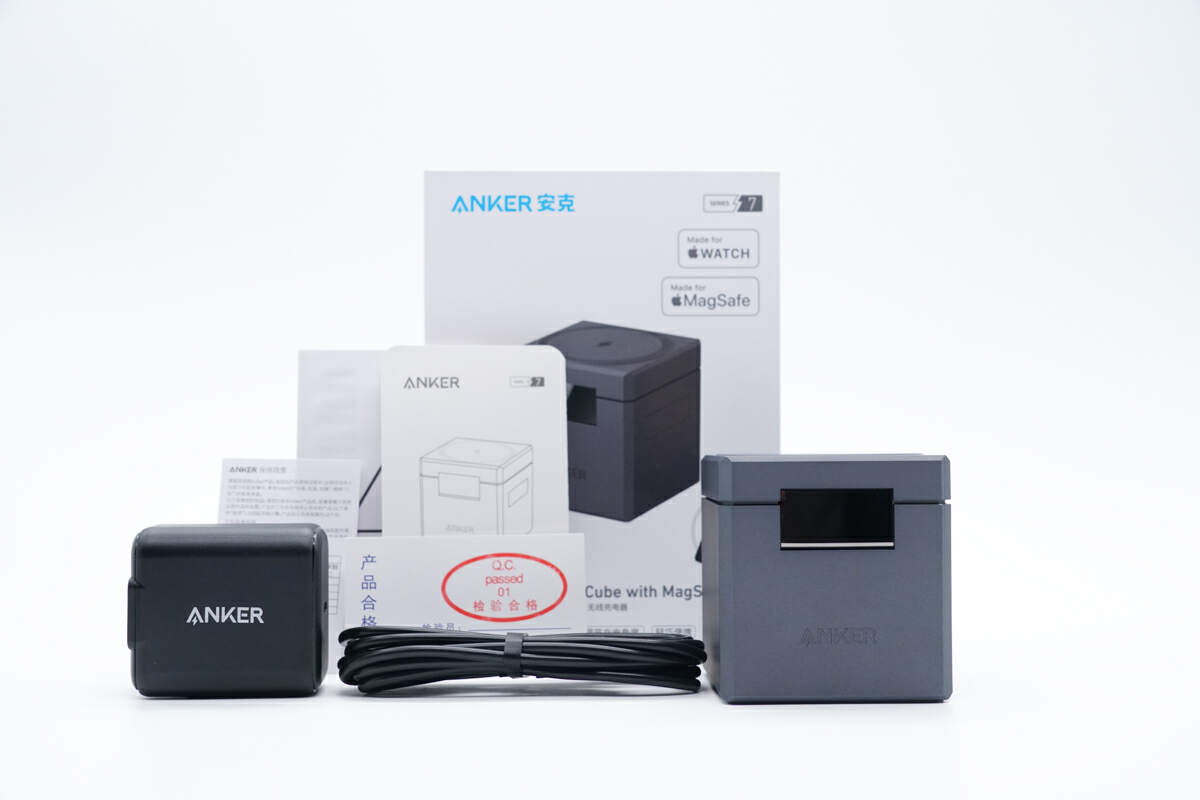
Open the box, except for the MagSafe cube, it also comes with some documents, a charger, and a cable.
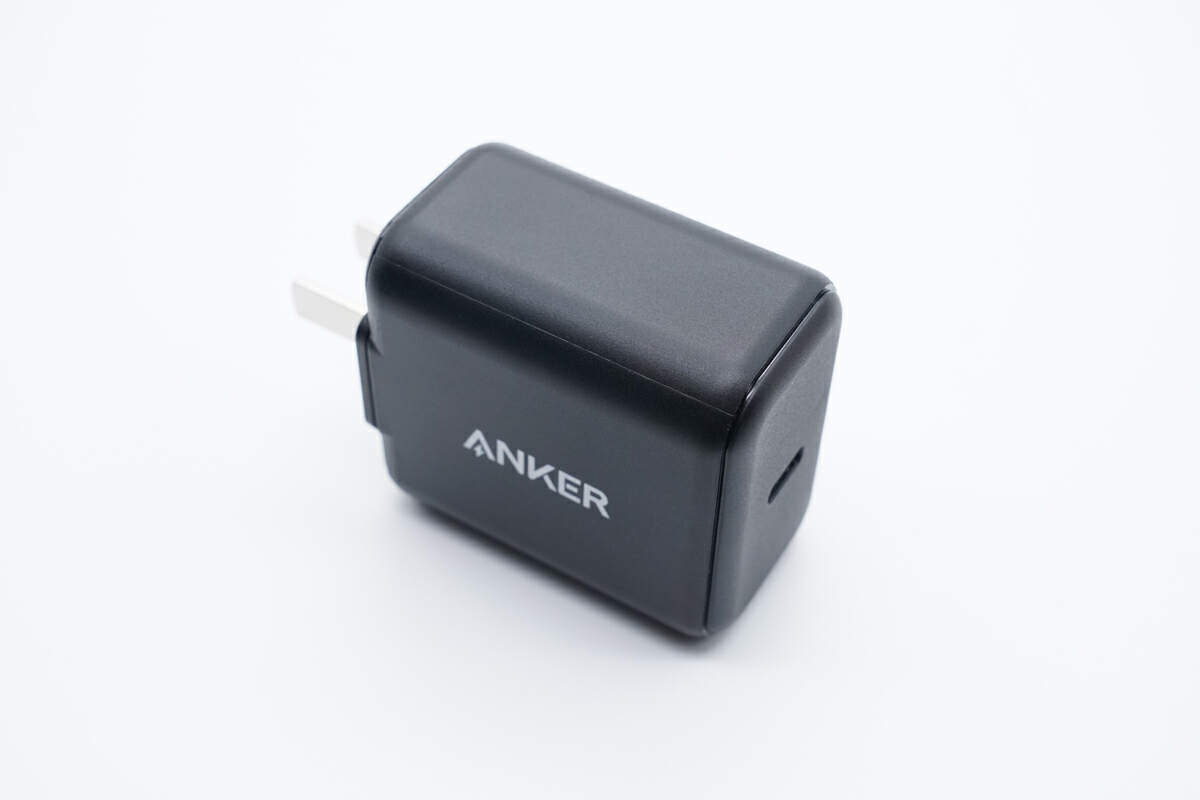
This is a 30W USB-C GaN charger with foldable input prongs.
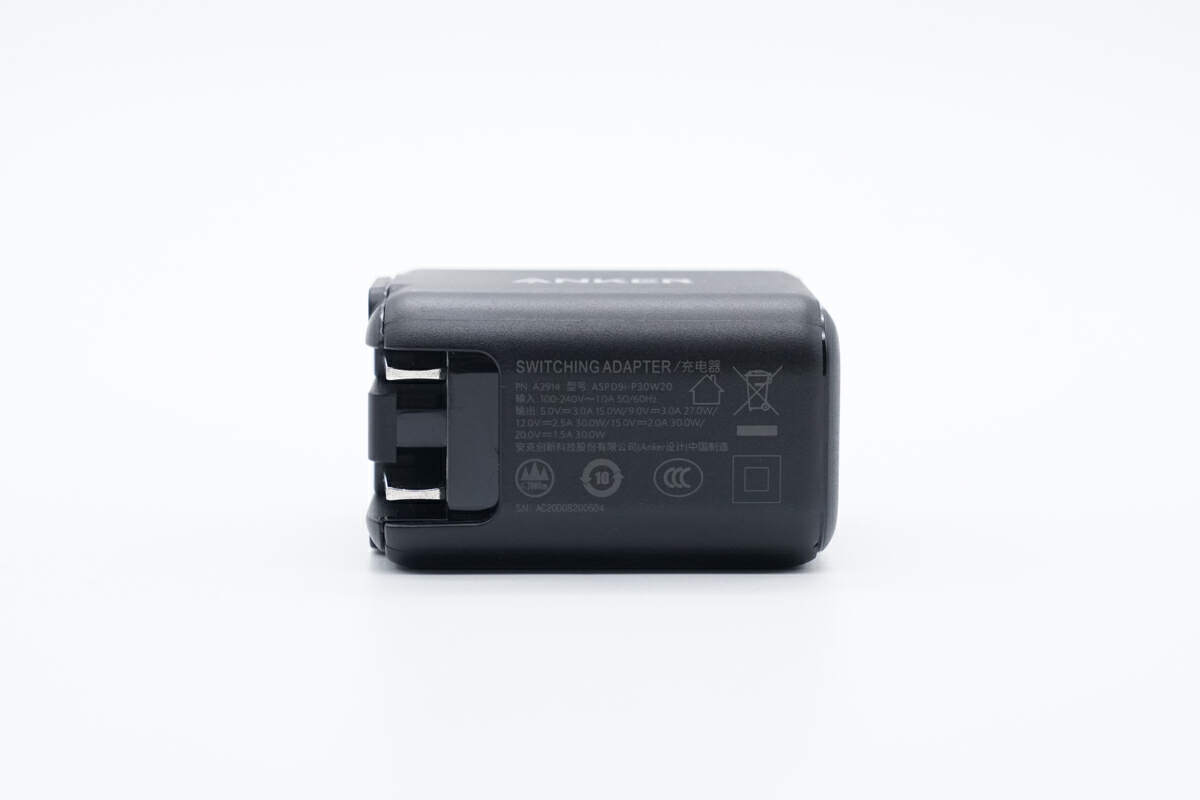
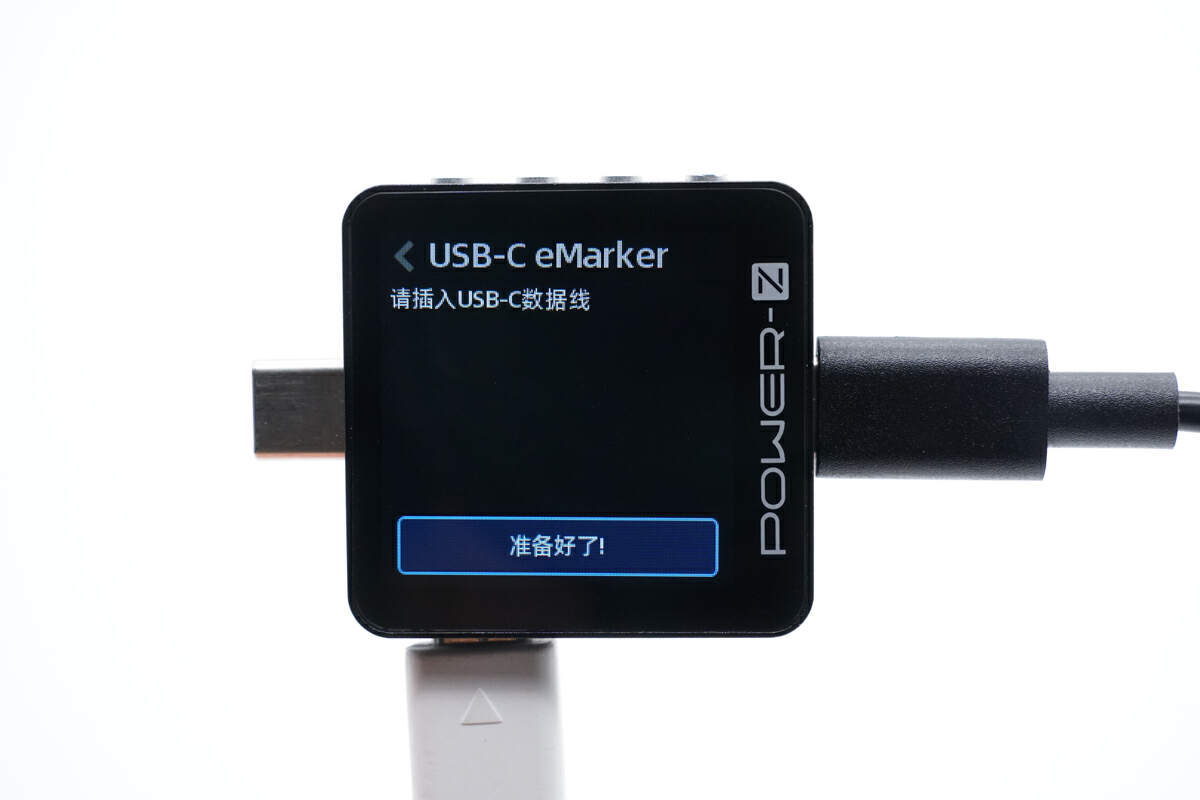
All the specs info are on the bottom. Model is ASPD9i-P30W20. It can support input of 100-240V~ 50/60Hz 1.0A. As for the PDO, we will get to that later with the POWER-Z KM003C.
And there is no E-marker chip on it.
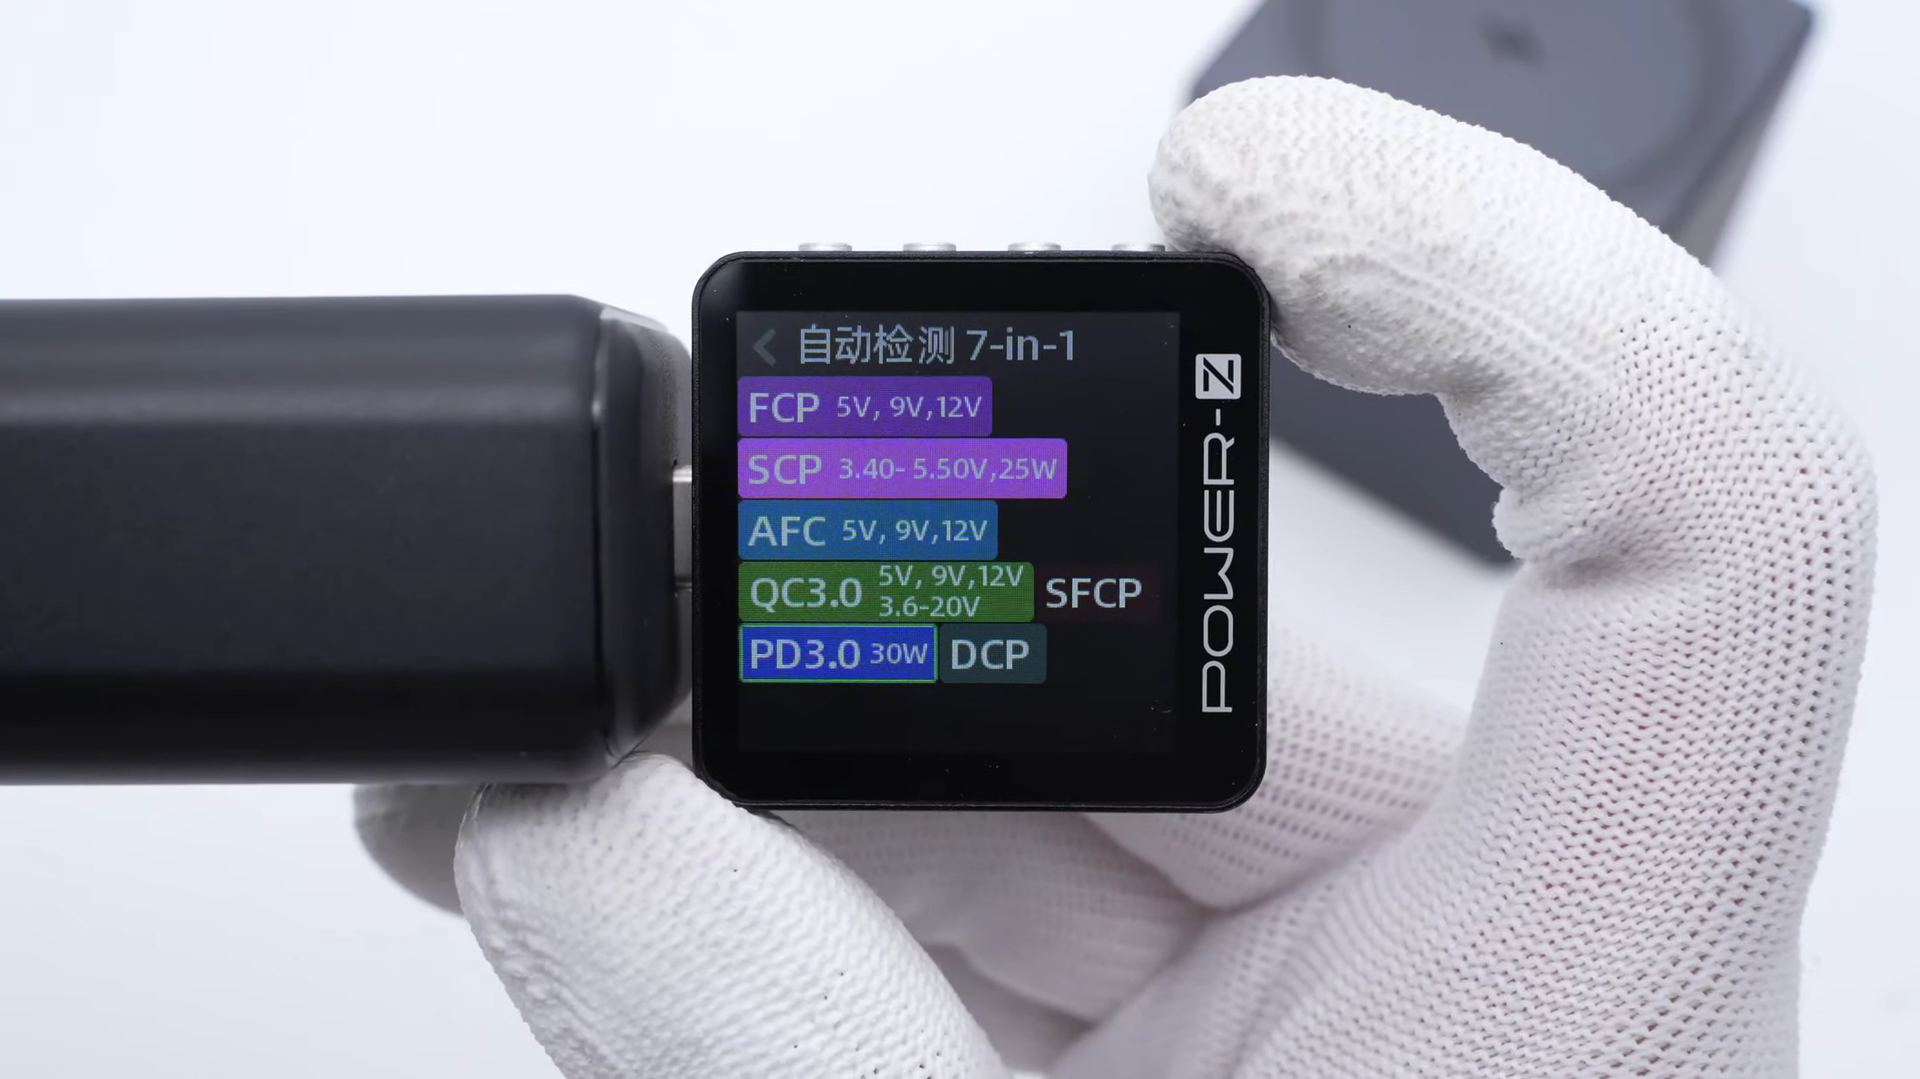
The ChargerLAB POWER-Z KM003C shows it supports FCP, SCP, AFC, QC3.0, SFCP, PD3.0, DCP protocols.
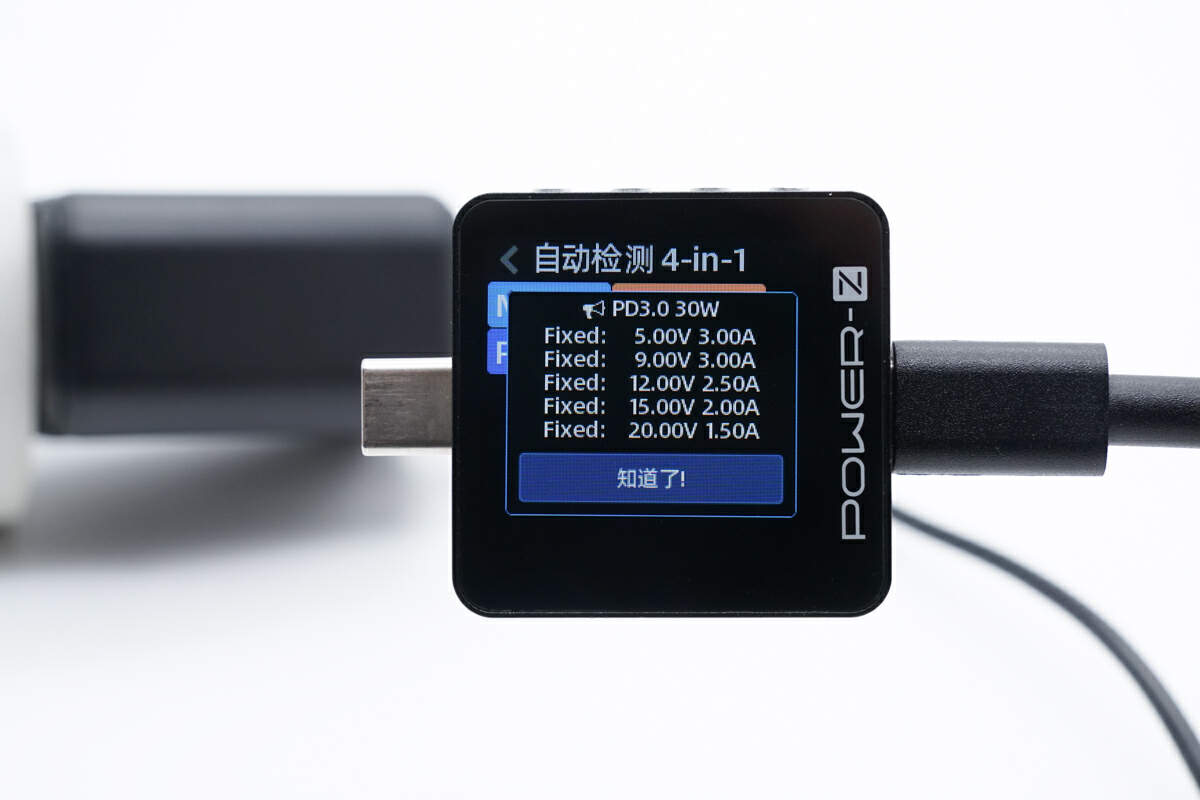
And it also has five fixed PDOs of 5V/9V 3A, 12V2.5A, 15V2A, 20V1.5A.
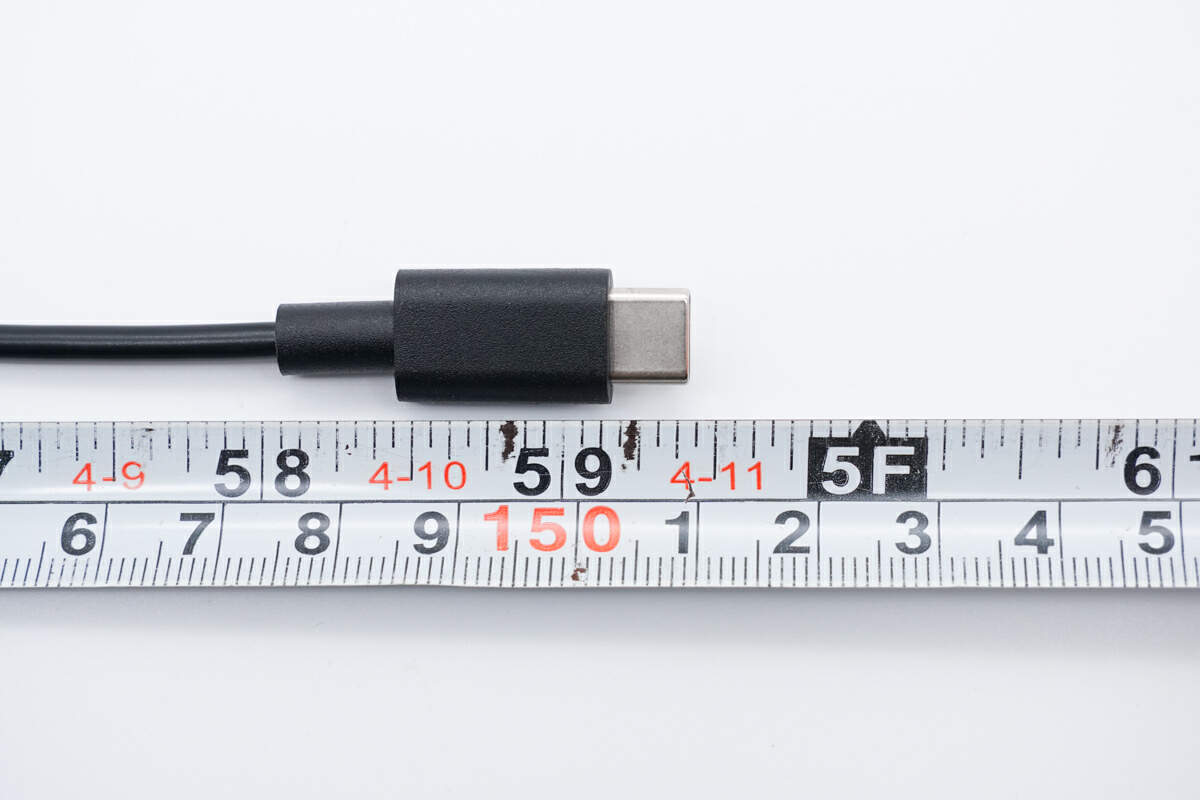
As for the dual USB-C cable, its length is about 1.5m (4' 11''), which is more than enough for daily use.
The first impression when we got this cube is small and exquisite. It is hard to imagine that it integrates three different charging modules.
The outer case feels smooth and can resist fingerprints. And the upper and lower parts are connected using a mirror-finish hinge, with the "ANKER" logo engraved on the bottom.
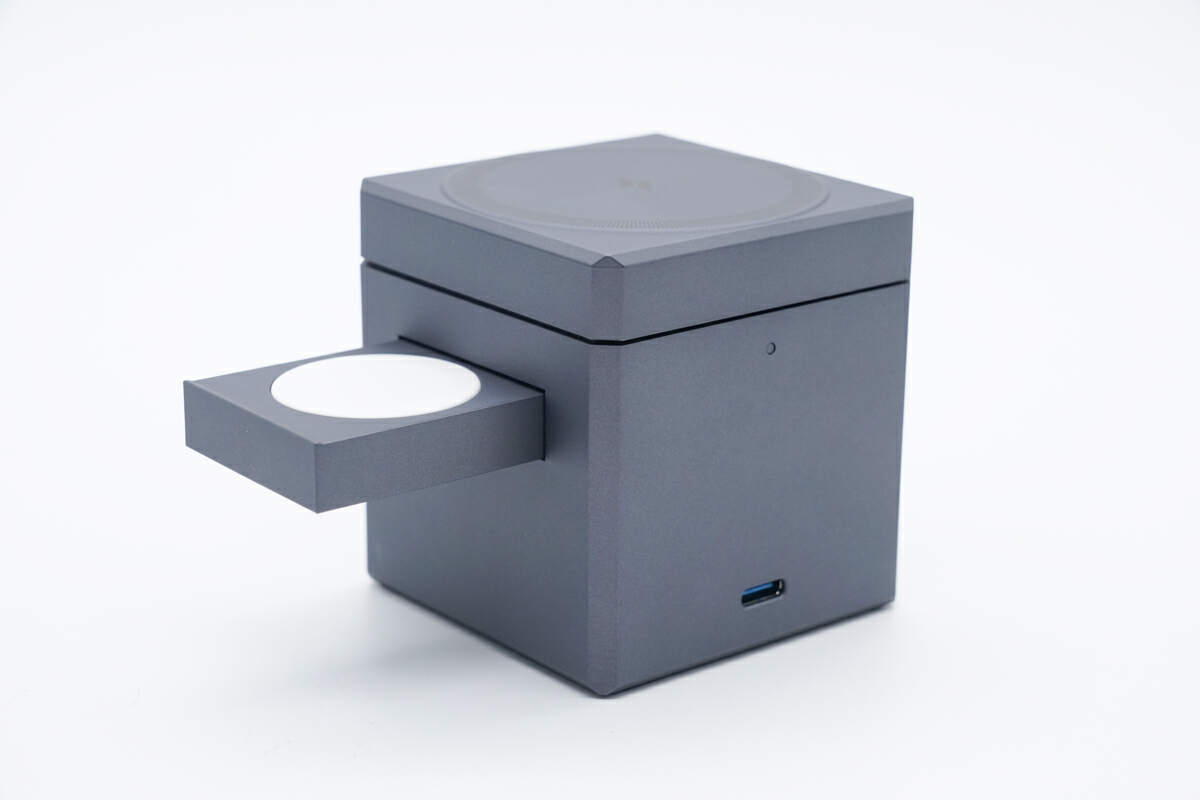
The wireless charging panel for your Apple Watch is hidden on the side and supports fast charging for compatible models.
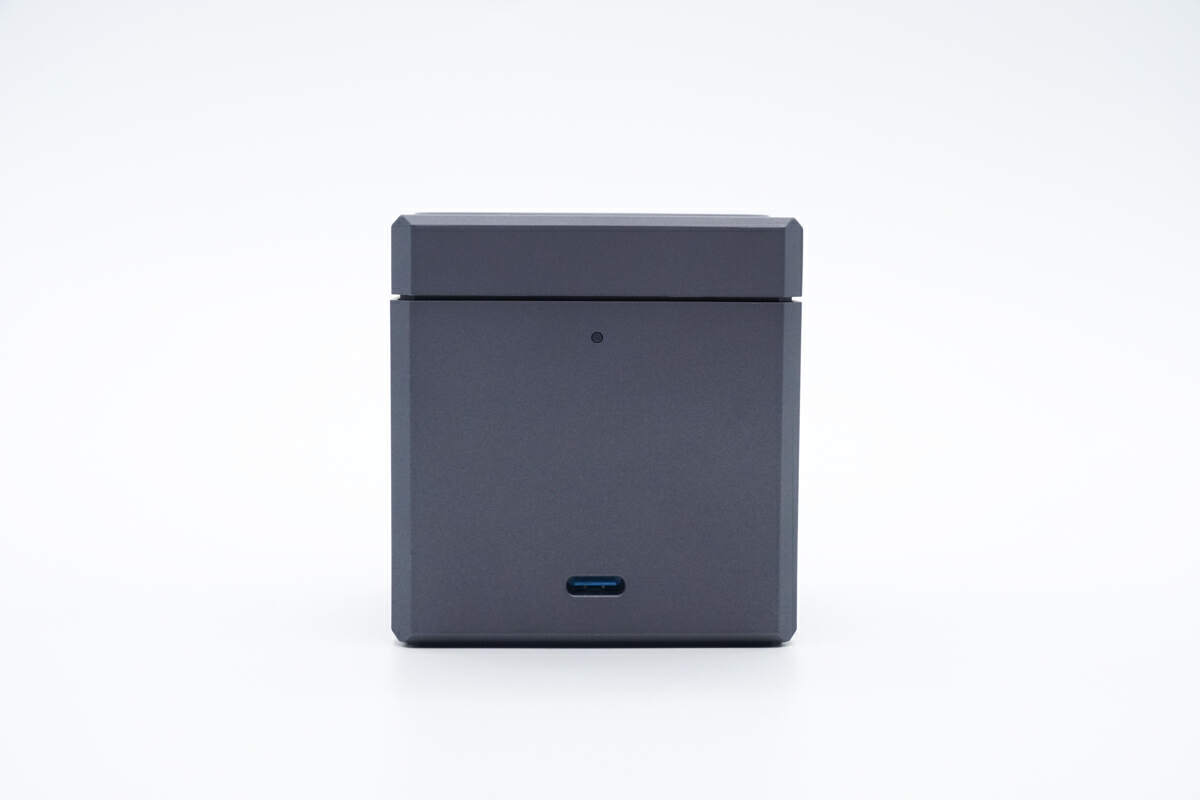
The LED indicator and input USB-C port are on the back. After connecting to the power supply, it'll light up in white, but it‘s always on only when the AirPods is charging.
A circle of small bumps can increase friction and prevent the phone from falling off.
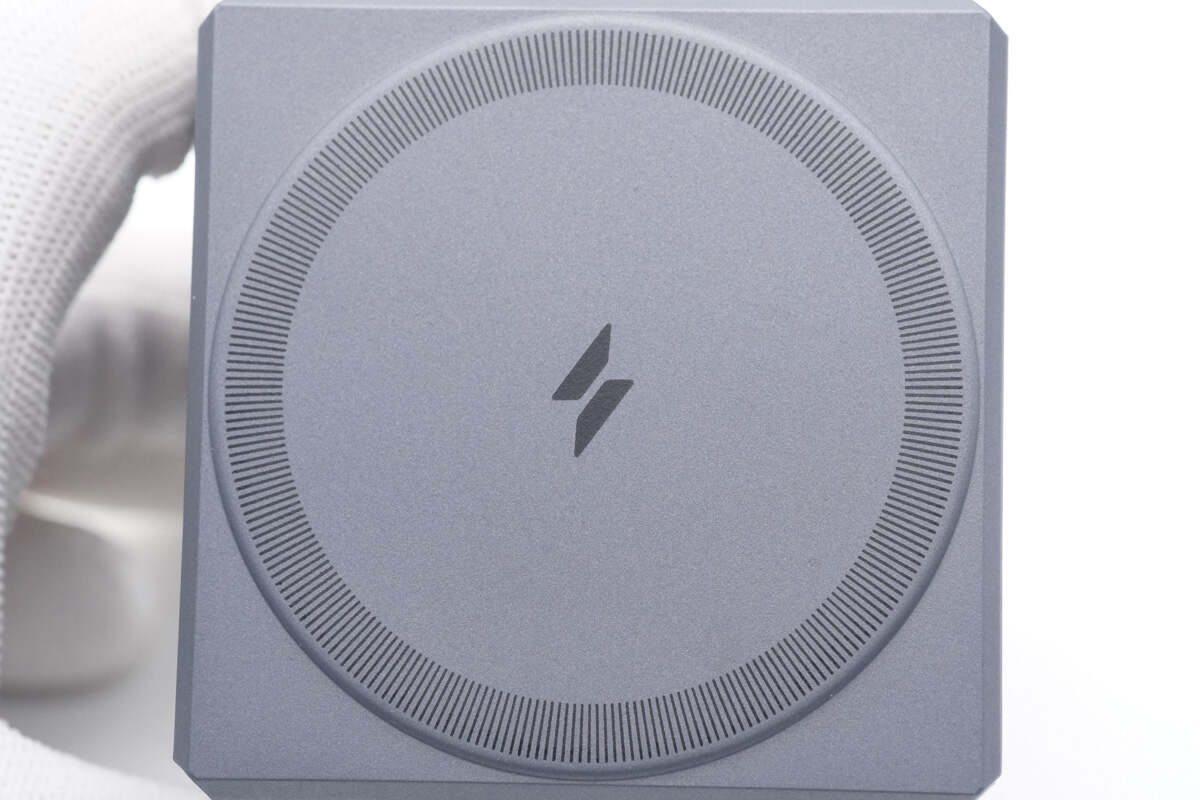
And the charging area for your Airpods is under the top cover.
You can see a charging logo located on the center.

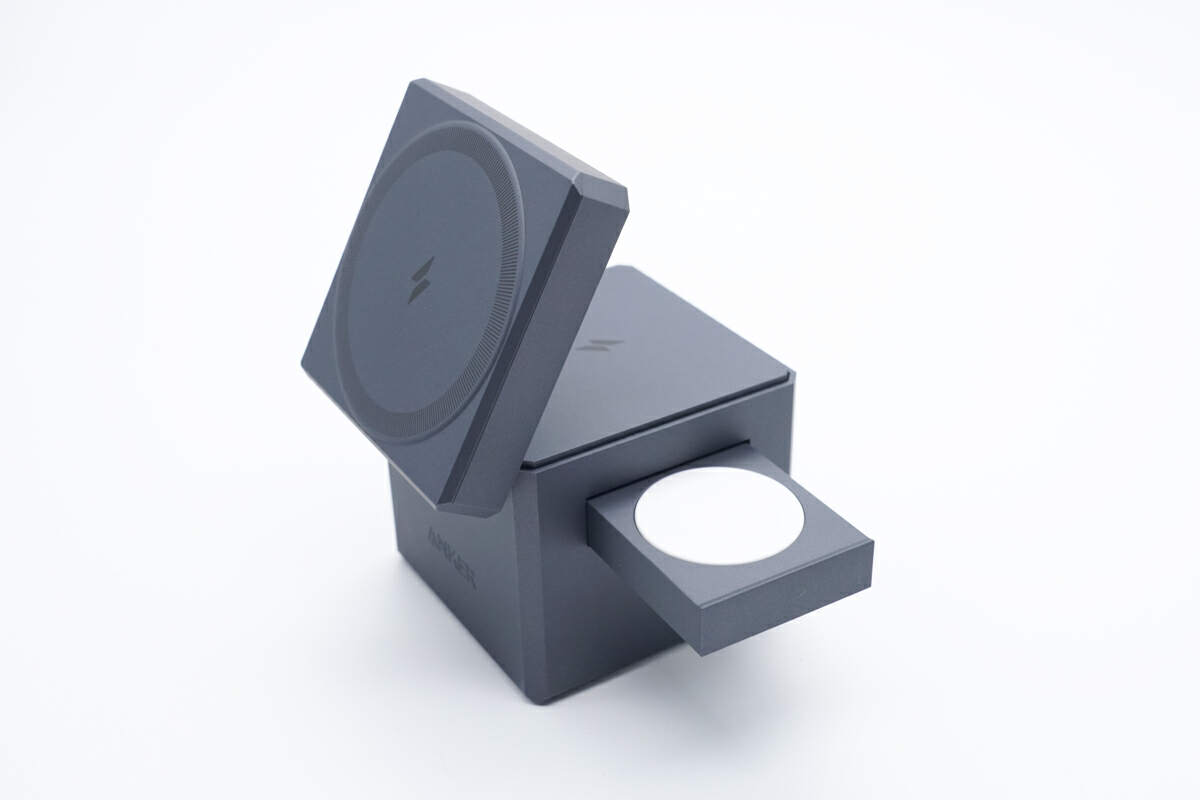
You can adjust its angle up or down to get the best viewing experience, and the adjustment range can be up to 60 degrees.
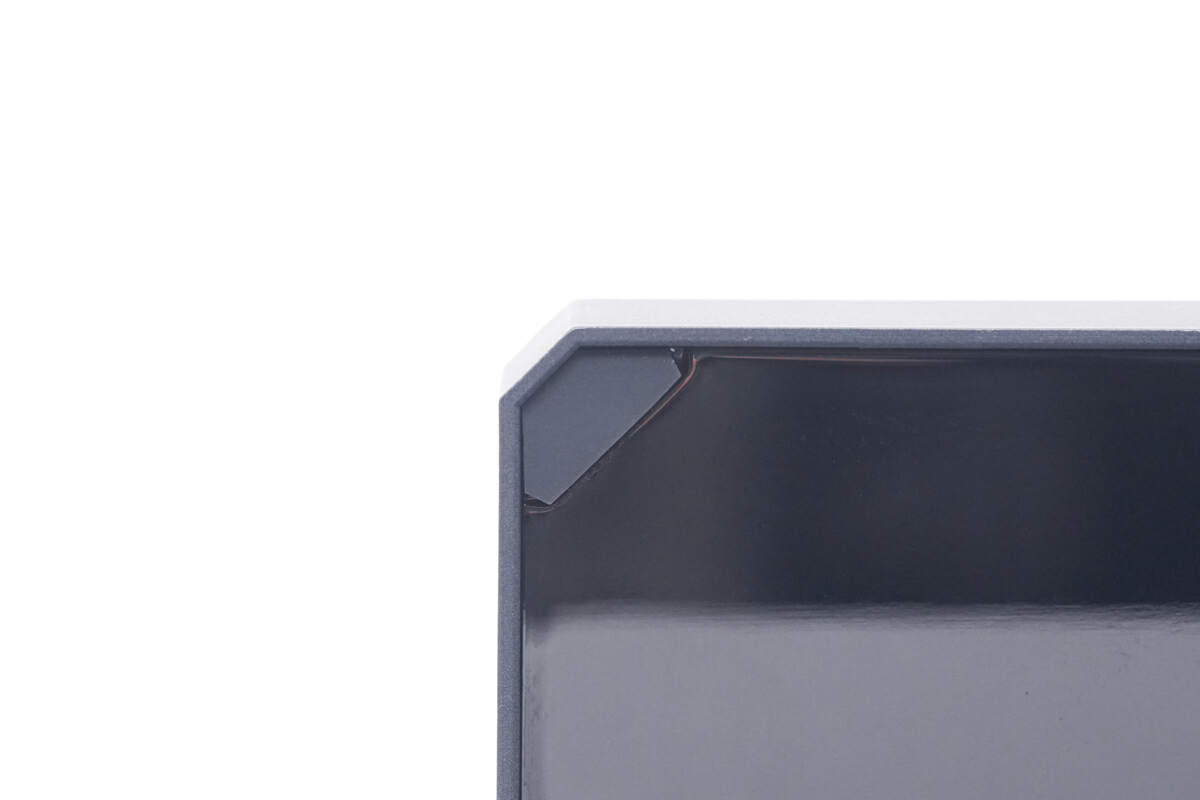
Careful design with rubber pads at the corners provides protection when the top area is folded, ensuring long-lasting use.
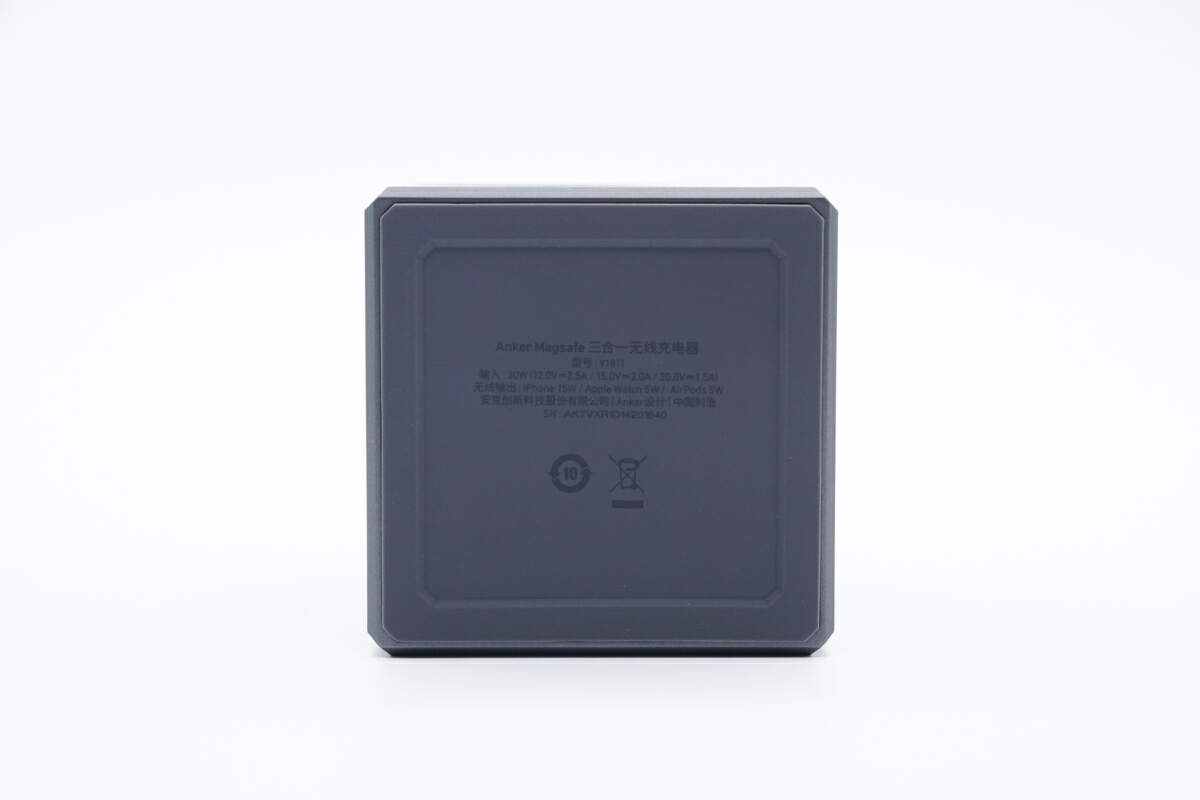
All specs info are printed at the bottom.
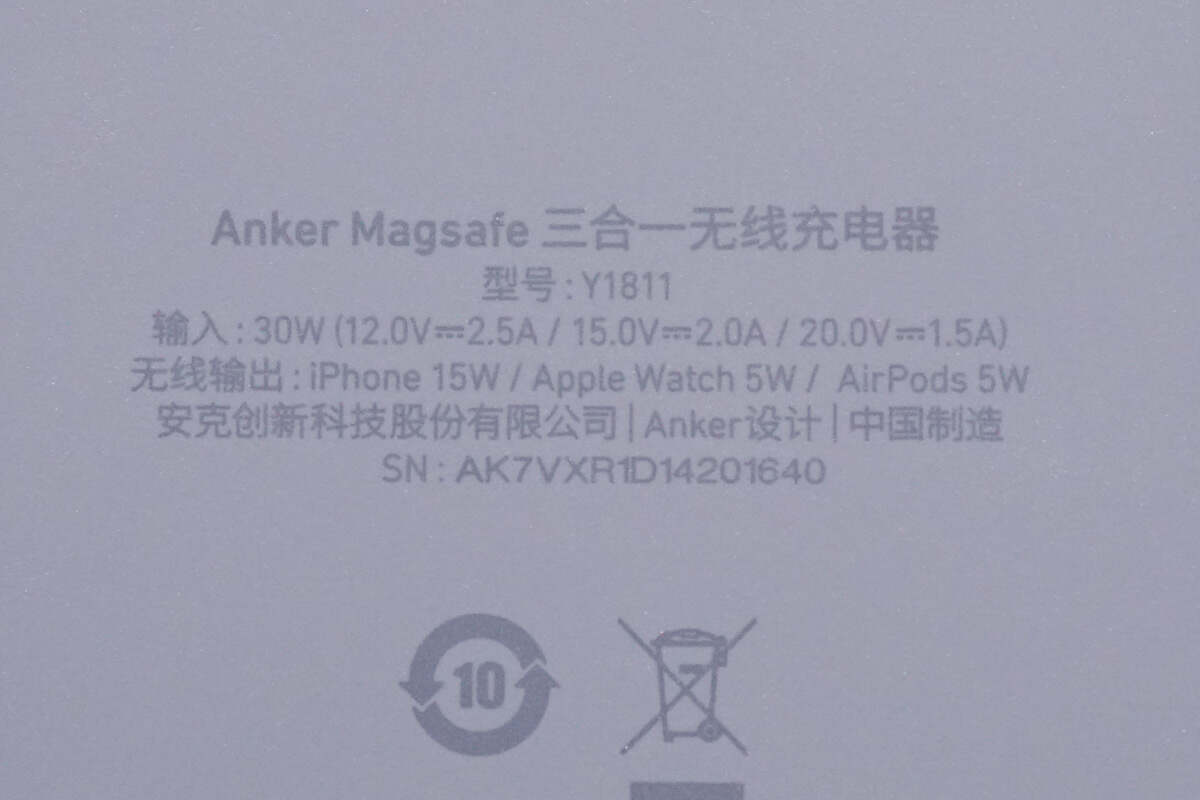
Model is Y1811. The lowest input power is 30W, you can also use other chargers beyond 30W to charge it. As for the output power, the iPhone can be up to 15W, while the Apple Watch and AirPods only reach 5W. Since part of the energy will be converted into heat when wireless charging your devices, the output power will be less than the input power.
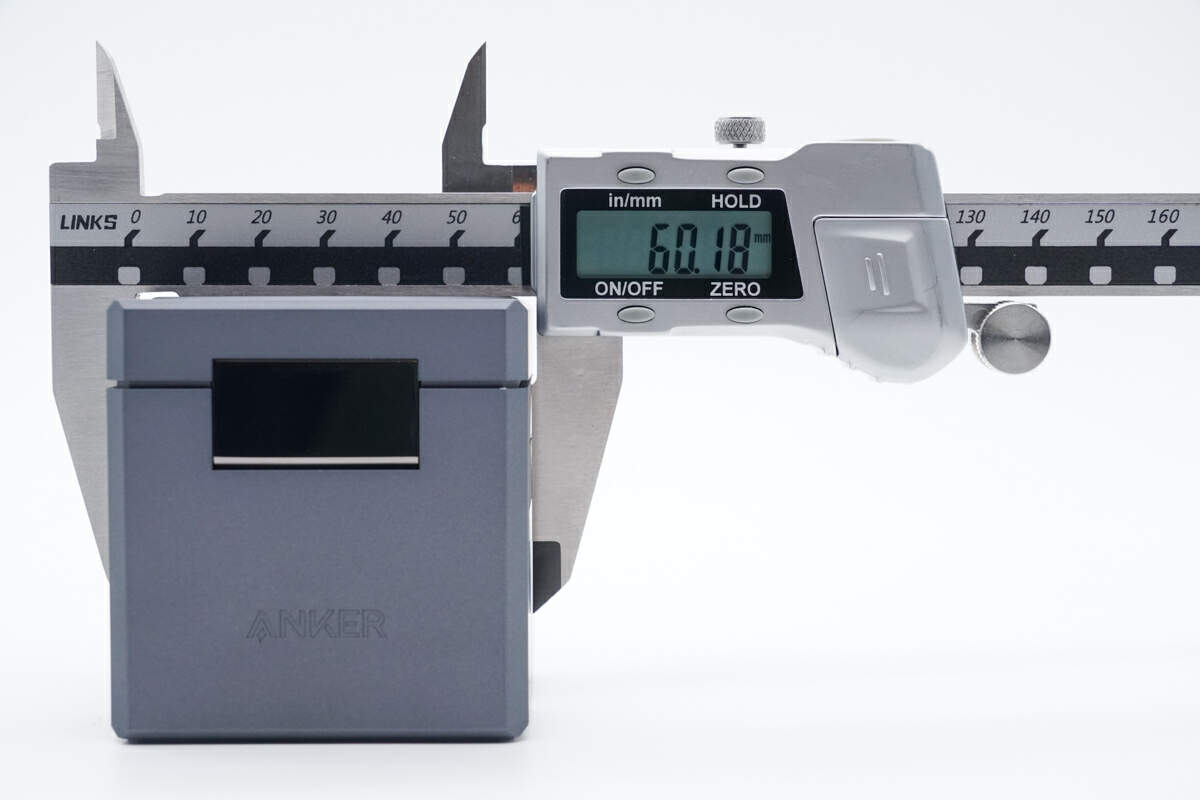
The length of the charging cube is about 60mm (2.36 inches).

The width is also about 60mm (2.36 inches).
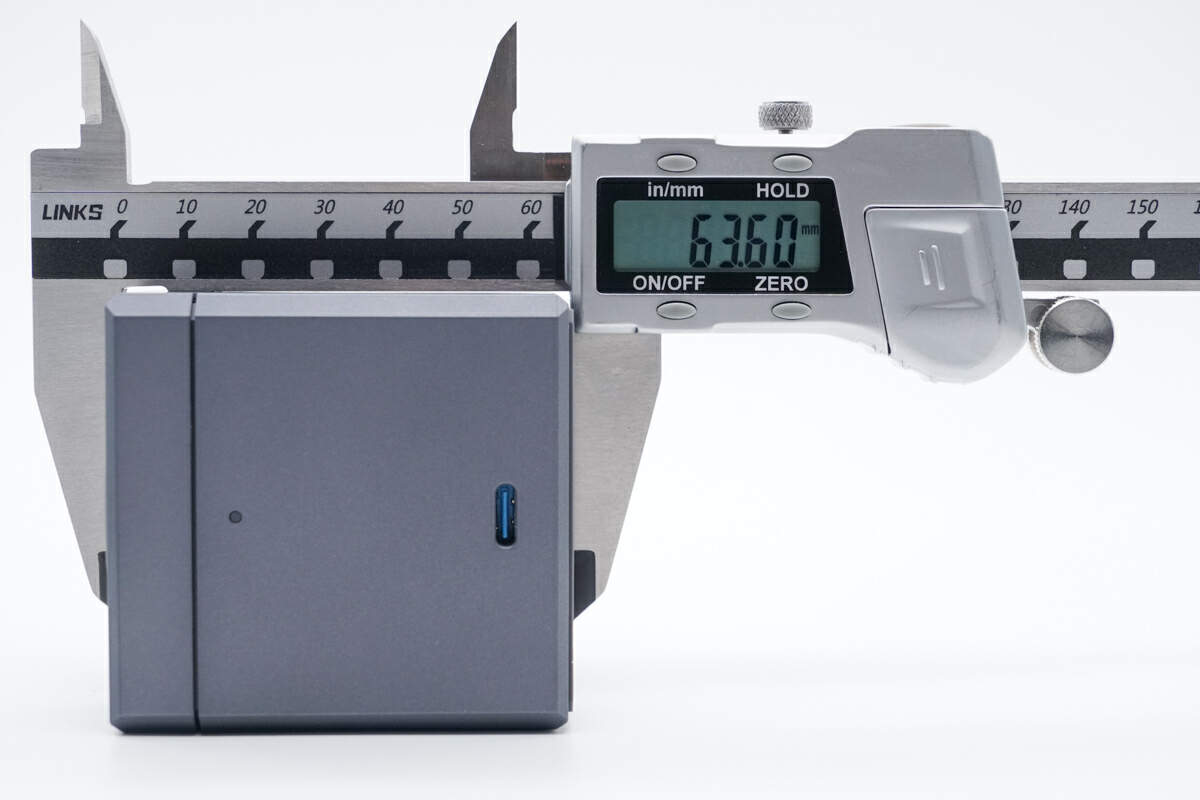
And the height is about 63mm (2.48 inches).
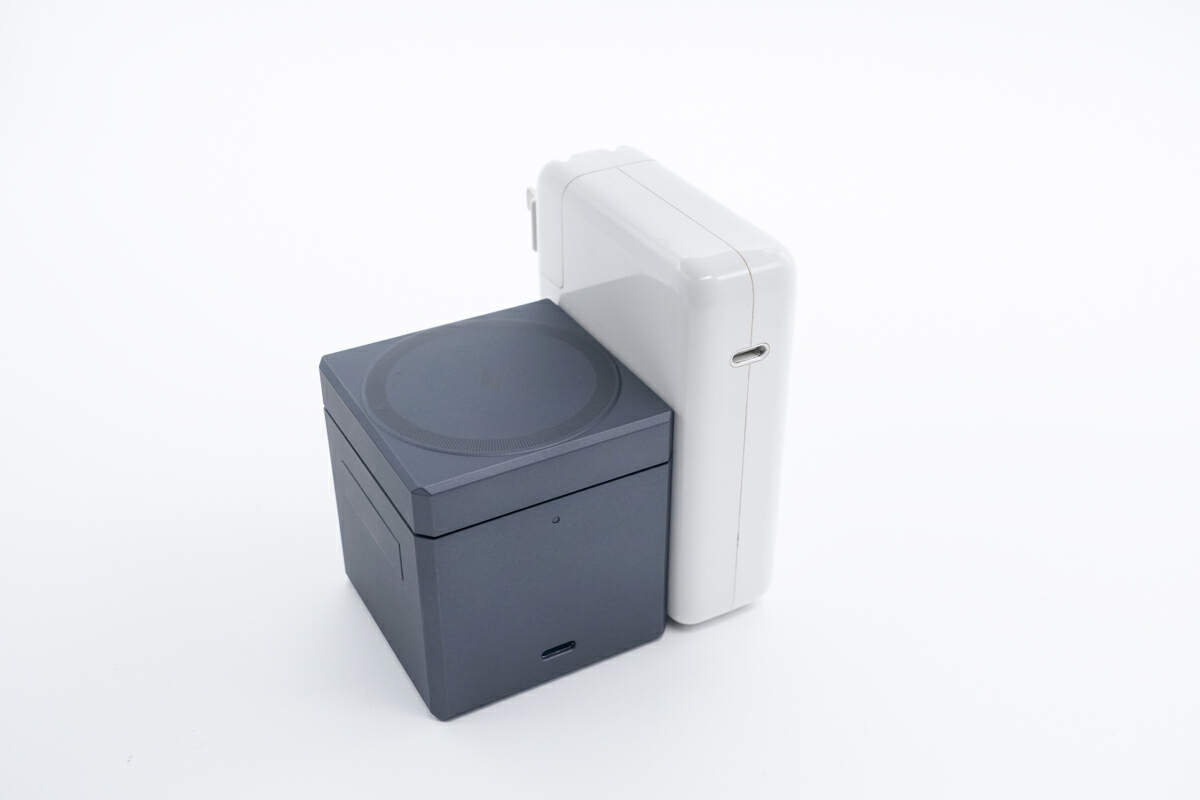
This is how it looks like when compared to an Apple 140W Power Adapter.
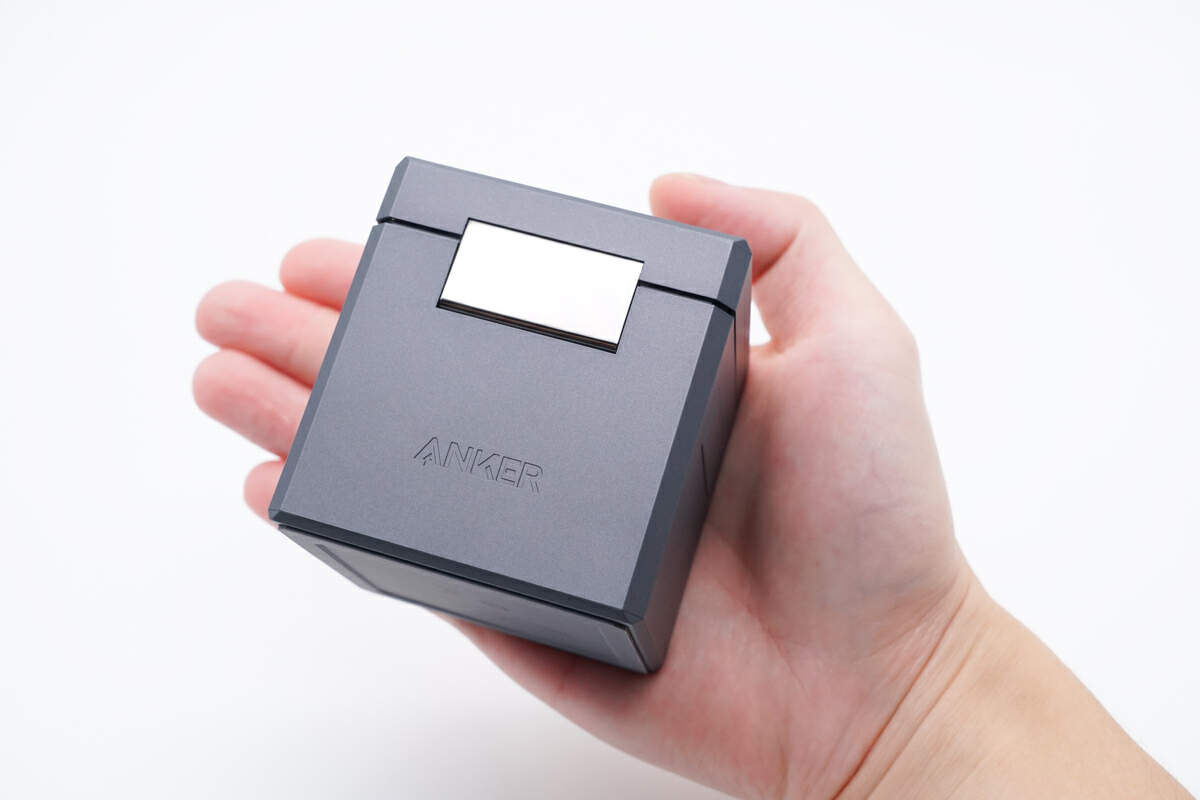
And how it looks like on my hand.
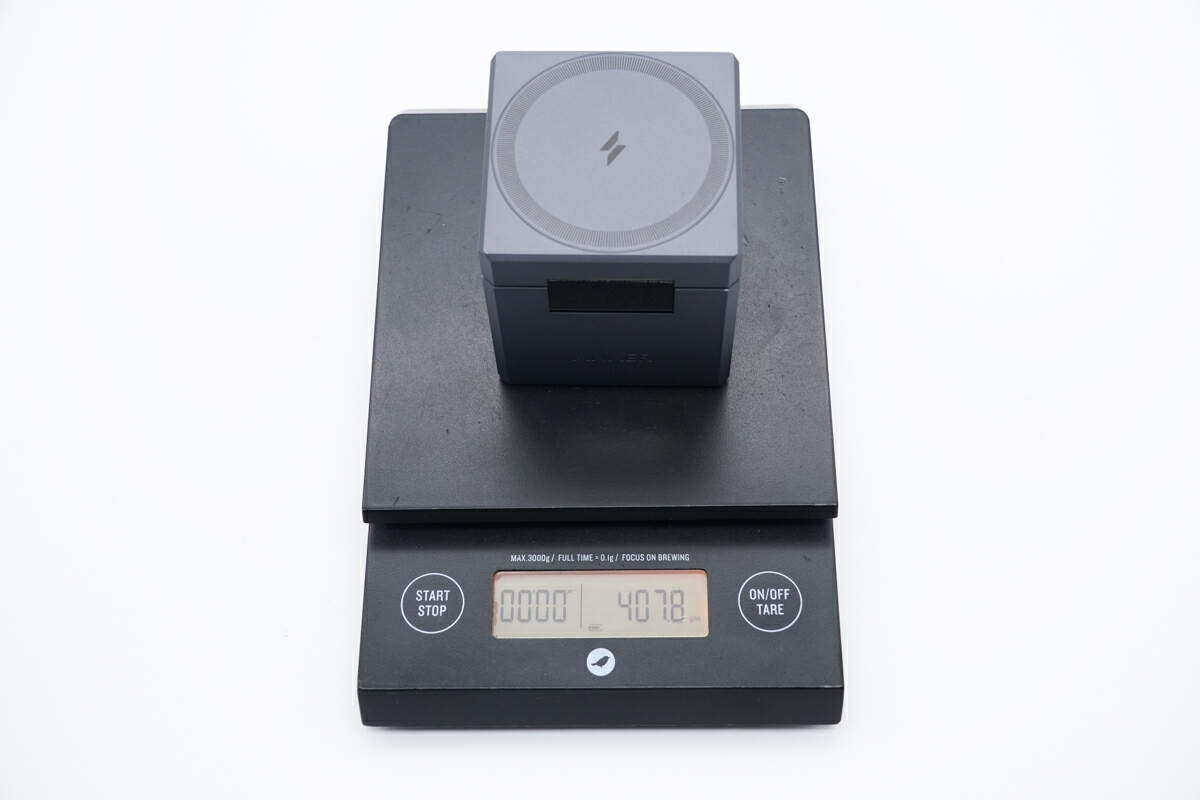
And the weight is about 407g (14.36 oz), roughly equivalent to the weight of two iPhone 11 combined.
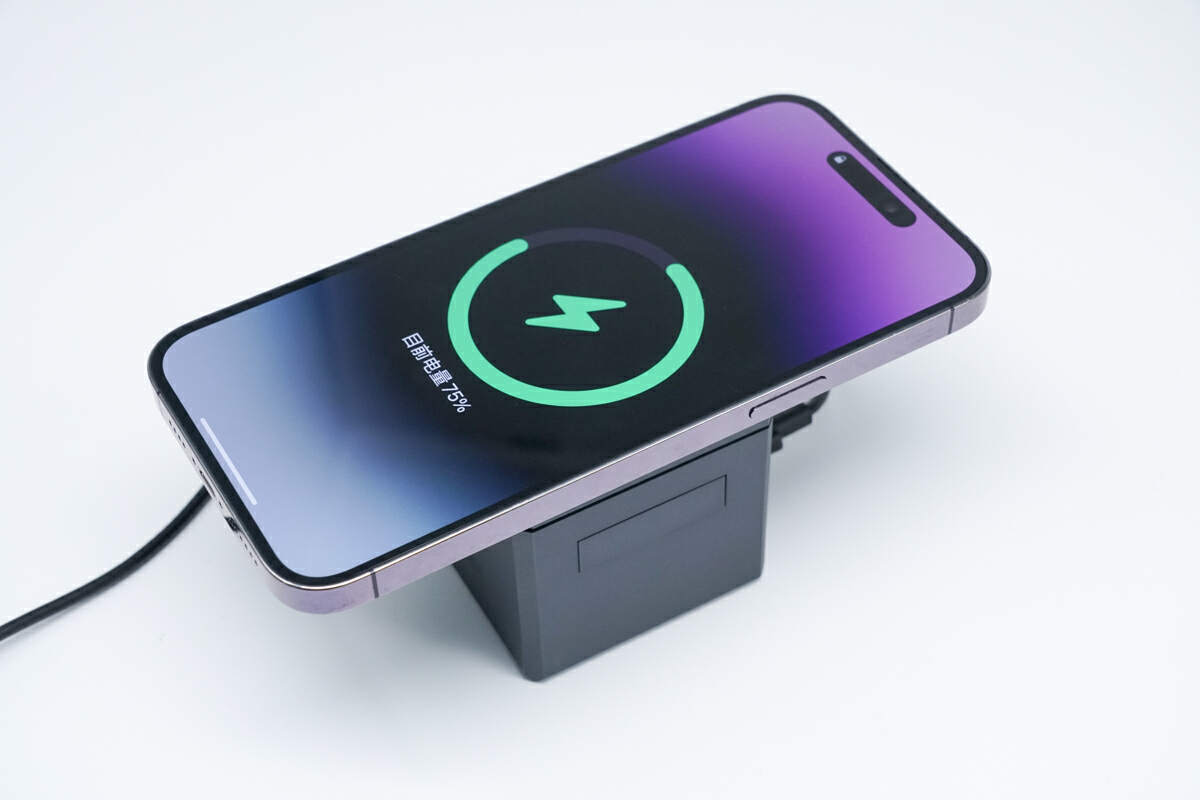
During wireless charging for your phone, you can place it flat.
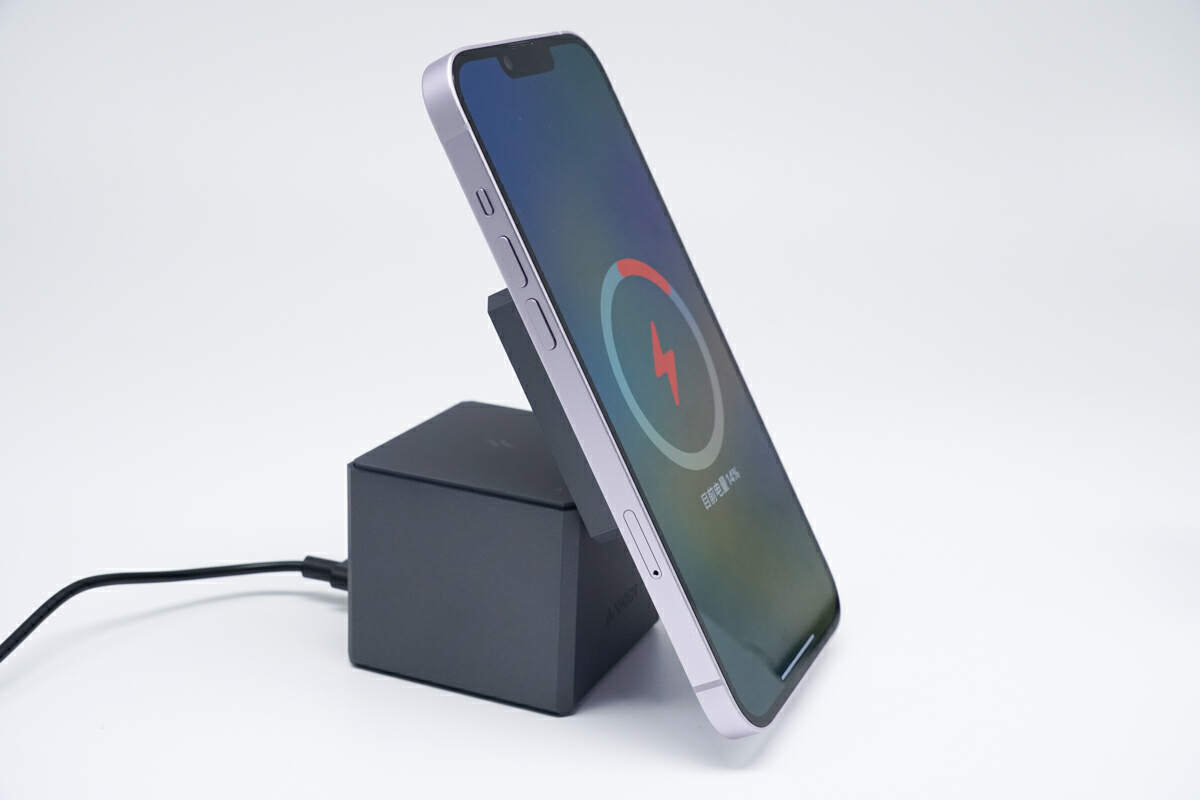
When there's a need for receiving messages, watching videos, and more, you can unfold the wireless charging pad to provide MagSafe charging for your phone, offering a decent user experience.

When charging three devices simultaneously, the original charger's output power was measured at 28.4W.
Teardown
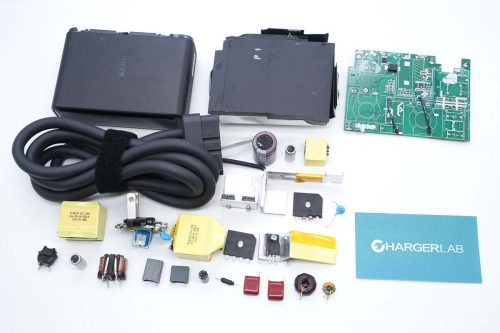
Now that we have completed our unboxing and testing of this cube, it's time to take it apart and examine its internal components and structure.
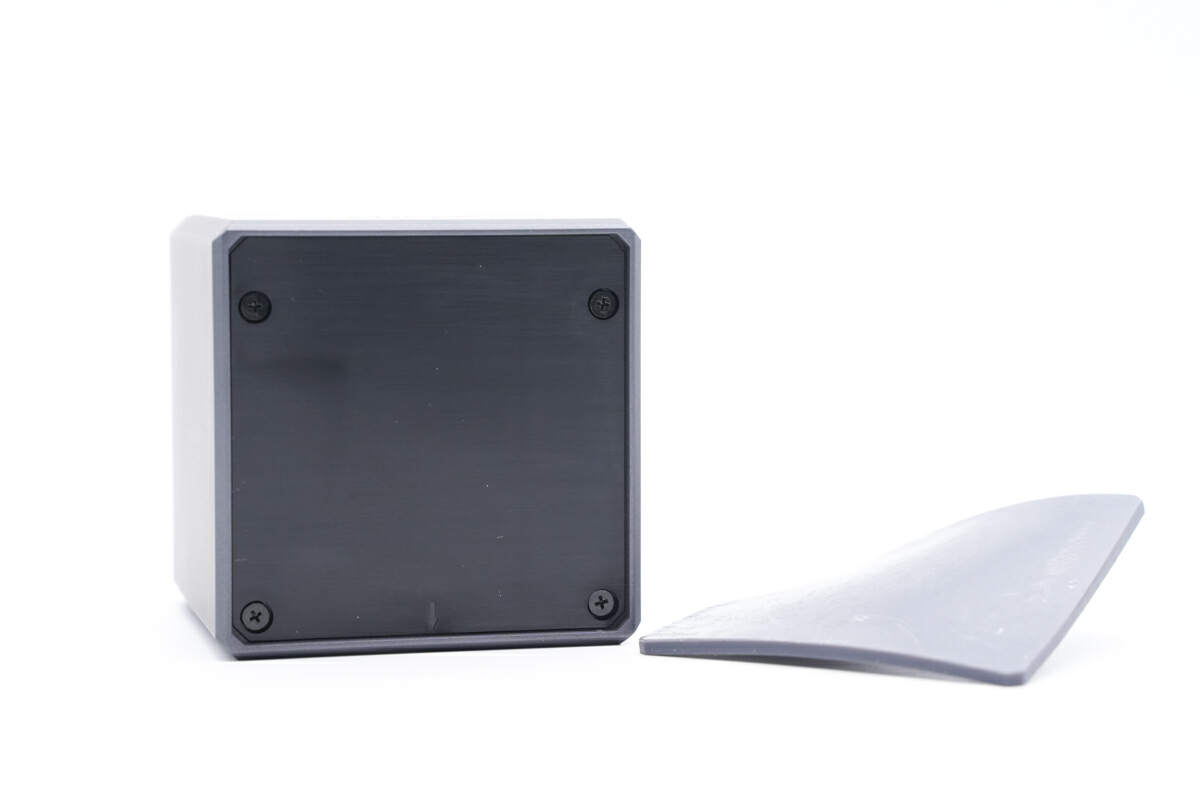
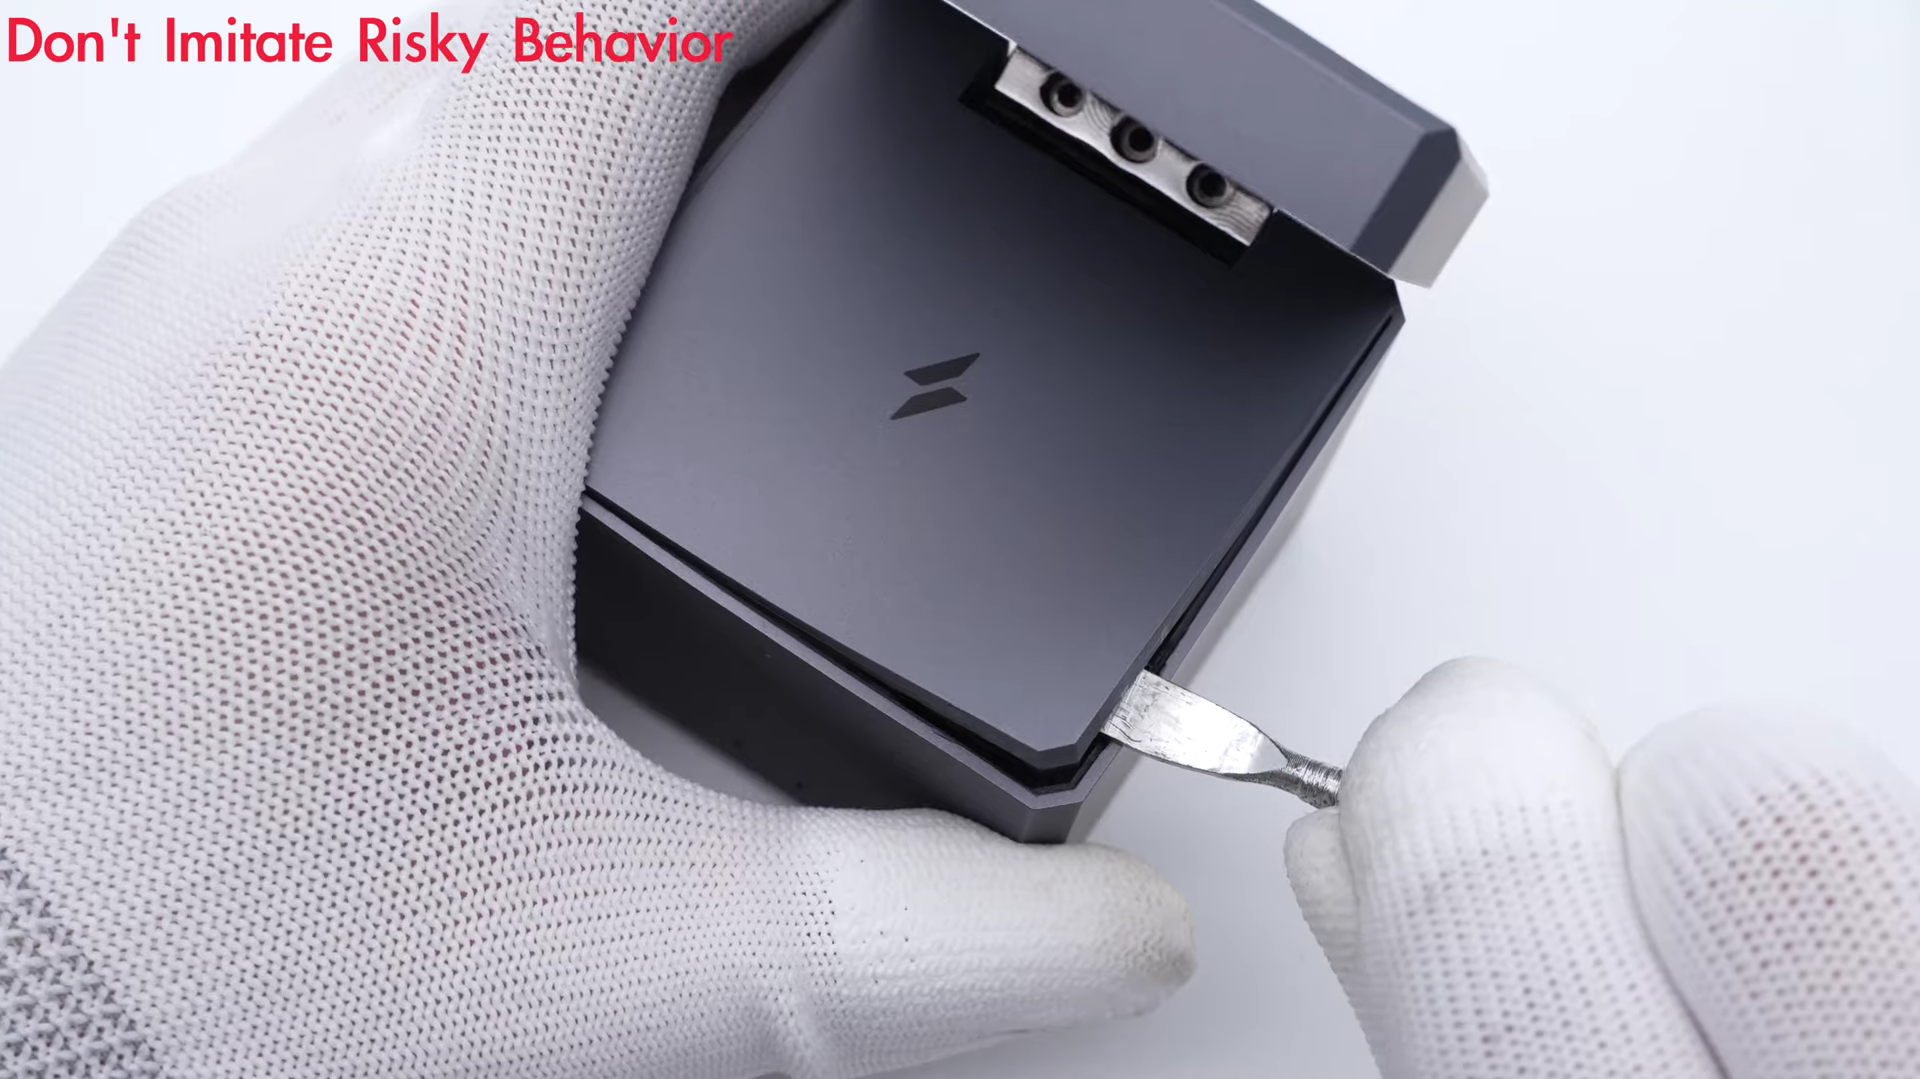
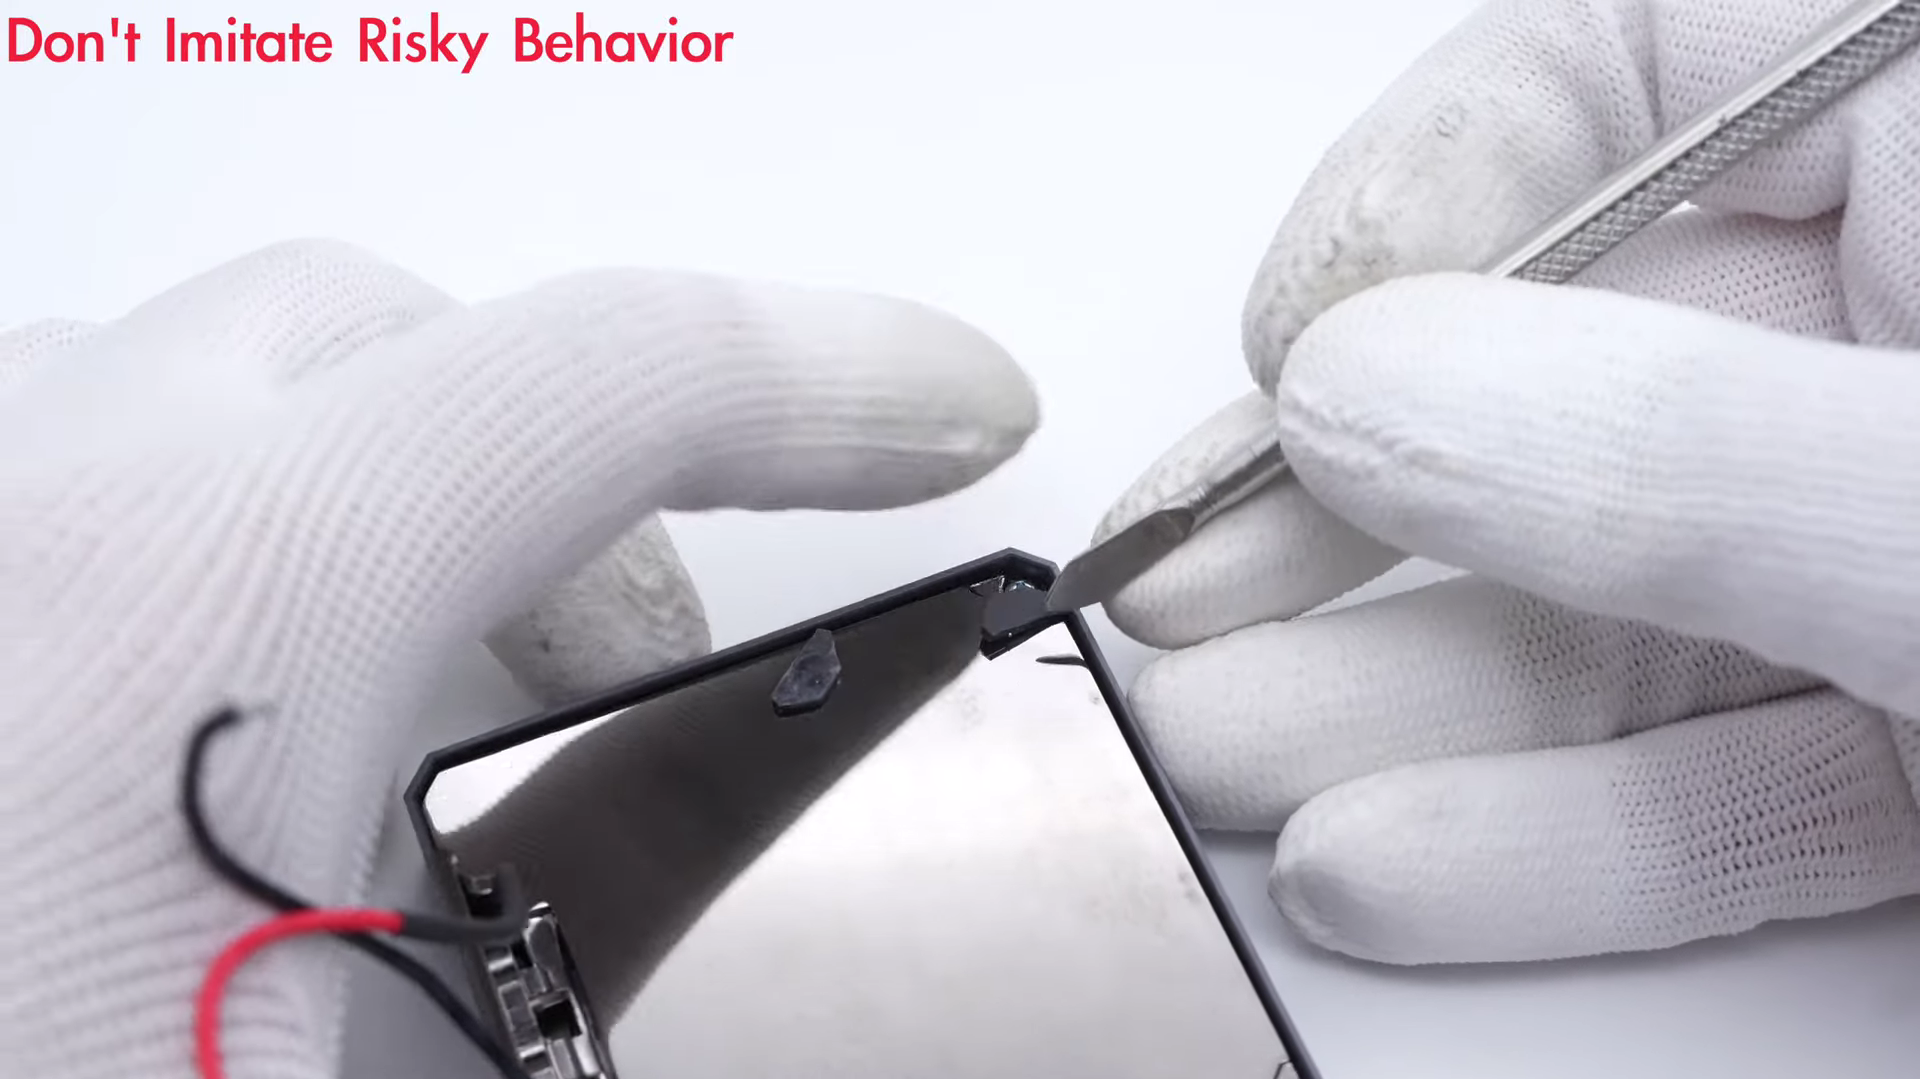
Tear off the rubber pad.
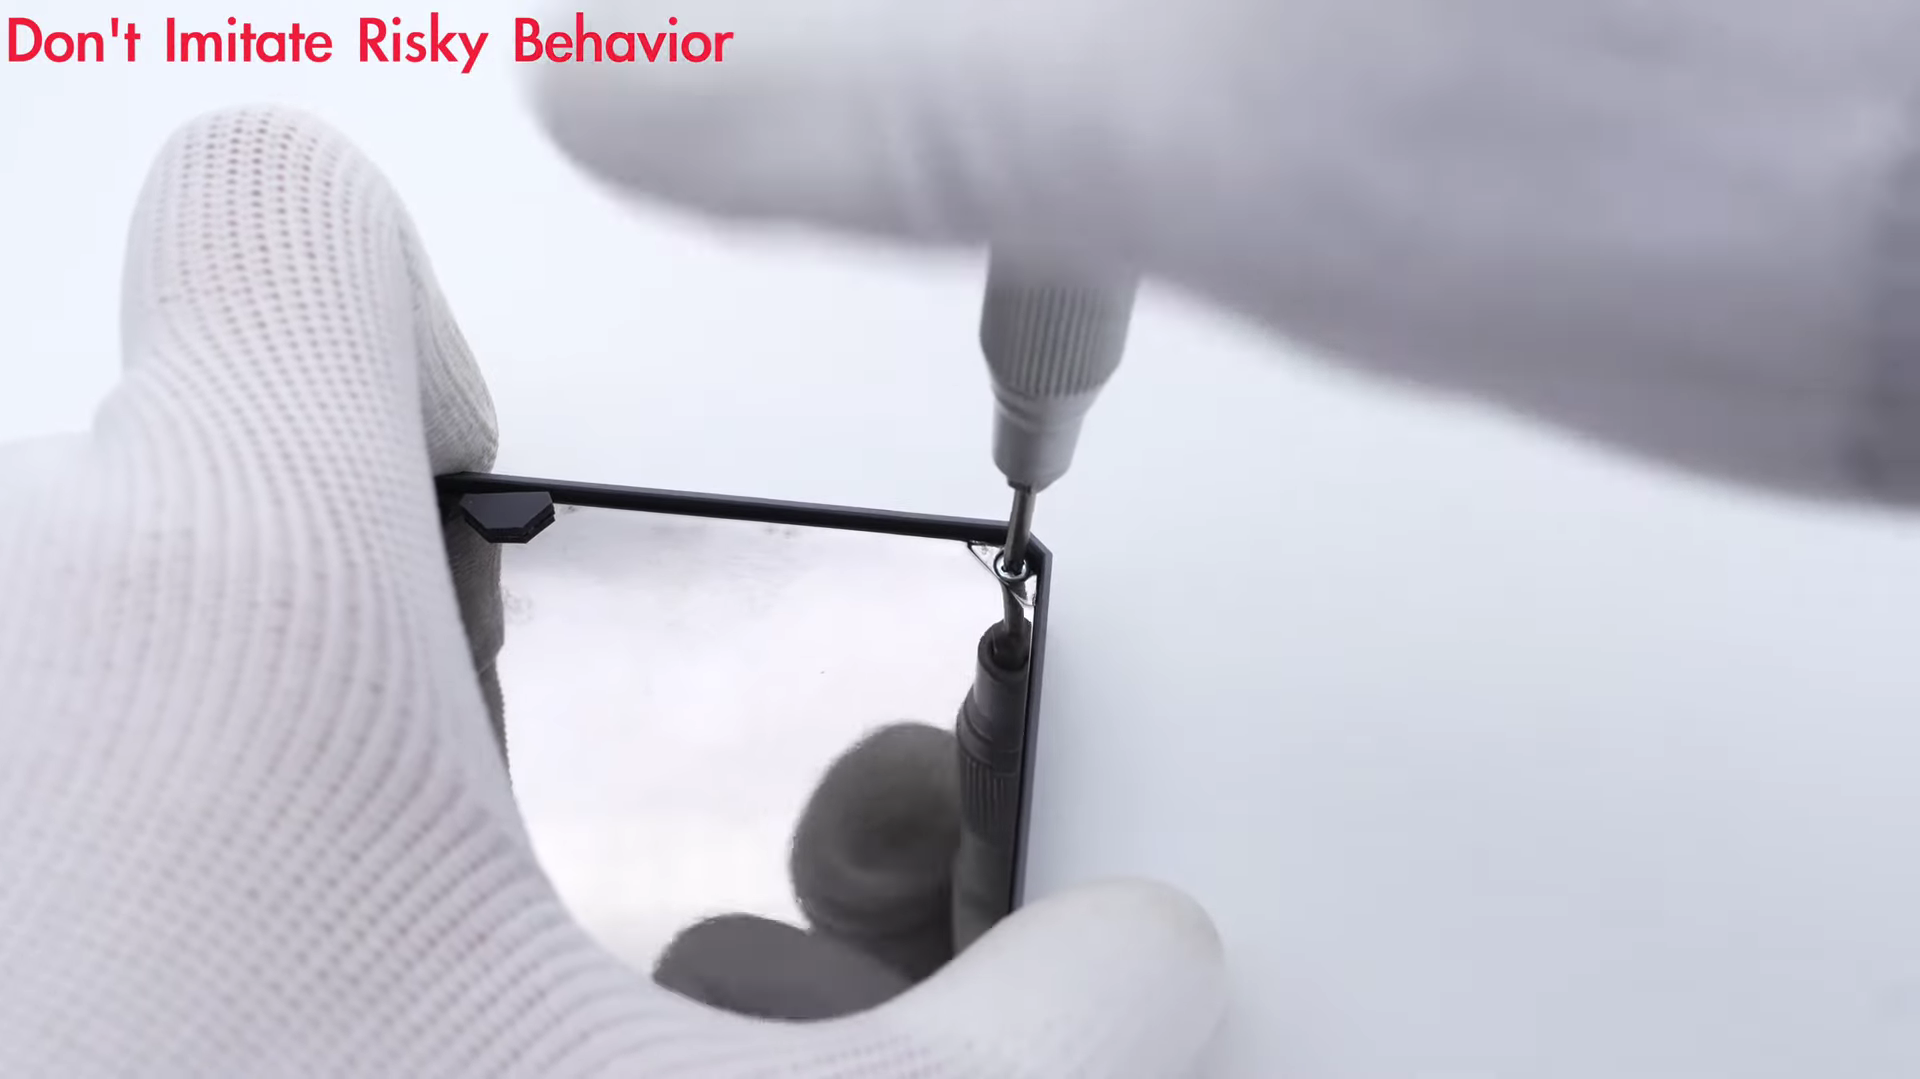
And then remove those fixing screws.
The main PCB is also fixed with screws.
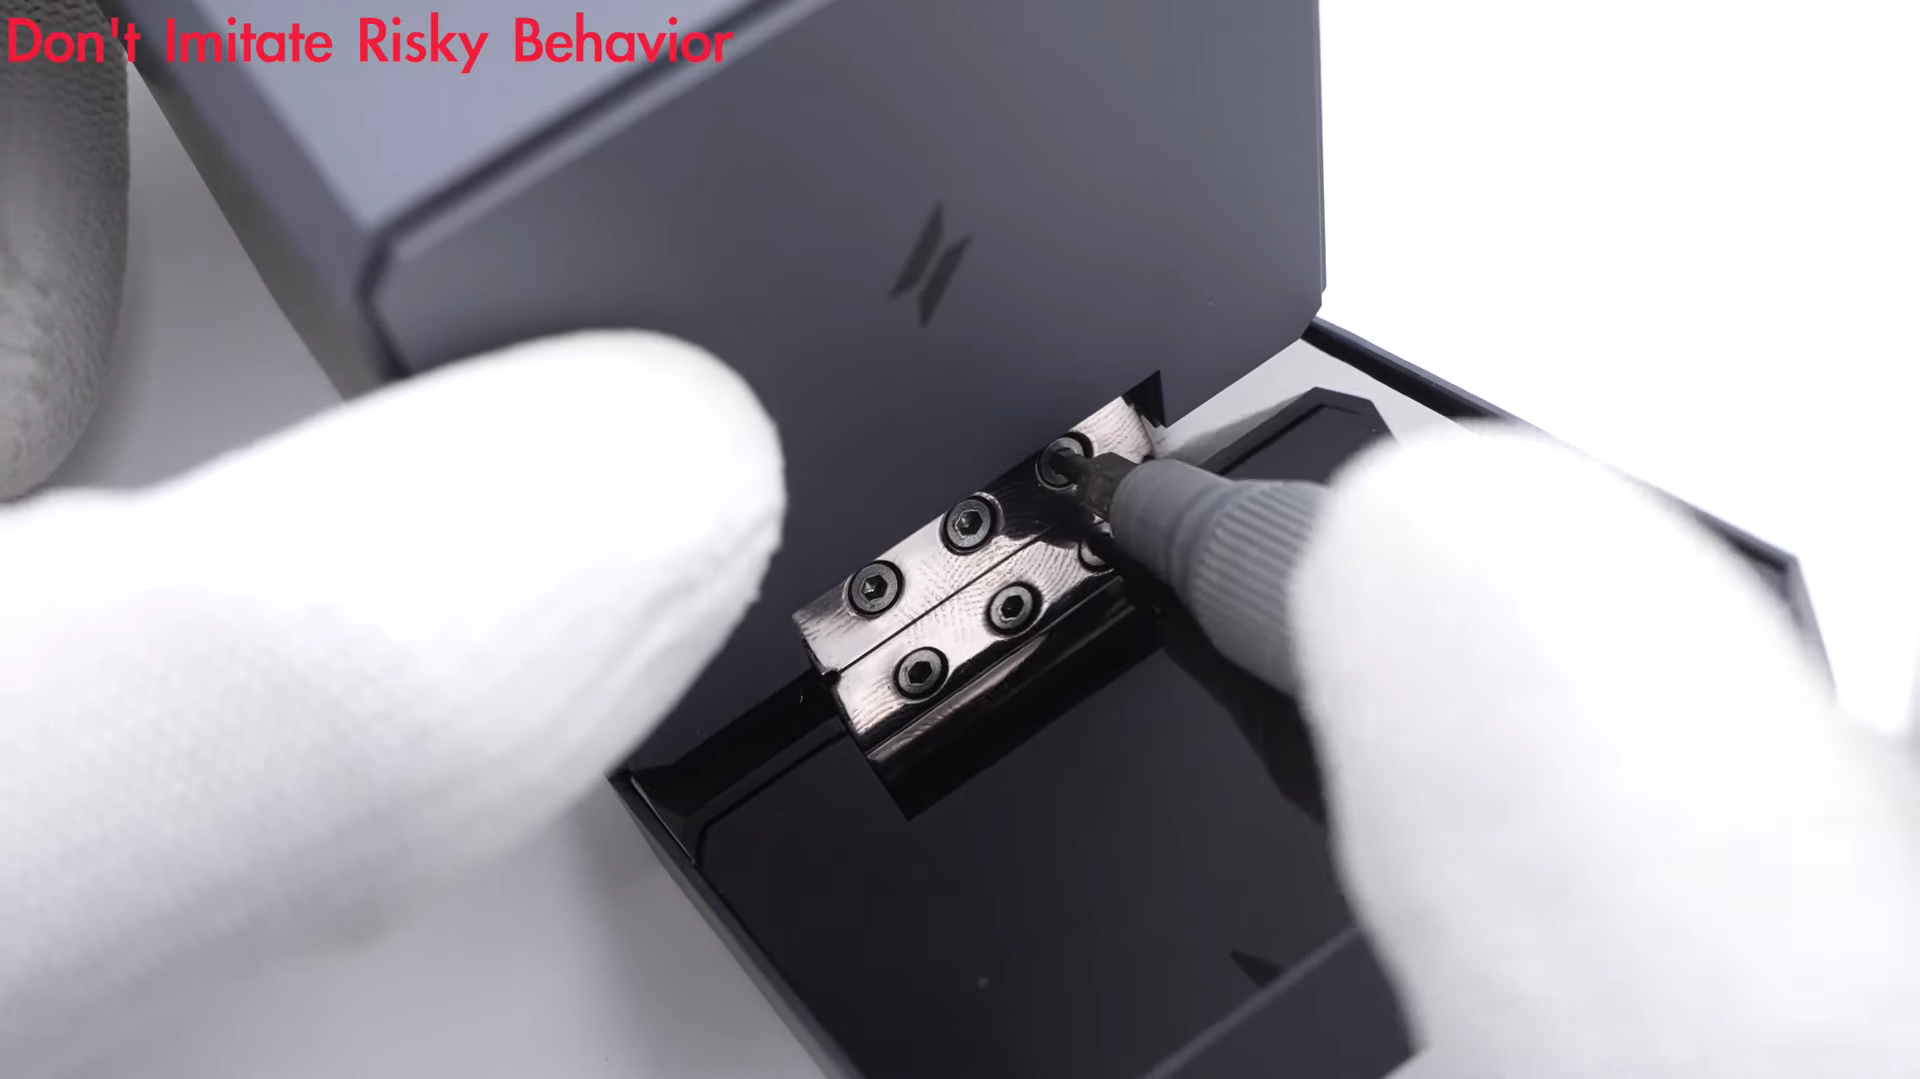
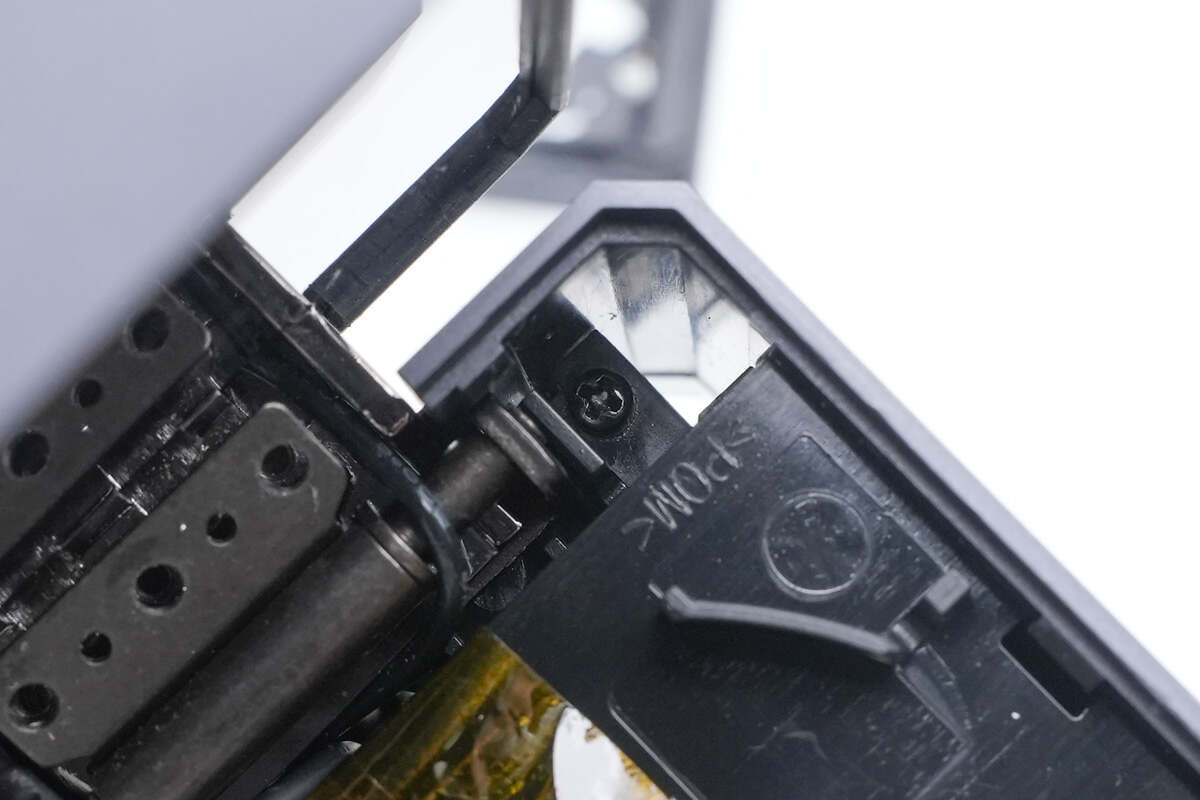
Next, let's put that aside for now and focus on the upper part first. Remove the hinge.
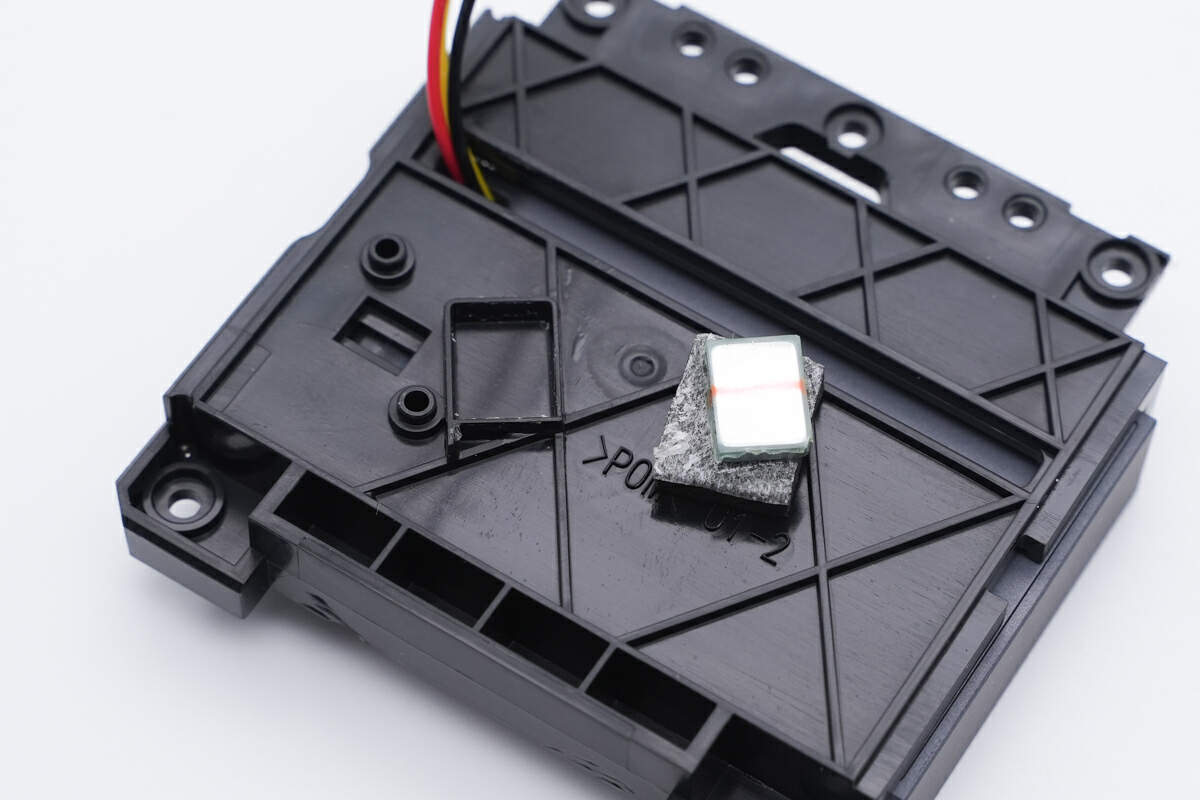
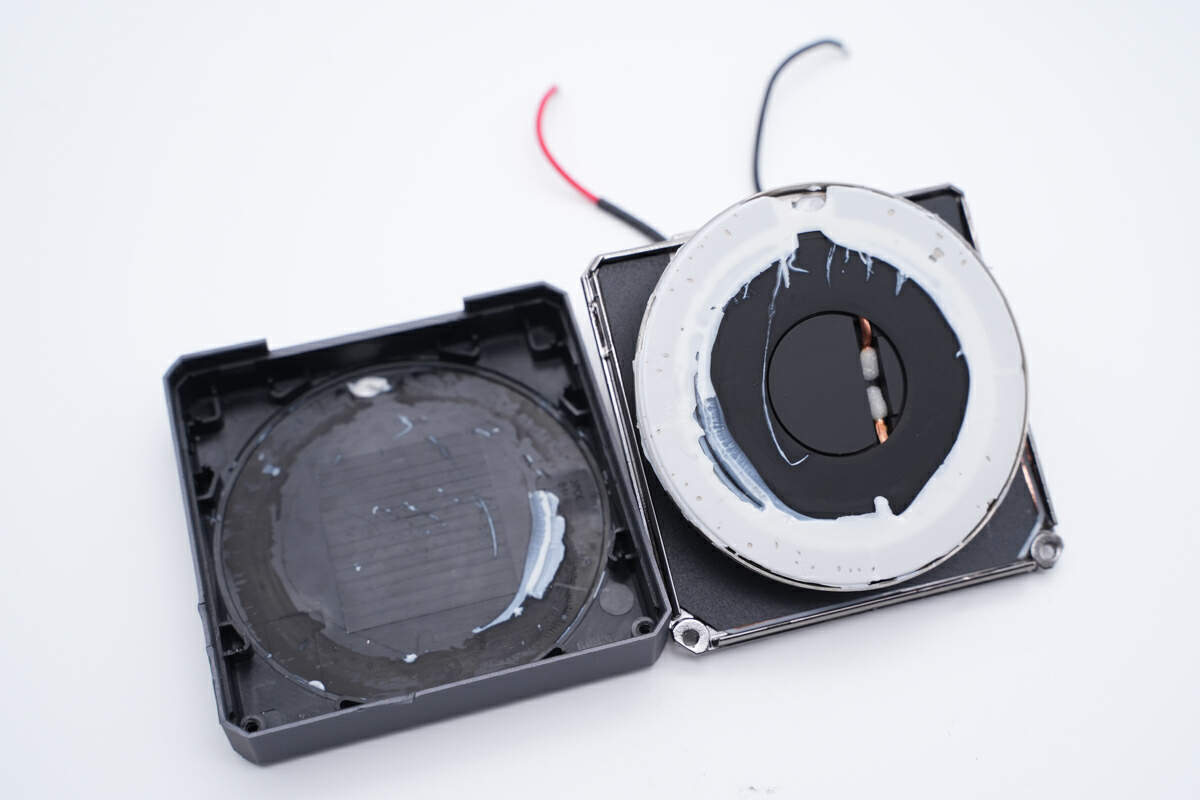
Use the spudger to remove the wireless charging panel of the AirPods.
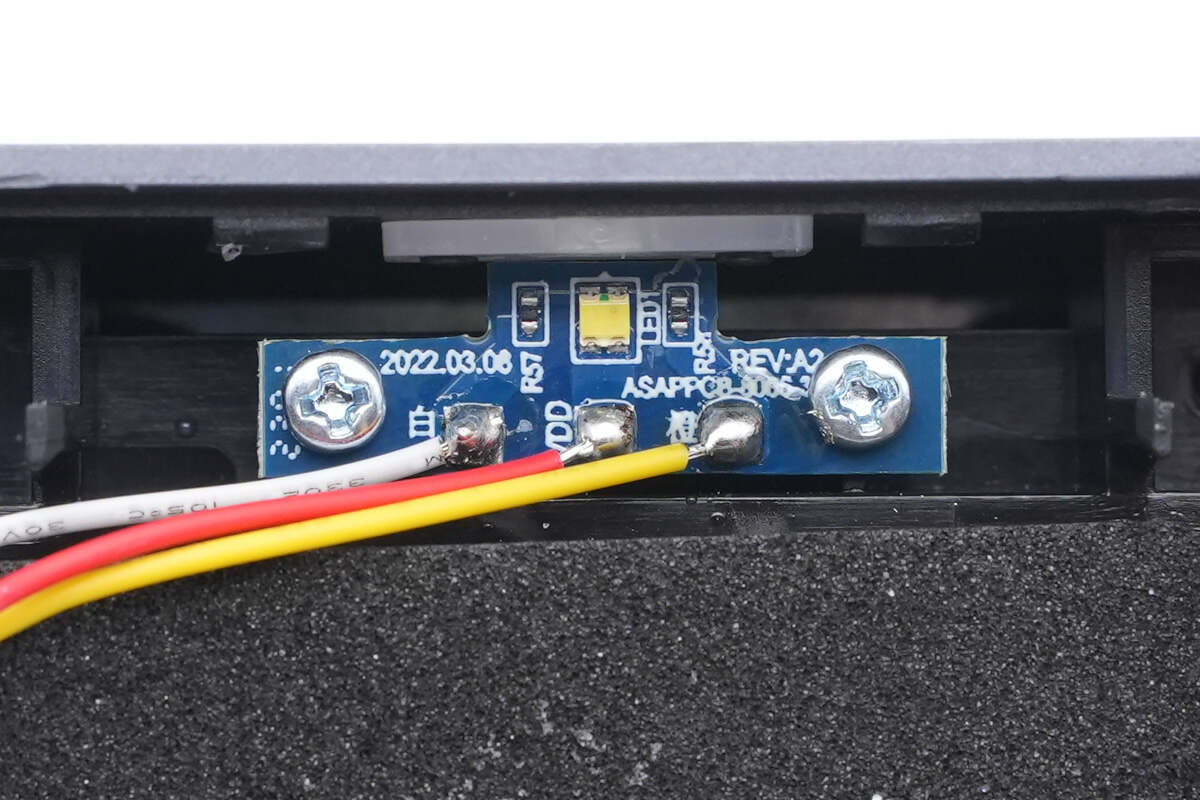
There is a small PCB of LED light, and it's fixed by screws.
Remove it.
The magnetic separator inside was damaged during the teardown.
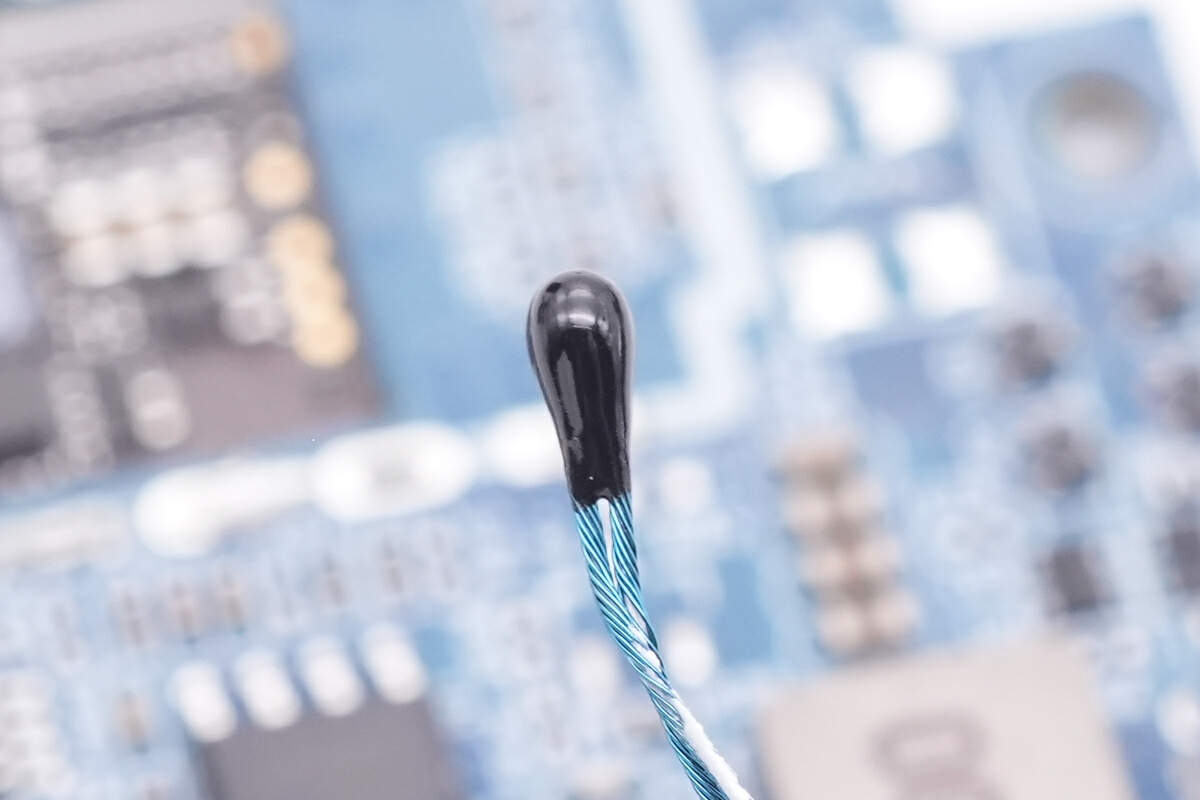
The wireless charging coil and thermistor are pasted inside the panel.
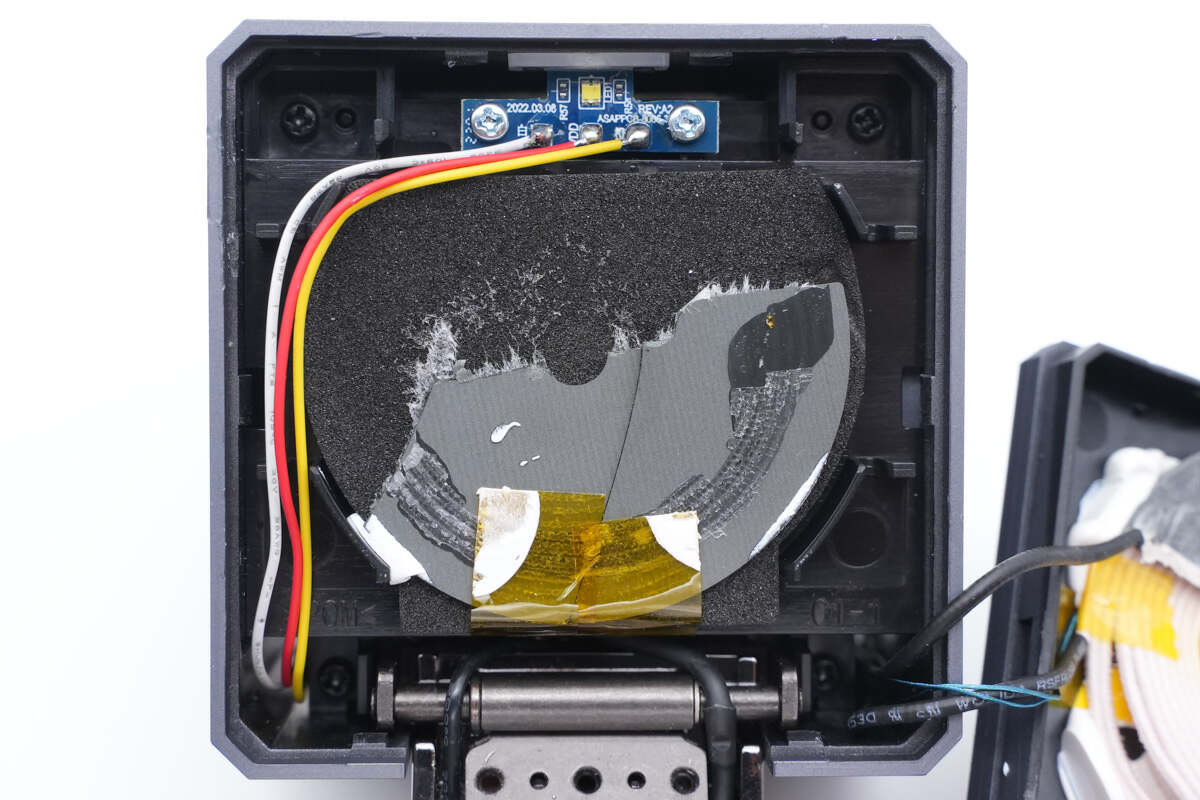
This looks kind like a mess, but let's continue.
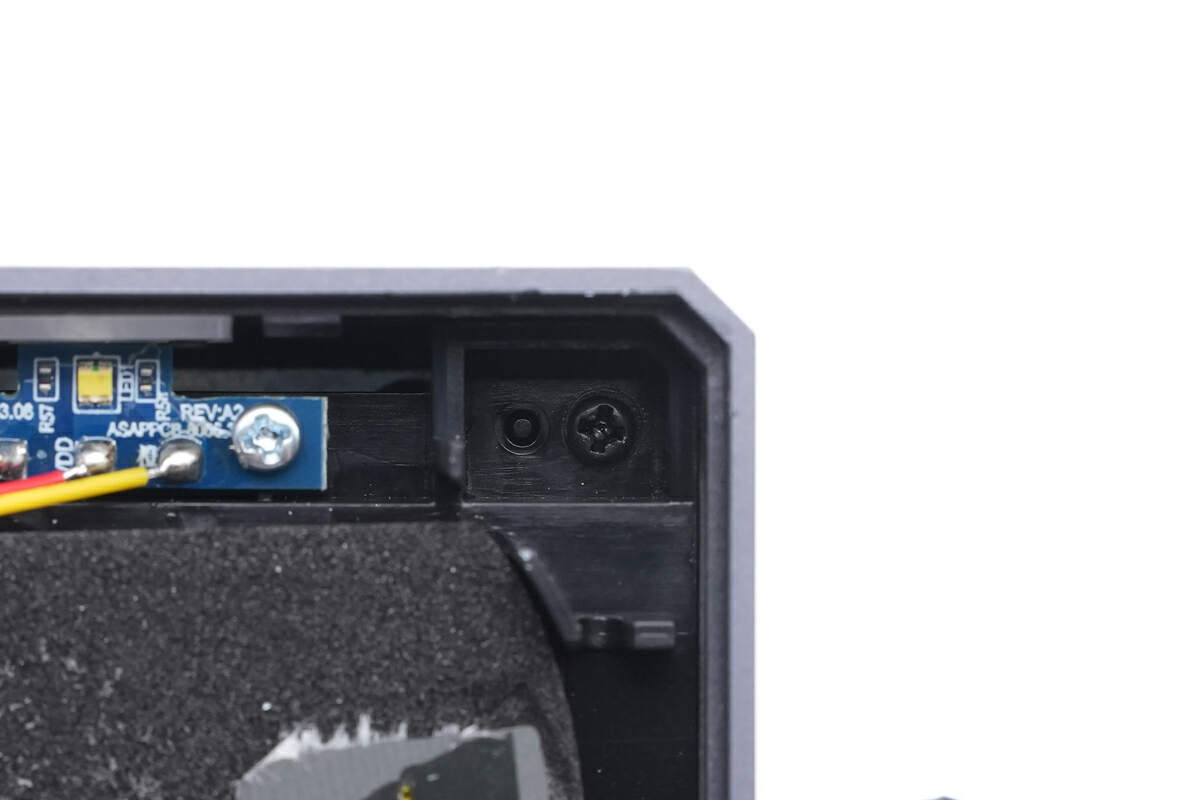
The internal bracket is also secured with screws.
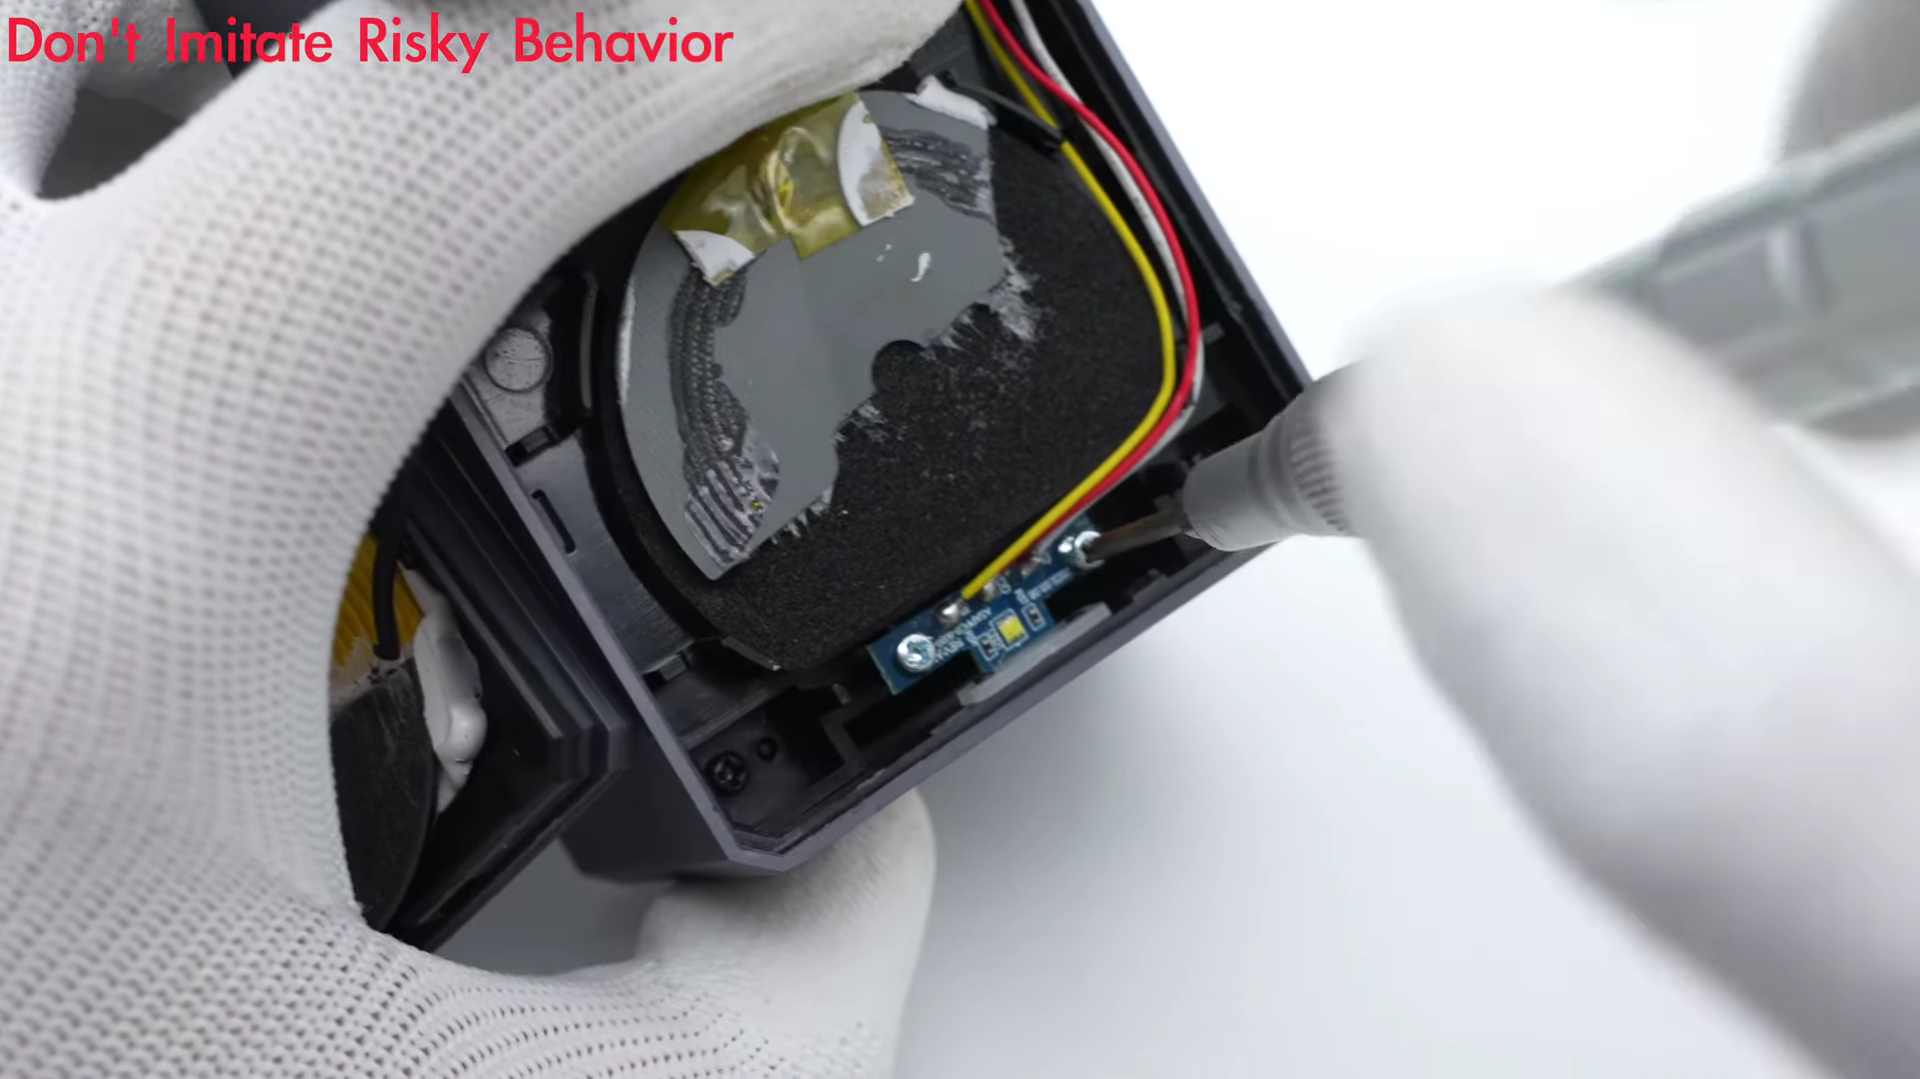
Beneath the bracket is a coil for wirelessly charging the watch.
Unscrew the fastening screws to remove the cover plate that secures the coil.
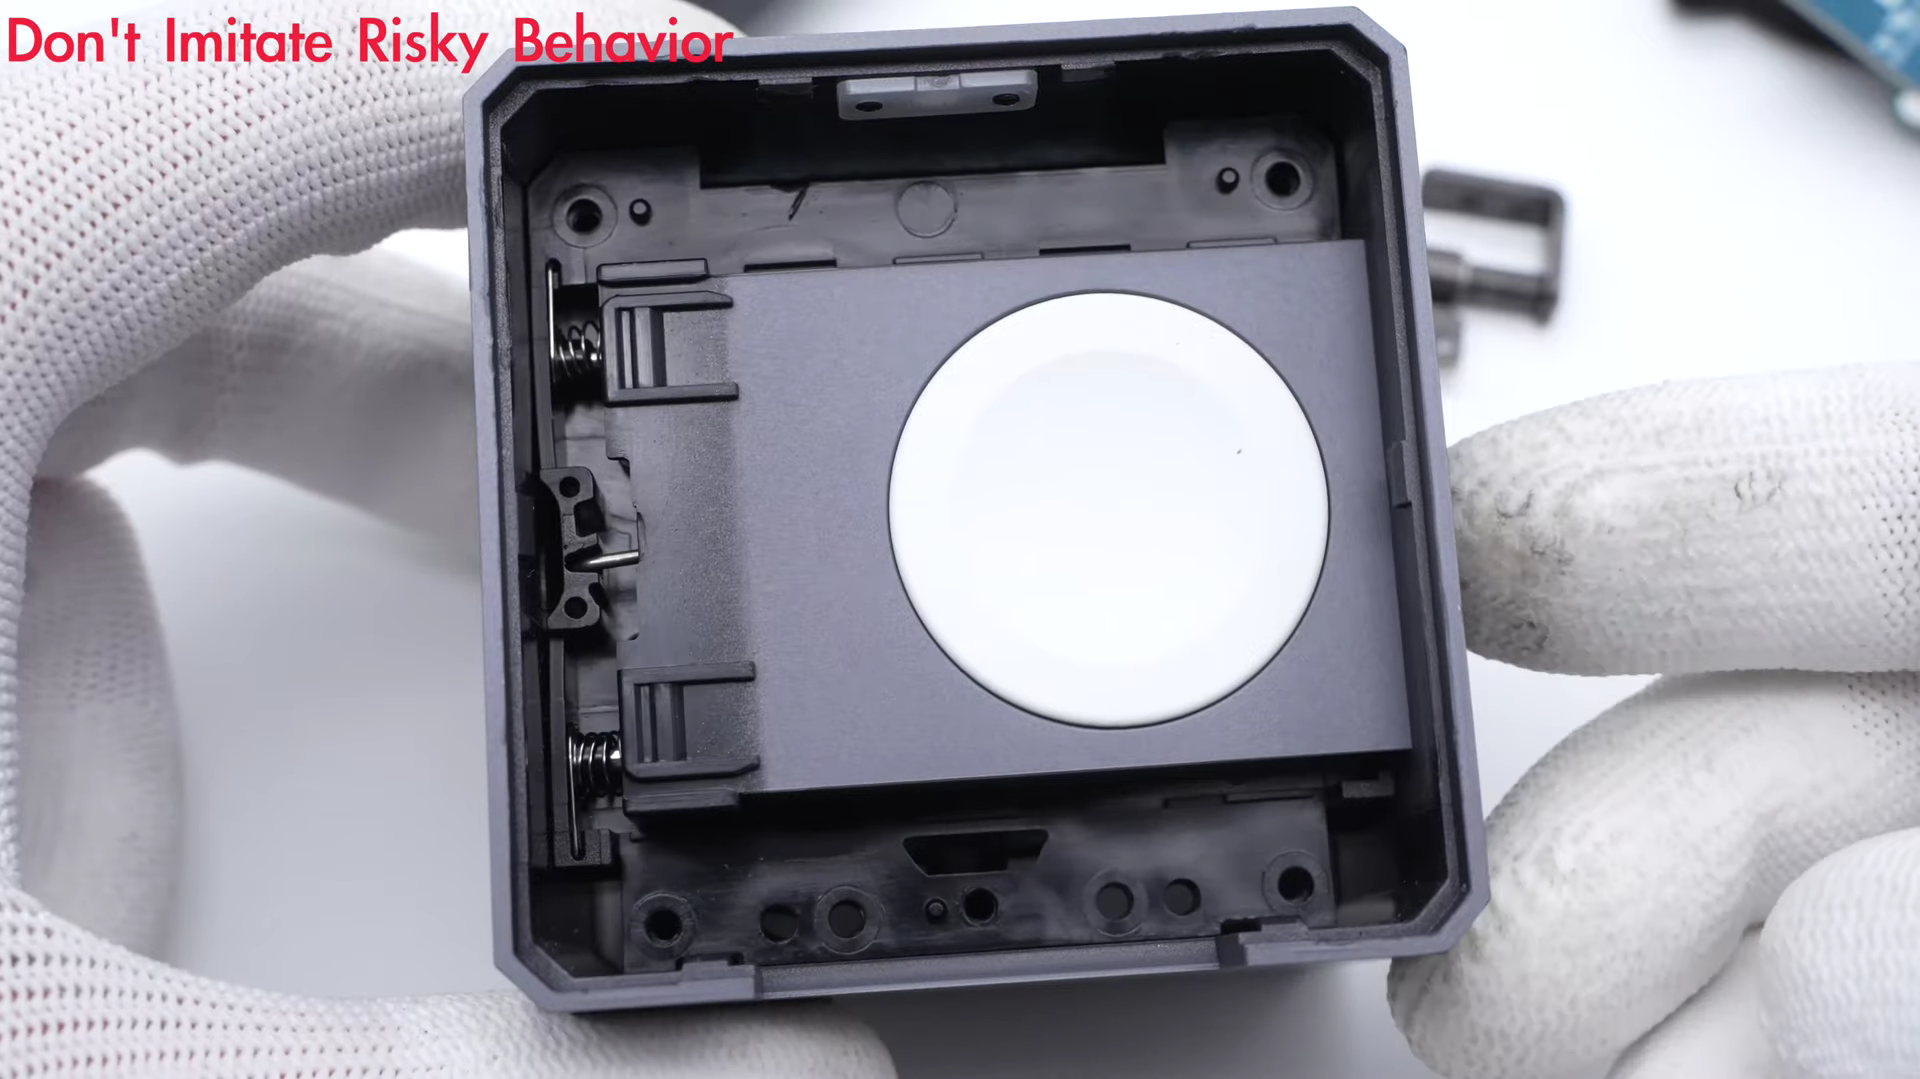
We can clearly see how it works. It's locked by a hook in the middle.
A slight push can unlock it and the module will be pushed out by two springs.
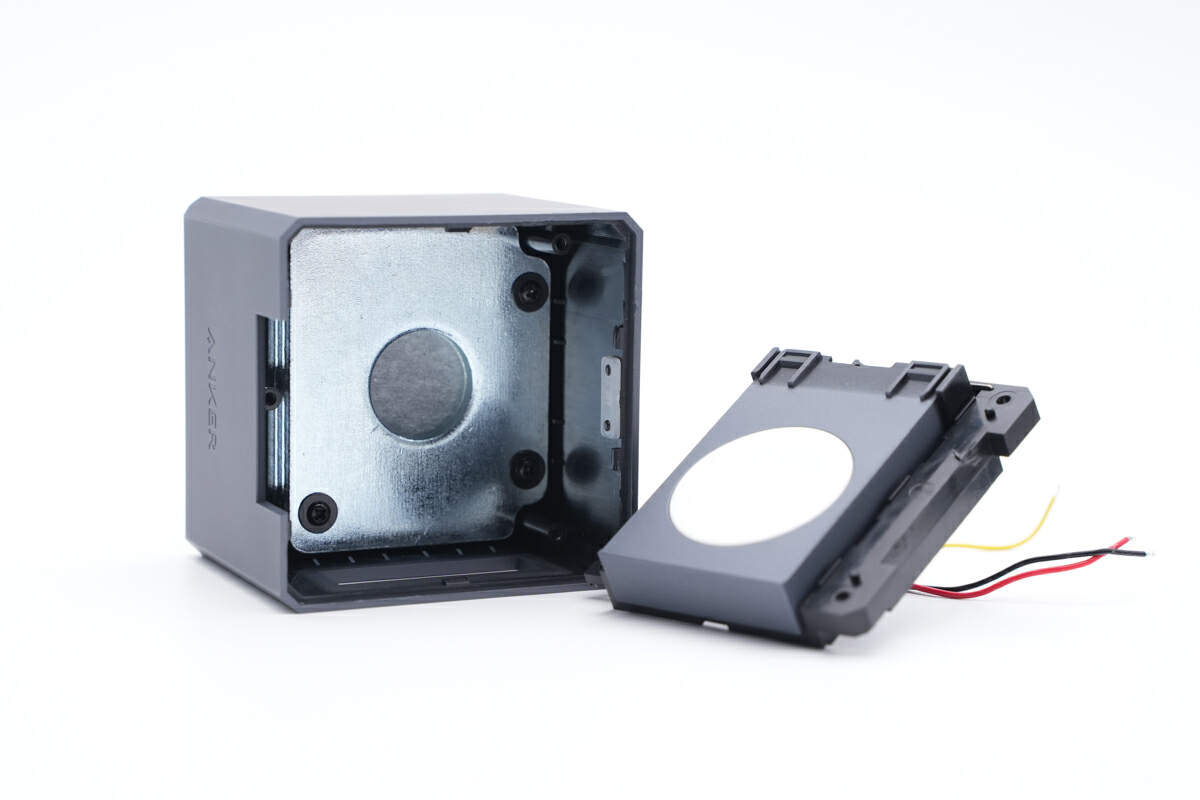
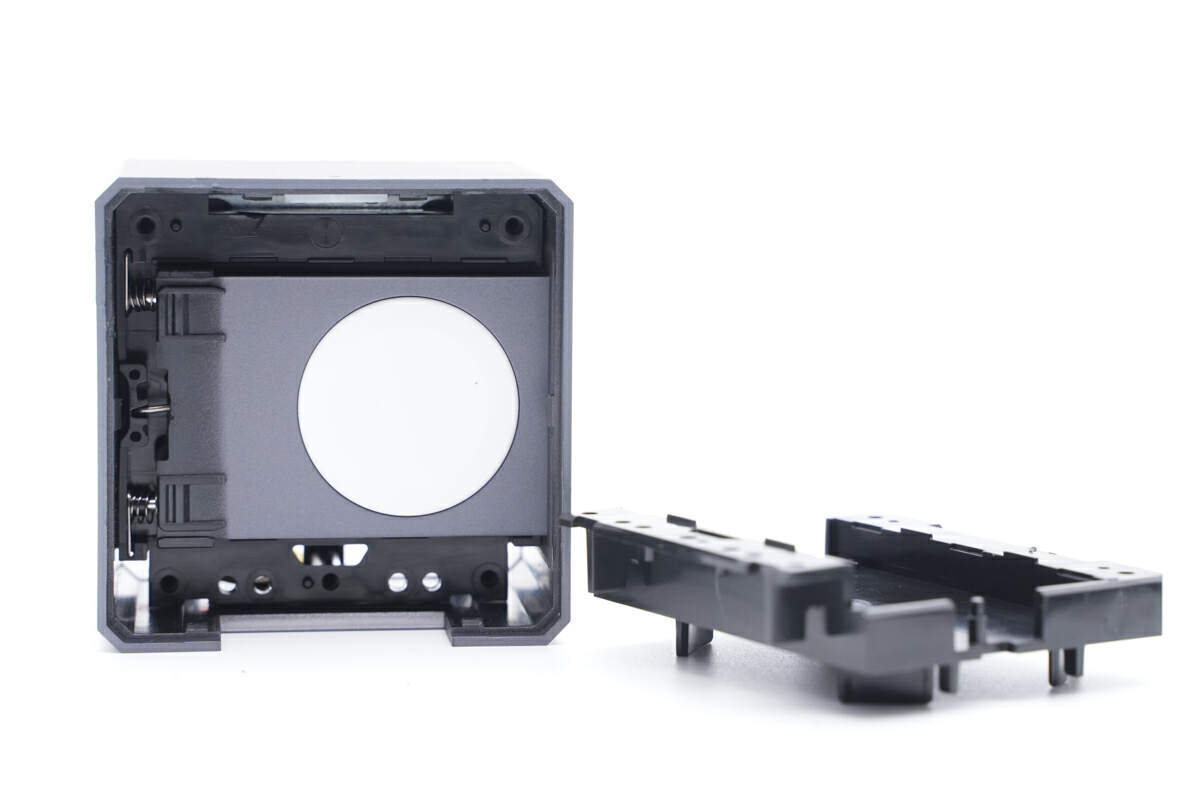
An iron block for keeping balance is at the bottom.
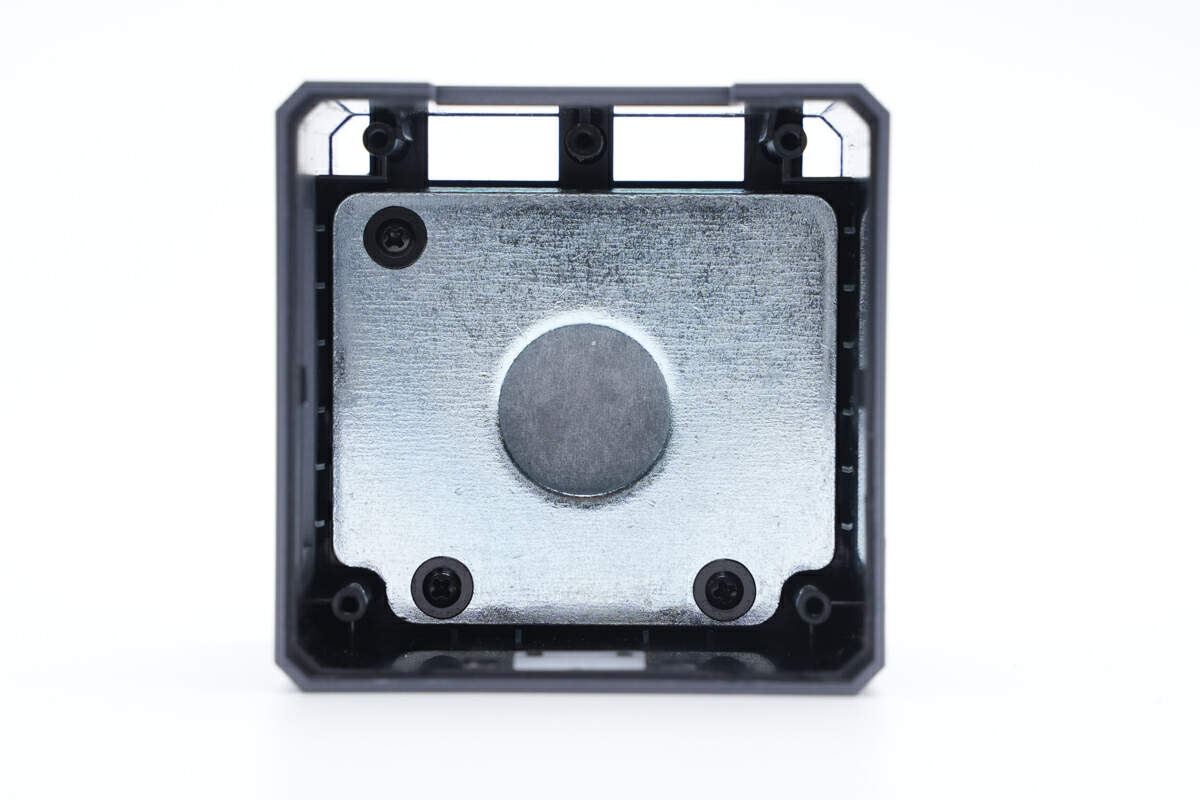
It is also secured with screws.
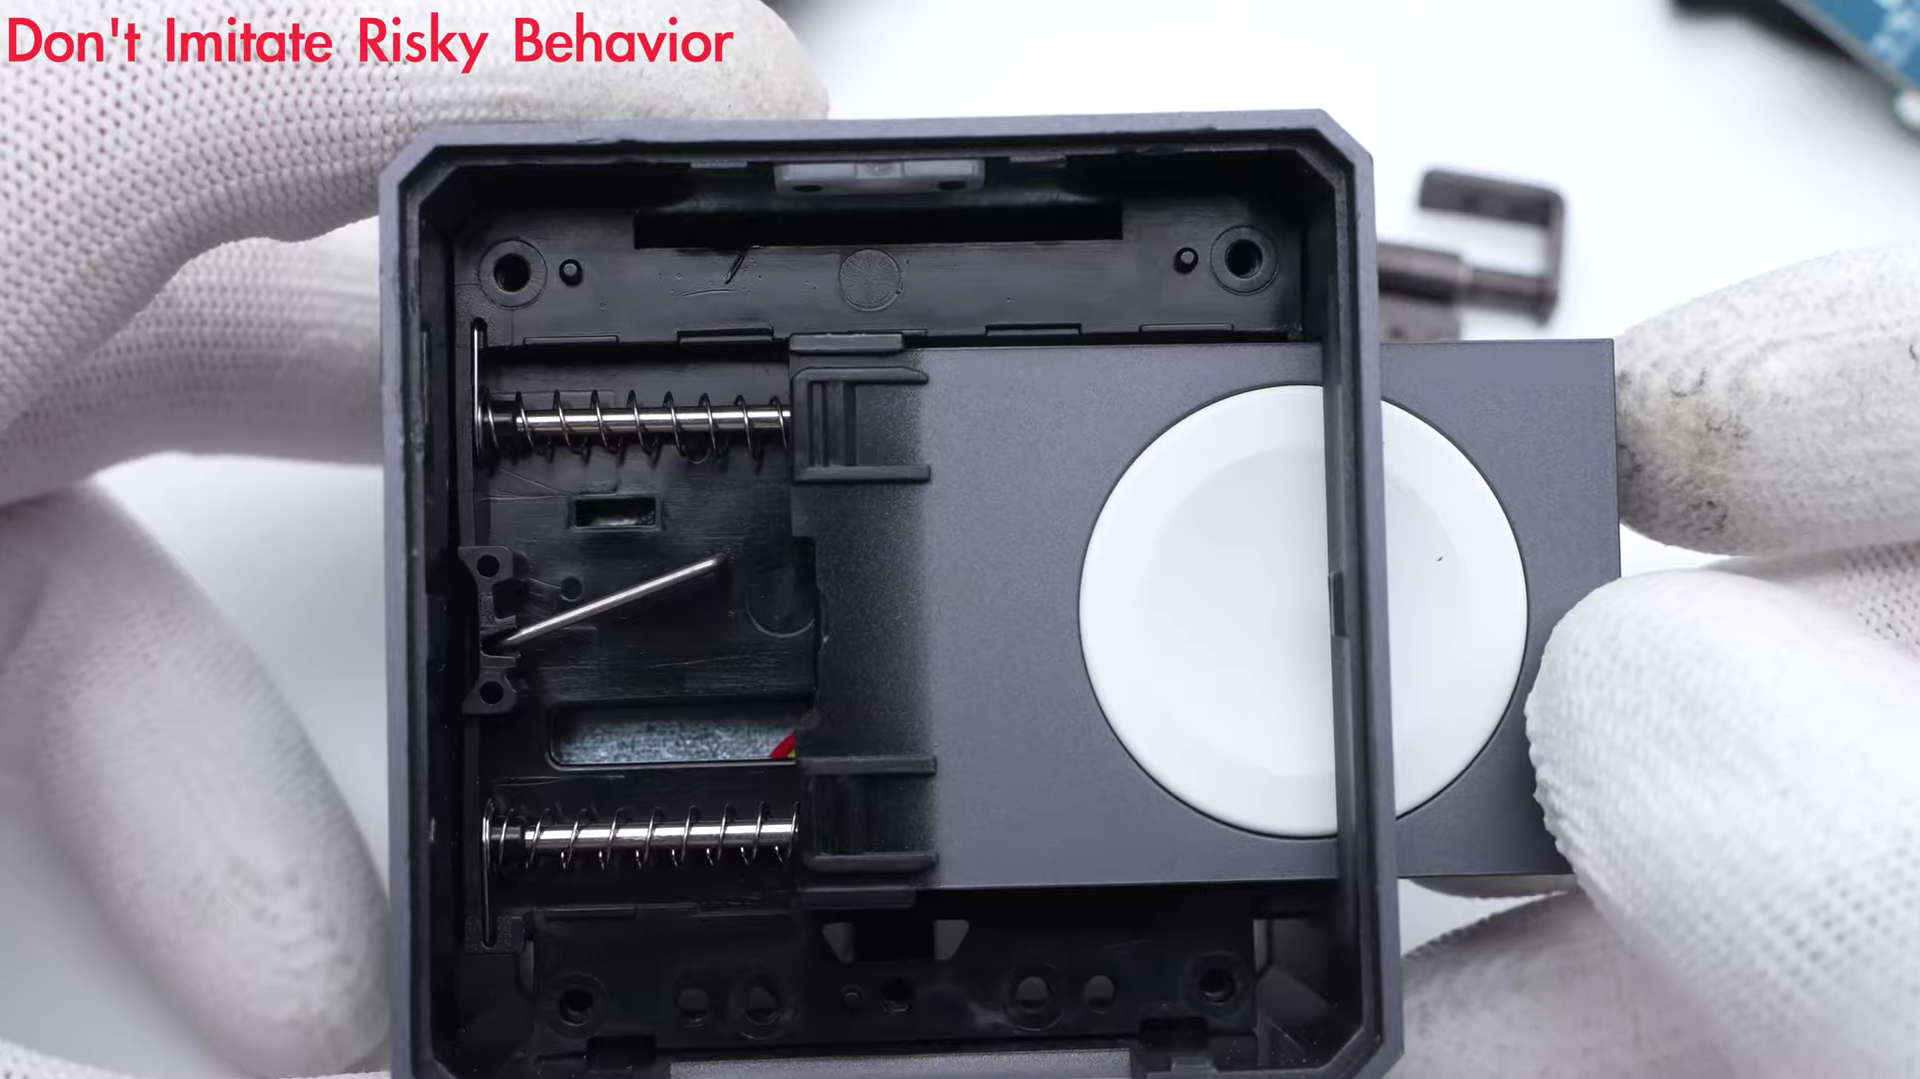
Flip to the back, this little magnet is for fixing.
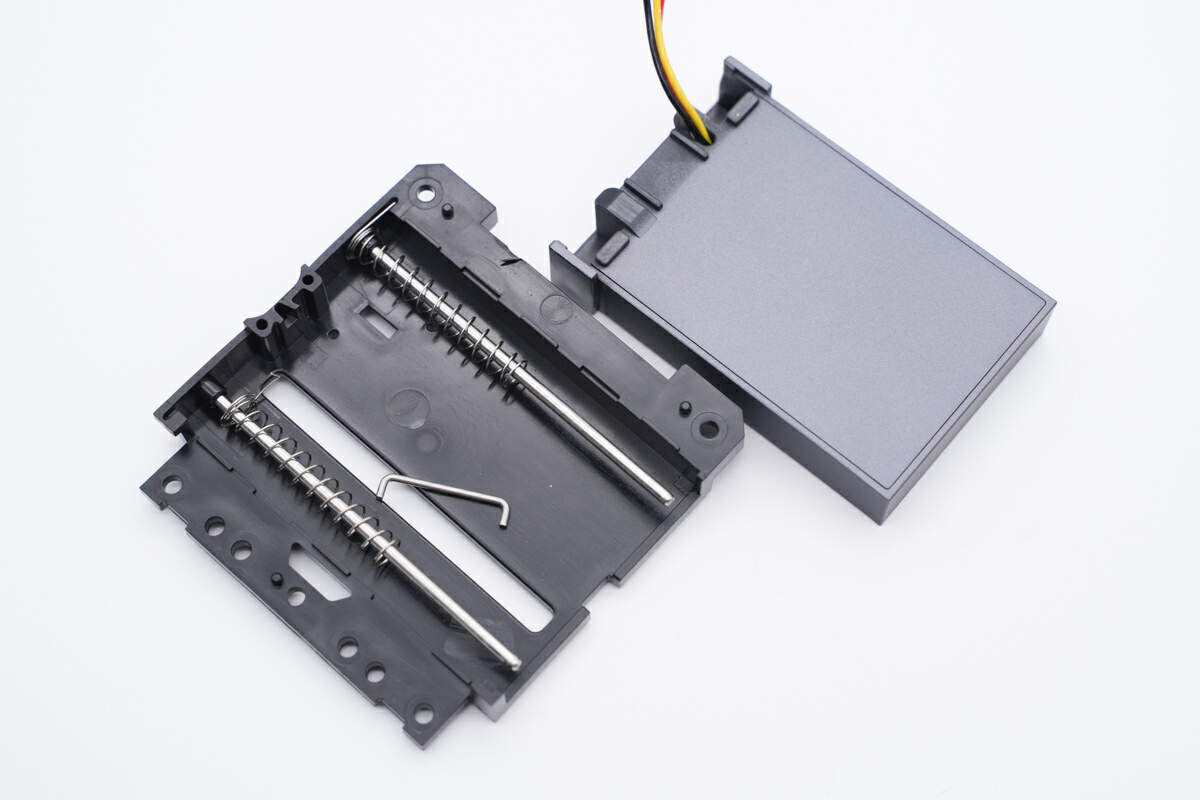
Take out the module.
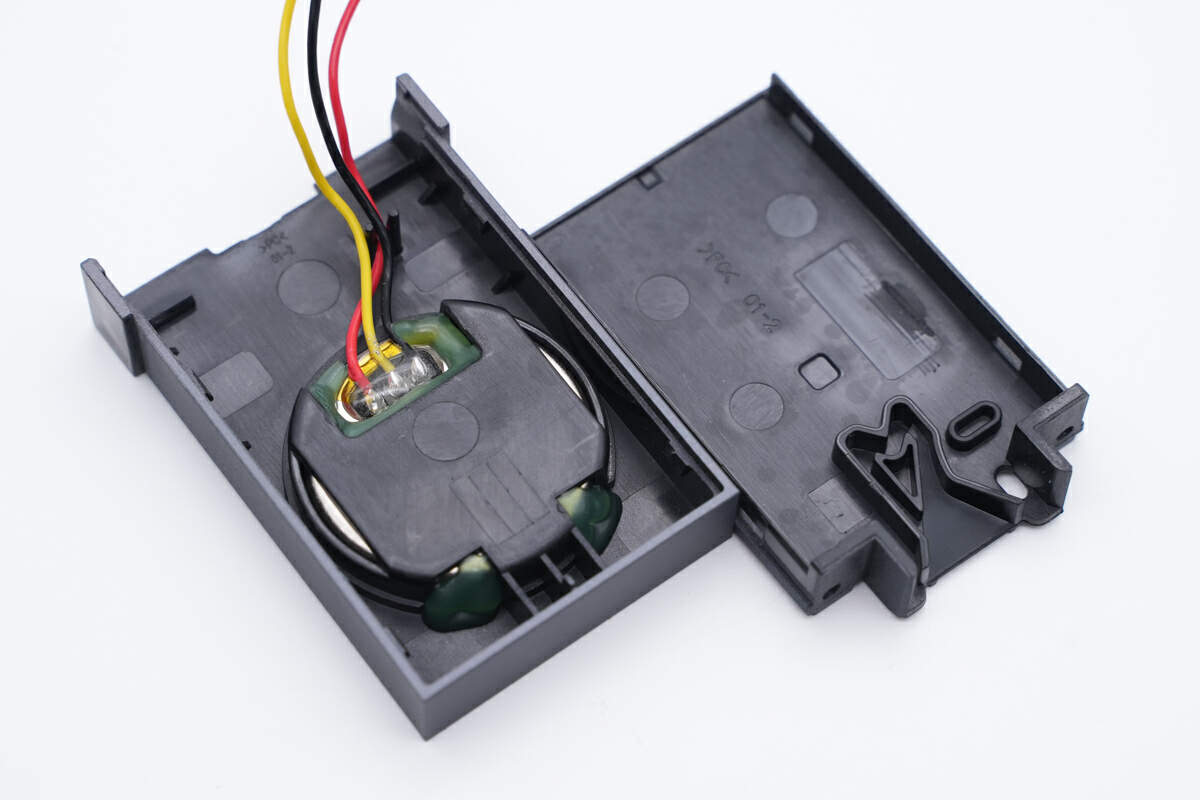
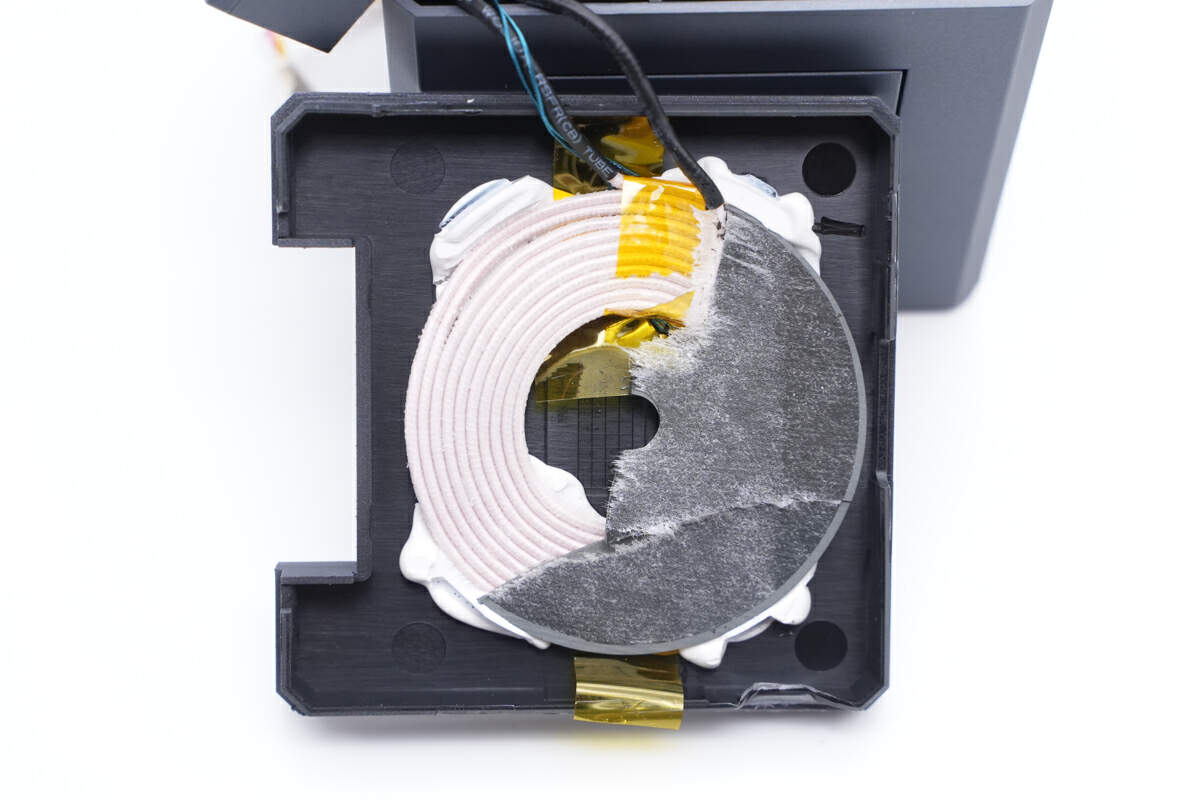
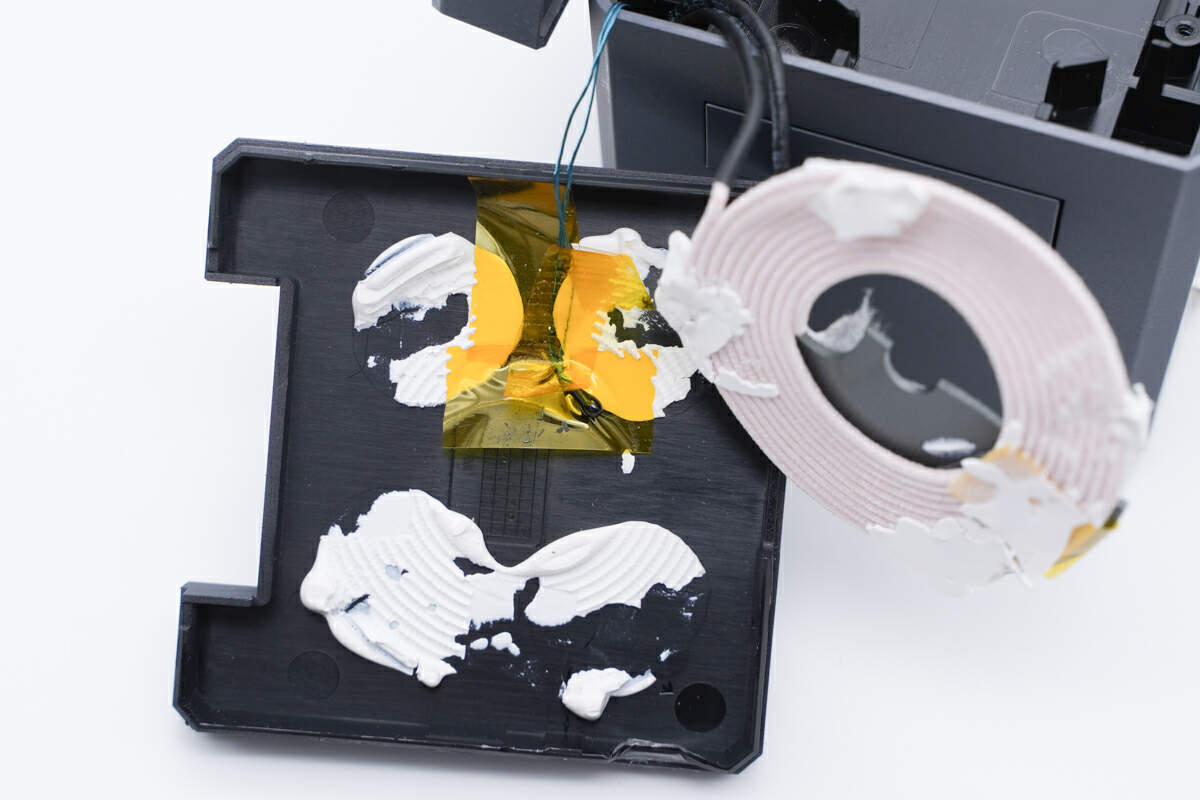
Then, let's see the wireless charging module of Apple Watch. We also took it apart before, you can click here to check it.
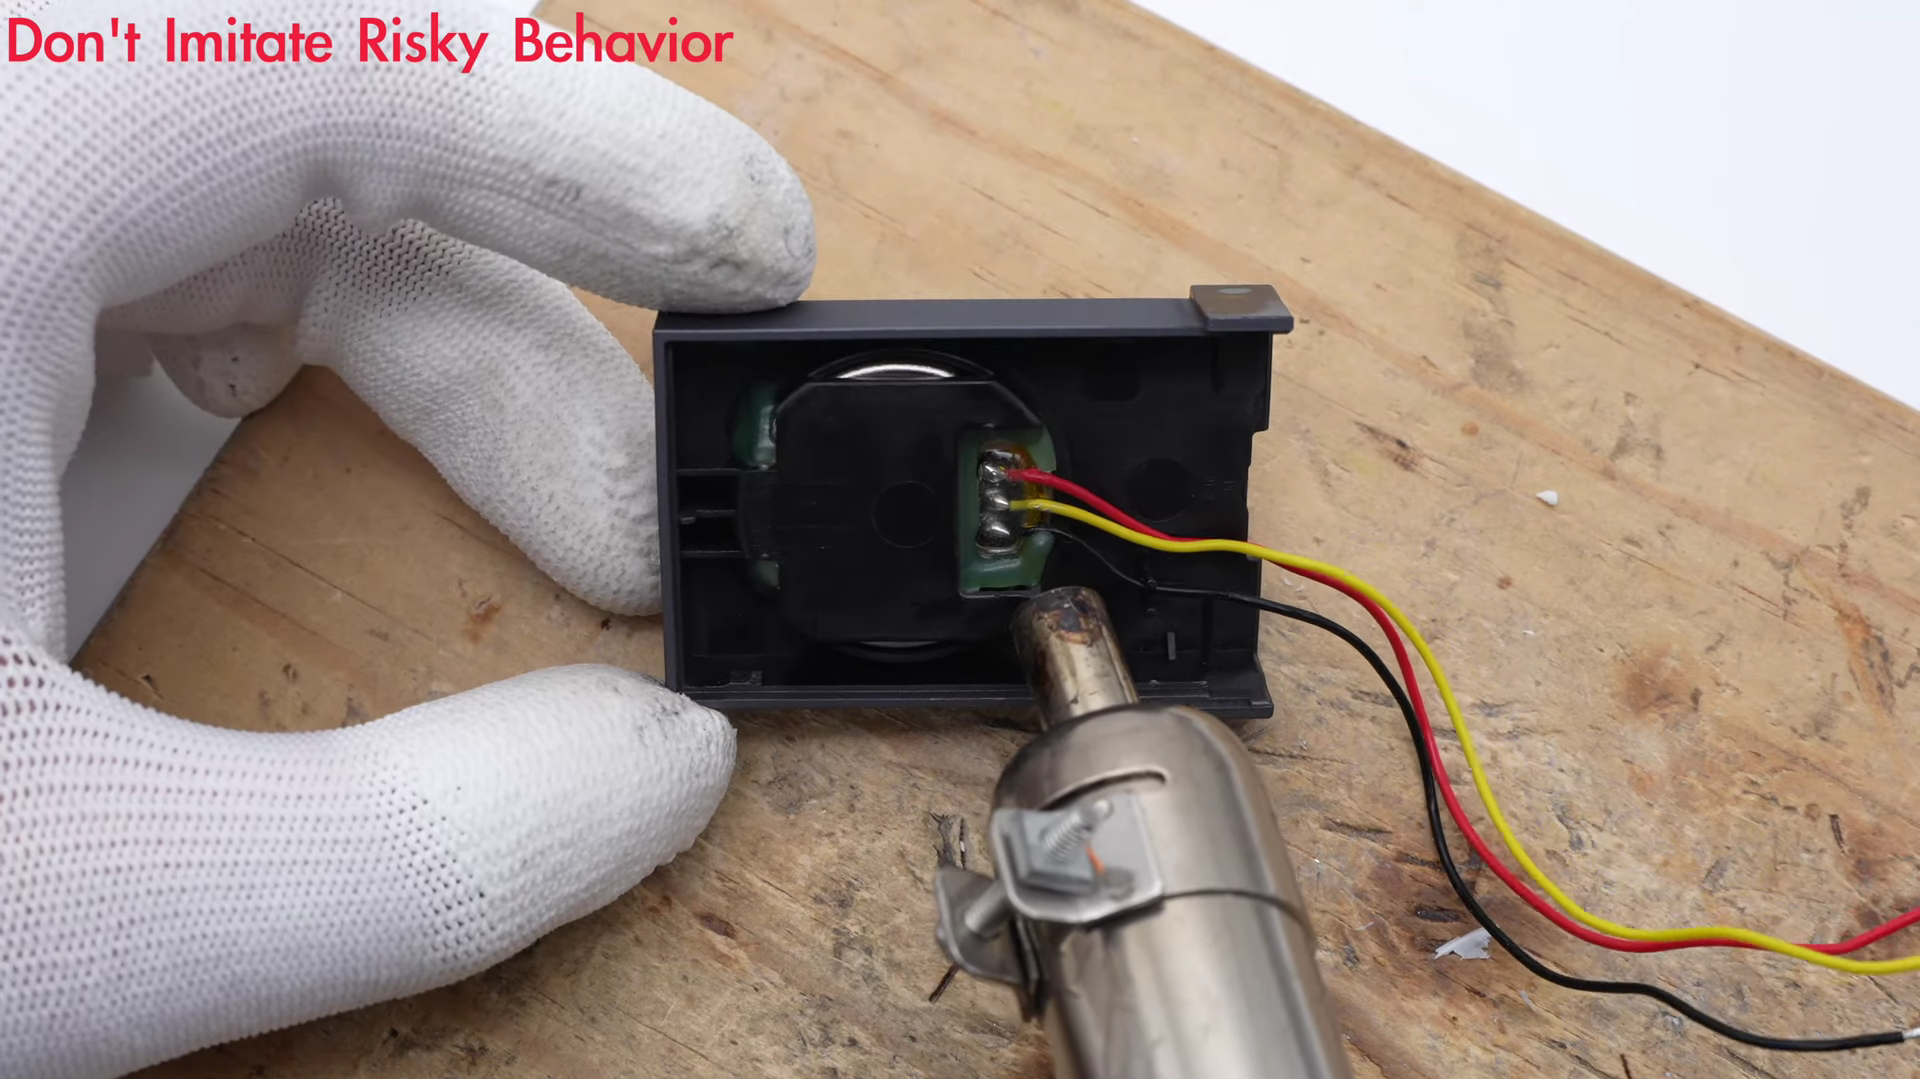
Heat up the module, so we can separate it out.
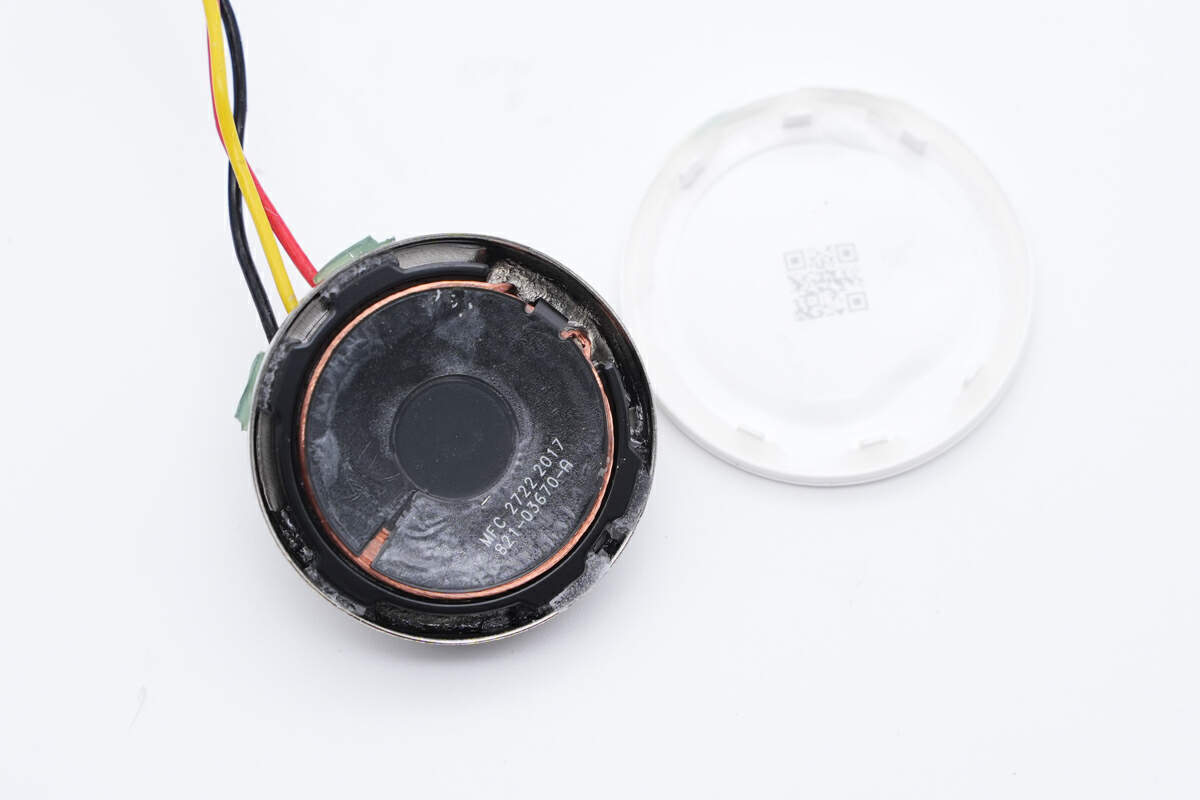
Here is the charging coil, covered with an induction sticker.
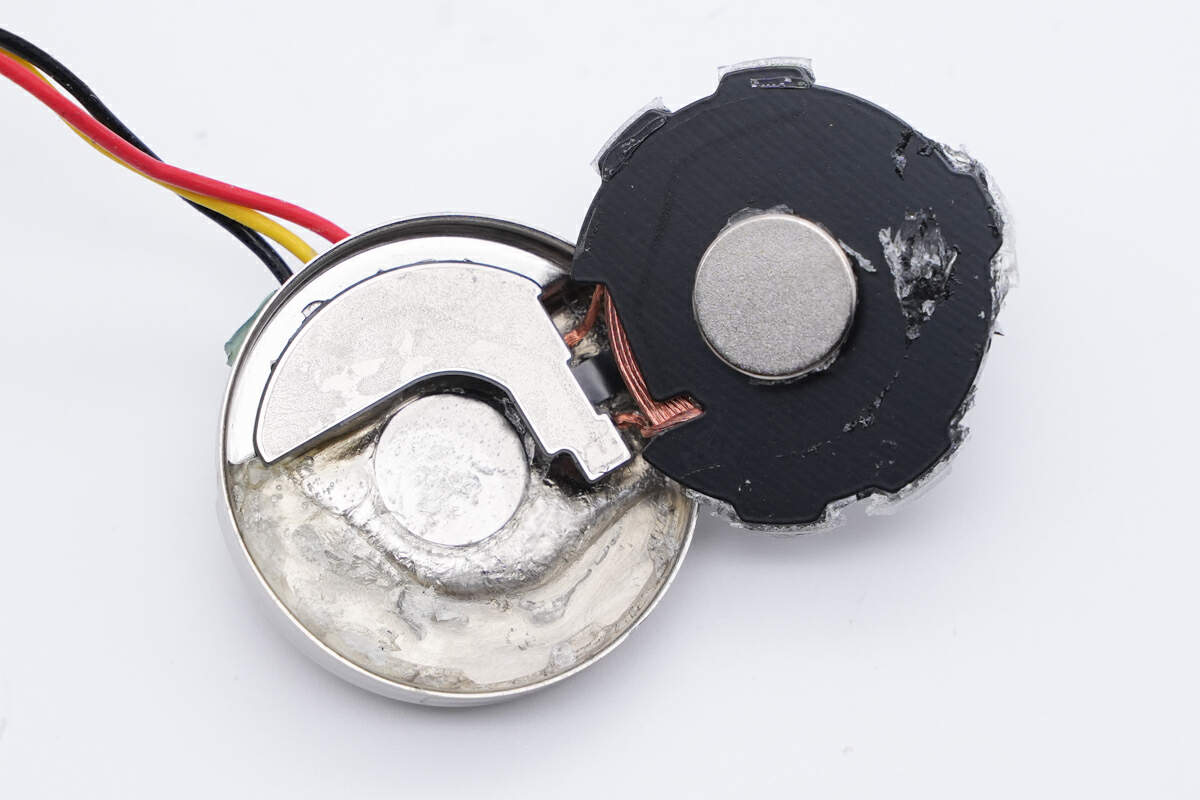
And it's fixed with thick glue.
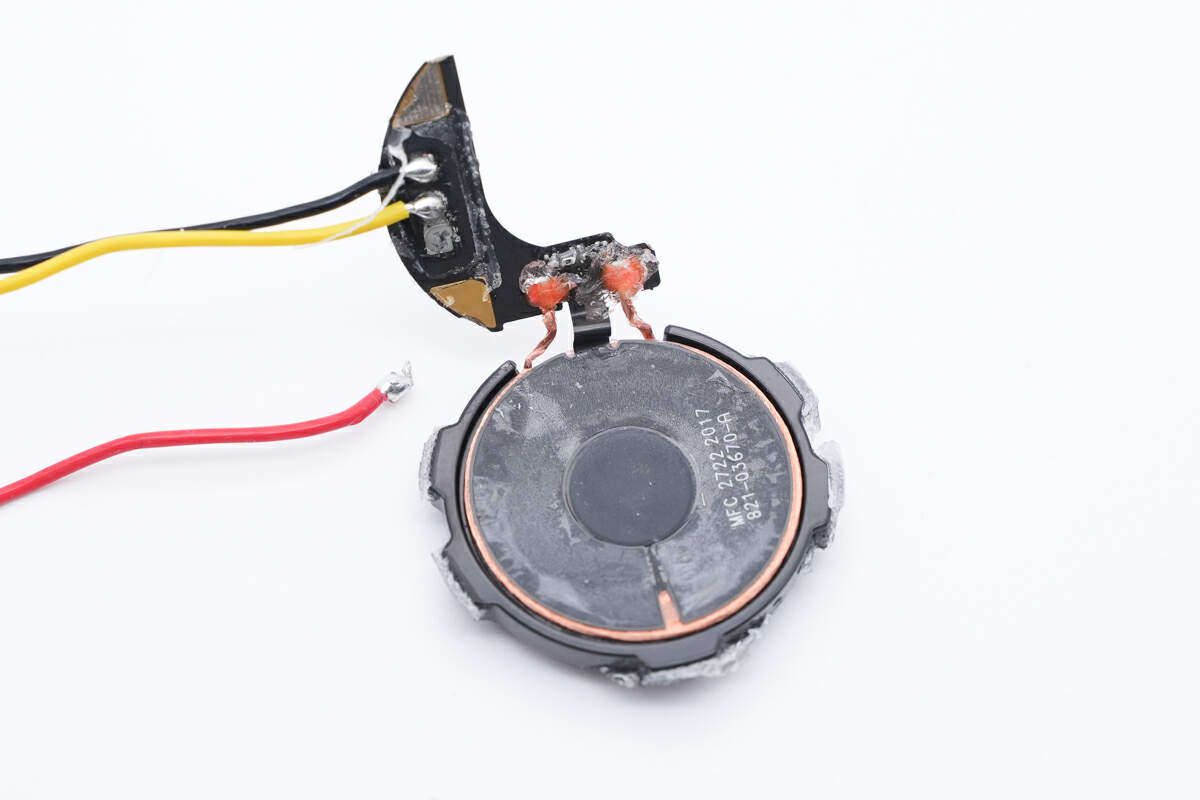
The charging coil and the yellow, black wires are soldered to the small PCB.

The solder joints are reinforced with adhesive.
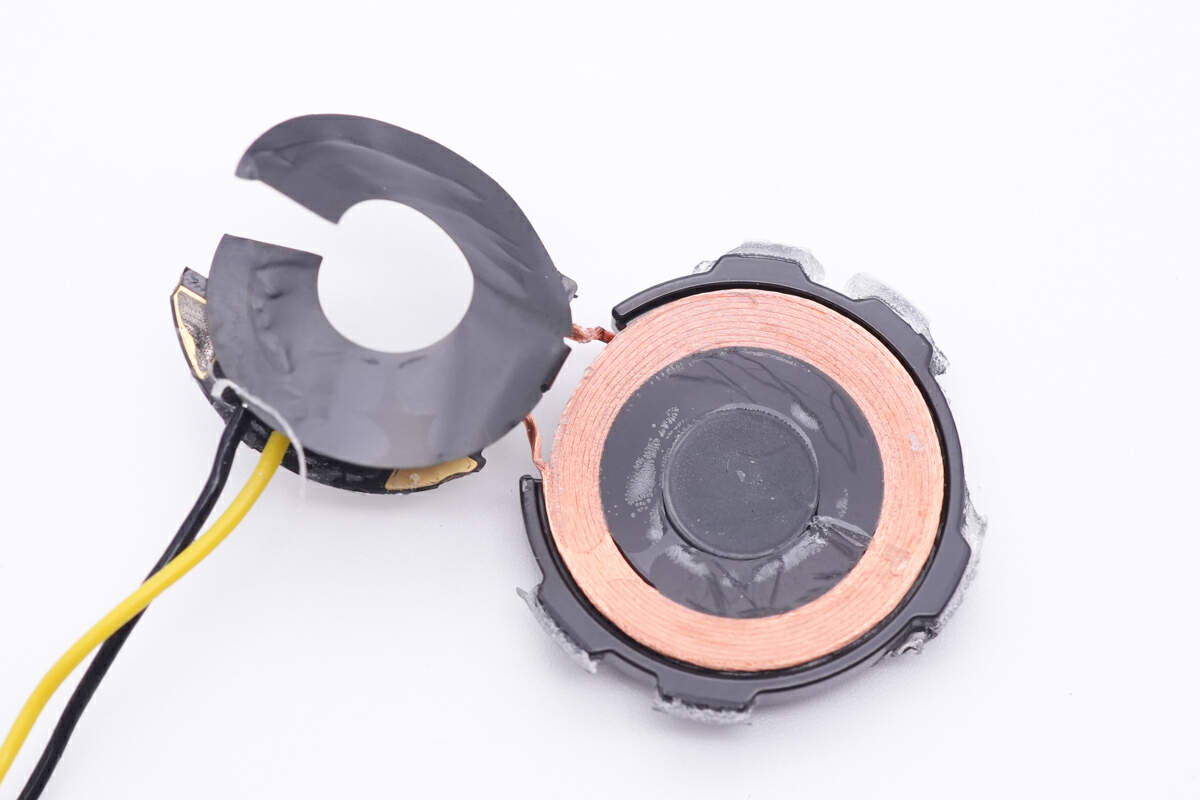
Peel off the sticker to reveal the wireless charging coil underneath.
Next, let's take apart the MagSafe module for iPhone.
First, remove the fixing screws on the back.
The Apple official MagSafe module is inside the panel. We also took it apart before, you can click here to check it.
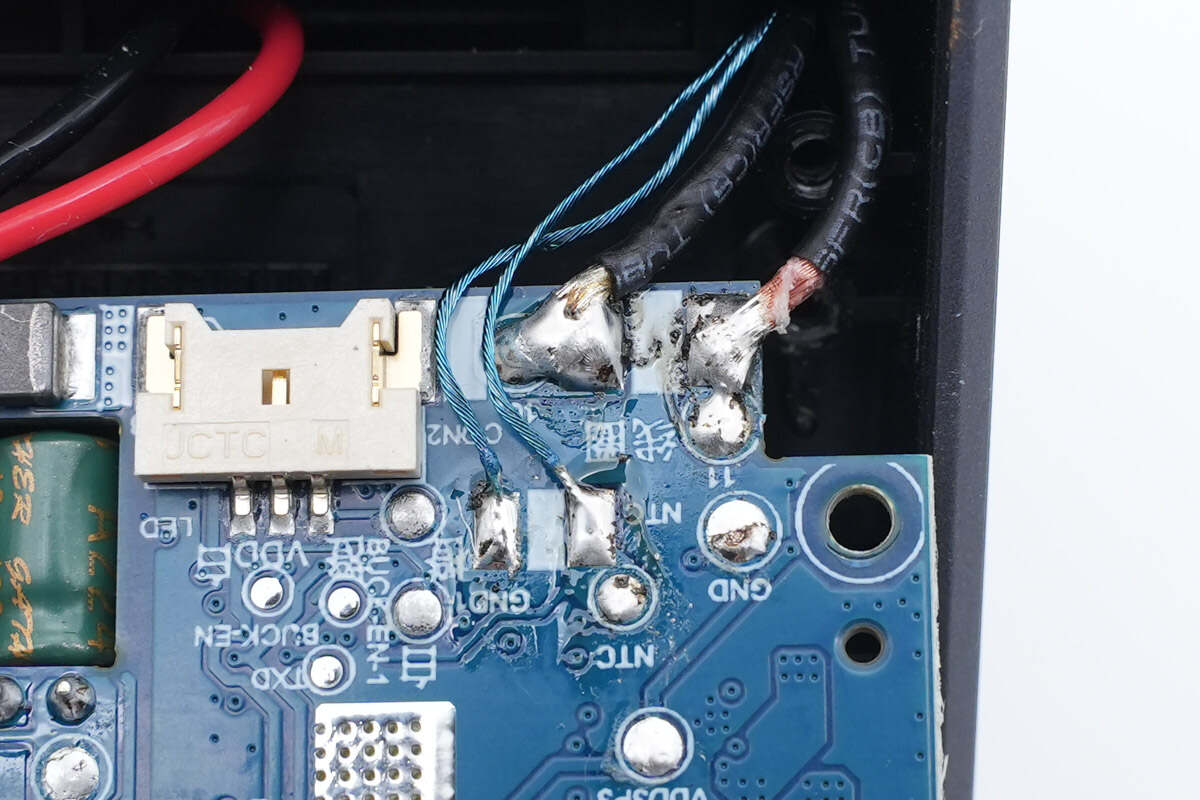
It's powered by two wires.
Like the Apple Watch charging module, the MagSafe module is also fixed with glue.
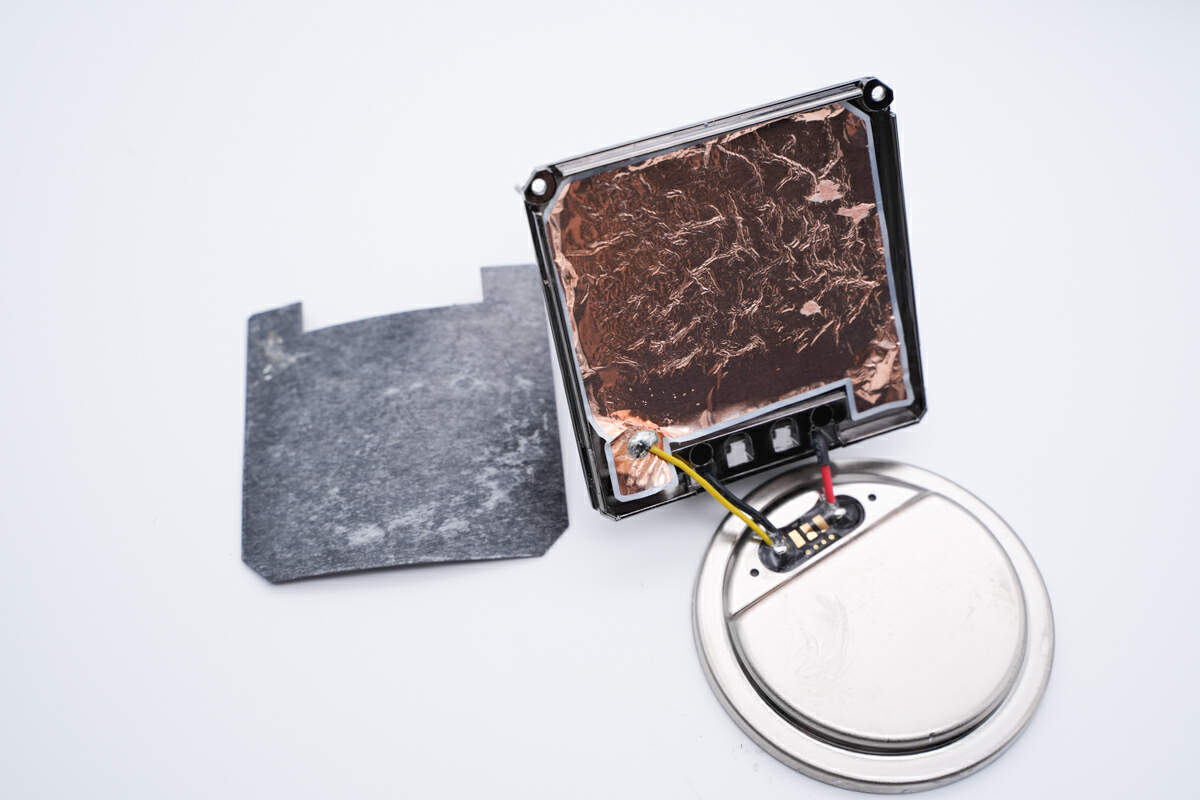
There's a layer of copper foil on the back of the module for shielding.
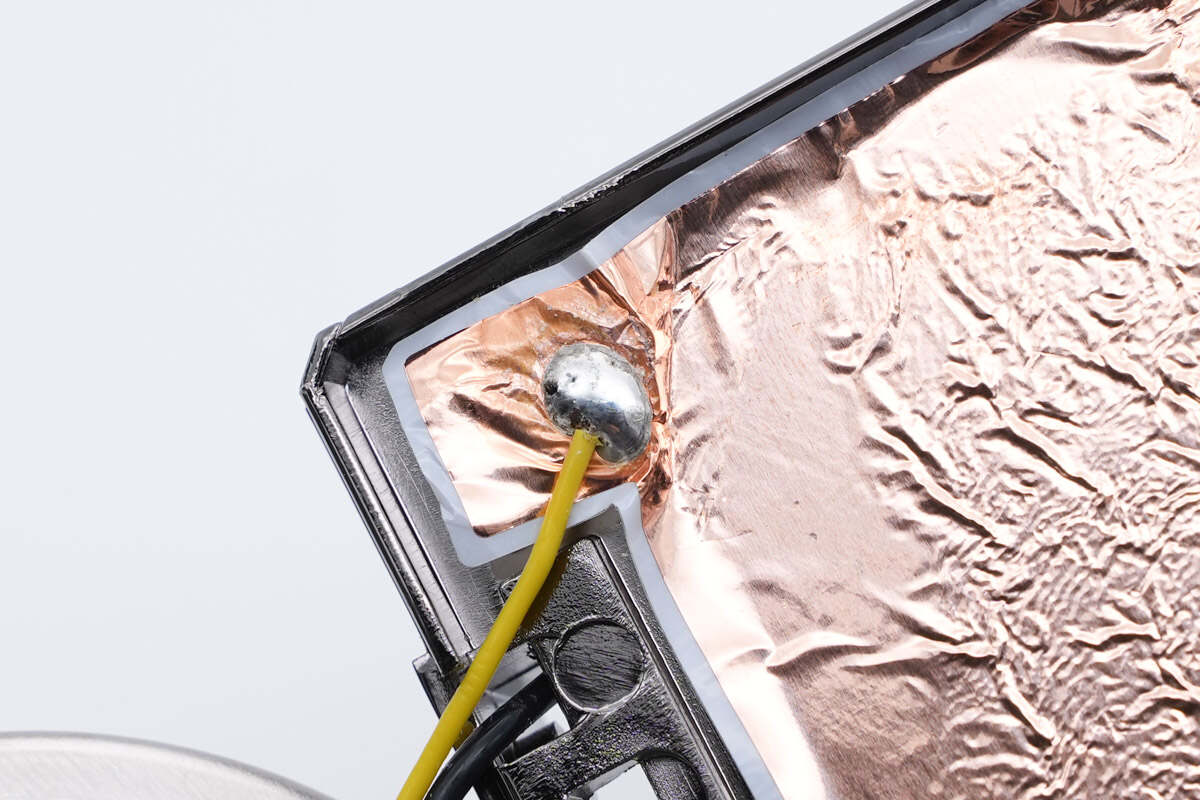
The yellow wire is for grounding.
Separate the MagSafe module, only the back of Apple's MagSafe module is equipped with a neat black PCB.
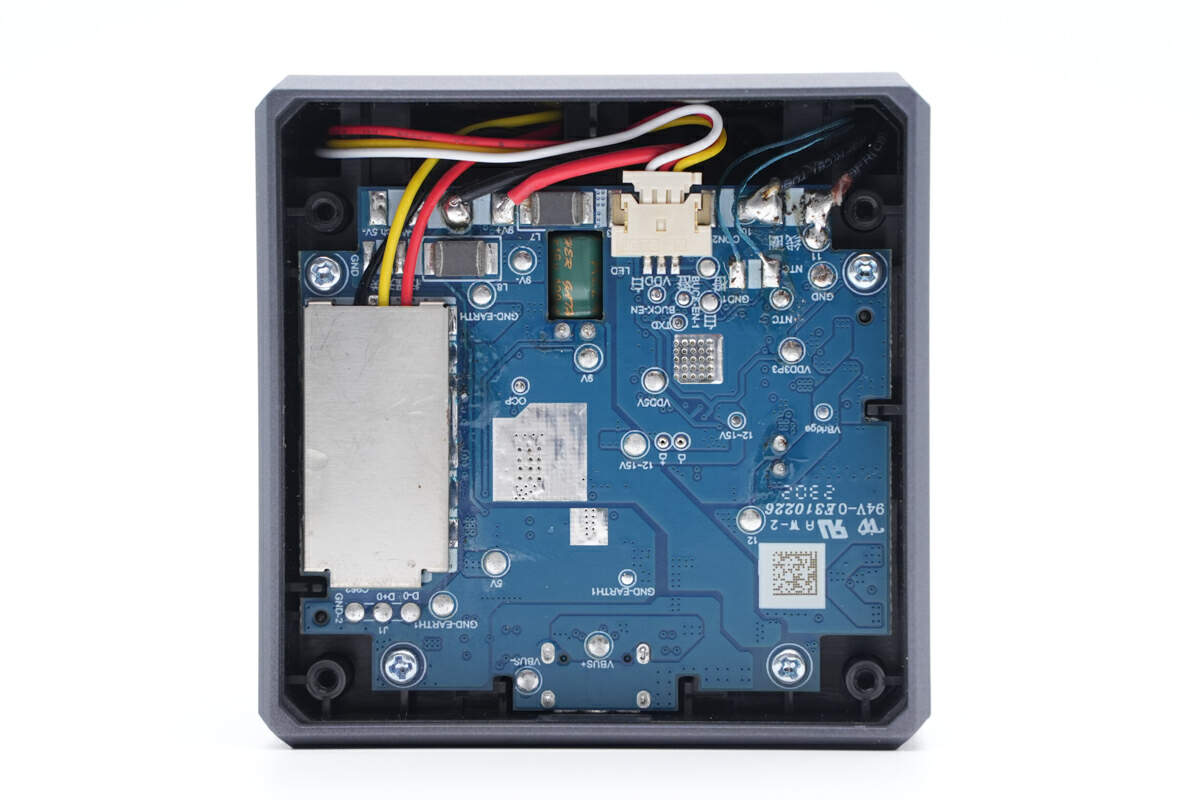
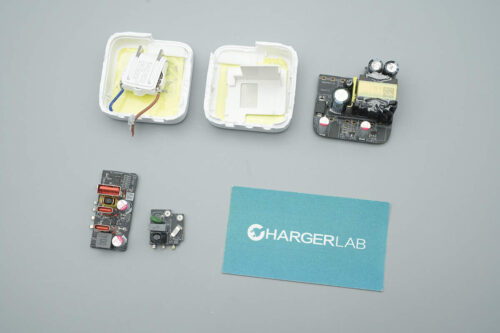
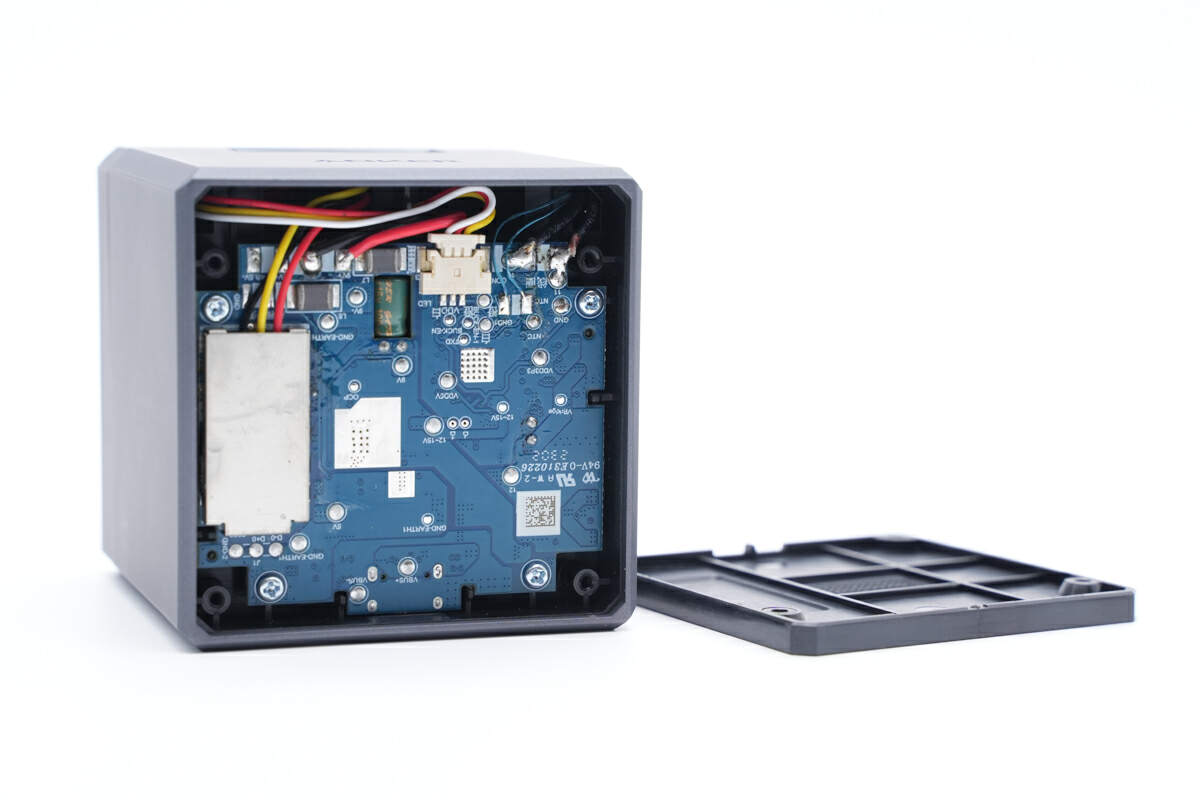
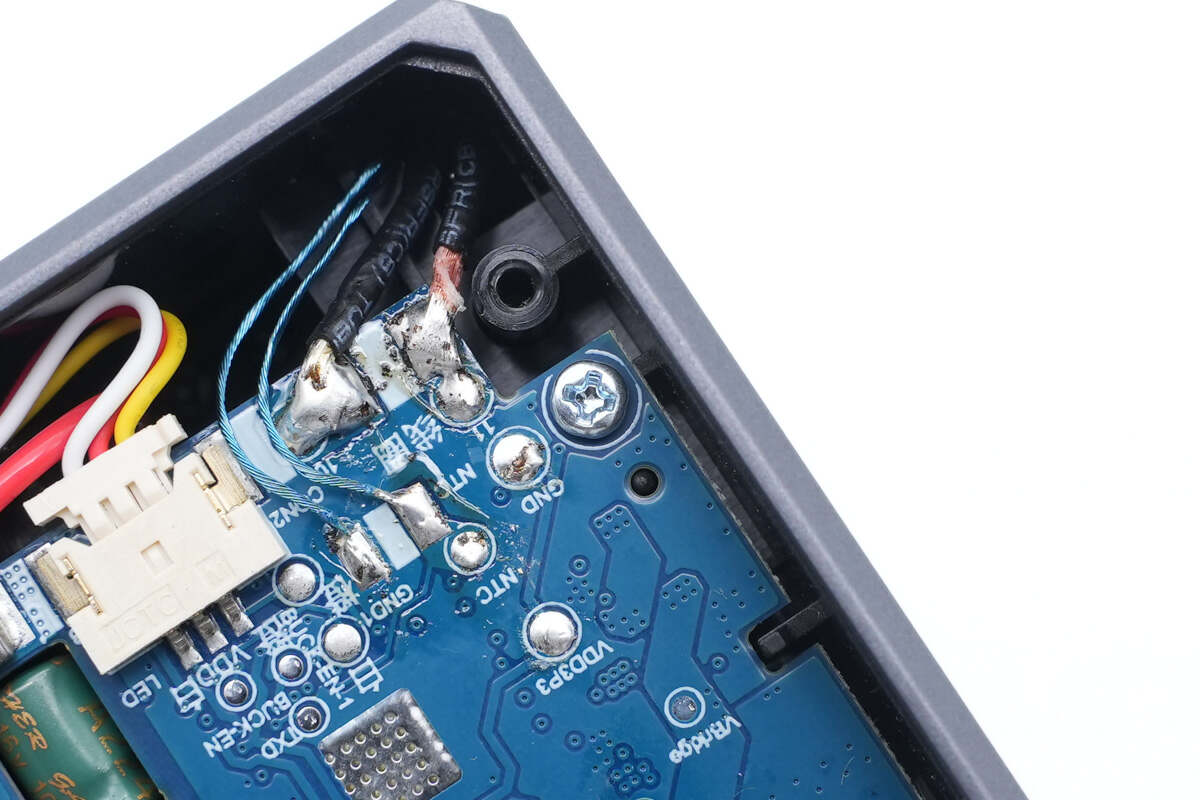
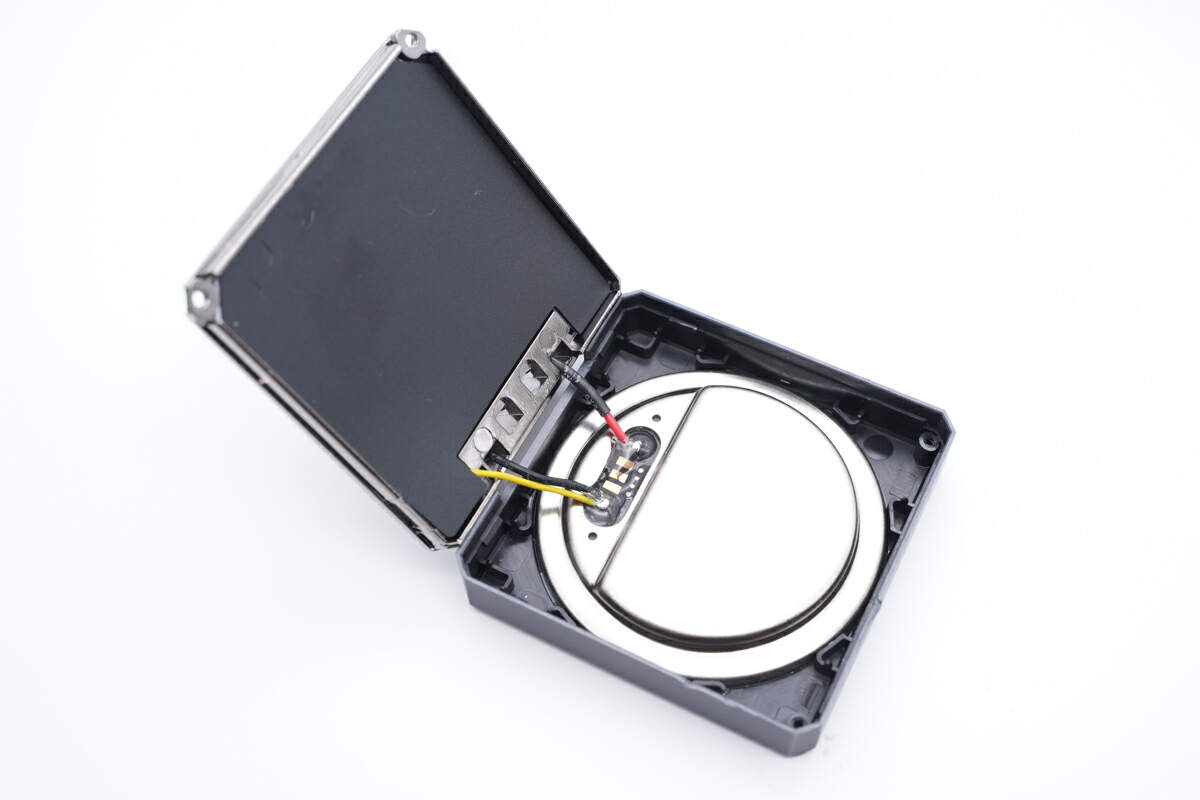
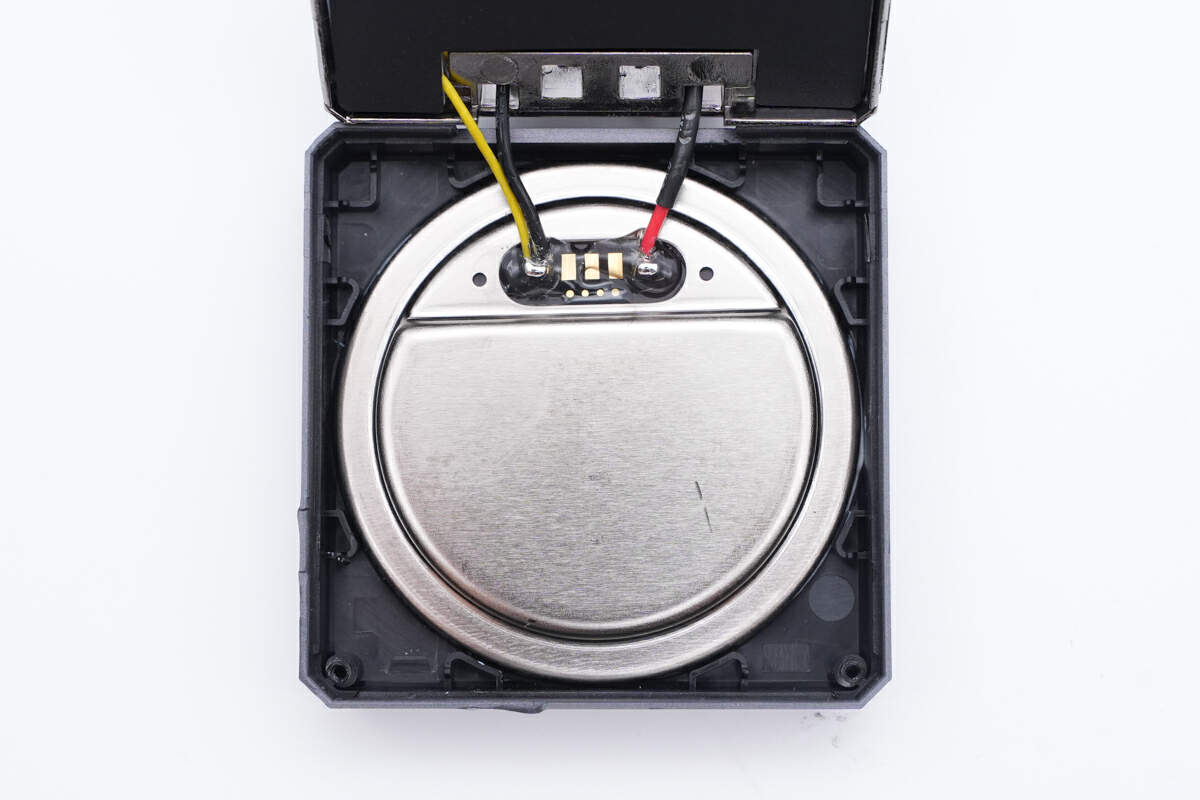
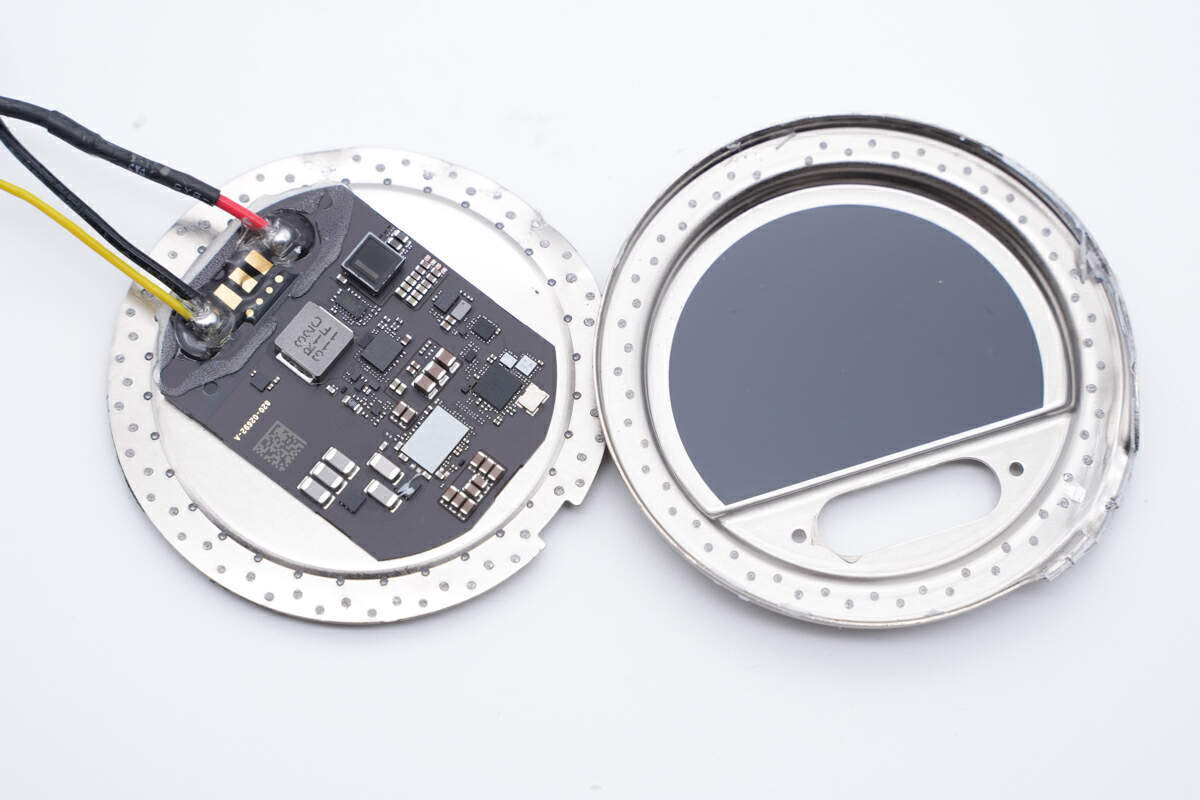
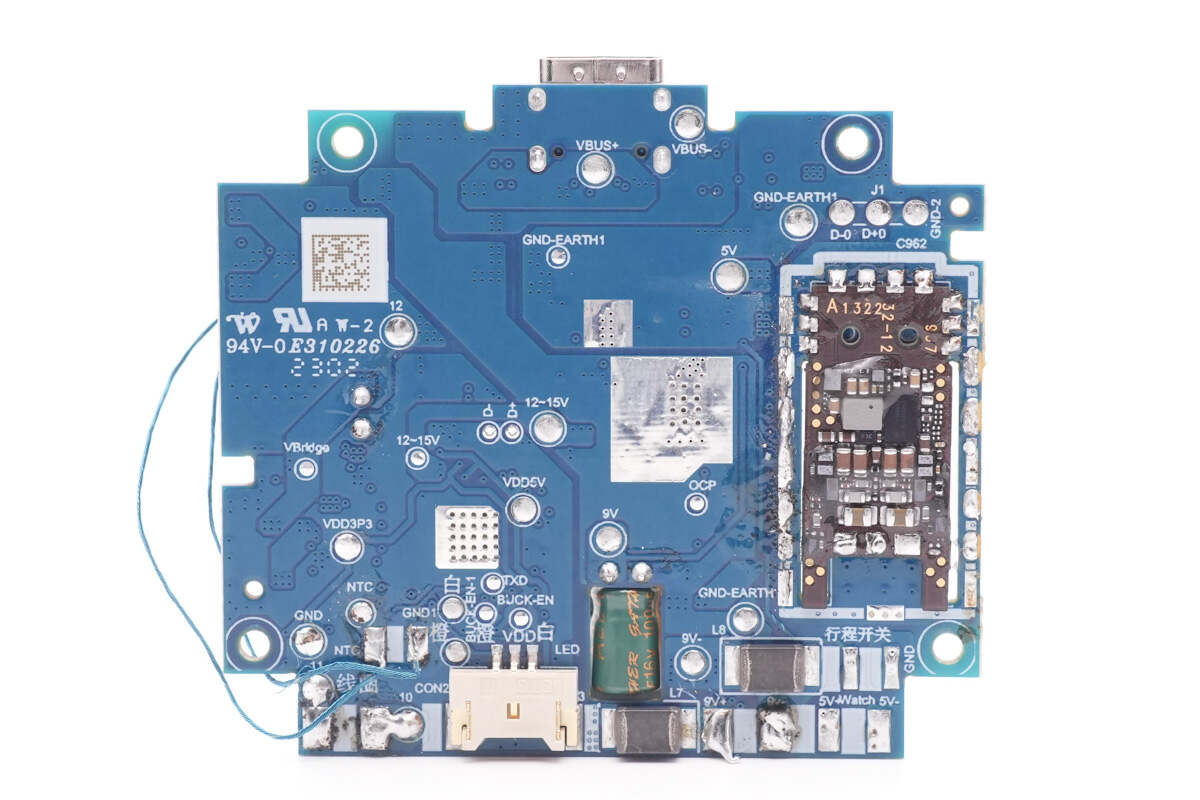
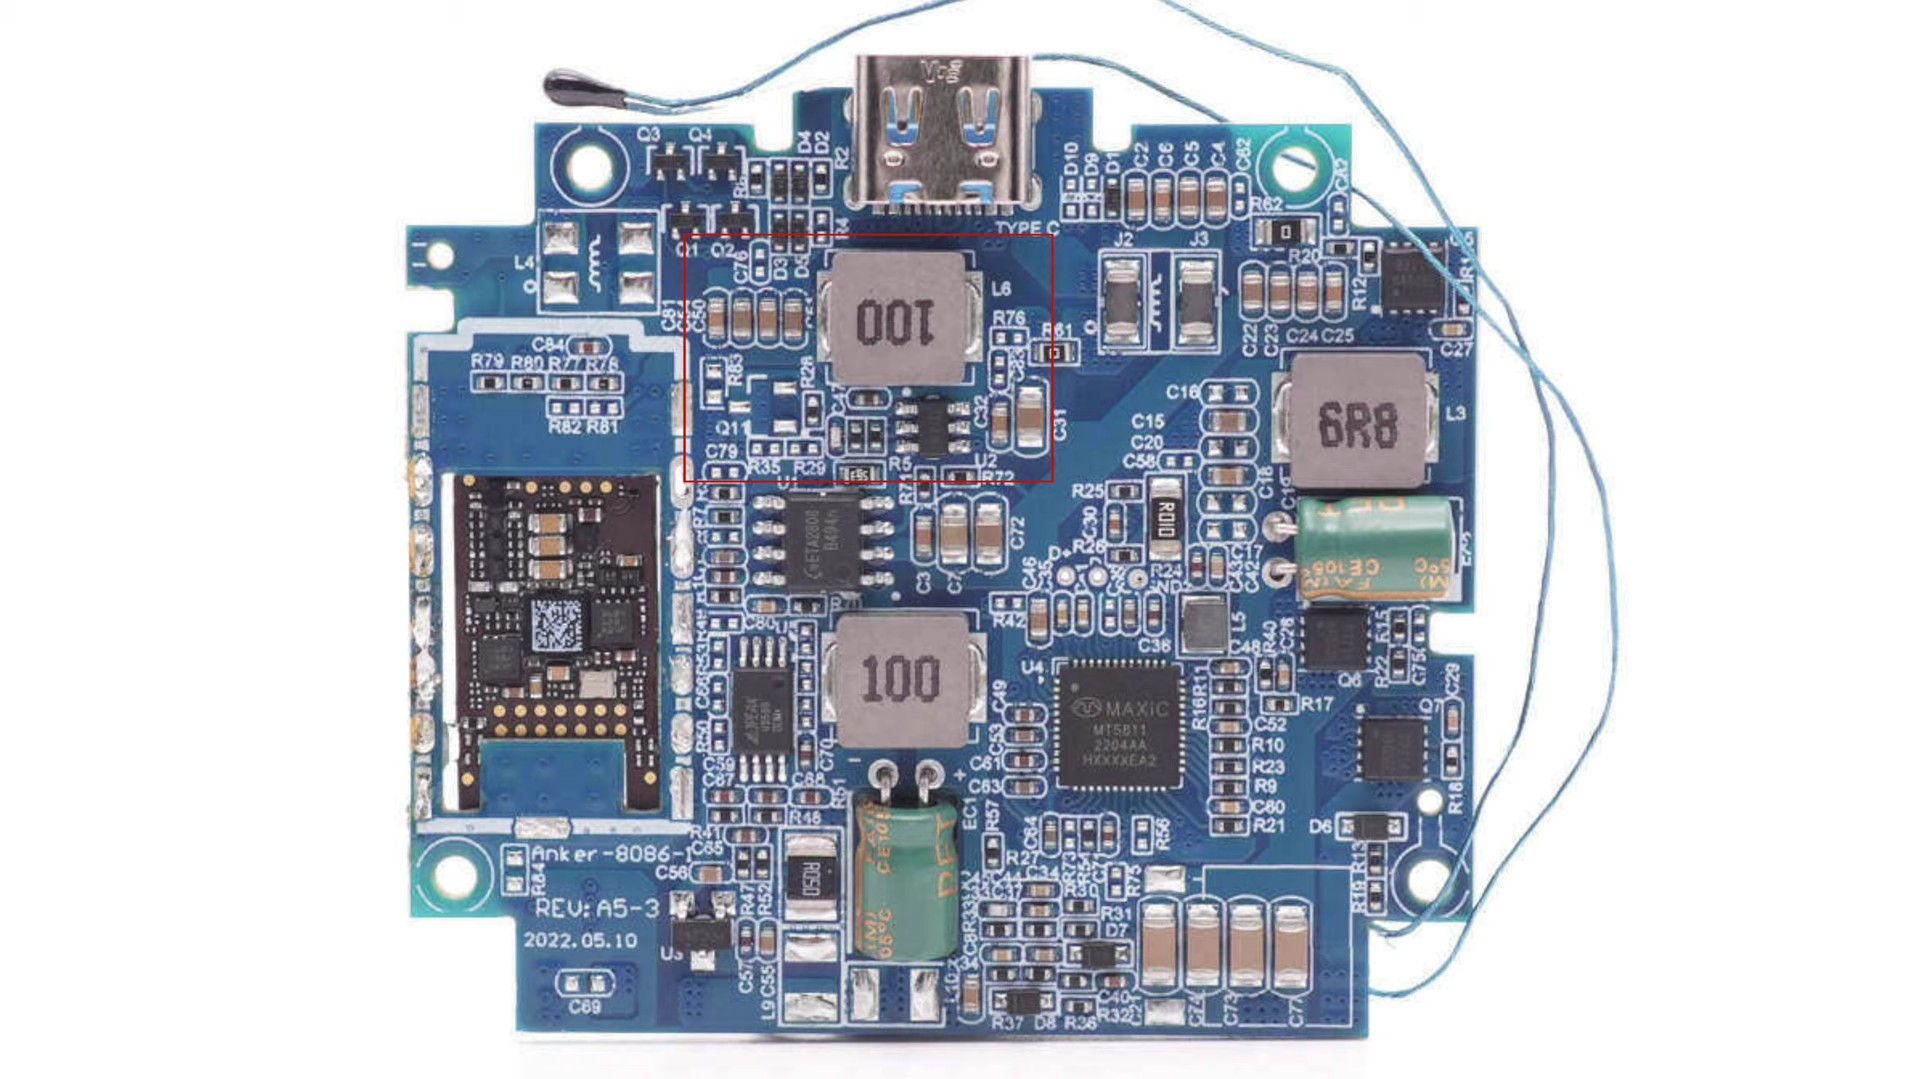
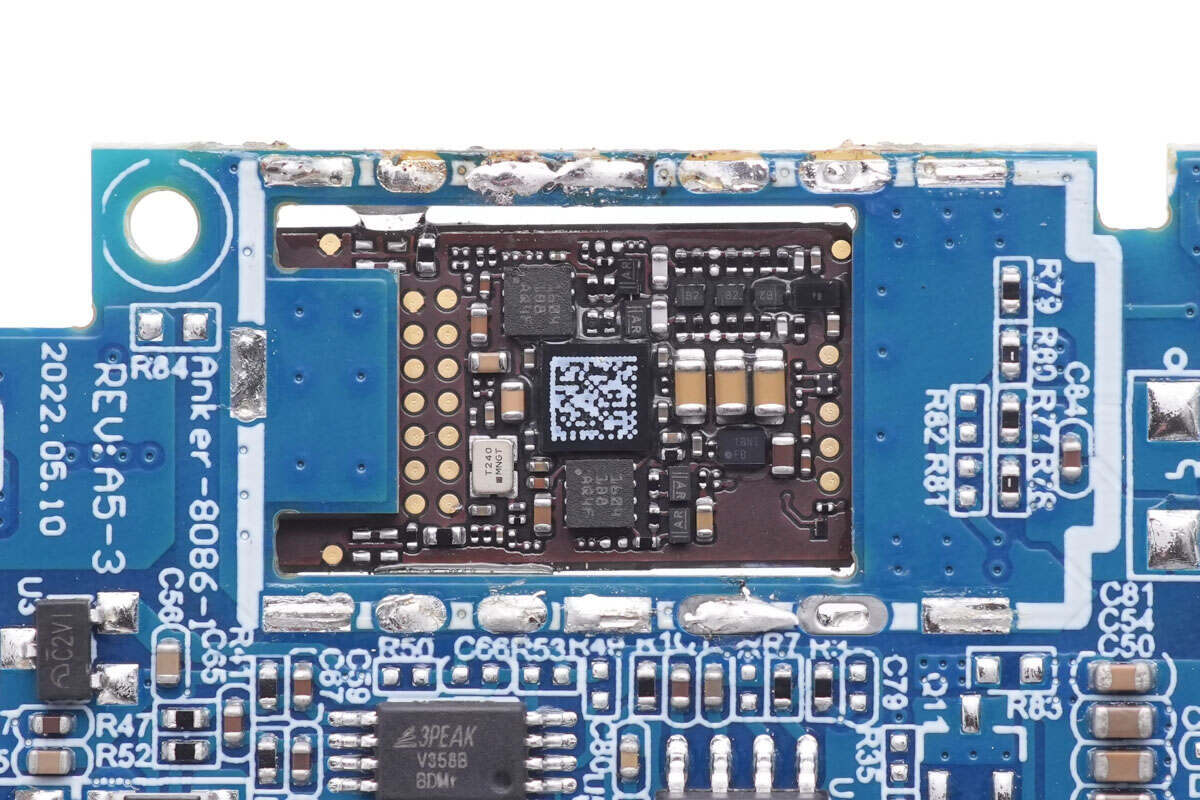
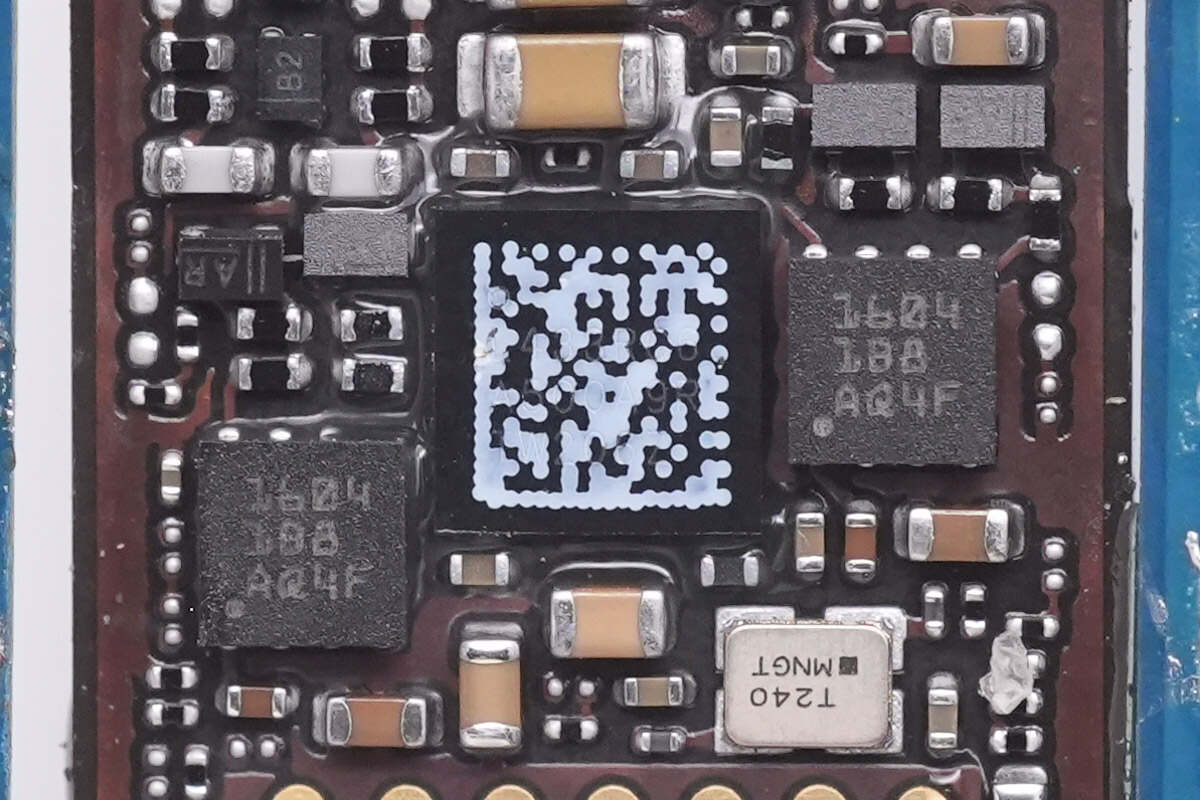
Finally, let's get back to the main PCB. It's where wires and connectors are soldered.
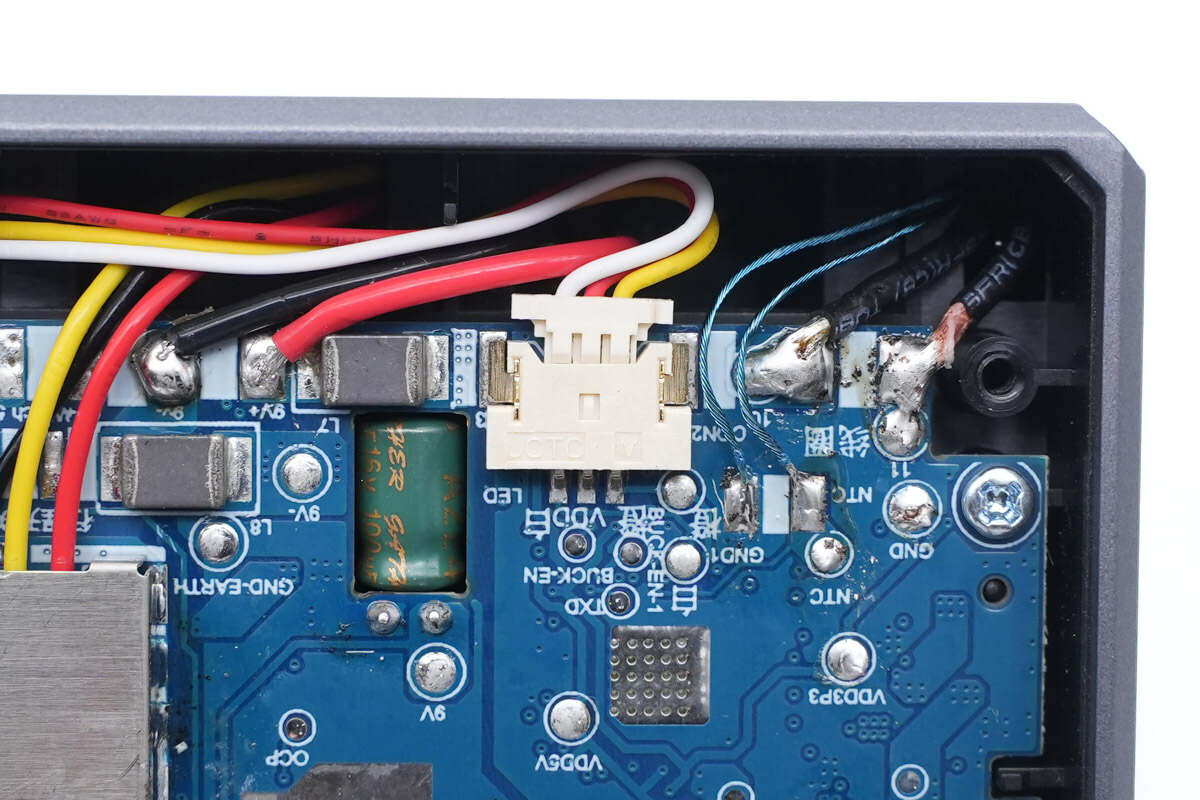
The LED connector is used for the LED indicator light.
At the connection point between the wireless charging coil for the phone and the PCB, there's an NTC thermistor for detecting temperature changes.
There is a metal PCB shield on the left.
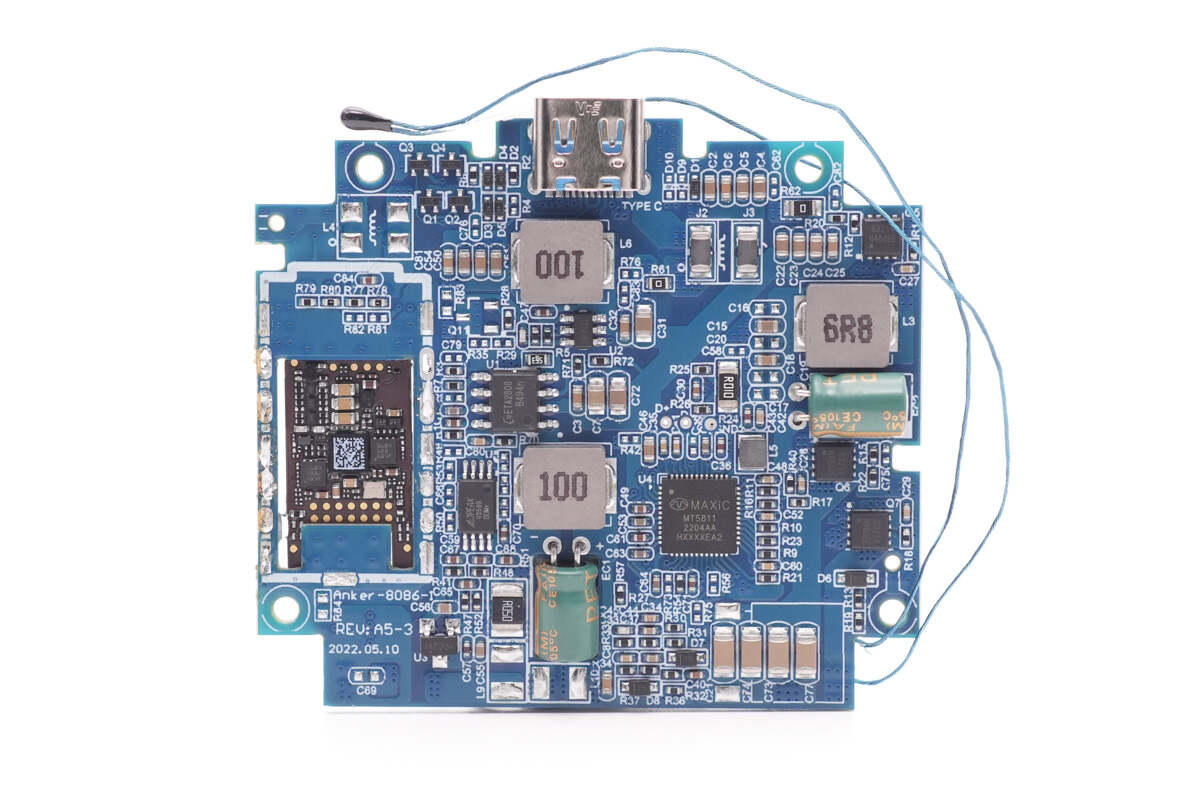
The area below the metal PCB shield houses the Apple Watch wireless charging circuit. In the bottom right corner, an AirPods wireless charging controller is soldered.
And there are not many components on the back.
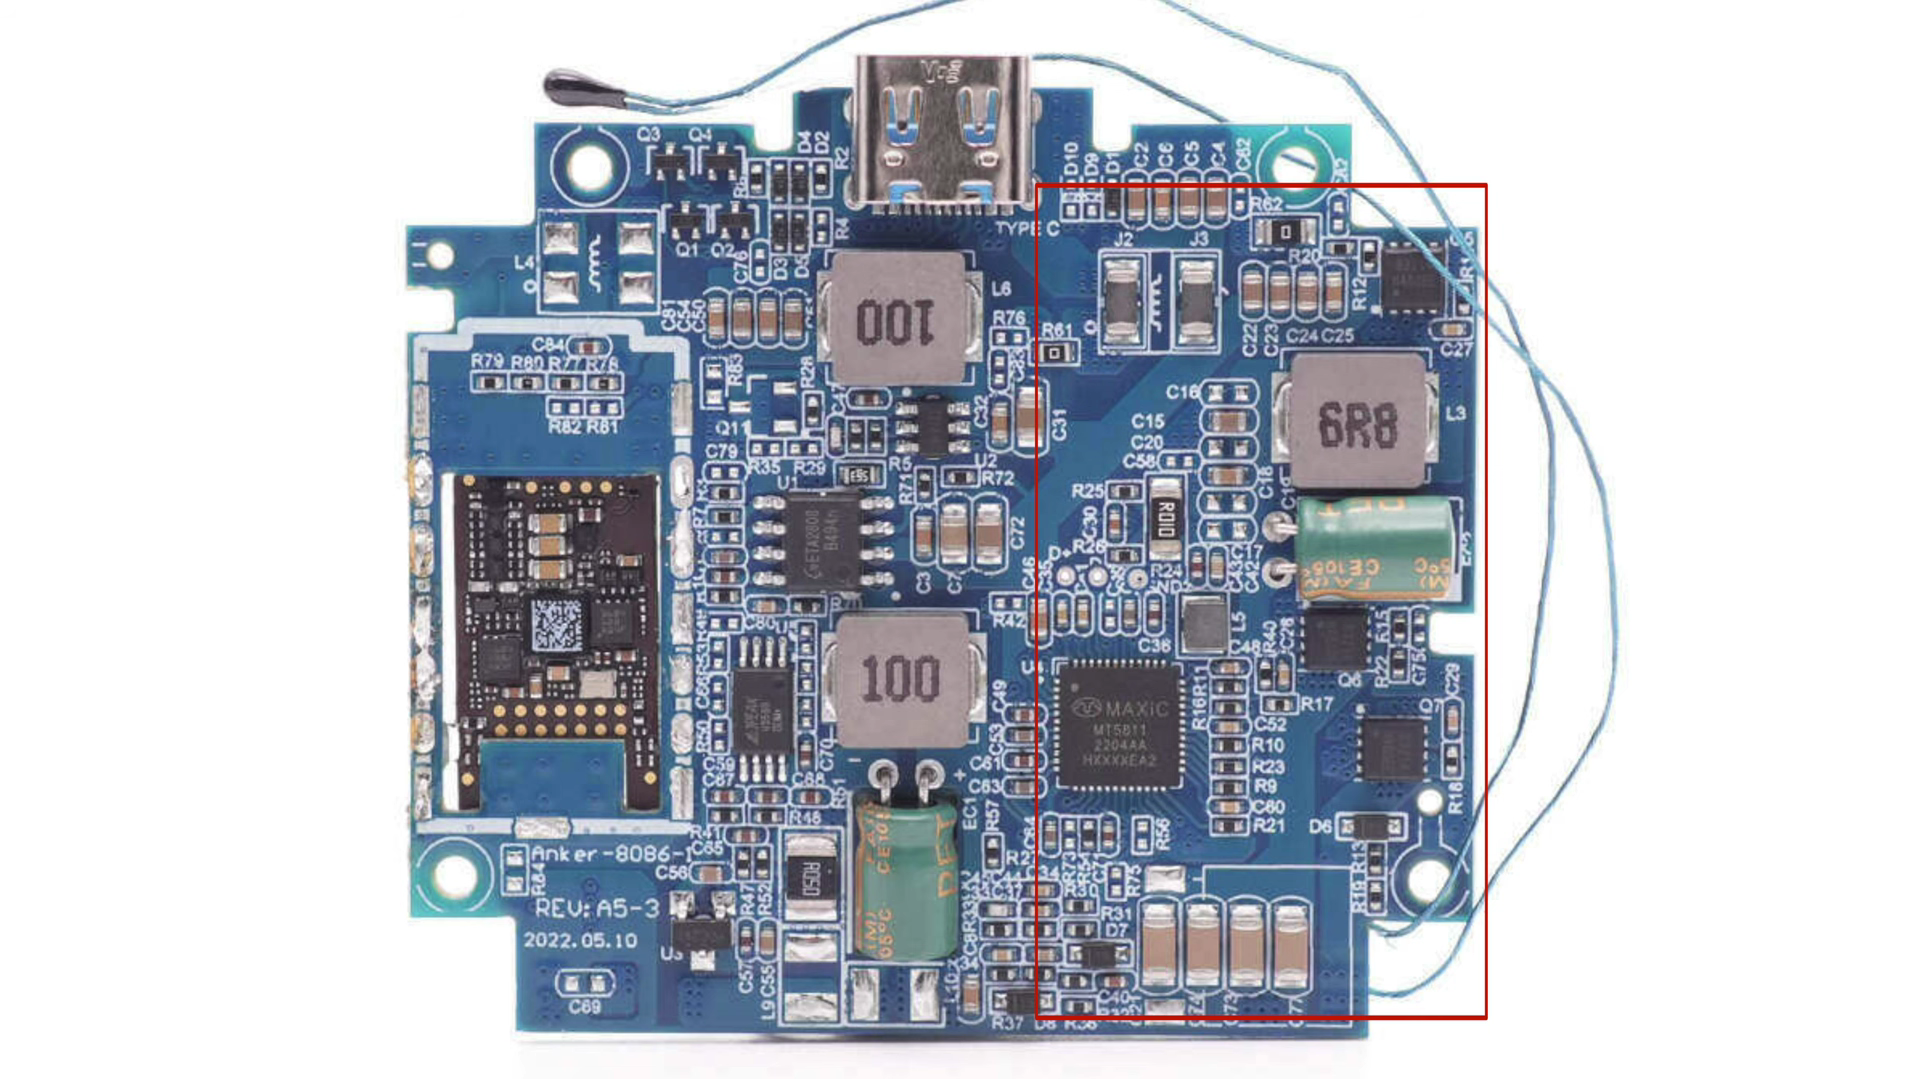
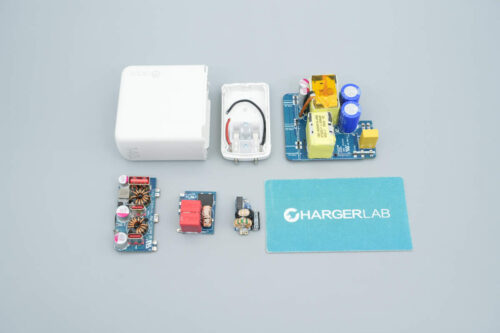
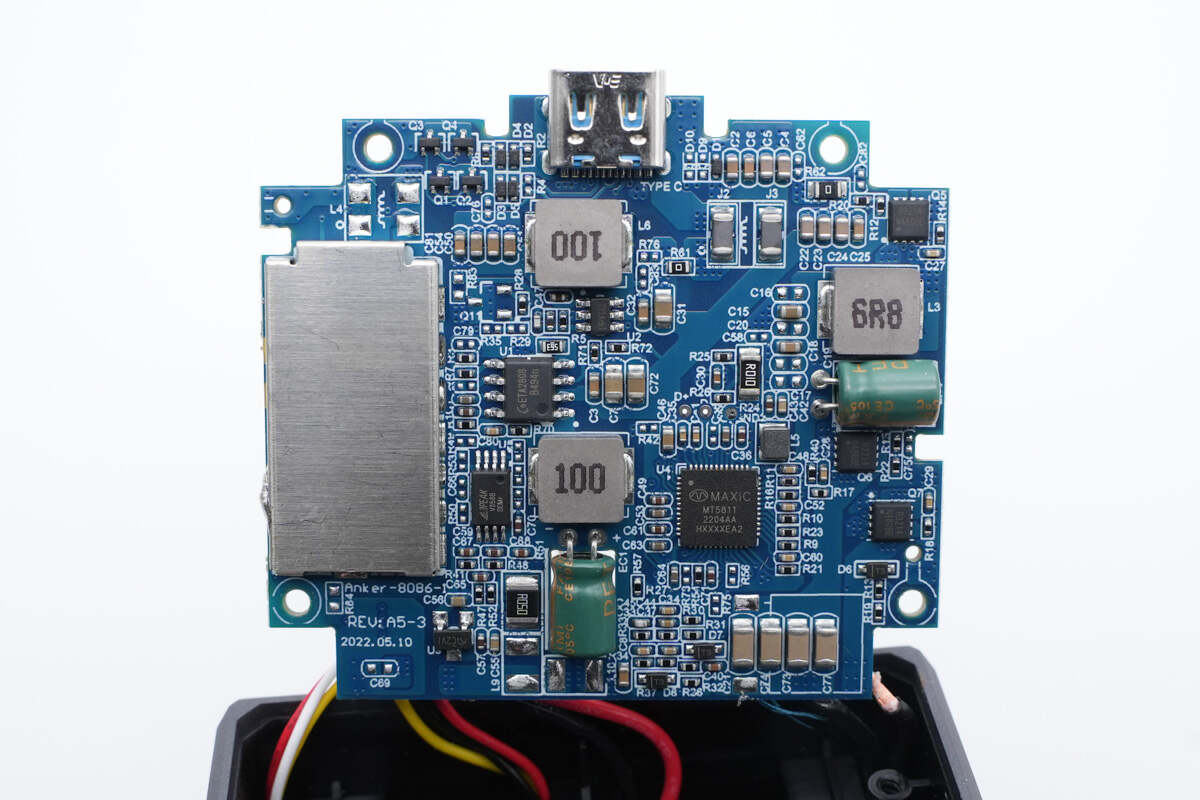
Firstly, let's see the buck circuit for the AirPods charging module.
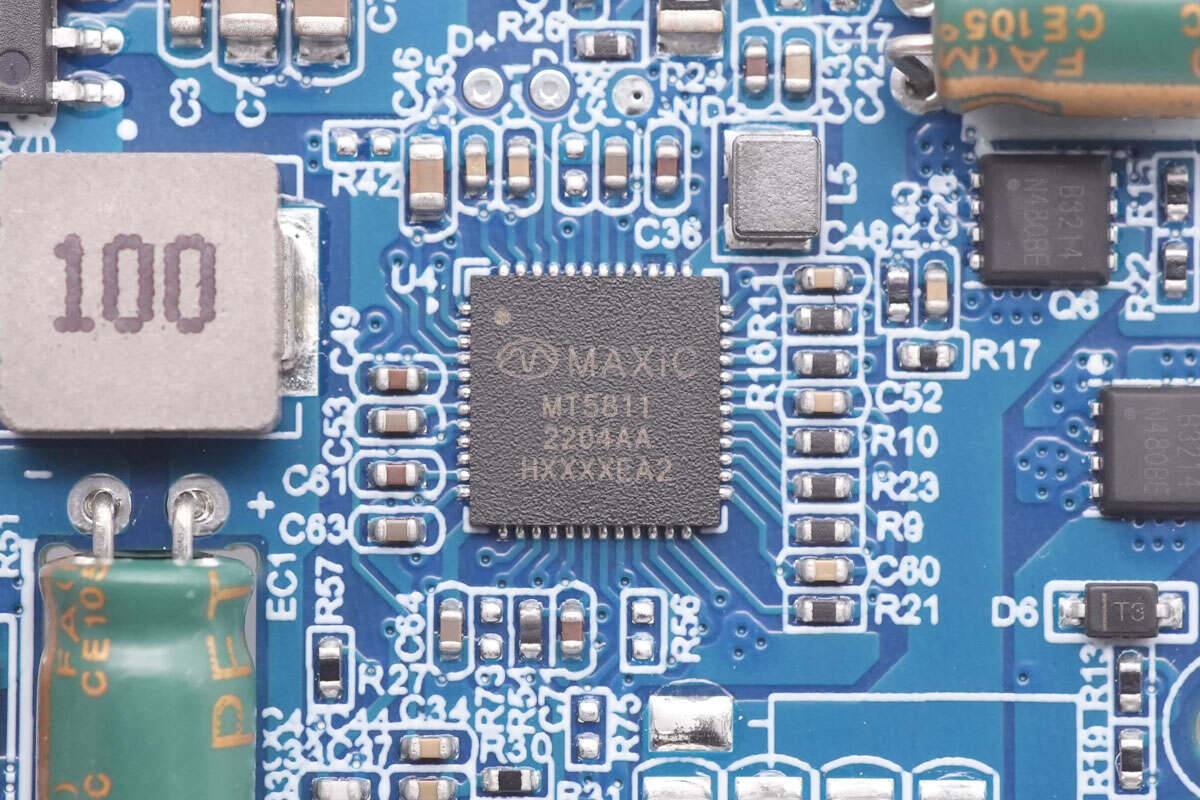
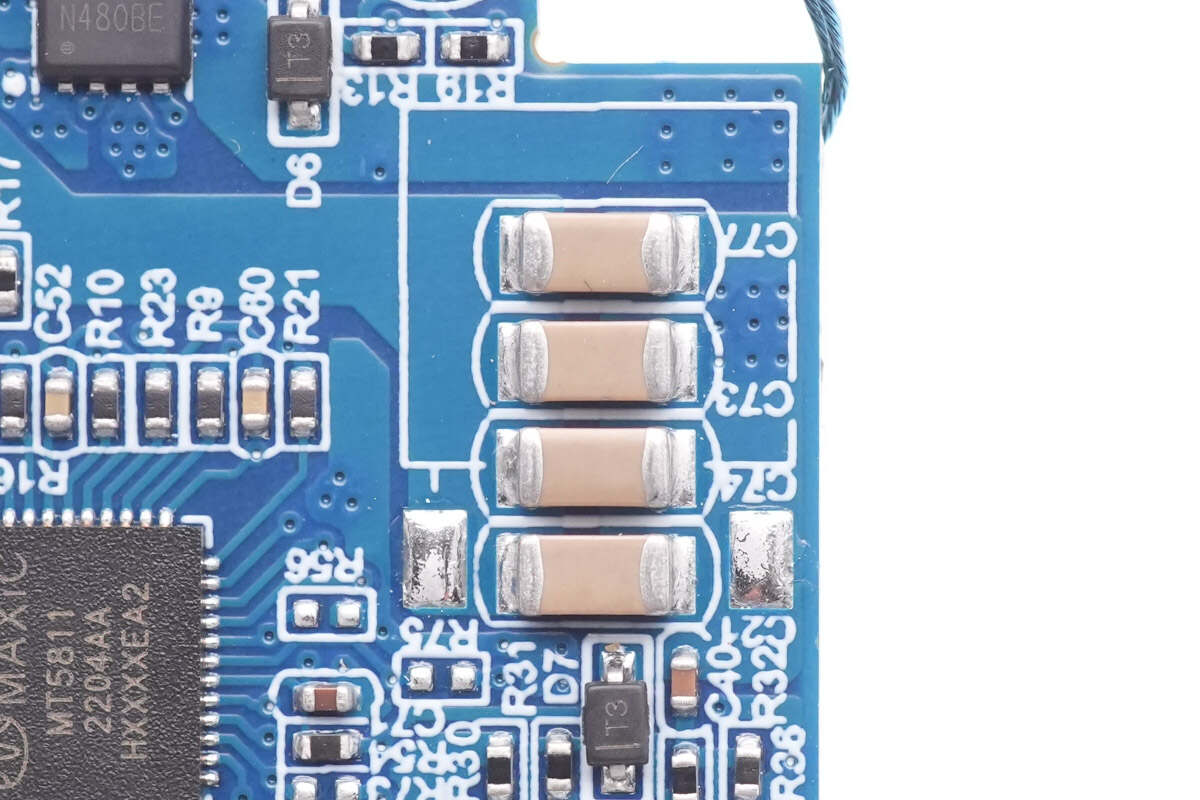
This is the master control chip, from MAXiC. It integrates USB PD, QC, and other fast charging protocols, and it complies with the Qi standard. Model is MT5811.
Here is all the information about MAXiC MT5811.

The MOSFET for voltage regulation is from FETek and adopts PRPAD 3 x 3 package. 30V, 14mΩ. Model is FKBB3214.
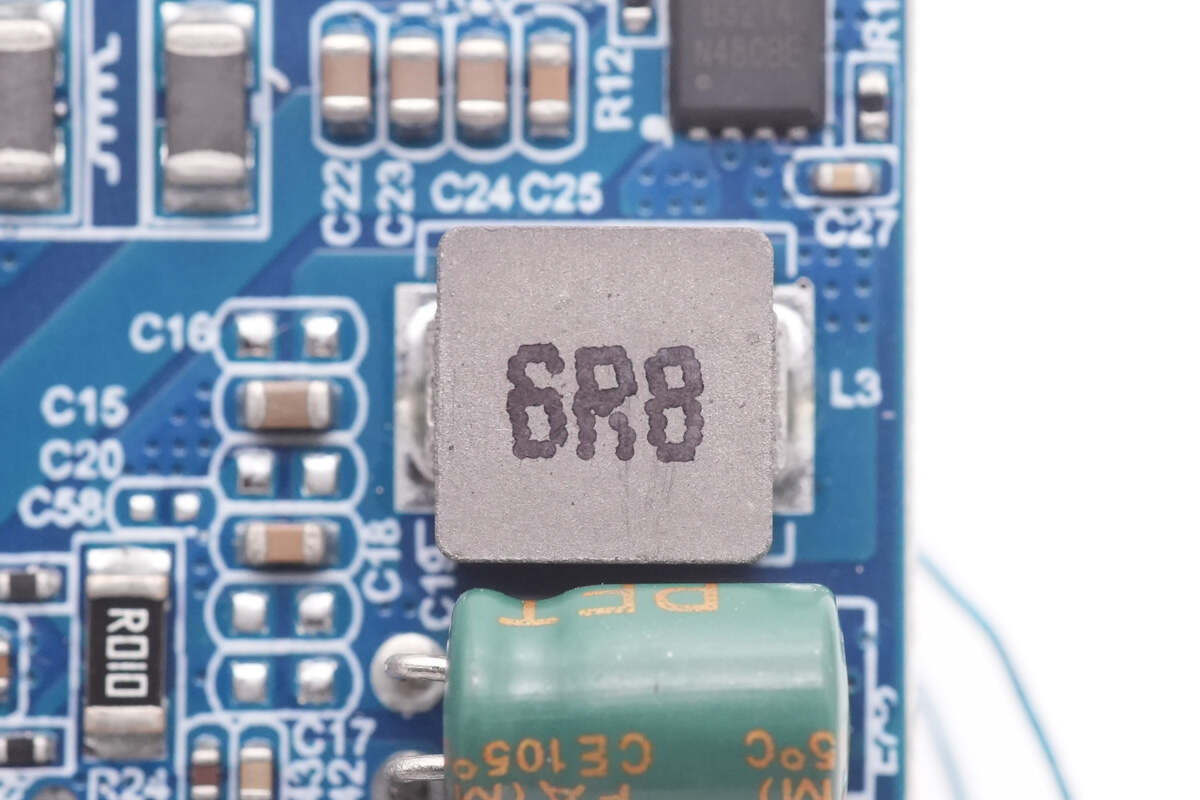
This is a 6.8μH alloy buck inductor.

The solid capacitor for output filtering is from SZ-Gather. 100μF 16V.
The full-bridge circuit consists of two MOSFETs from FETek. Model is FKBB3214.
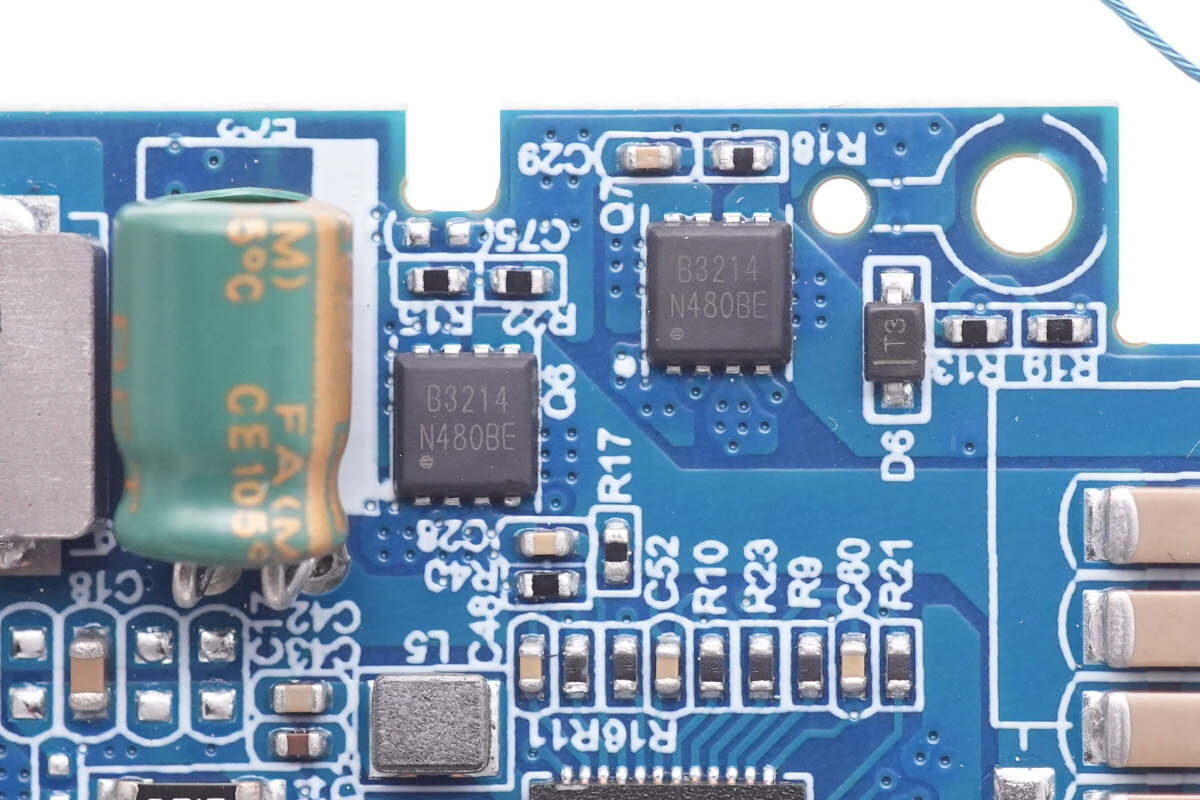
Four NPO resonant capacitors are connected in parallel.
This is a thermistor used for detecting coil temperature.
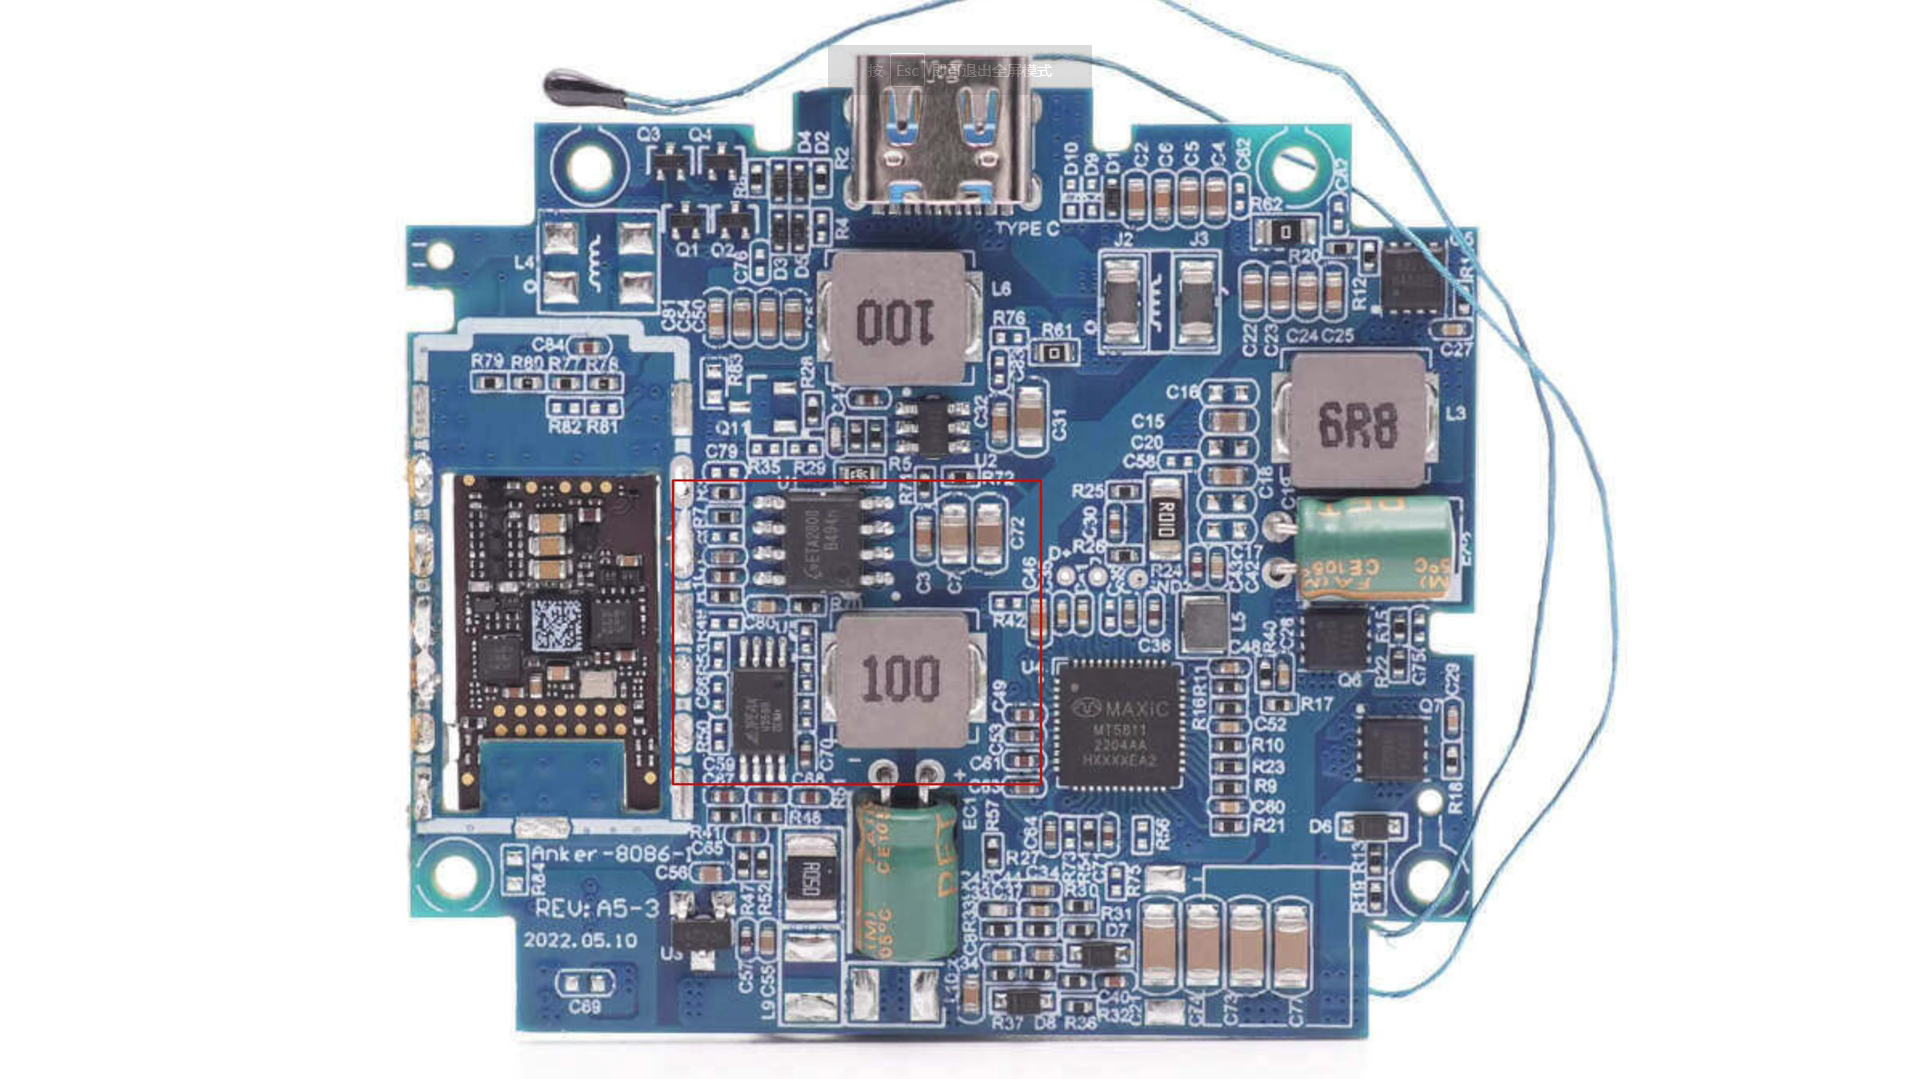
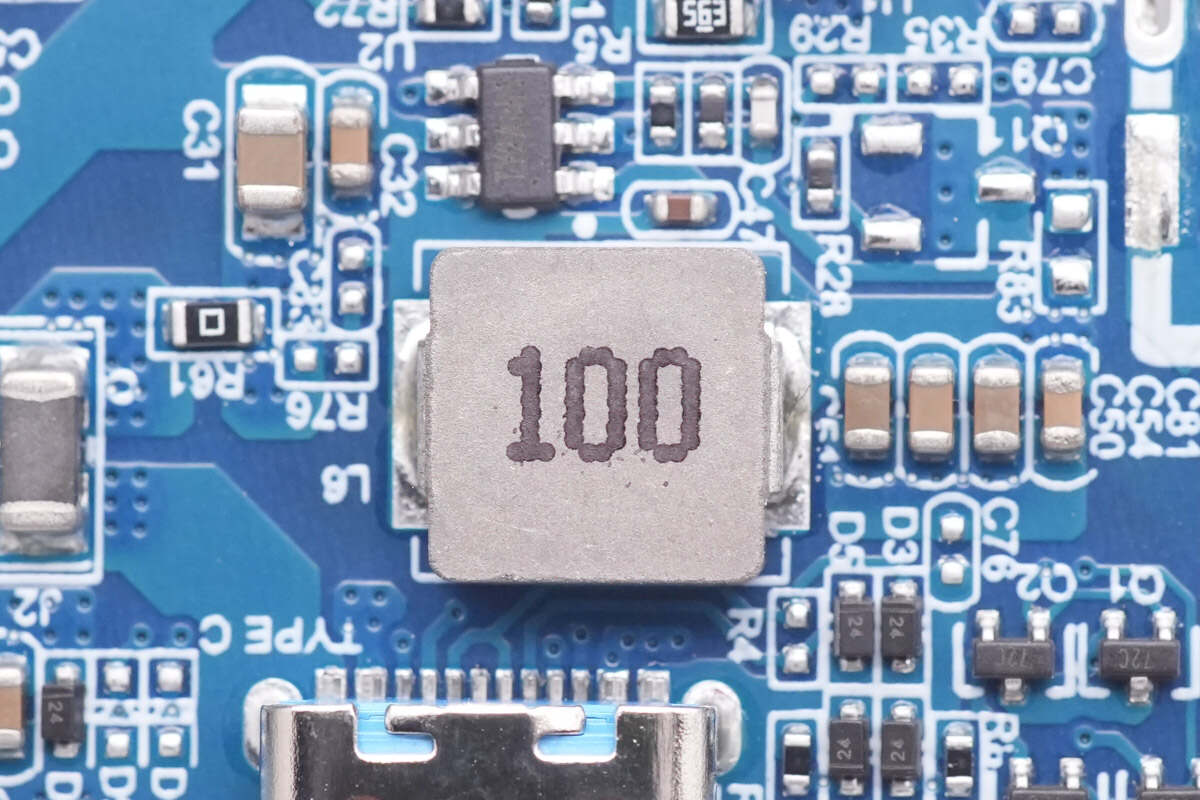
Then, let's see the buck circuit for the iPhone MagSafe module.
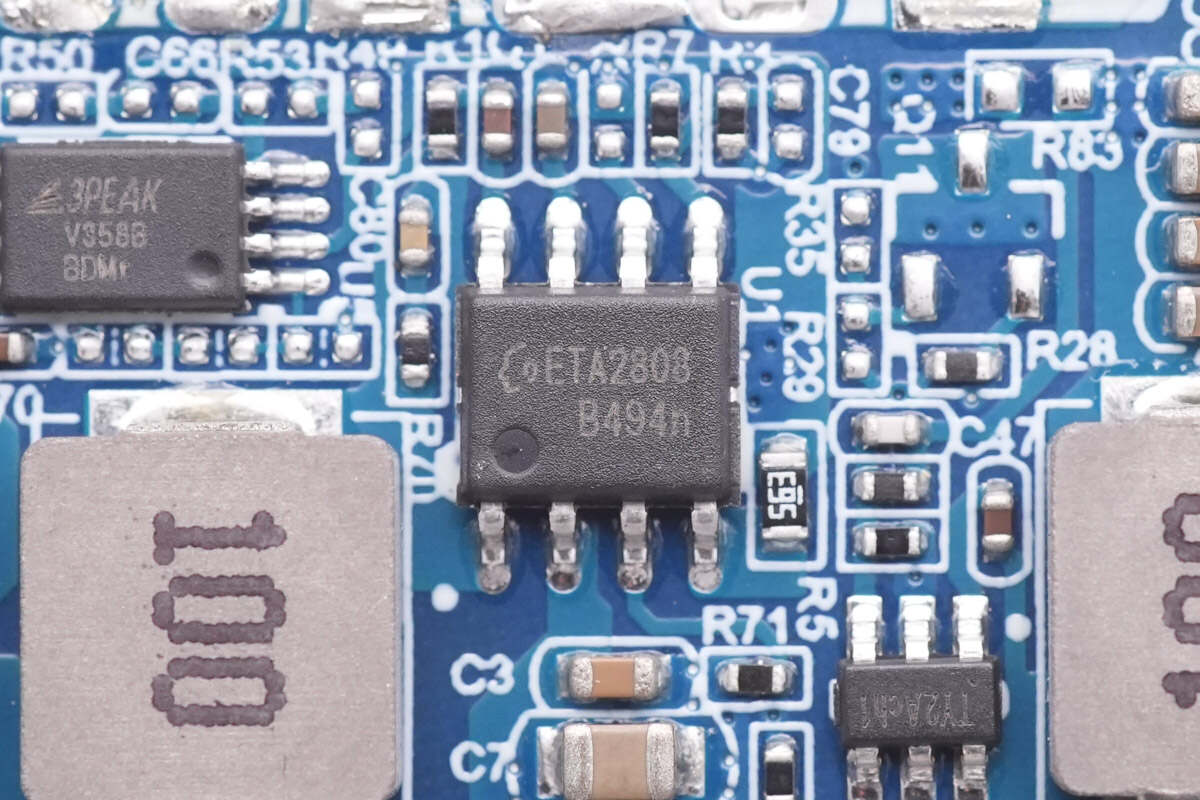
The synchronous buck converter is from ETA Semi, model ETA2808, it integrates MOSFET and has 35V input and 3A output. The switching frequency is adjustable.

This is a 10μH alloy buck inductor.
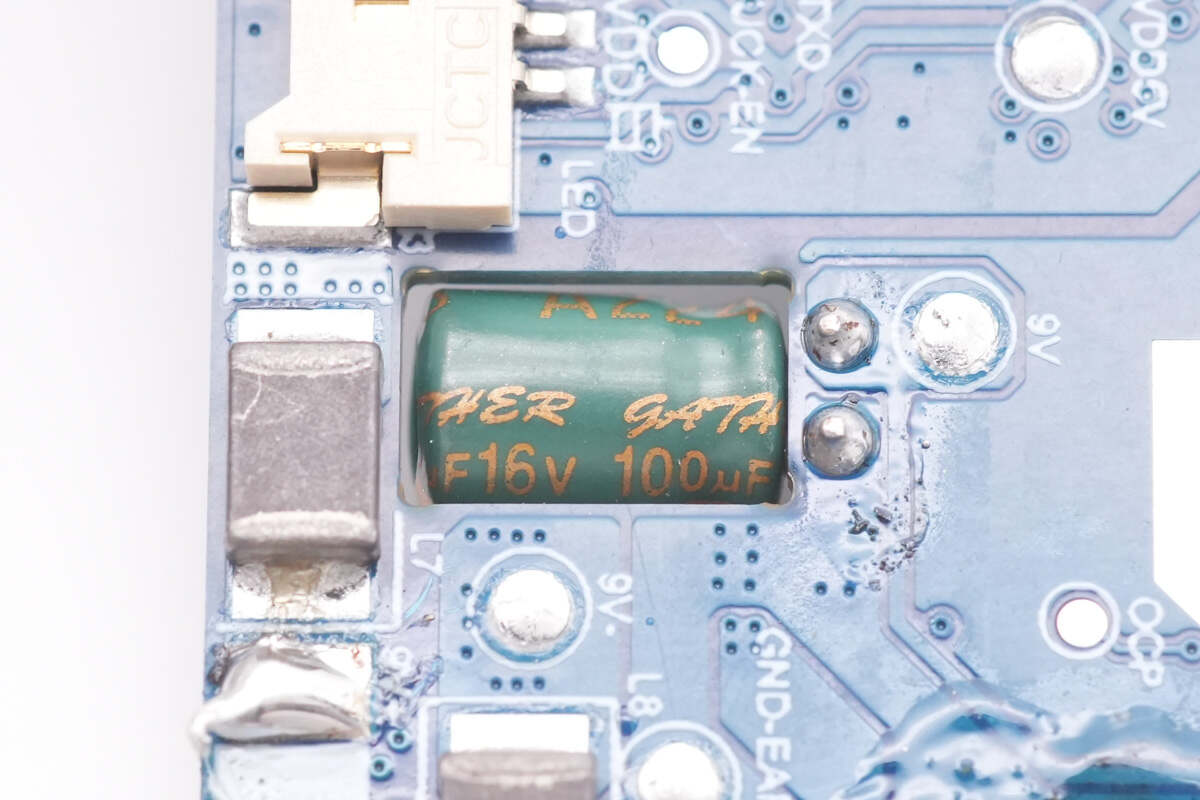
The solid capacitor for output filtering is also from SZ-Gather. 100μF 16V.
The final part is the buck circuit for the Apple Watch charging module.
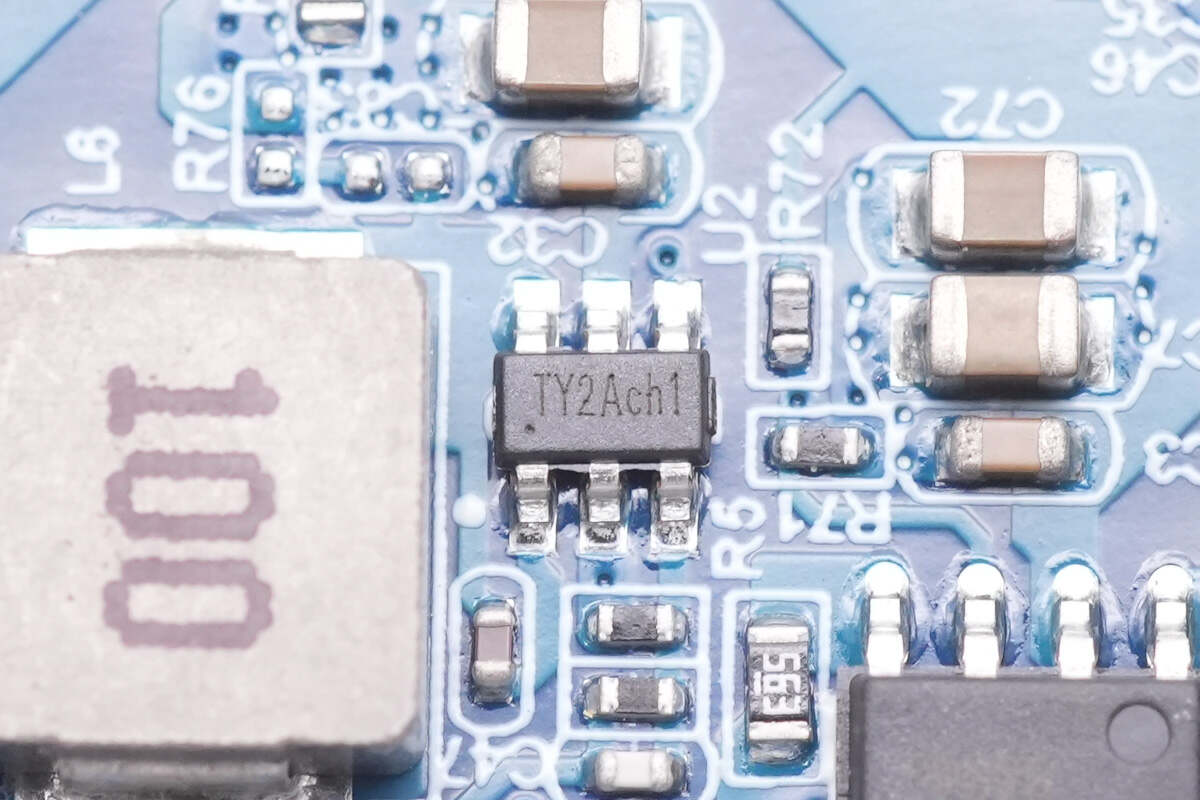
Its buck converter is marked with TY2A.
This is also a 10μH alloy buck inductor.
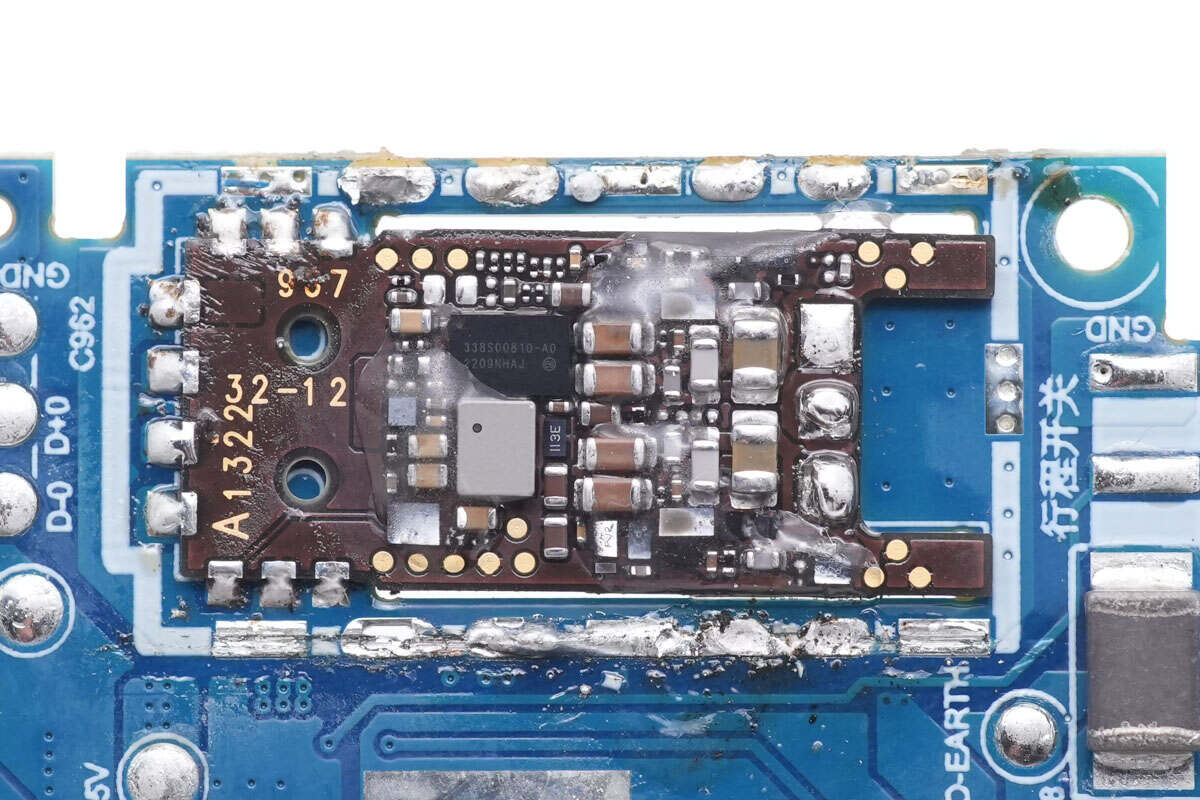
And as mentioned, here is the Apple Watch wireless charging circuit,
which is placed in the hollow of the PCB.
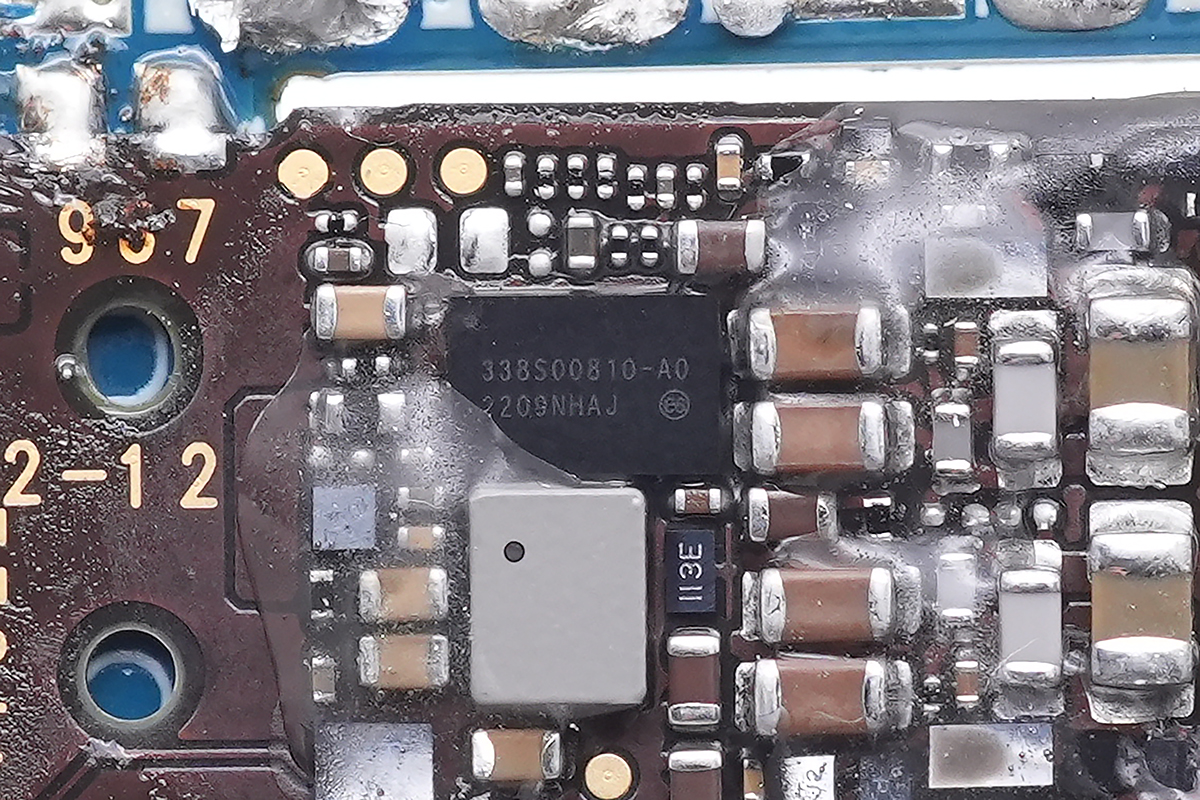
This custom chip marked with 338S00810-A0 is used for voltage regulation of wireless charging.
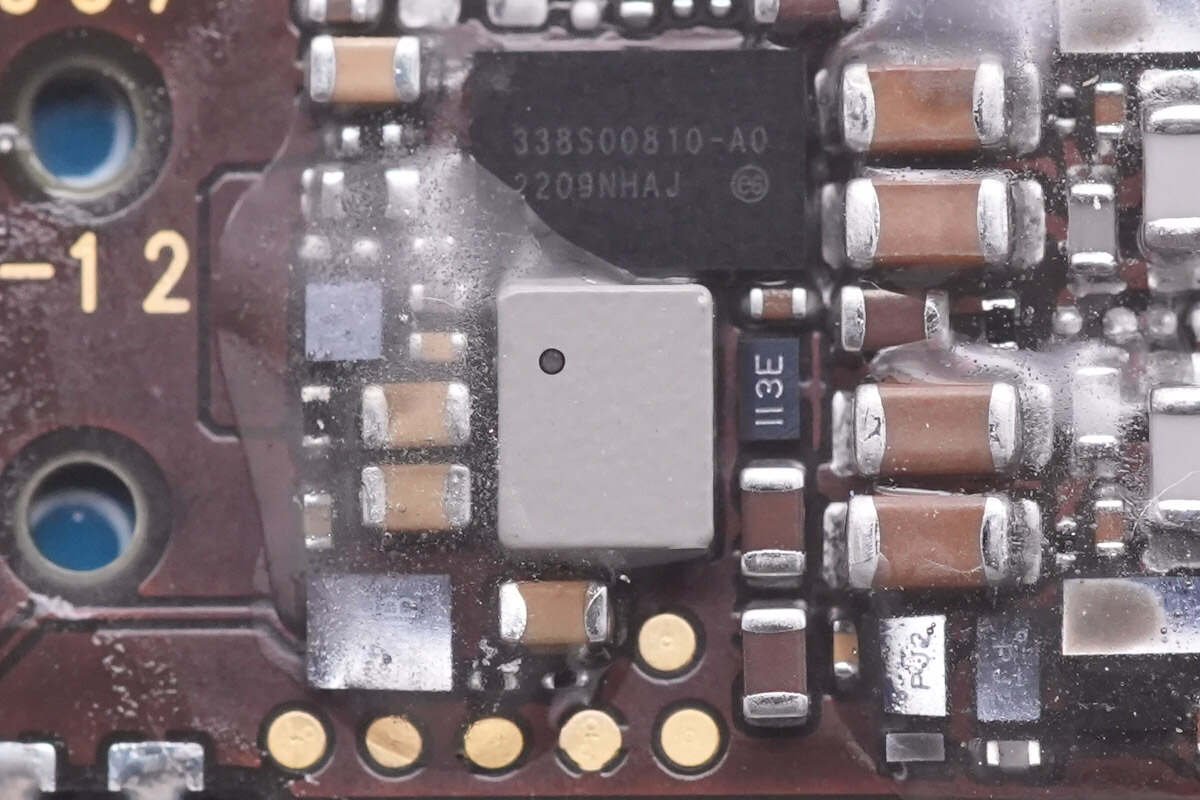
An SMD inductor is next to it.
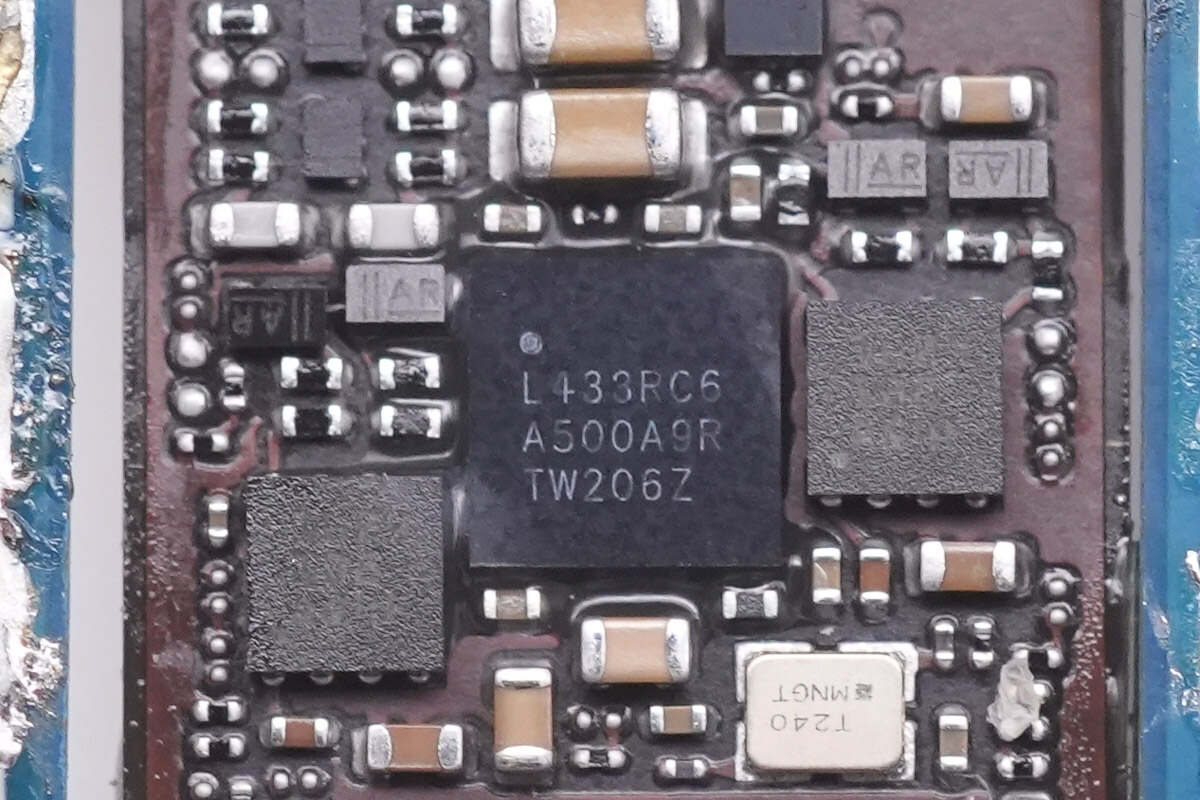
This MCU is from STMicroelectronics, which integrates 80MHz ARM M4 processor and 256KB memory. Model is STM32L433RC.
And there is a QR code on its back.
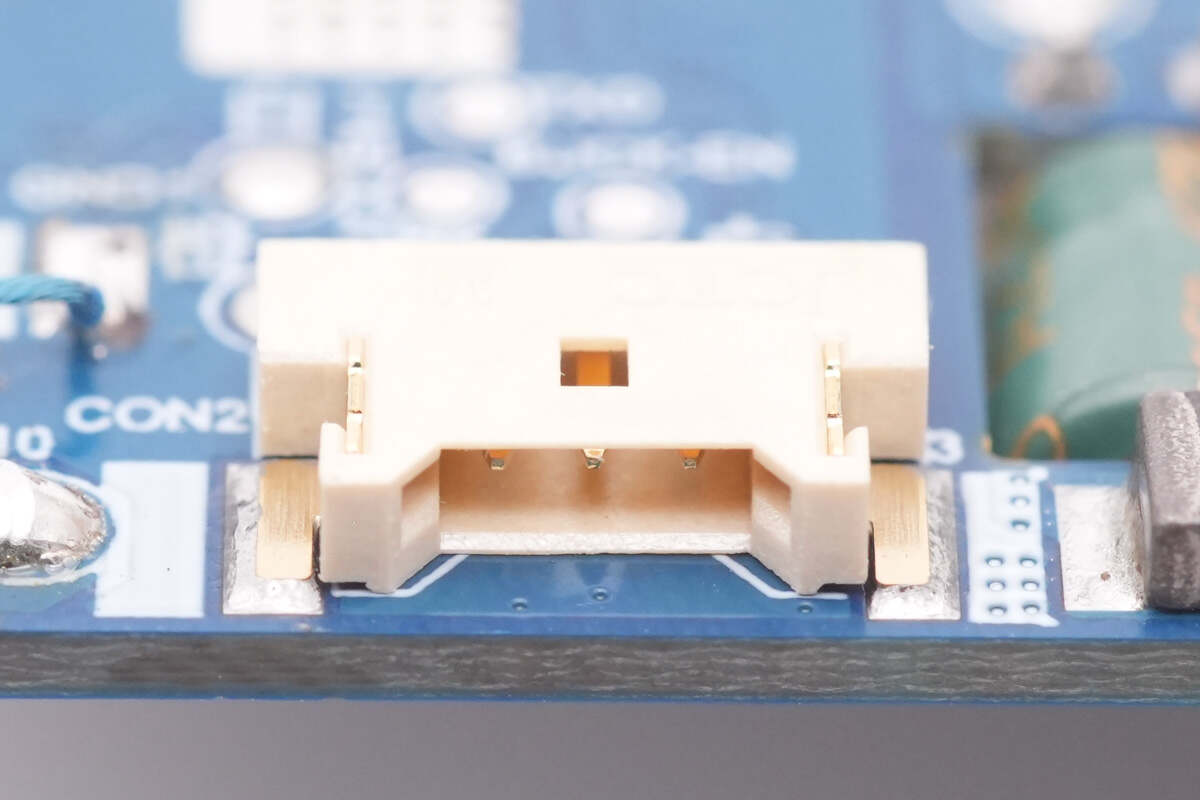
The LED light is connected to this connector.
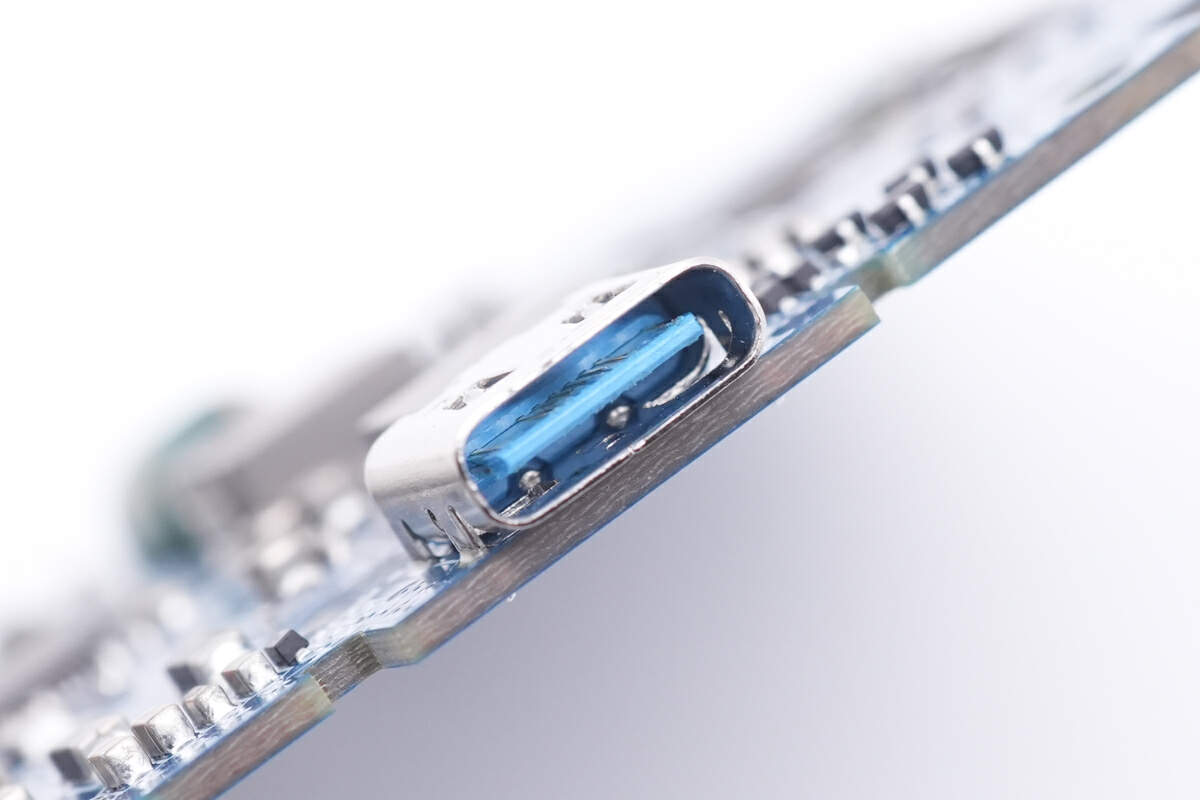
And the plastic sheet inside the USB-C female socket is blue.

Well, that's all components of this 3-in-1 MagSafe cube from Anker.
Summary of ChargerLAB
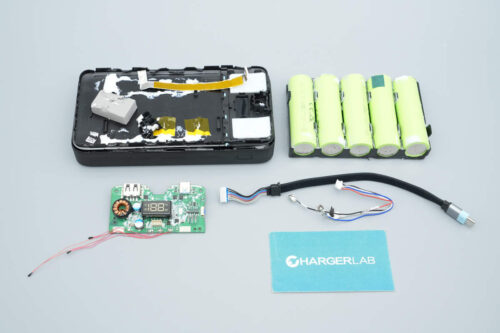
After taking it apart, we found that the internal space is fully utilized. From top to bottom, it has Apple's official MagSafe module, AirPods charging module, and Apple Watch charging module. All three modules are connected to the main PCB at the bottom.
It has the same performance as Apple's official charger, but it is smaller and more convenient to use.
Related Articles:
1. Review of Anker 3-in-1 MagSafe Charging Cube
2. Teardown of Anker 3-in-1 MagSafe Charging Cube (Video)
3. Anker Launched 3-in-1 Cube With MagSafe on Apple Store Online