Introduction
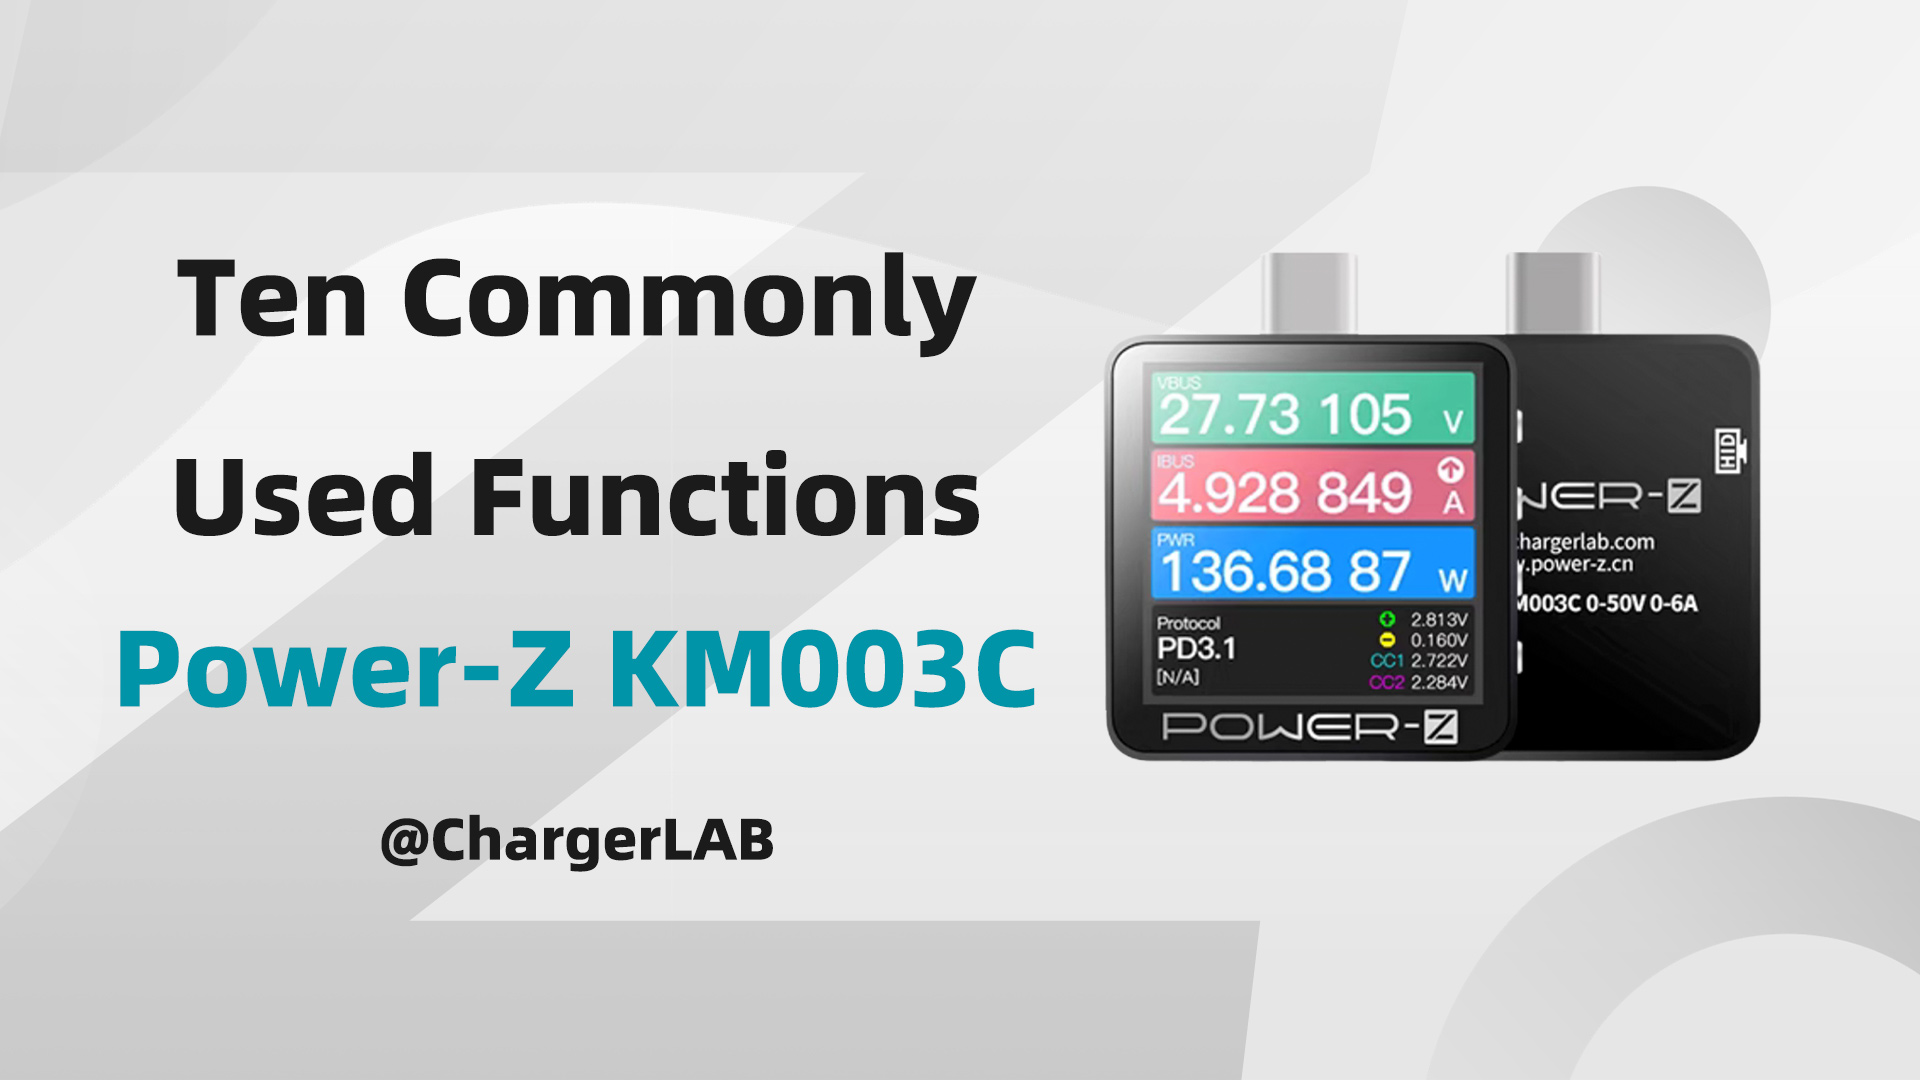
Today ChargerLAB will introduce the common functions of the POWER-Z KM003C, so that you can have a clearer understanding of this tester.
Let’s first take a look at the functions and uses of each port and button. Many users confuse the ports, making it impossible to test.
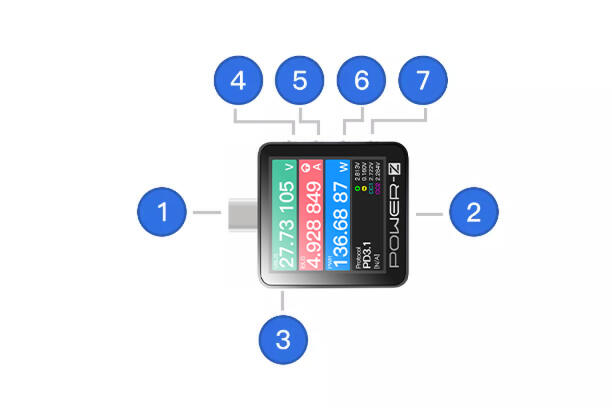
1. USB-C Male: Standard USB-C Male (Plug) that supports USB4 Gen3 (Bidirectional)
2. USB-C Female: Standard USB-C Female (Receptacle) that supports USB4 Gen3 (Bidirectional)
3. HID: Used to connect to PC & Power Supply and it’s driver-free.
PC software: support Window / Mac OS (In development), used for upgrading firmware, drawing high-precision curves, loading offline curve files, PD protocol analyzer, triggering fast charging protocol, etc.
4. Back:
(1) Rotate the display direction in the main menu
(2) Back
(3) Press and hold it when power off, you can enter the DFU mode
5. Confirm button:
(1) Long press: Enter Settings
(2) Short press: Confirm
6. Left button:
(1) Switch four different interfaces in the main menu
(2) Modify parameter values in the setting
7. Right button:
(1) Switch four different interfaces in the main menu
(2) Modify parameter values in the setting
(3) Long press "Right" on startup when HID is disconnected to power (Flip the USB-C connector if it doesn't work). Release CC pull-down resistor, it'll shut down after 5 seconds. Keep CC pull-down resistor, enter the charging protocol
First: Charging Info Test
Steps: Plug and play.
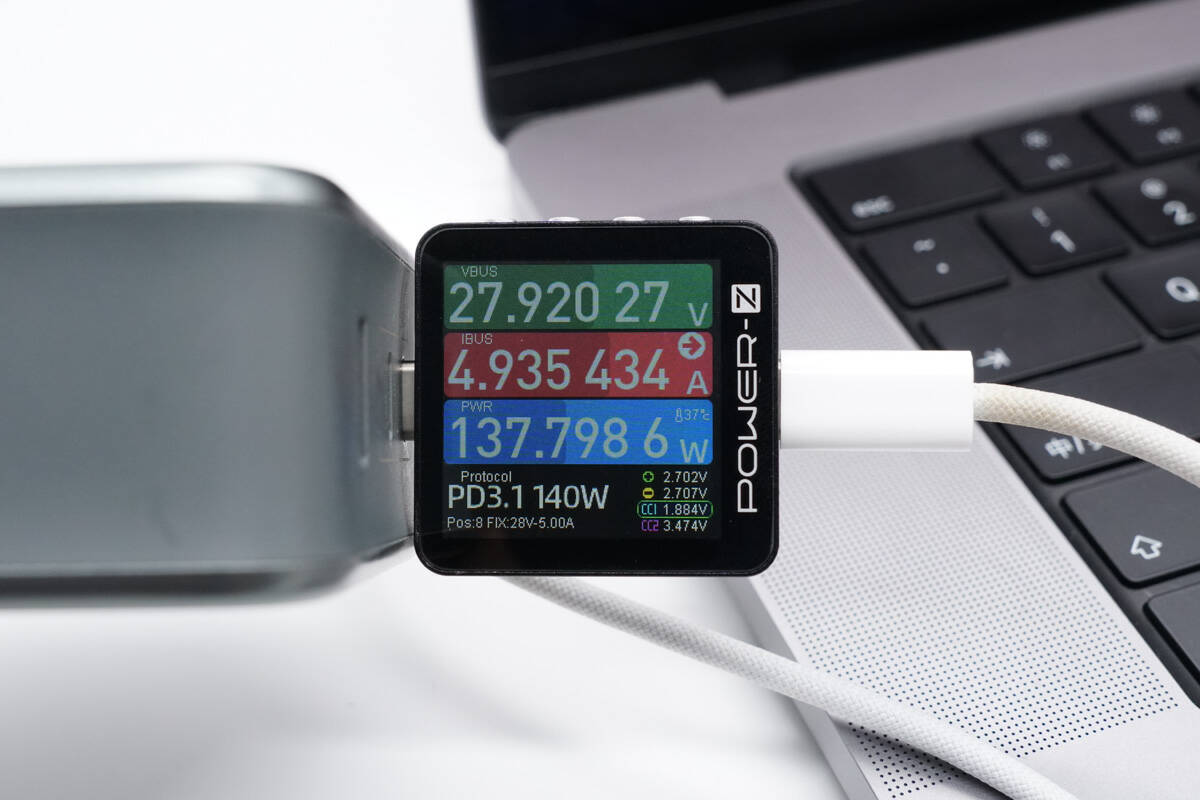
Here is the Dash Board. Voltage, current, and power are from top to bottom. The lower left corner shows the charging protocol that may be in use.
Short pressing the confirm button on this page can switch the refresh rate between 4sps, 15sps, 60sps, and 1Ksps.
Second: Real-time Charging Curve
Steps: press the Right button to go to the Real-time Curve.
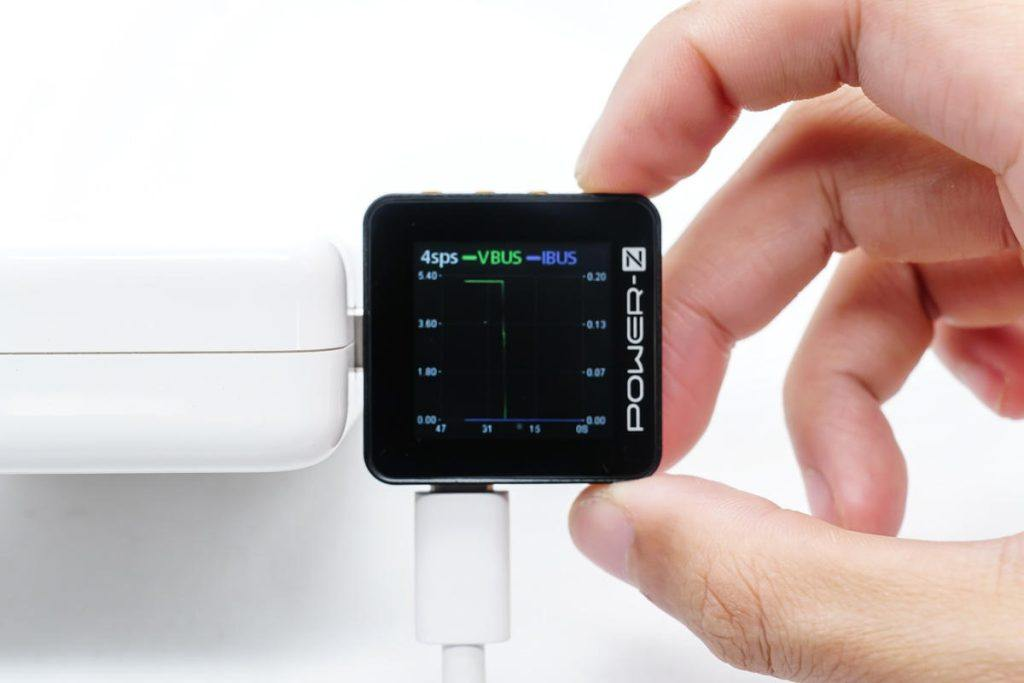
You can observe real-time data curves here. Press the Confirm button to switch between VBUS/IBUS, D+/D-, CC1/CC2.
Third: Protocol Test
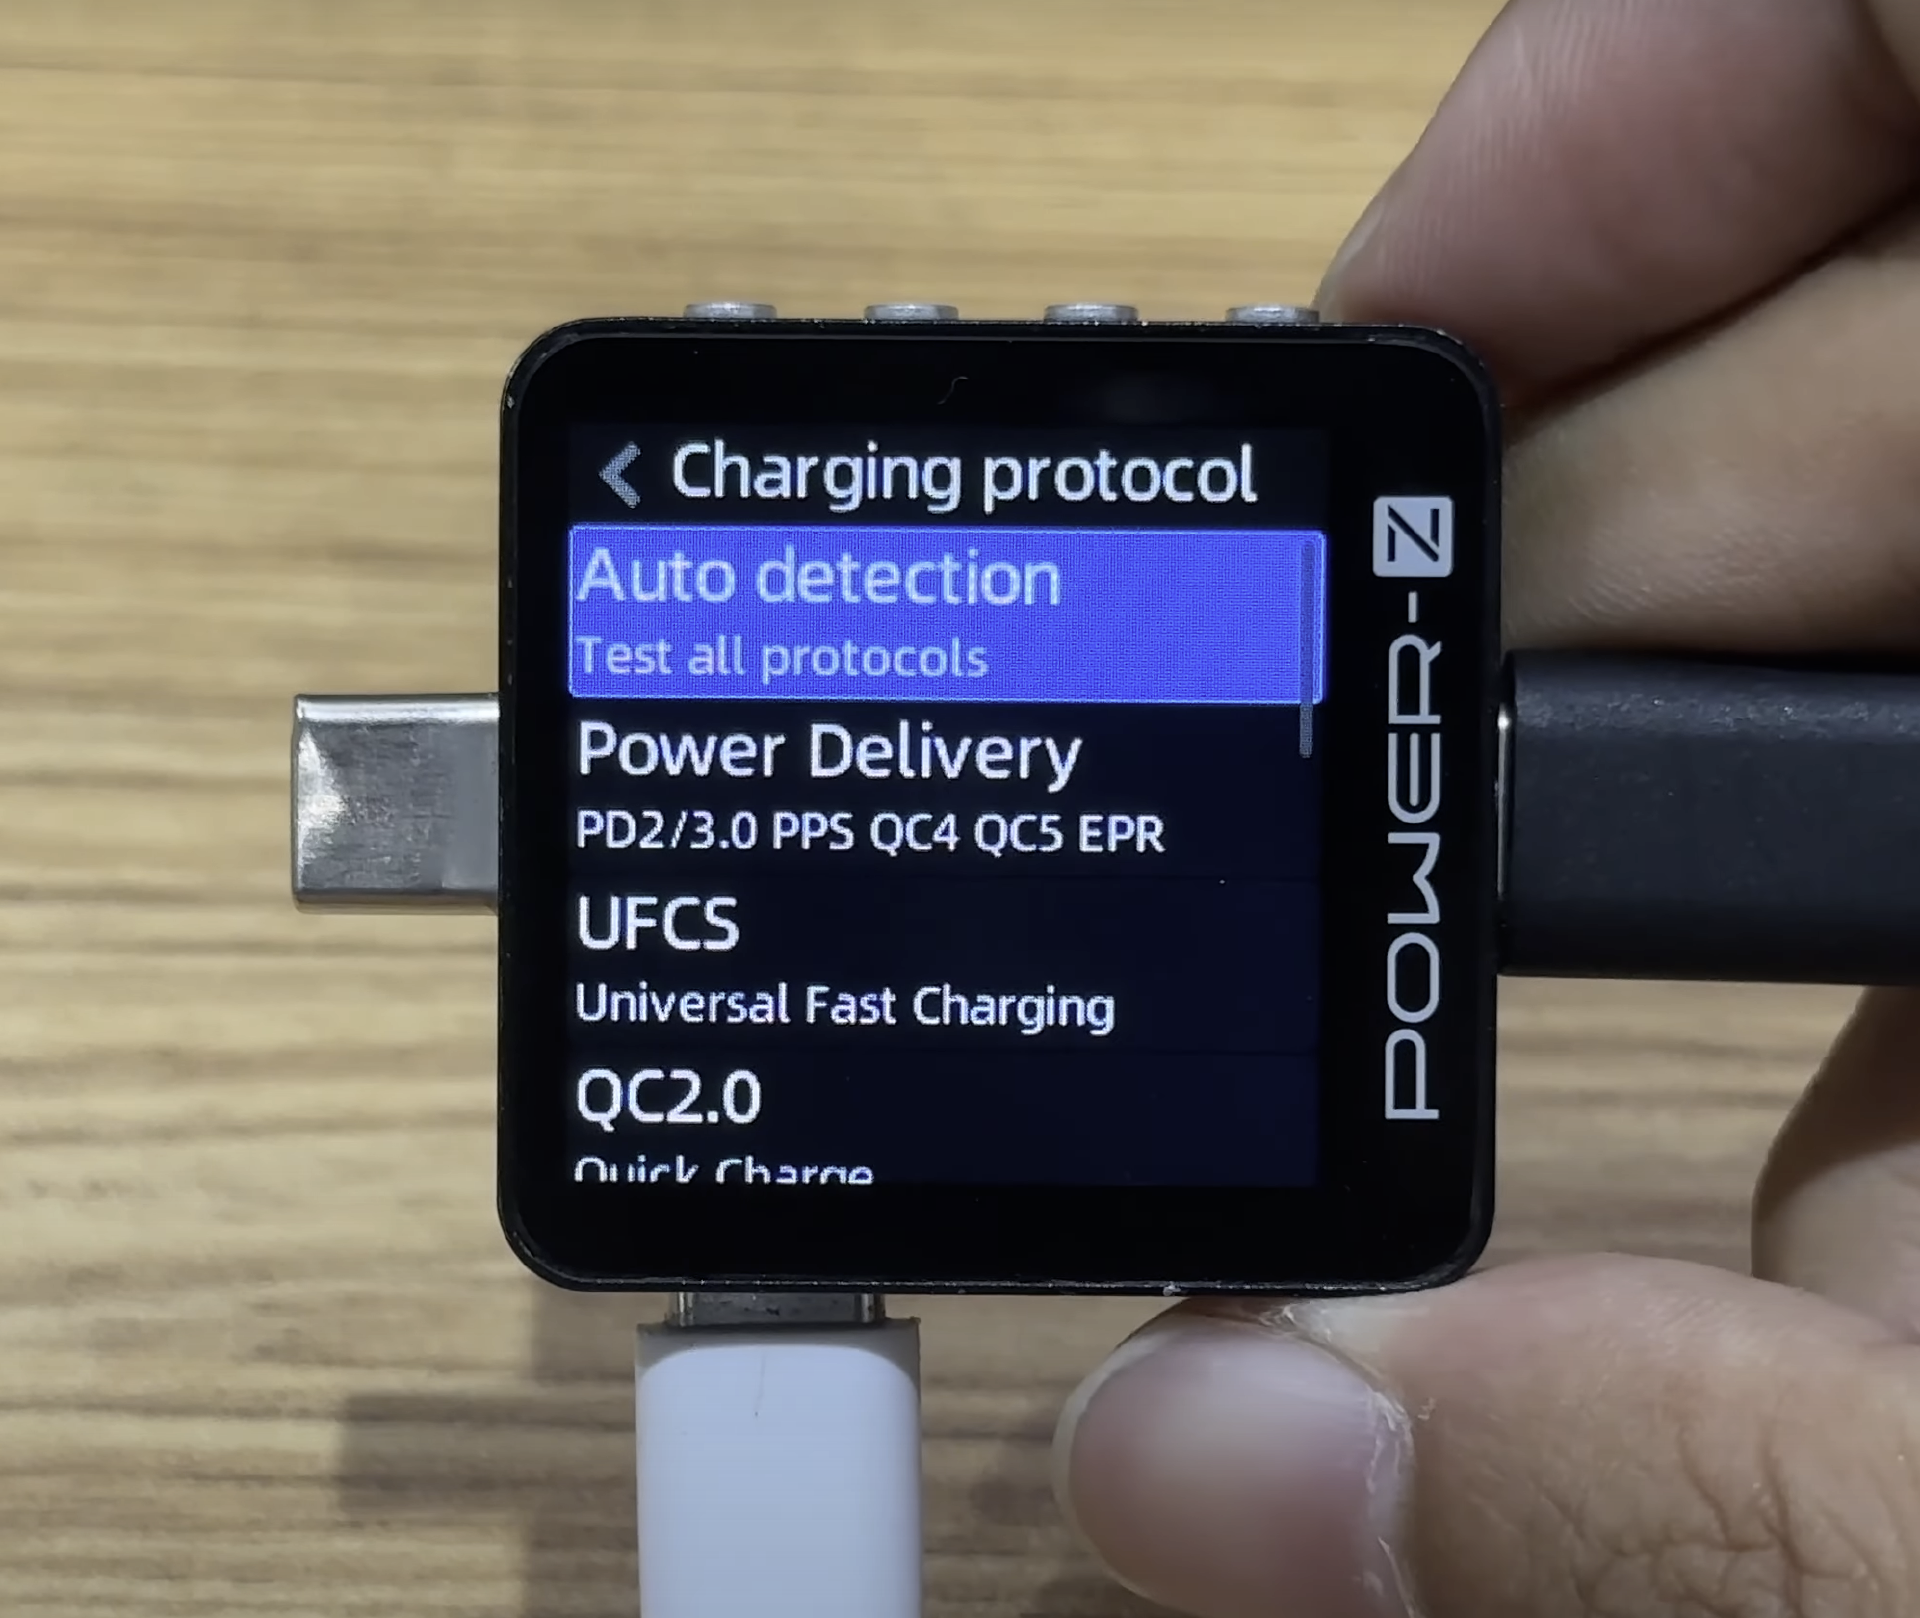
After entering the "Charging protocol", select "Be ready!", and then select "Auto detection". The tester will read the information of the tested charger. It can support FCP, SCP, AFC, QC3.0, QC4+, QC5, PD3.1, PD3.0, PPS, Apple2.4A, VOOC, SVOOC, VIFC, UFCS, etc.
Warning: Please disconnect any device connected to another port before using this function, the high voltage may burn your device.
Fourth: Cable Simulation
Another interesting function inside the "Charging protocol" is that you can simulate different cables. Select the button to the right of "Be ready!".
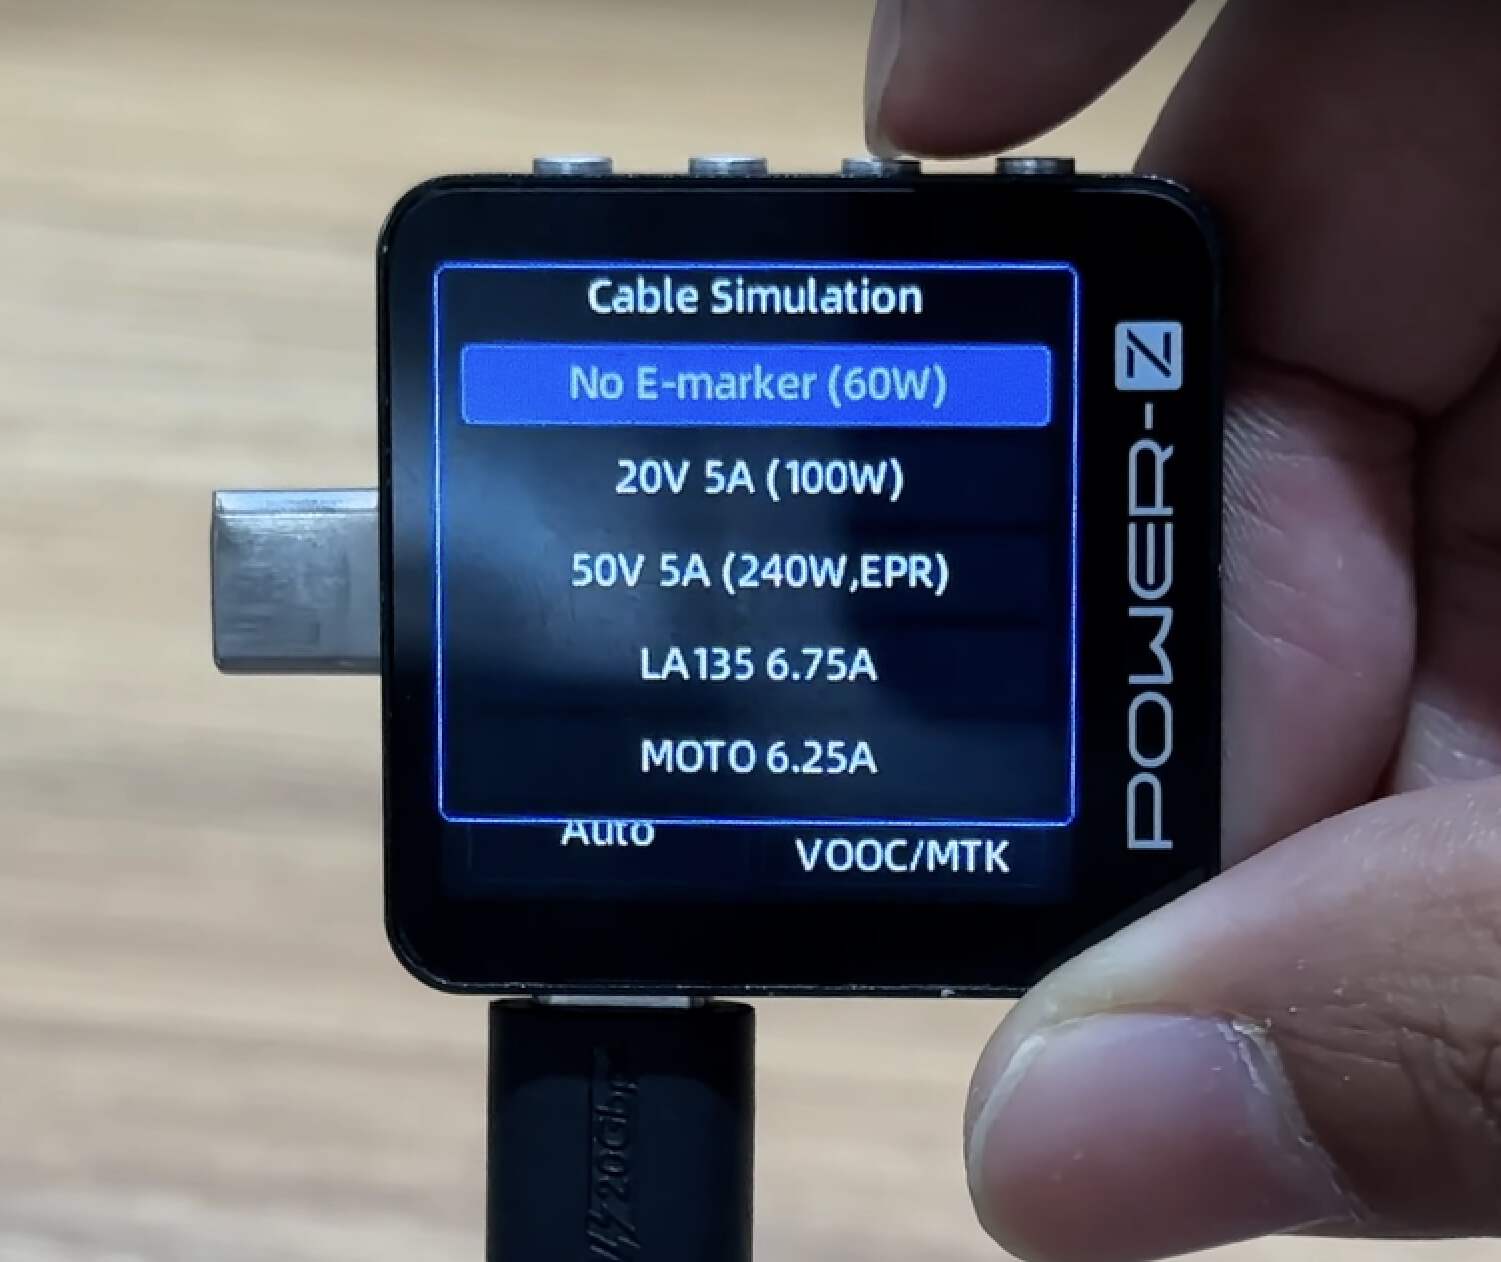
Then you can choose the cable specifications you want to simulate. It can help you test protocols even if you don't have the corresponding cables.
Fifth: Protocol Trigger
Steps: "Application"-"Charging protocol"
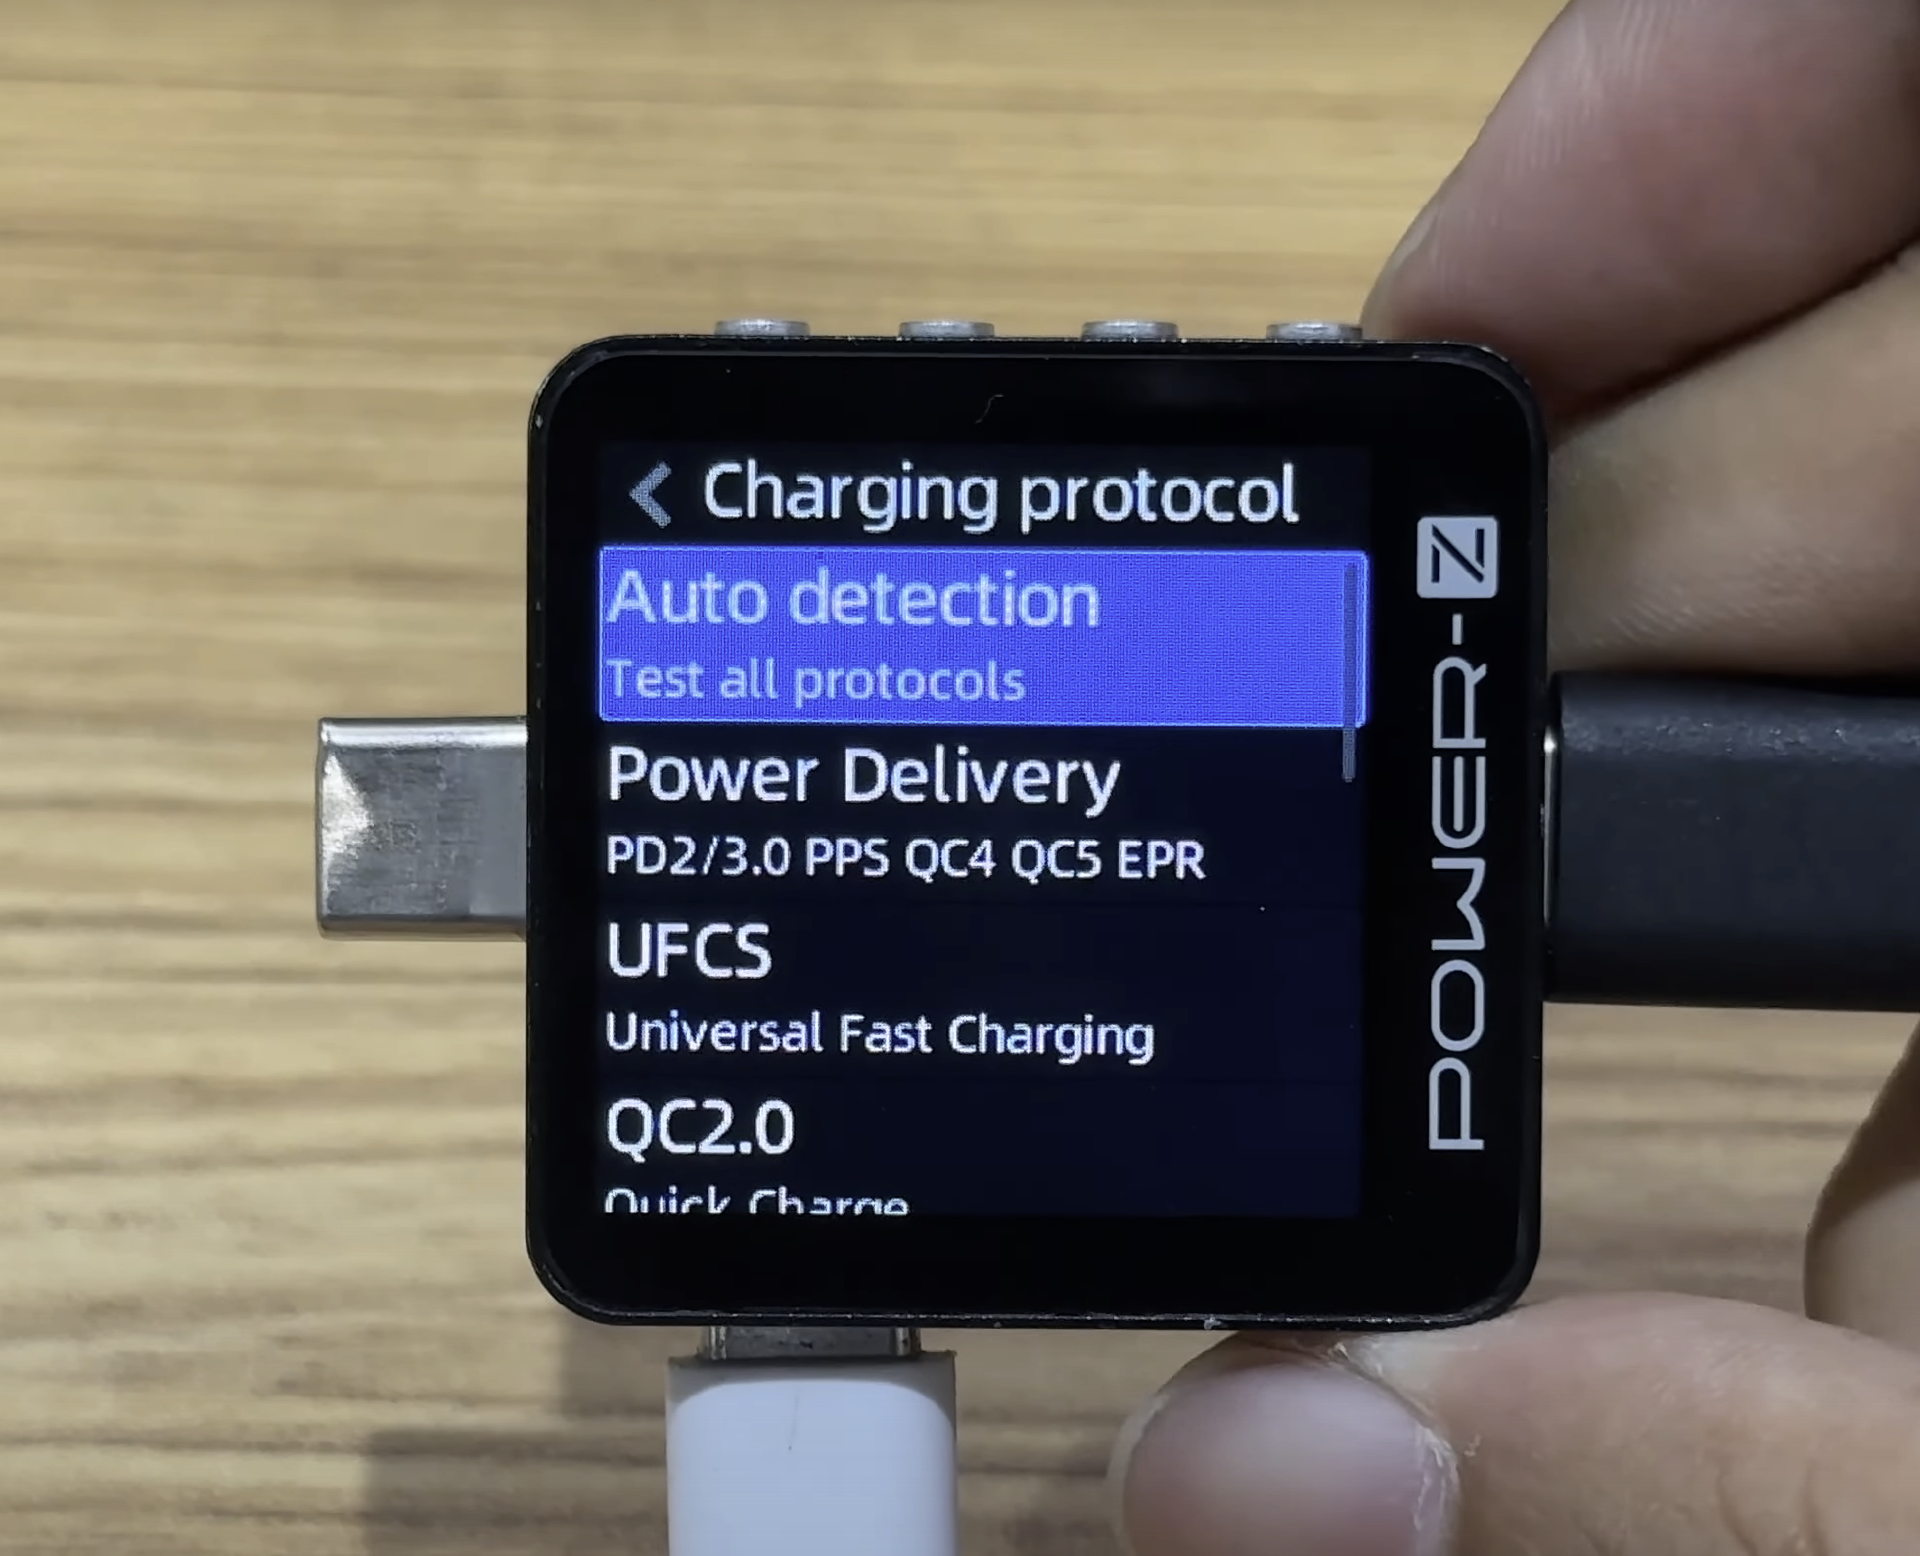
This feature can trigger the needed protocol and adjust to a specific voltage. For this specific feature, it supports PD2.0, PPS, EPR, QC2.0, QC3.0, AFC, FCP, SCP, VIFC, UFCS, and VOOC protocols. The original cable is required when triggering the VOOC/SVOOC protocol, and the KM002C needs to be equipped with a small load.
Warning: Please disconnect any device connected to another port before using this function, the high voltage may burn your device.
Sixth: VBUS Ripple Test
Steps: "Application"-"Modules"-"VBUS Ripple"
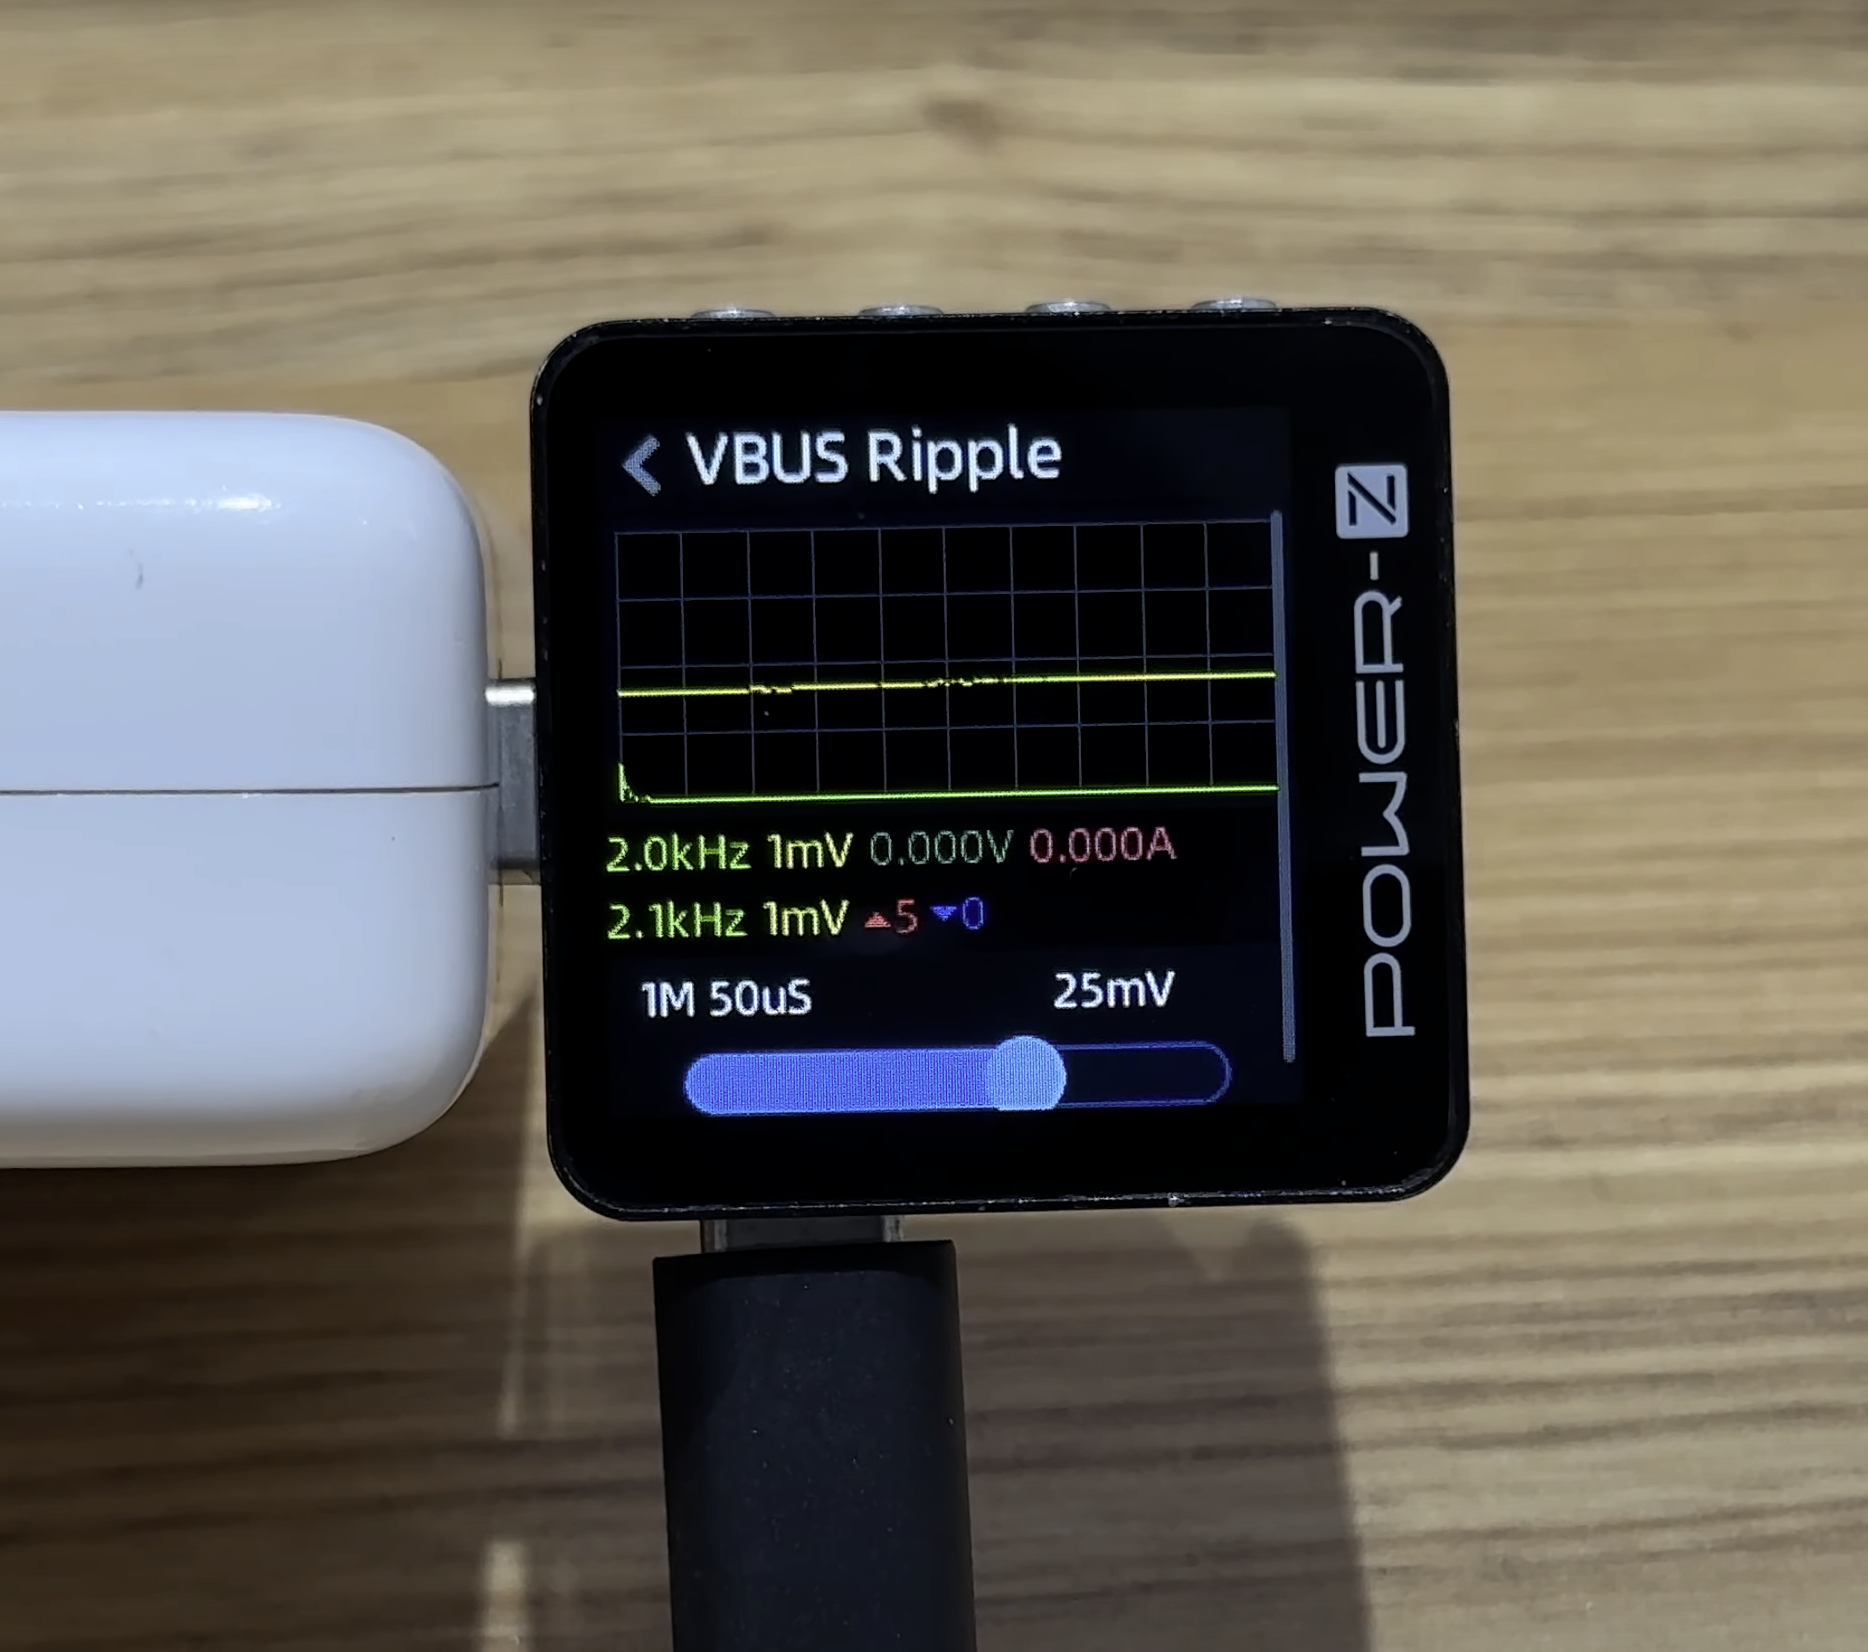
It can detect VBUS ripple. Use the "Left" and "Right" buttons to switch the sample rate between 20.0k 1250μs to 8.0M 3μs.
Seventh: E-marker Cable Test
Steps: "Application"-"Modules"-"USB-C eMarker"
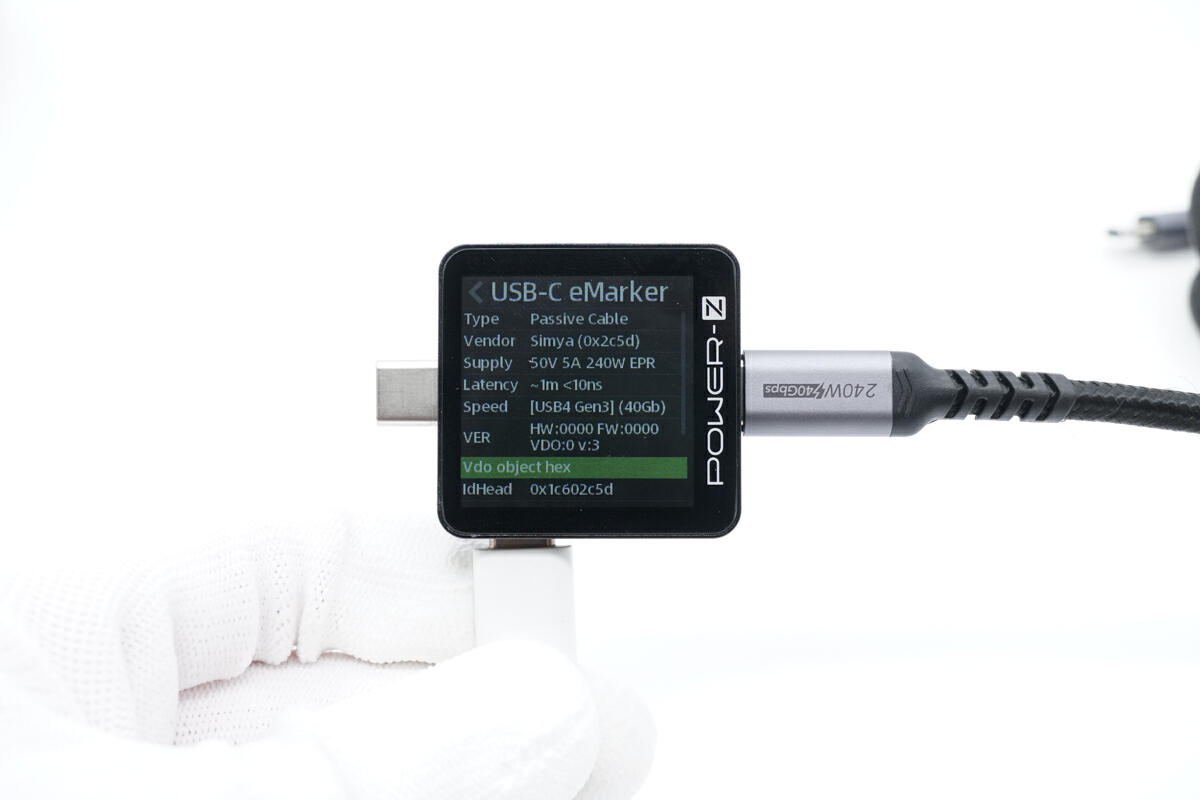
It can test if your USB-C cable has an E-marker chip. By reading the E-marker chip information inside the cable, you can obtain the maximum power, transfer speed, and other information.
Related Article: https://www.chargerlab.com/how-to-use-the-chargerlab-power-z-km002c-pd3-1-tester-to-test-the-c2c-cable/
Eighth: Apple Charger SN Code Reading
Steps: "Application"-"Modules"-"Apple charger"
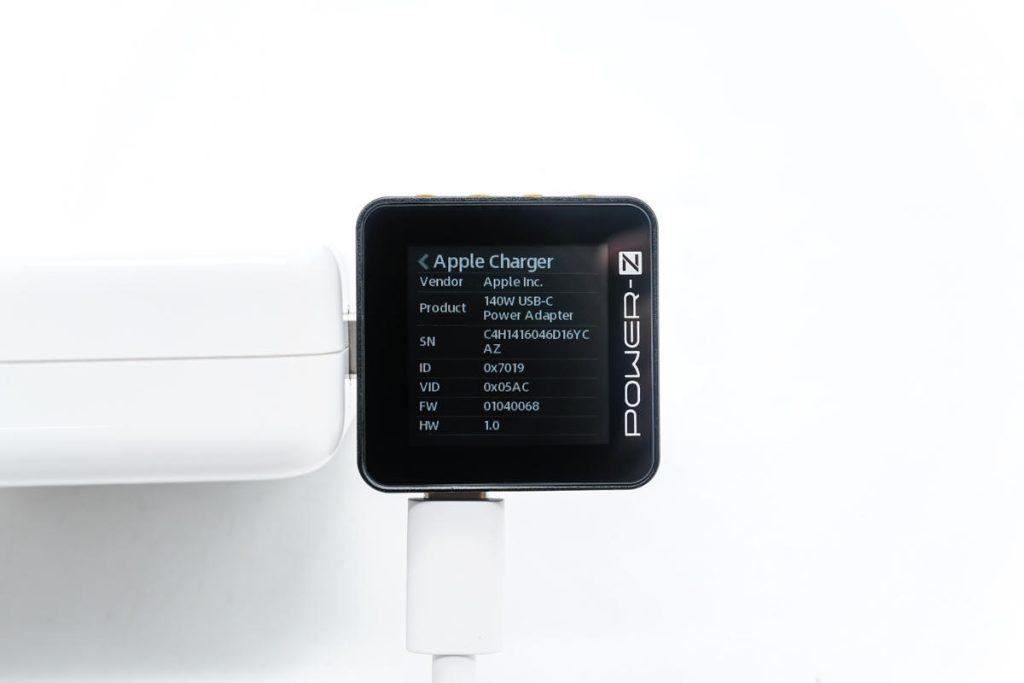
Each Apple charger has its own SN code. Specifically, if the SN codes are consistent in the charger, cable, and port, then it is an official Apple product.
Related Articles: https://www.chargerlab.com/how-to-use-the-chargerlab-power-z-km002c-pd3-1-tester-to-check-the-serial-number-of-apple-charger/
Ninth: Data Storage
Steps: Press the Left button to go to the Data Storage page, and press the Confirm button.
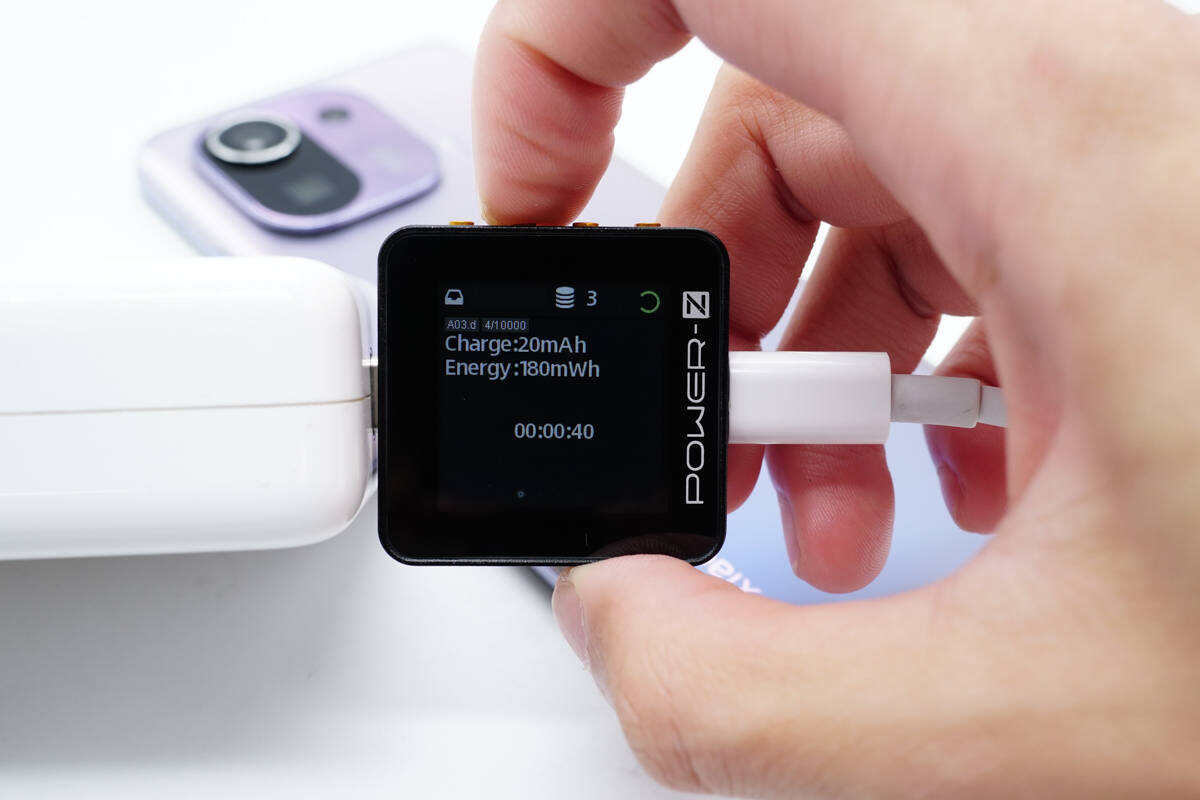
It can independently record data and store it inside. You can view data and export it as a chart in the PC Software.
Related Articles: https://www.chargerlab.com/how-to-use-chargerlab-power-z-km003c-tester-to-record-charging-data-offline/
Tenth: The PC Software
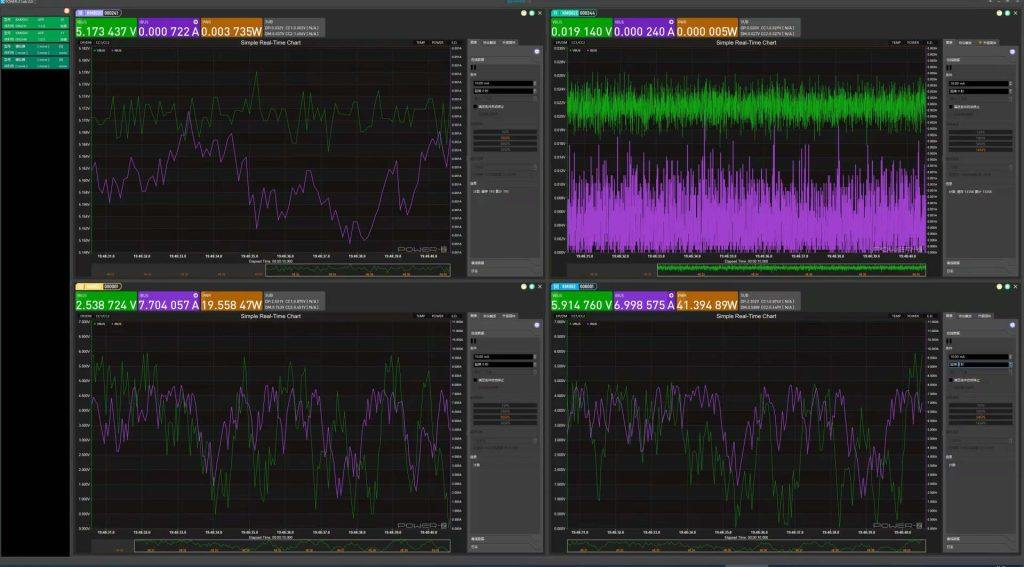
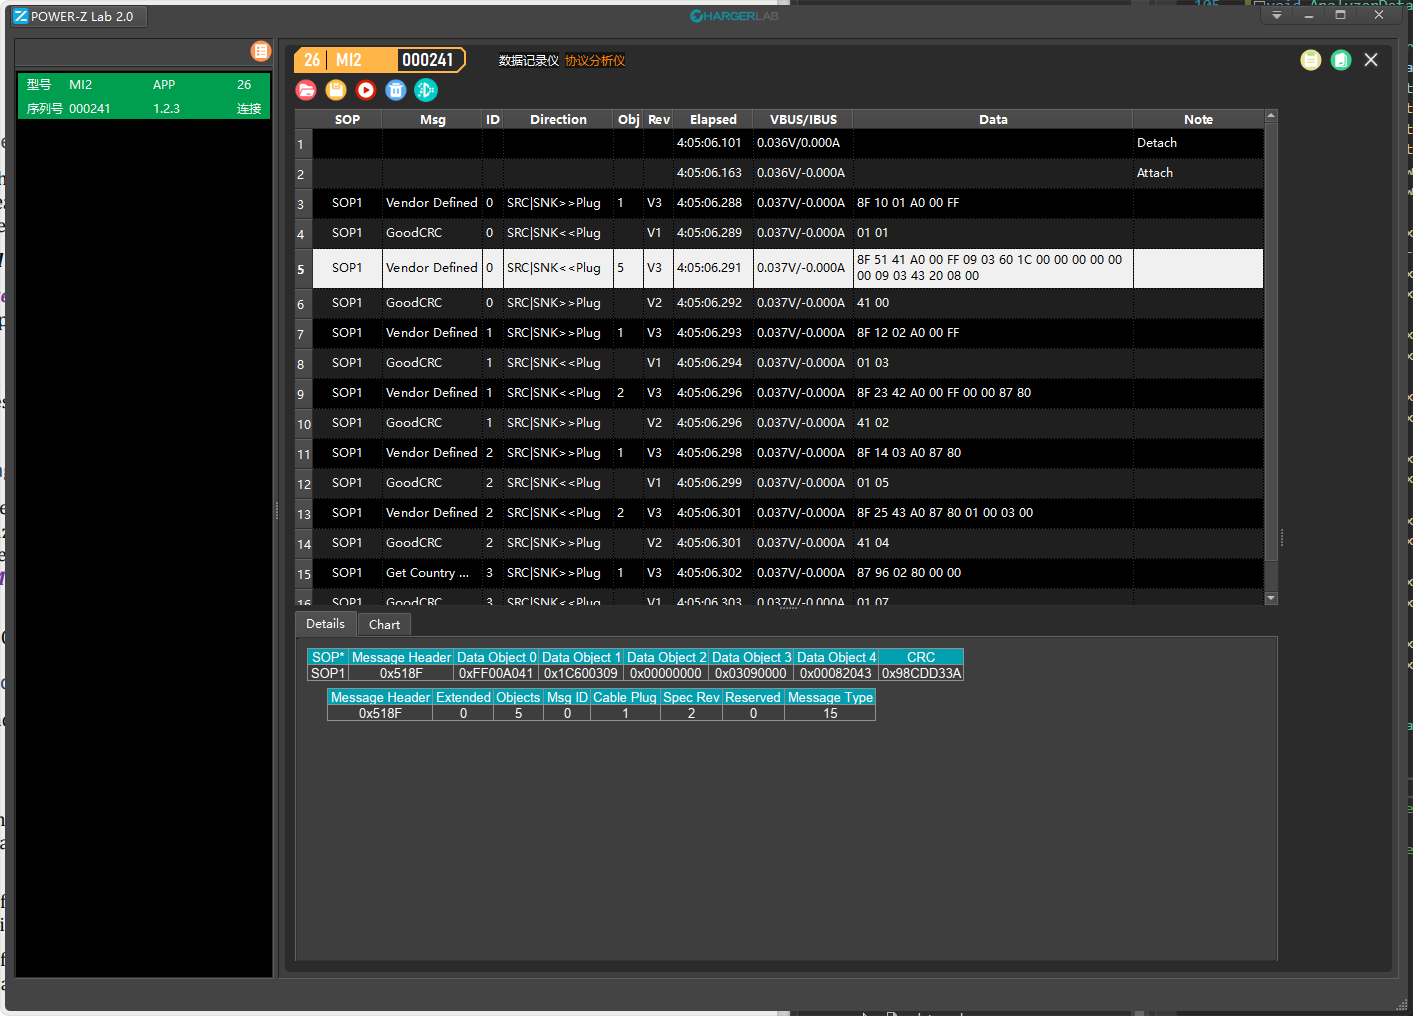
The PC software is very powerful. It includes data reading, recording, and exporting, as well as protocol trigger, adjusting voltage, PD protocol test, updating the firmware of the tester, and other functions. It can connect multiple testers at once, theoretically, there is no limit on the number. The PC Software supports Windows 10 and Windows 11 and will be adapted to MAC in the future for everyone to use.
Summary of ChargerLAB
Those are the nine common functions of POWER-Z KM003C. It can support protocol test, VBUS ripple test, and power reading. The functions also include PC software, E-Marker test, Apple SN code reading, recording data, protocol trigger, etc.
If you are interested, you can visit our online store.
Related Articles:
1. Protocol Trigger Module on PC | The New Update of POWER-Z KM003C/2C
2. E-Marker Chip Detection | The New Update of POWER-Z KM003C
3. Customizable Starup Page | The New Update of POWER-Z KM003C

