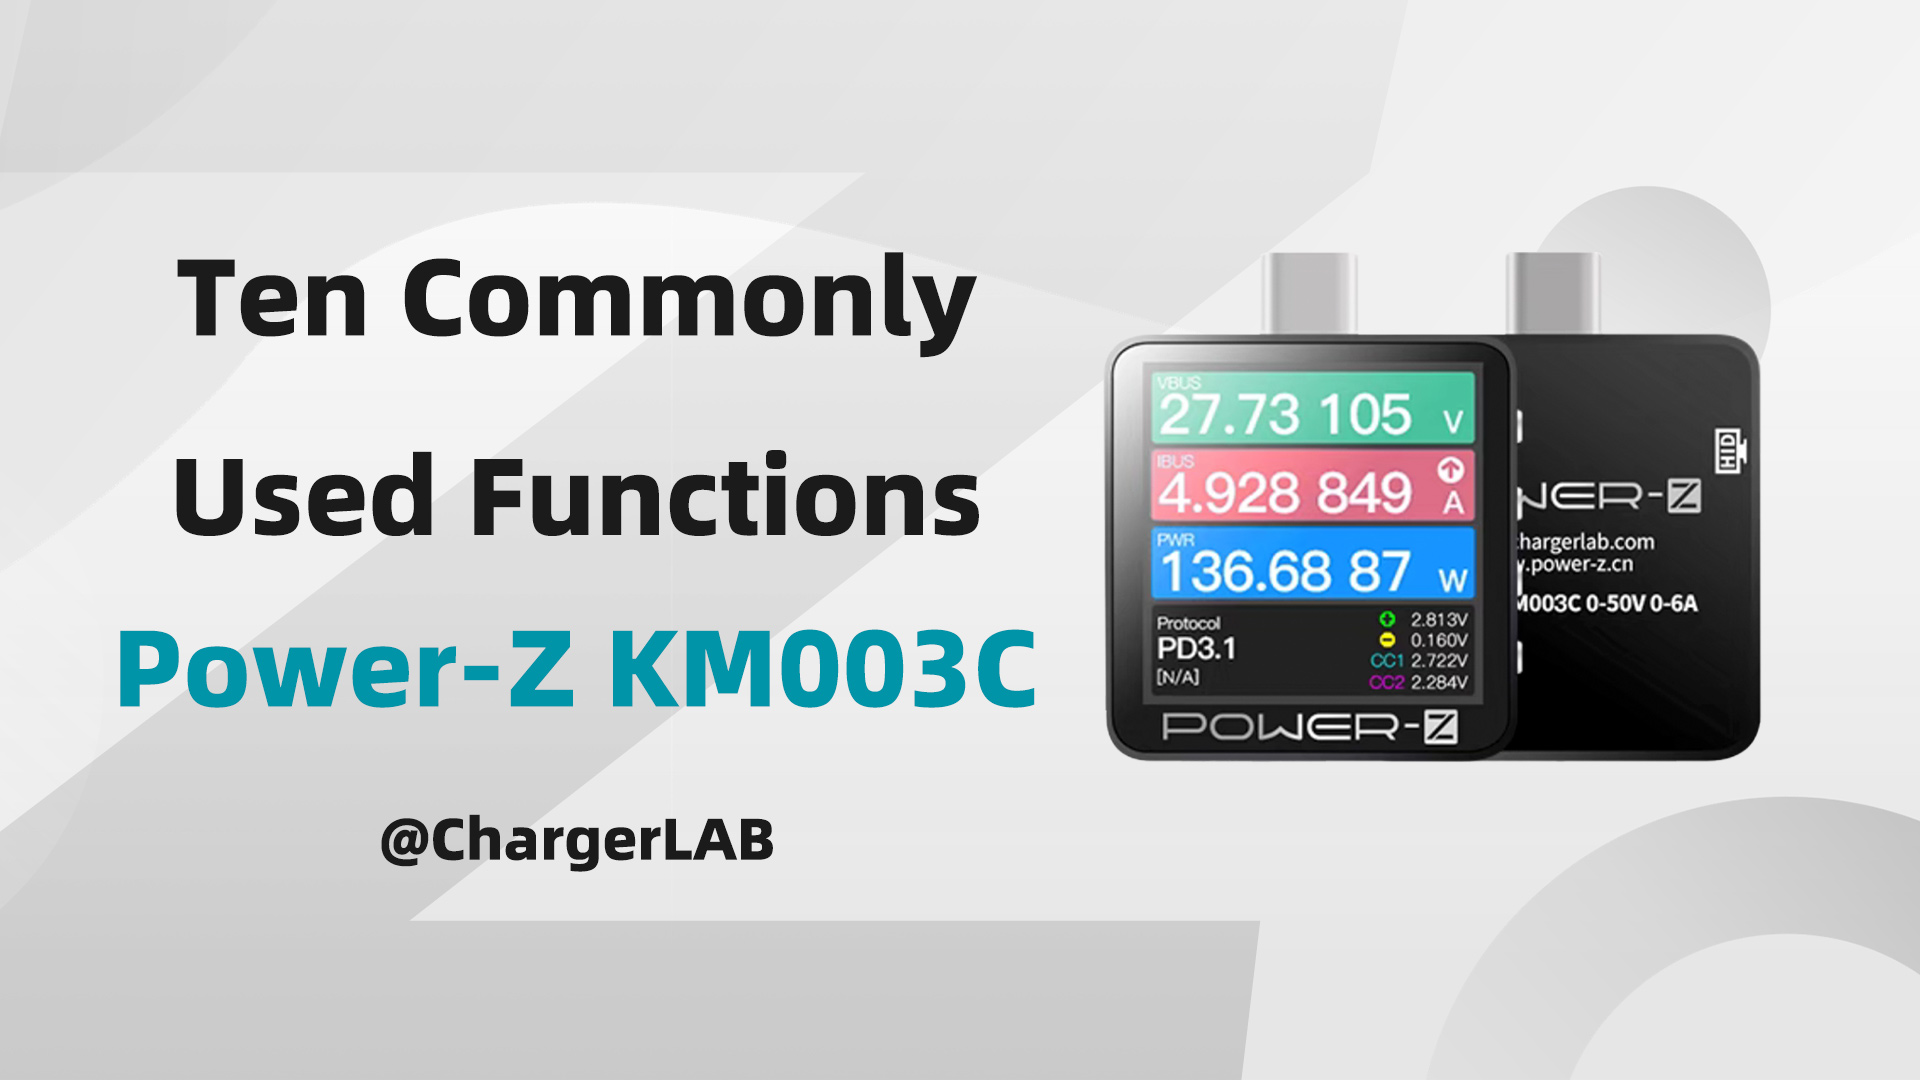
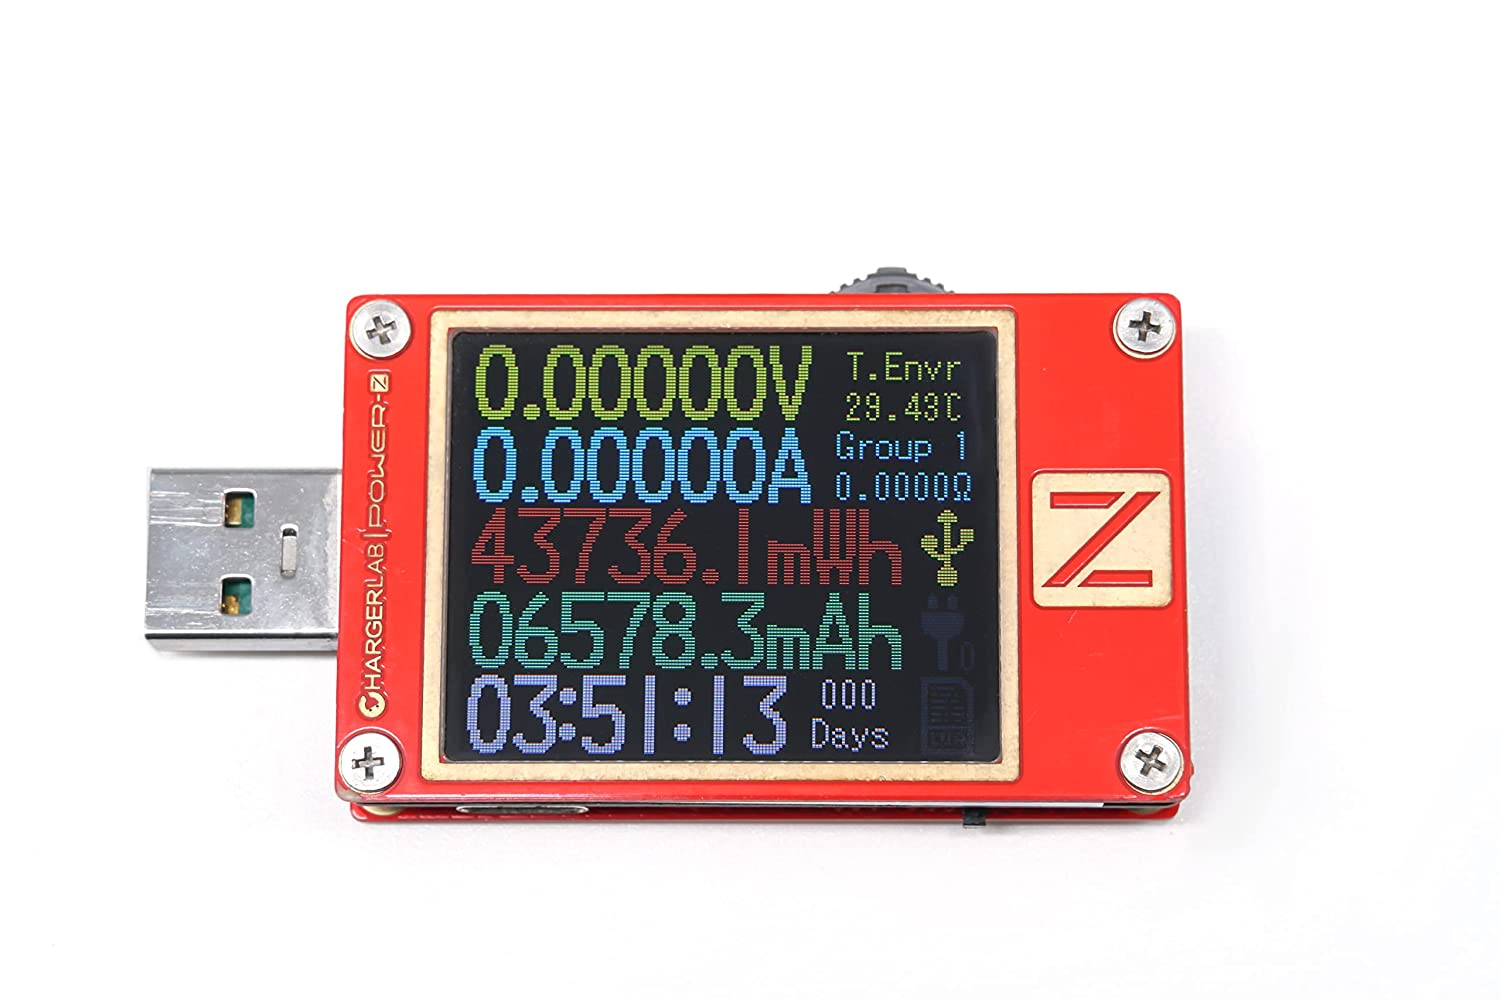
As a state-of-the-art tester, the brand new POWER-Z KM003C can record and store the data changes of the device during charging, which is very convenient. So let's see how to do this in detail.
Record the Charging Data Independently (Offline)
The ChargerLAB POWER-Z KM003C can independently record data and store it inside, which we call it "offline". Let's demonstrate it first.
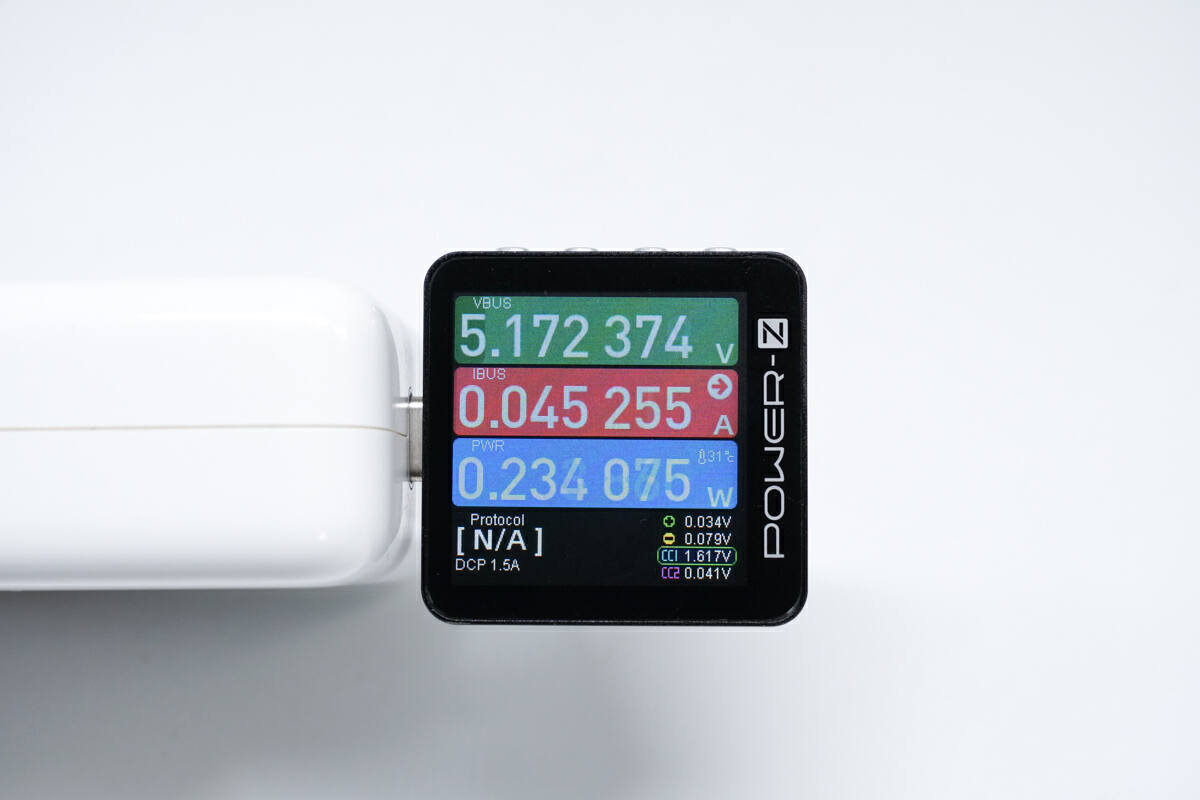
Connect the USB-C cable to the HID port to light up the screen. Then, the voltage, current, and power are shown on the display.
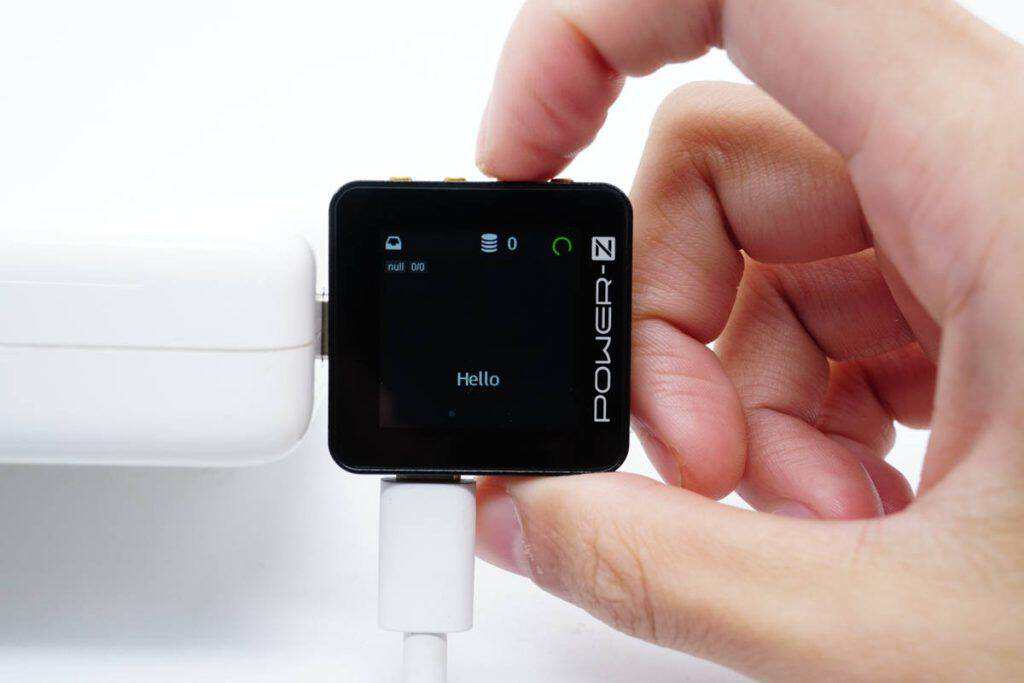
Then click the third button, and you will see the "Hello" page.
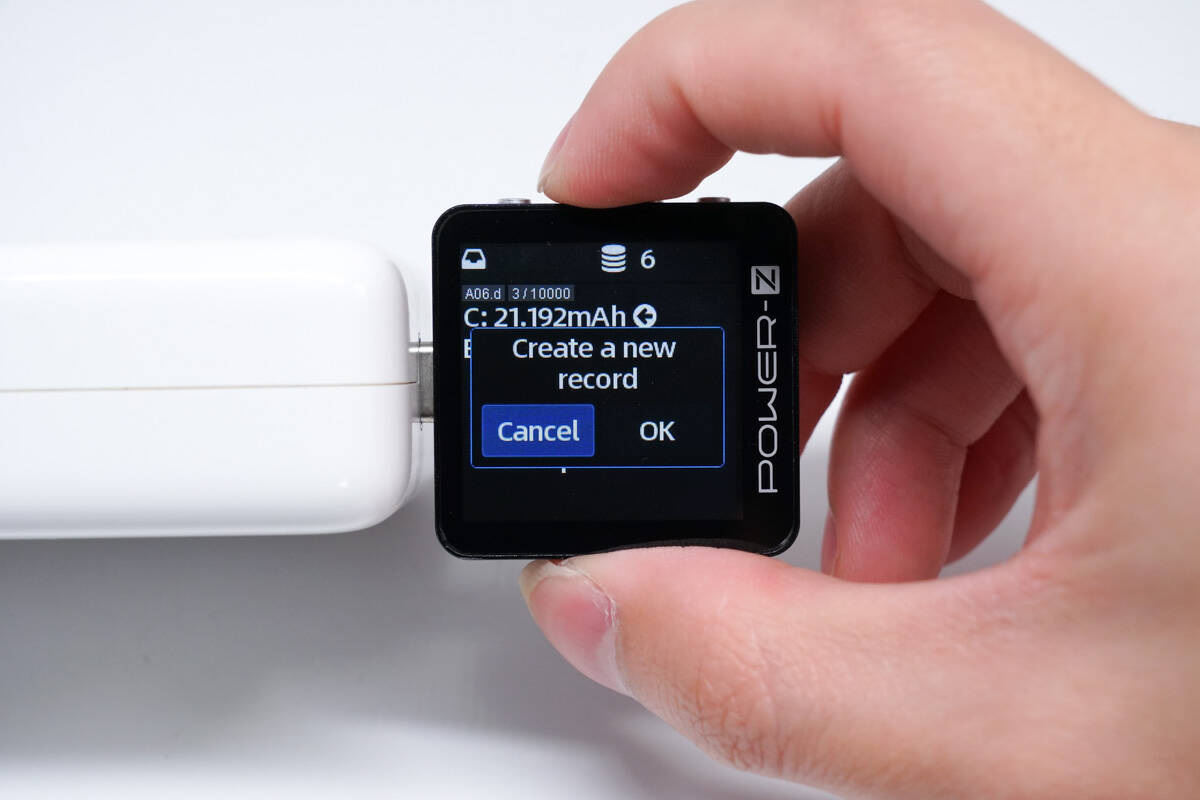
And then click the second button. The tester will ask if you want to create a new record.
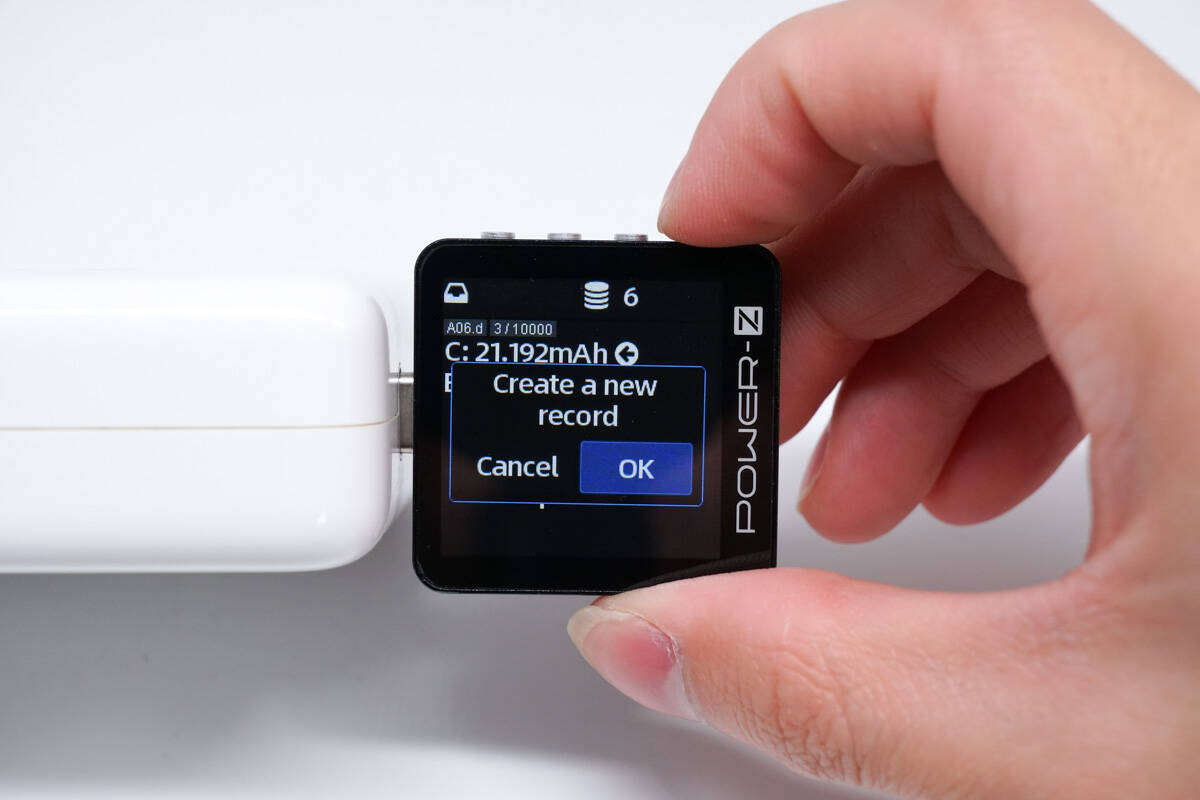
Click the button on the far right.
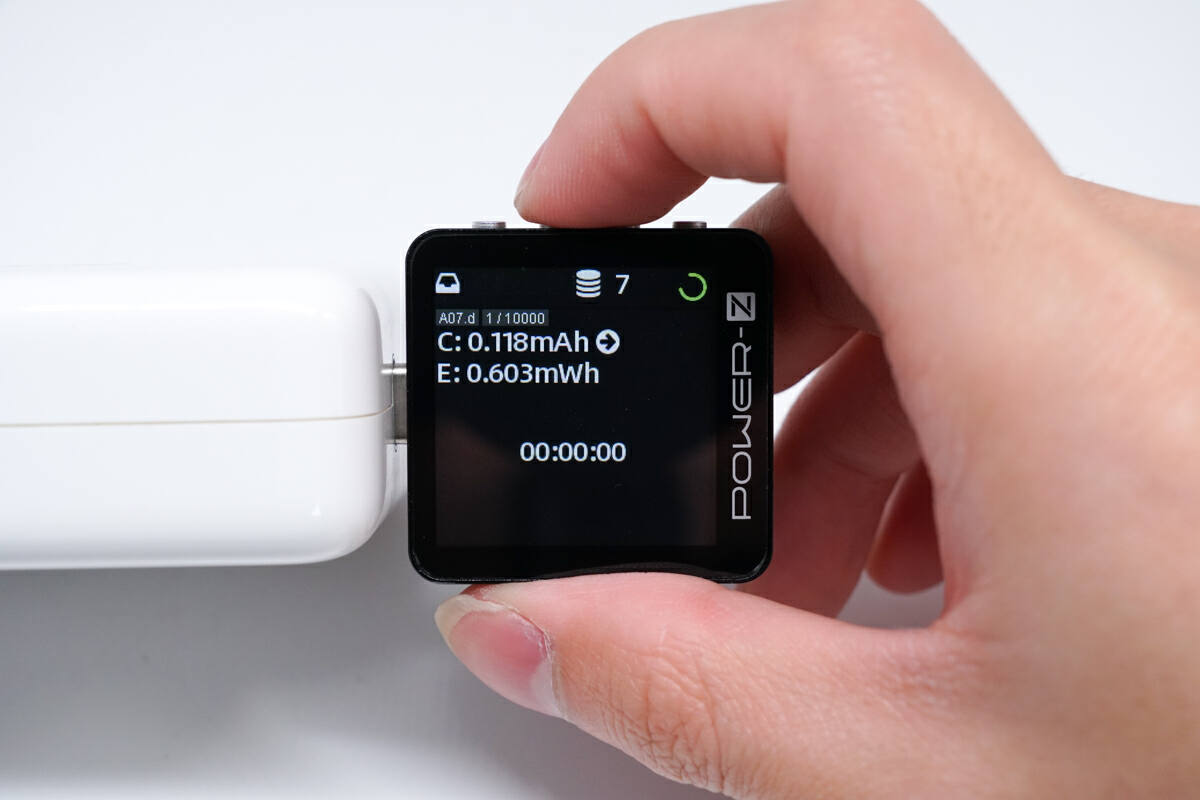
Then click the second button to start the recording.
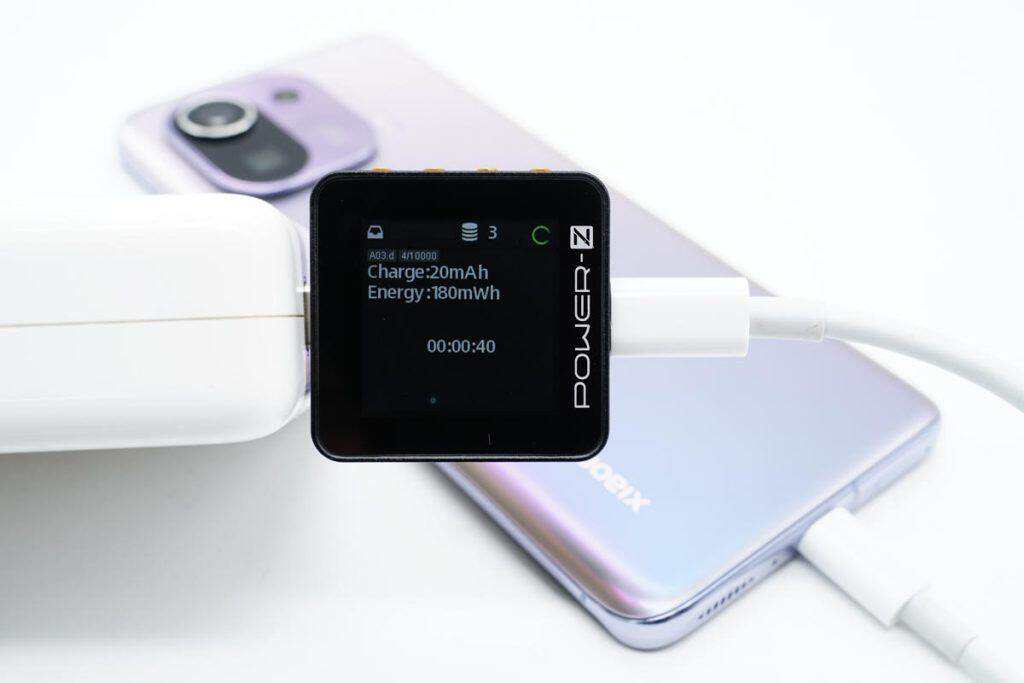
At this time, the tester has started to record the charging data, and you can see it has recorded three pieces of data at the top of the display above.
It's not connected to the computer during the process, and the recorded data will be stored in the internal memory of the tester.
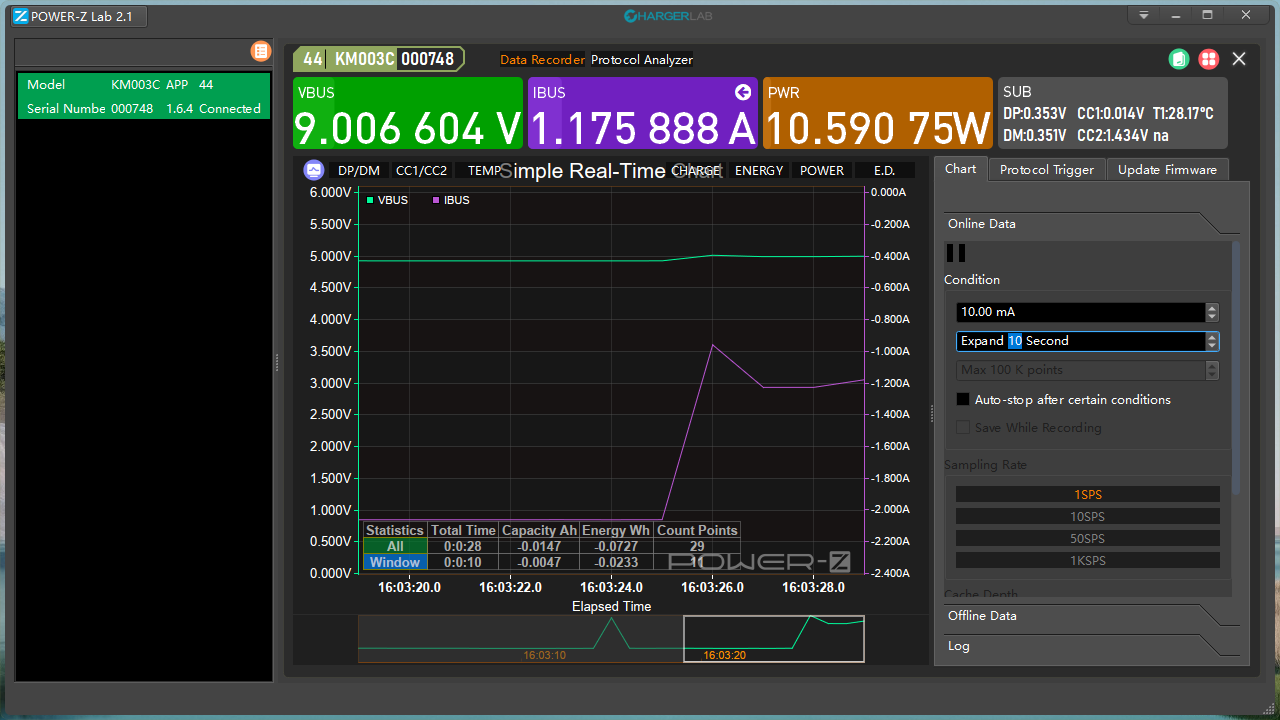
Connect the tester with stored data to the the computer, and you can see the data in detail.
Record the Charging Data With Computer (Online)
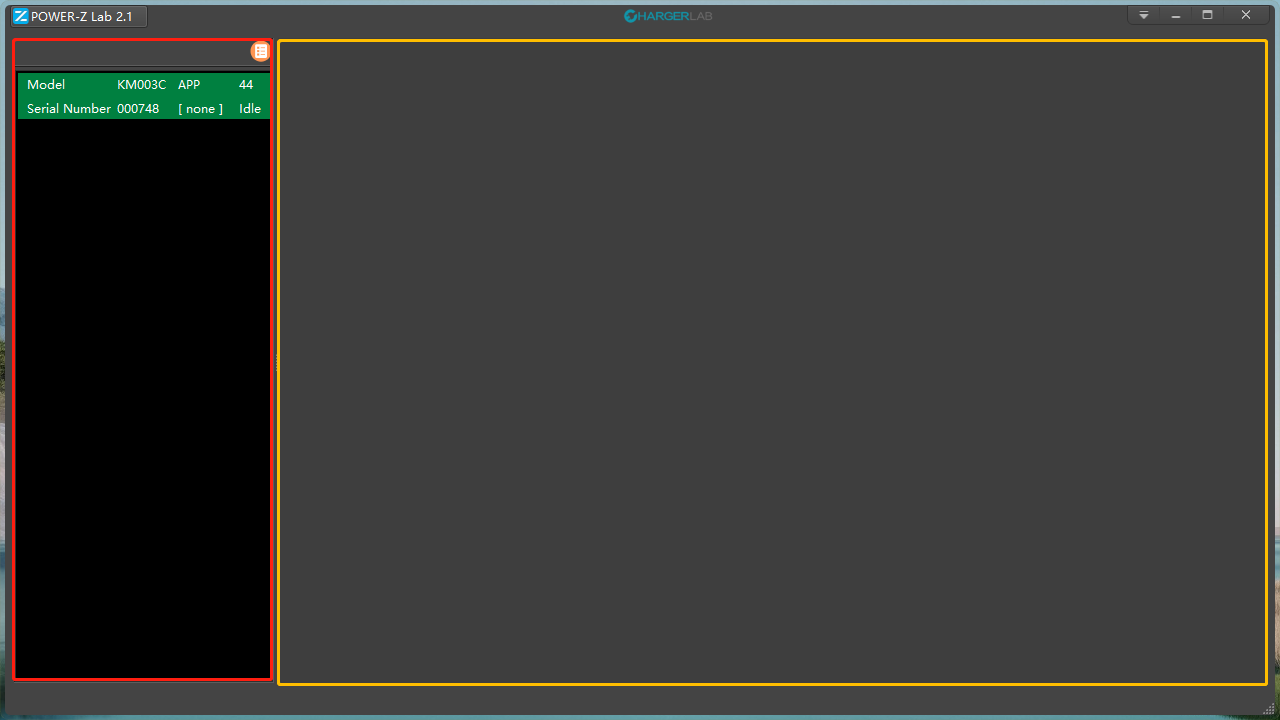
After installing the APP on the computer, connect the tester to the computer through the built-in HID port. After opening the APP, you will see the picture above.
The red area shows the number of testers connected to the computer, and the yellow area shows the specific data changes detected by each tester.
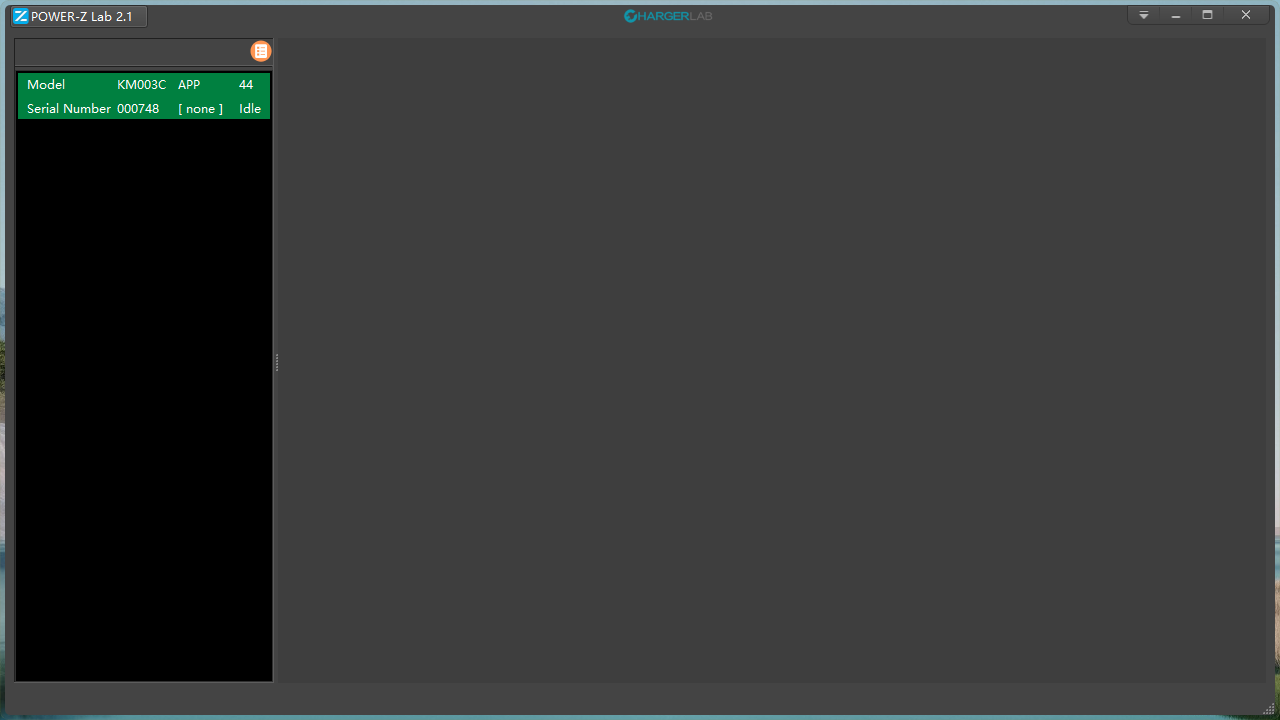
At this point, the tester has been connected to the computer, and the option box of KM003C on the left has turned green, which means the tester has been read.
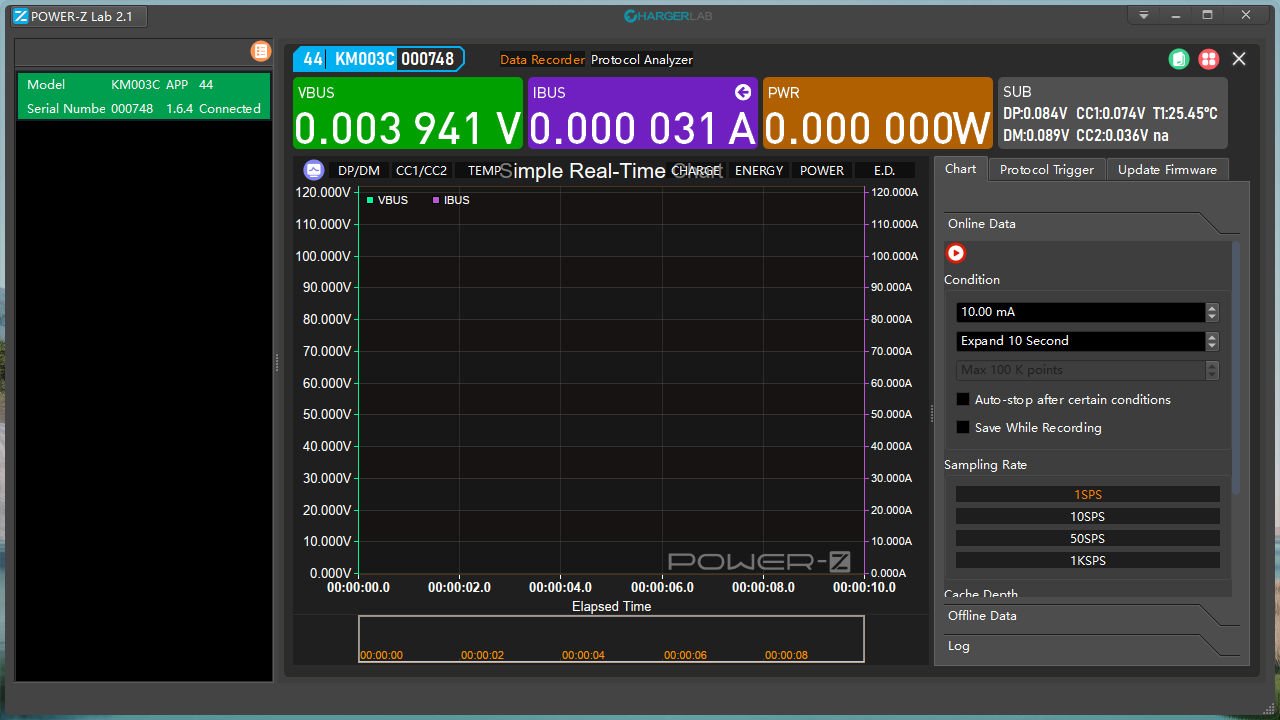
Double-click the green option to enter the specific monitoring page, where you can intuitively observe the data changes when charging.
Next, we will take the OPPO reno 6 as the test object and start the actual charging.
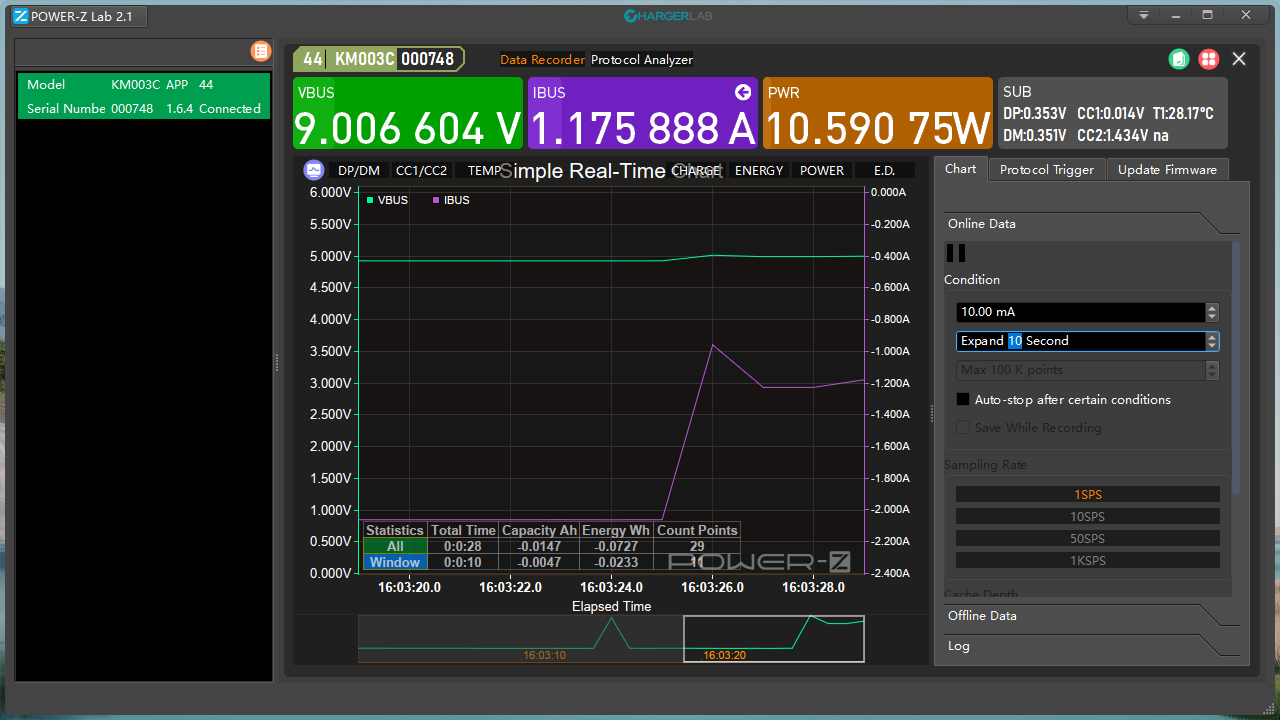
Connect the tester to the mobile phone, and you can monitor the voltage, current, and power in real-time, and the corresponding curves are down below.
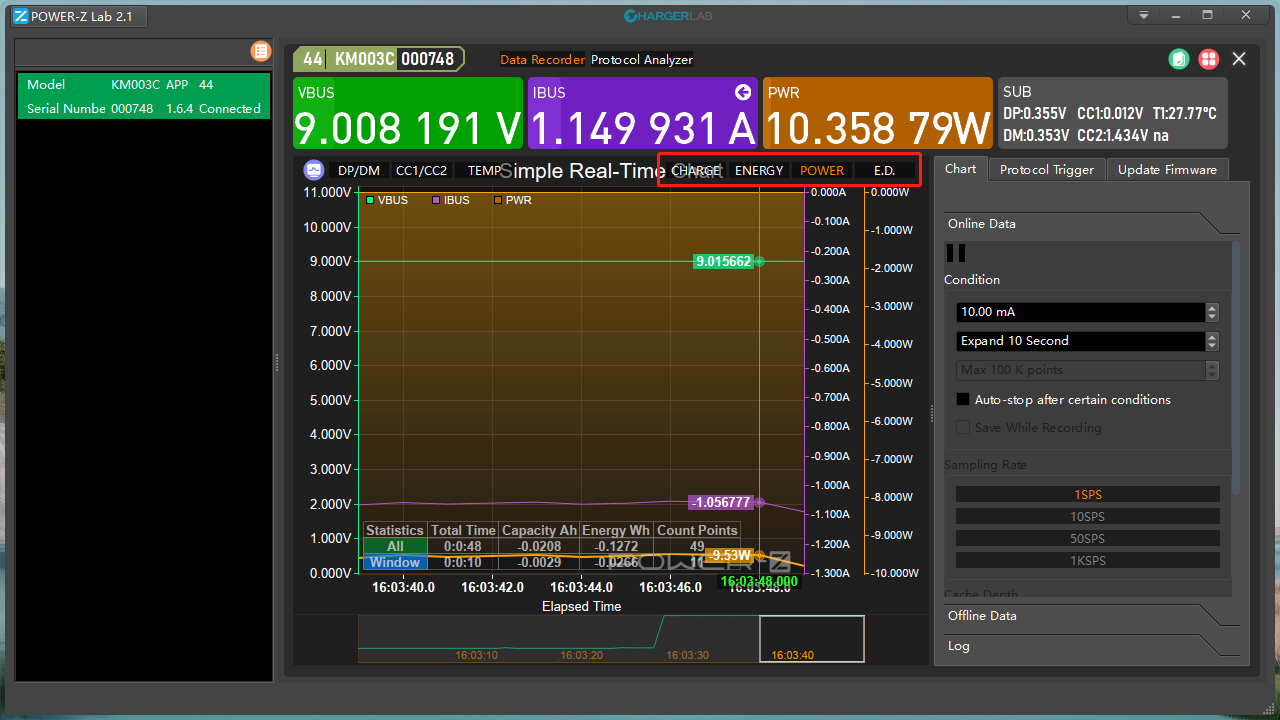
Click the POWER option in the red box, and the dark gold power curve is added to the page.
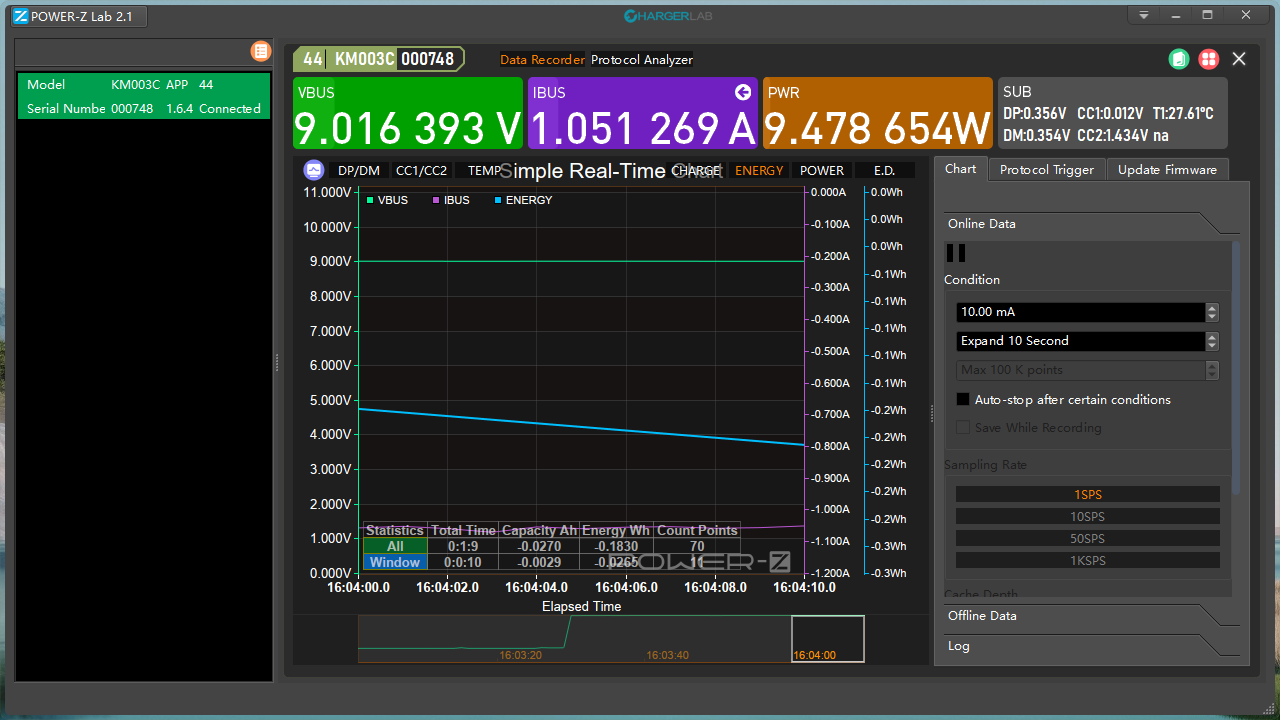
Click the ENERGY option at the same position, you can see the blue curve that shows how much energy has been charged.
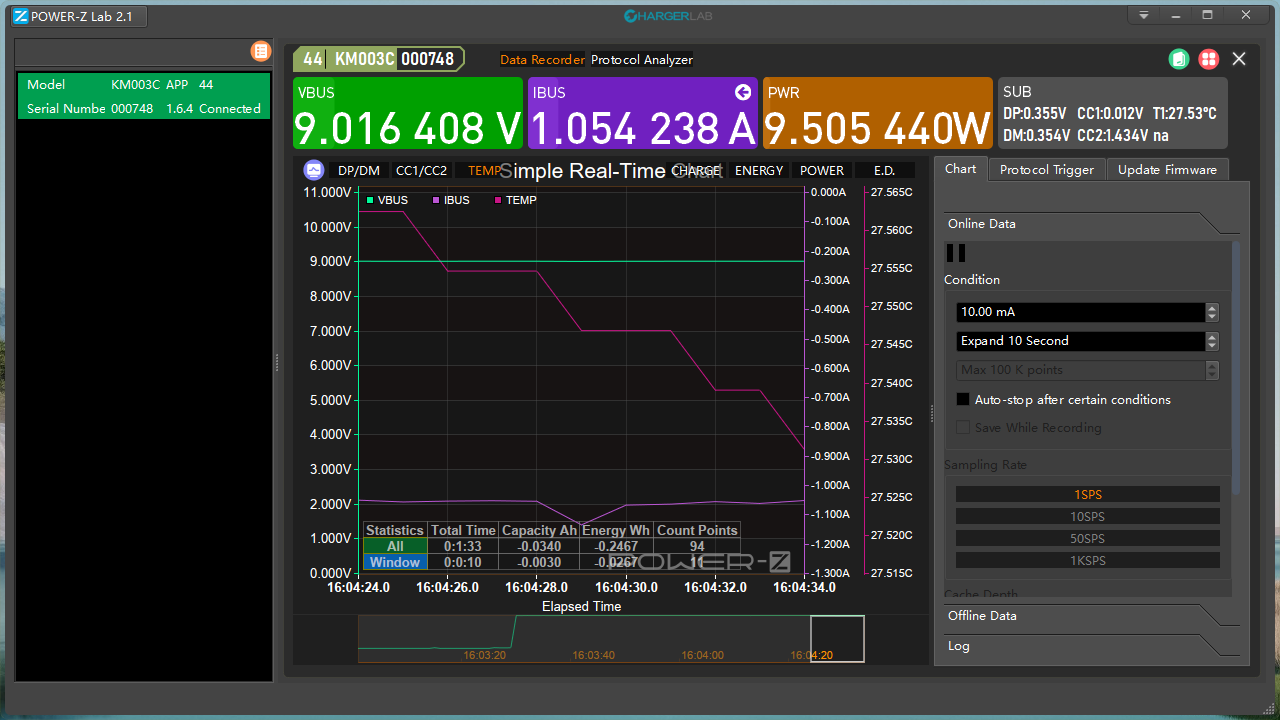
Also, there's the temperature option.
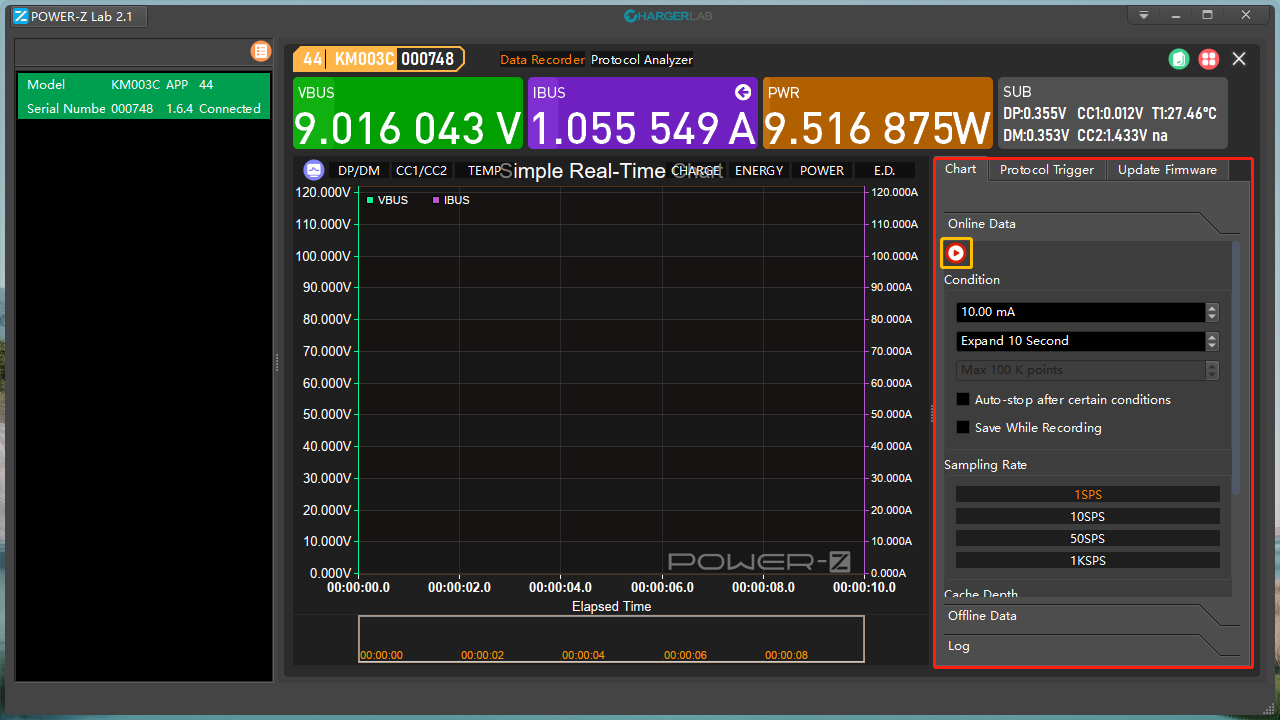
In the red box, click the icon in the yellow box and the APP starts to record the charging data.
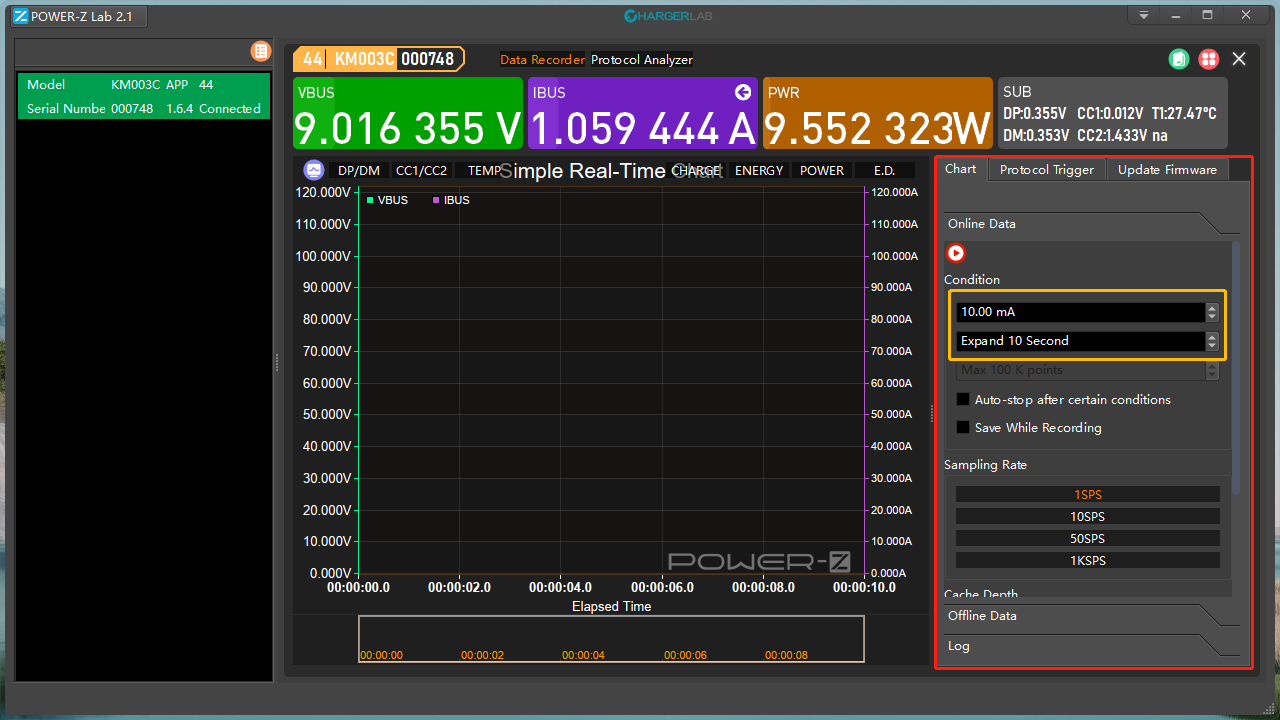
The two options in the yellow box can set the stop condition for the tester. The first option makes the recording stops after the current reaches the set minimum value, and the second option can let the current expand for a few seconds before stopping.
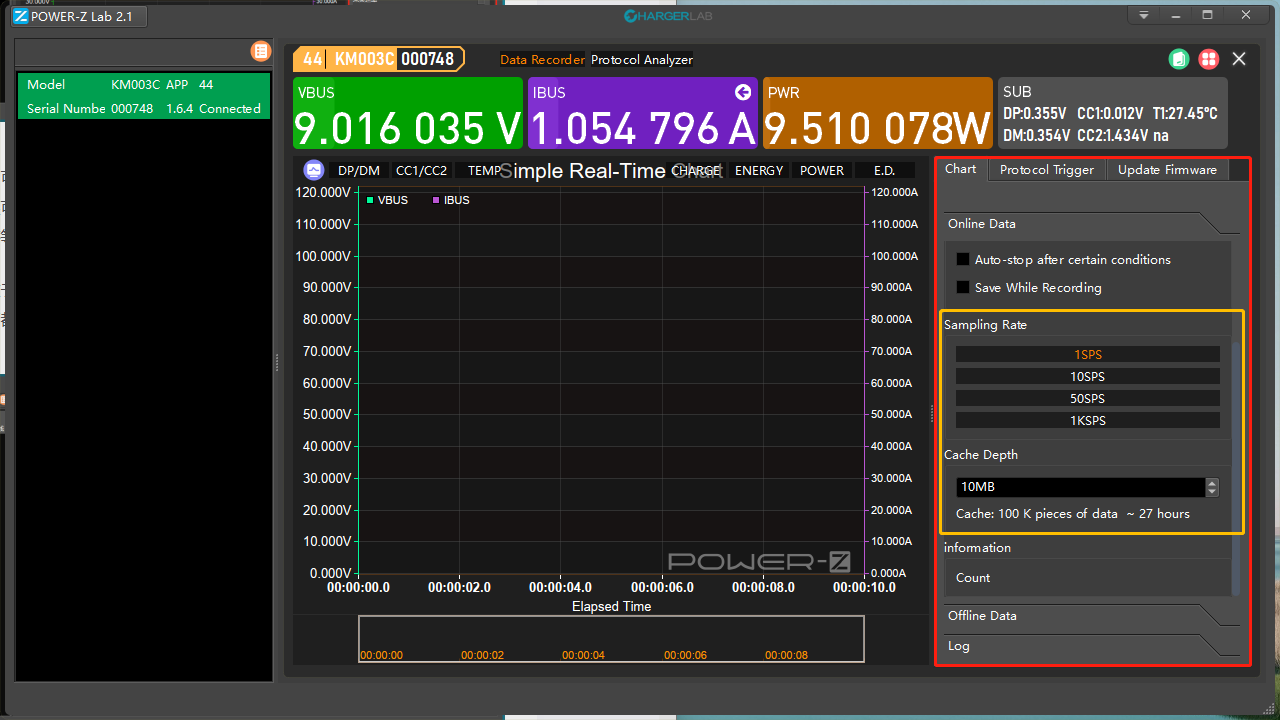
Sampling Rate: This allows you to set the number of data collected by the APP in 1 second. There are four options: 1SPS, 10SPS, 50SPS and 1KSPS.
Cache Depth: This allows you to set the storage space size of the APP, more storage capacity means more test data can be stored.
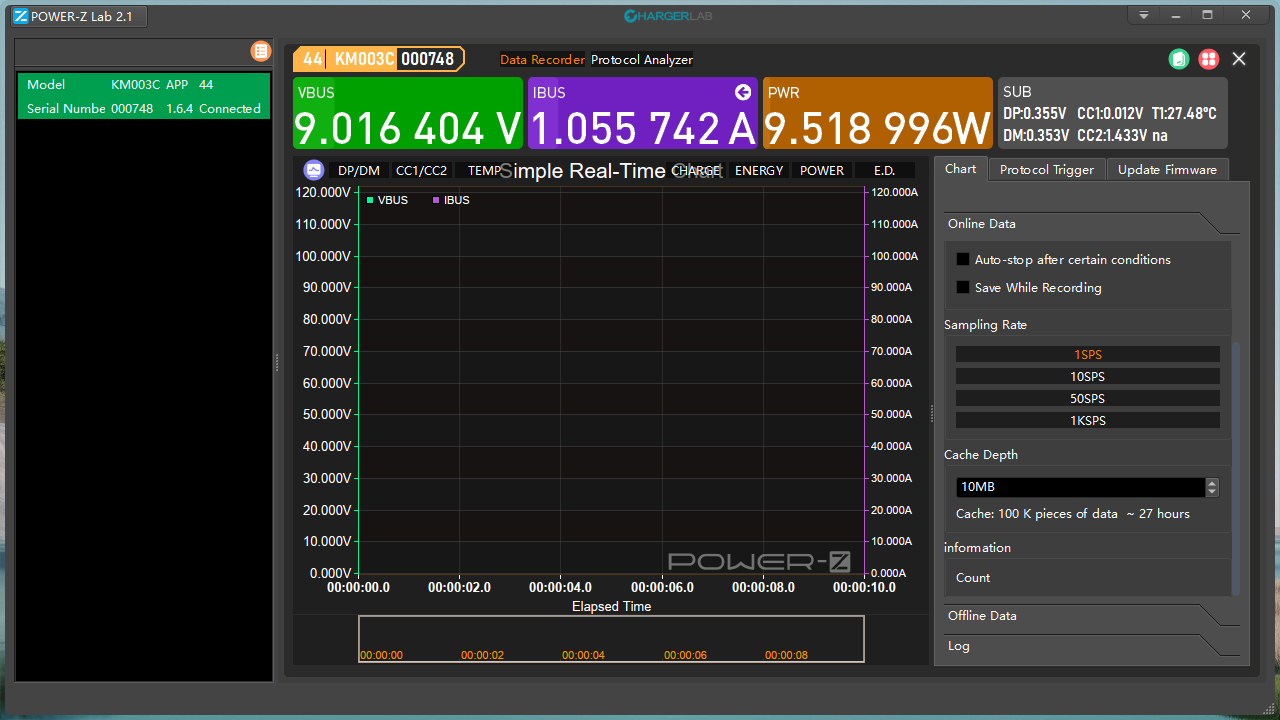
For example, now the sampling rate is set to 1SPS, the number of data that can be cached is 100 K, and the recording time is about 27 hours.
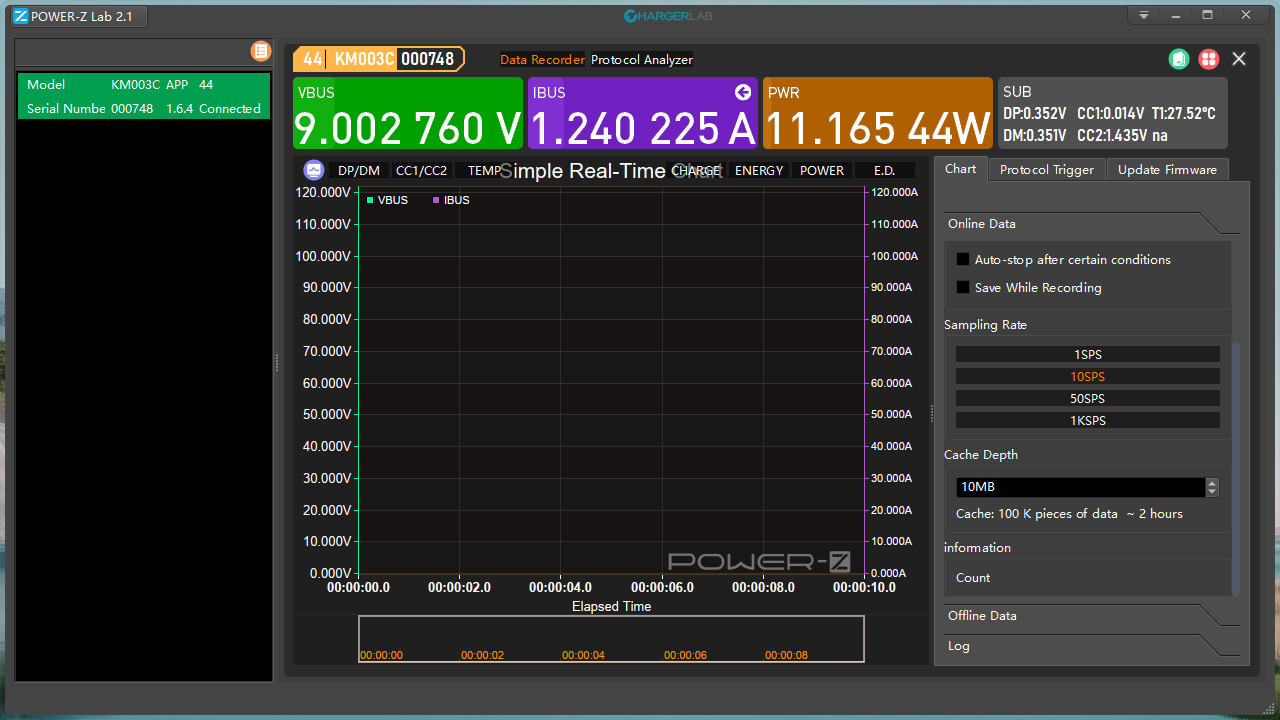
Then, let's change the sampling rate to 10SPS, the number of data that can be cached is still 100 K, but the recording time is reduced to 2 hours.
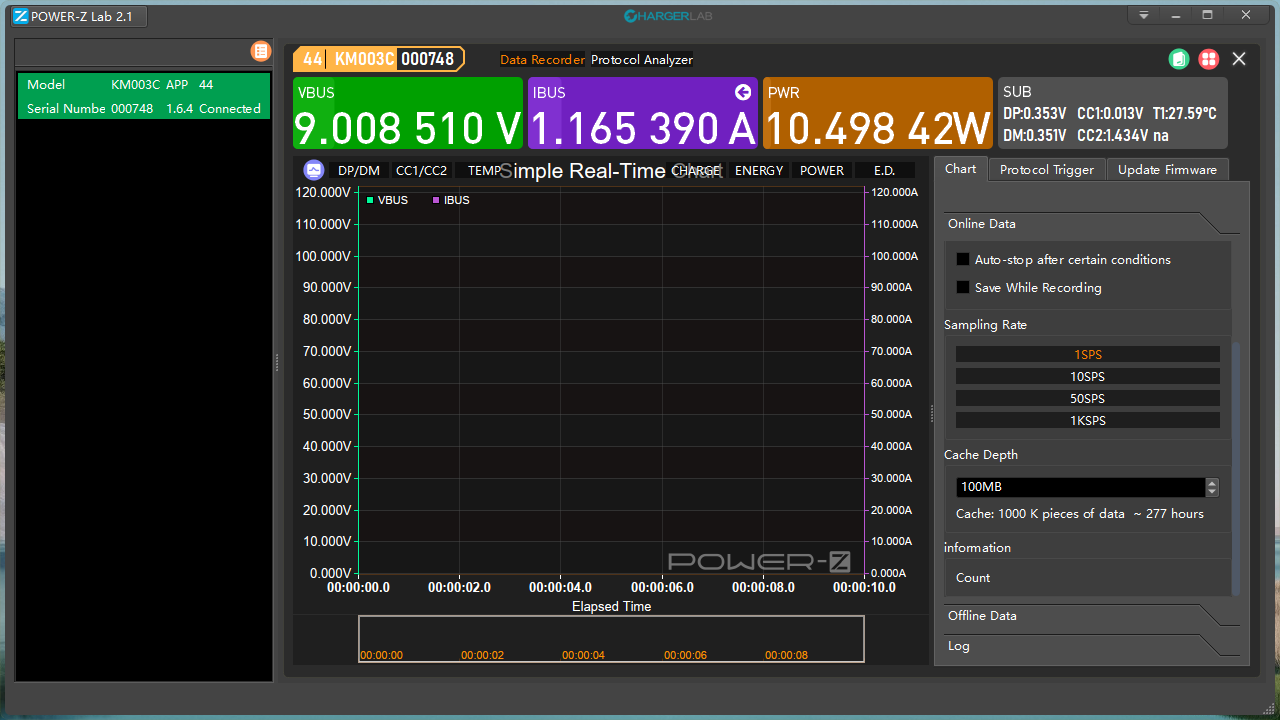
Next, let's set the sampling rate back to 1SPS, and change the cache depth to 100MB. The number of data that can be cached is increased to 100 K, but the recording time is reduced to 2 hours.
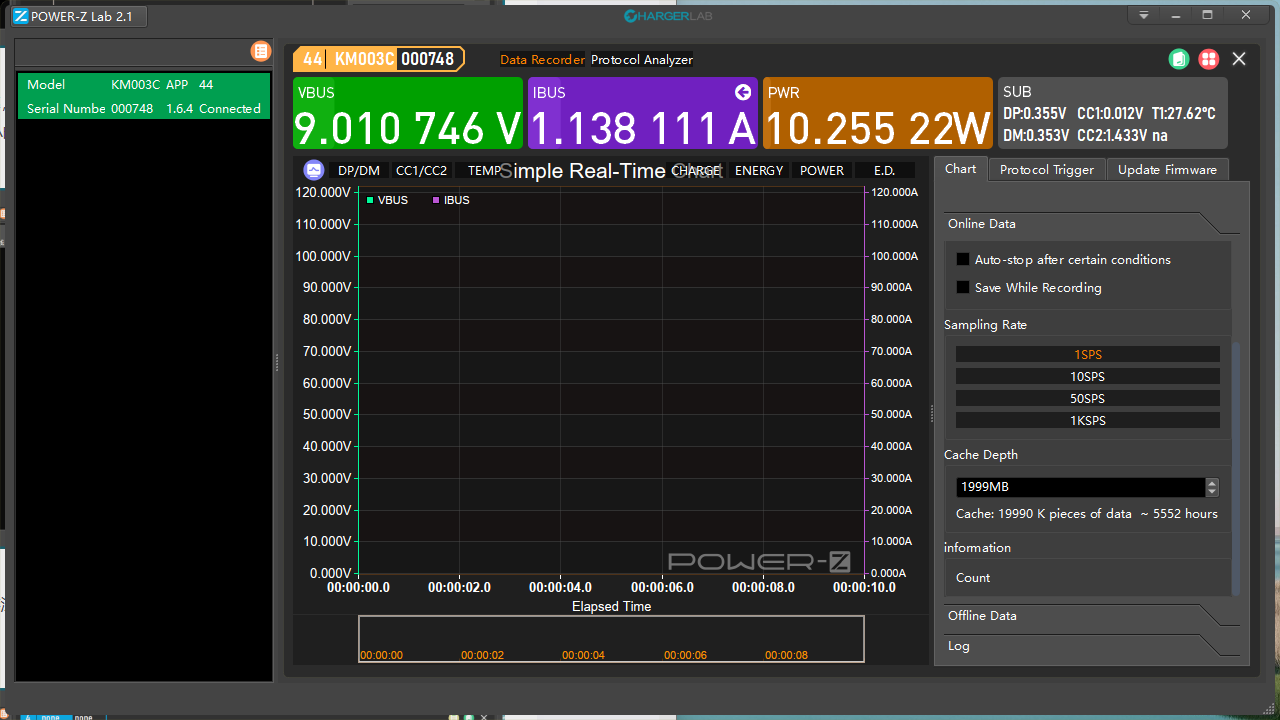
At present, the cache depth can be up to 1999MB, which can cache 19.99 million pieces of data and can record for 5552 hours!
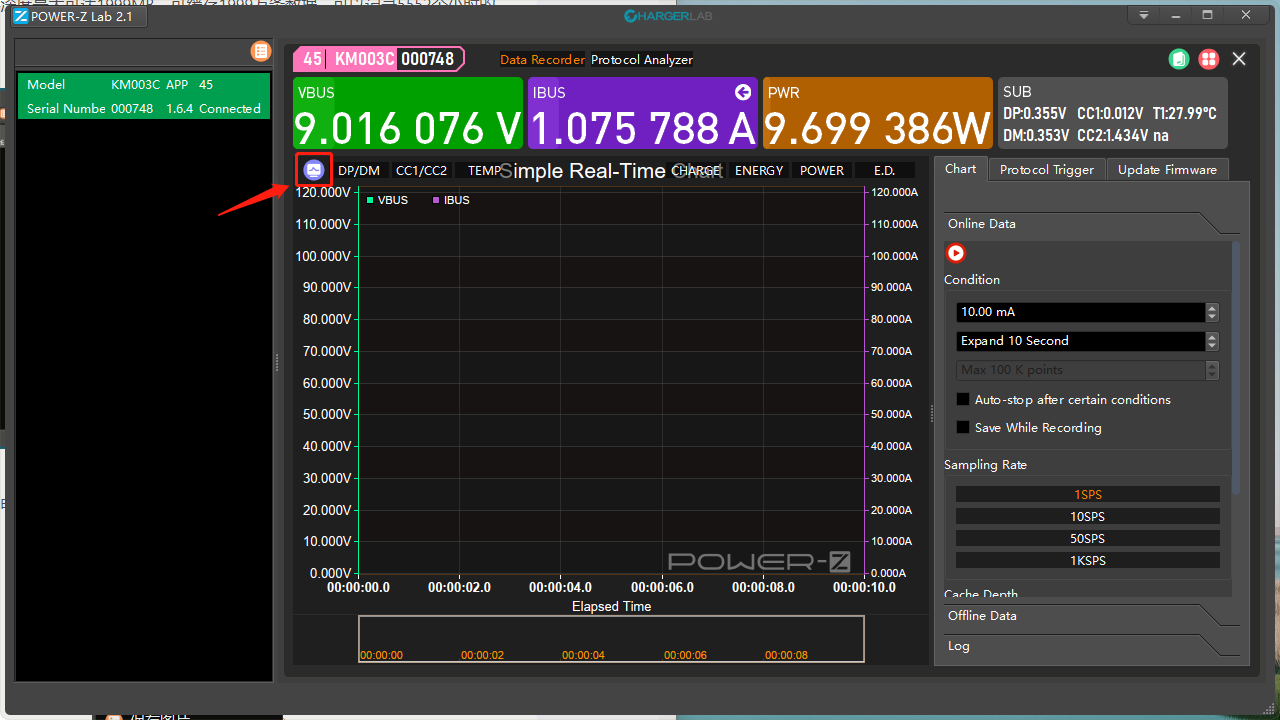
After recording, you can click this icon to perform more actions.
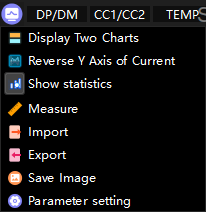
Here are all options.
Export
After clicking Export, the system will provide two file types.
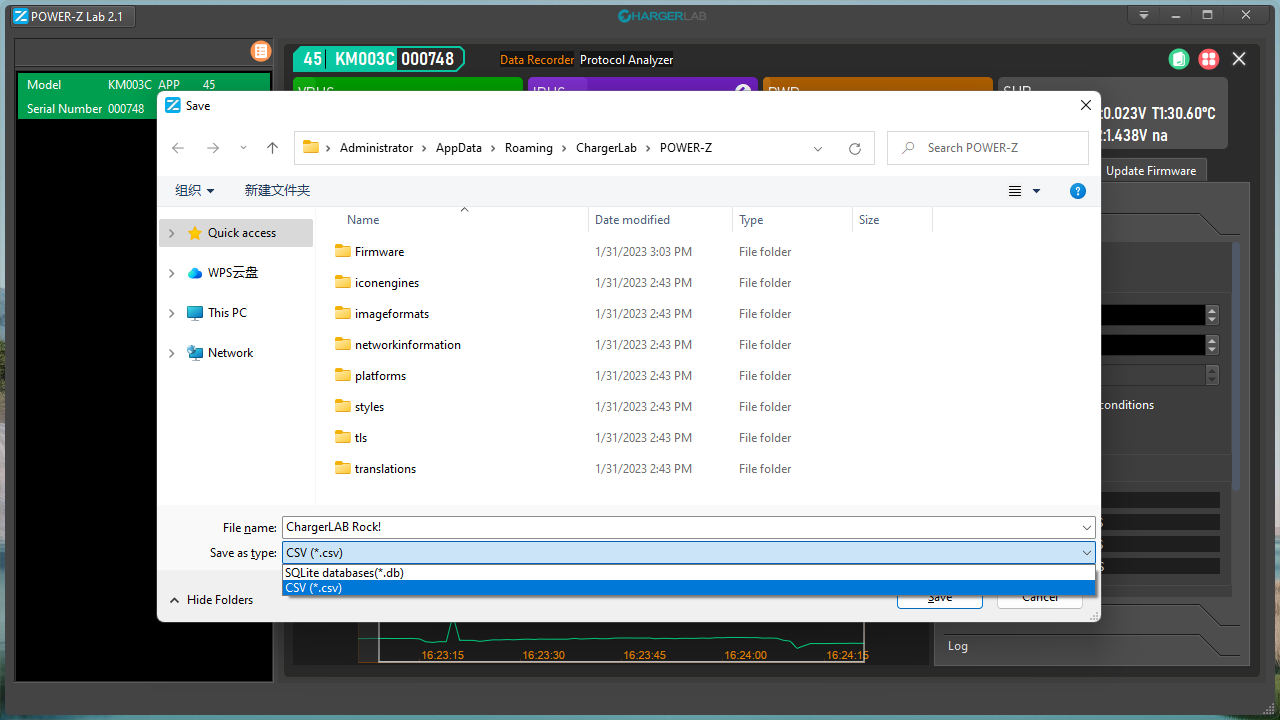
You can choose the file starting with SQLite or CSV. We mainly introduce the CSV.

Then, you can see the saved EXCEL file in the saved path.
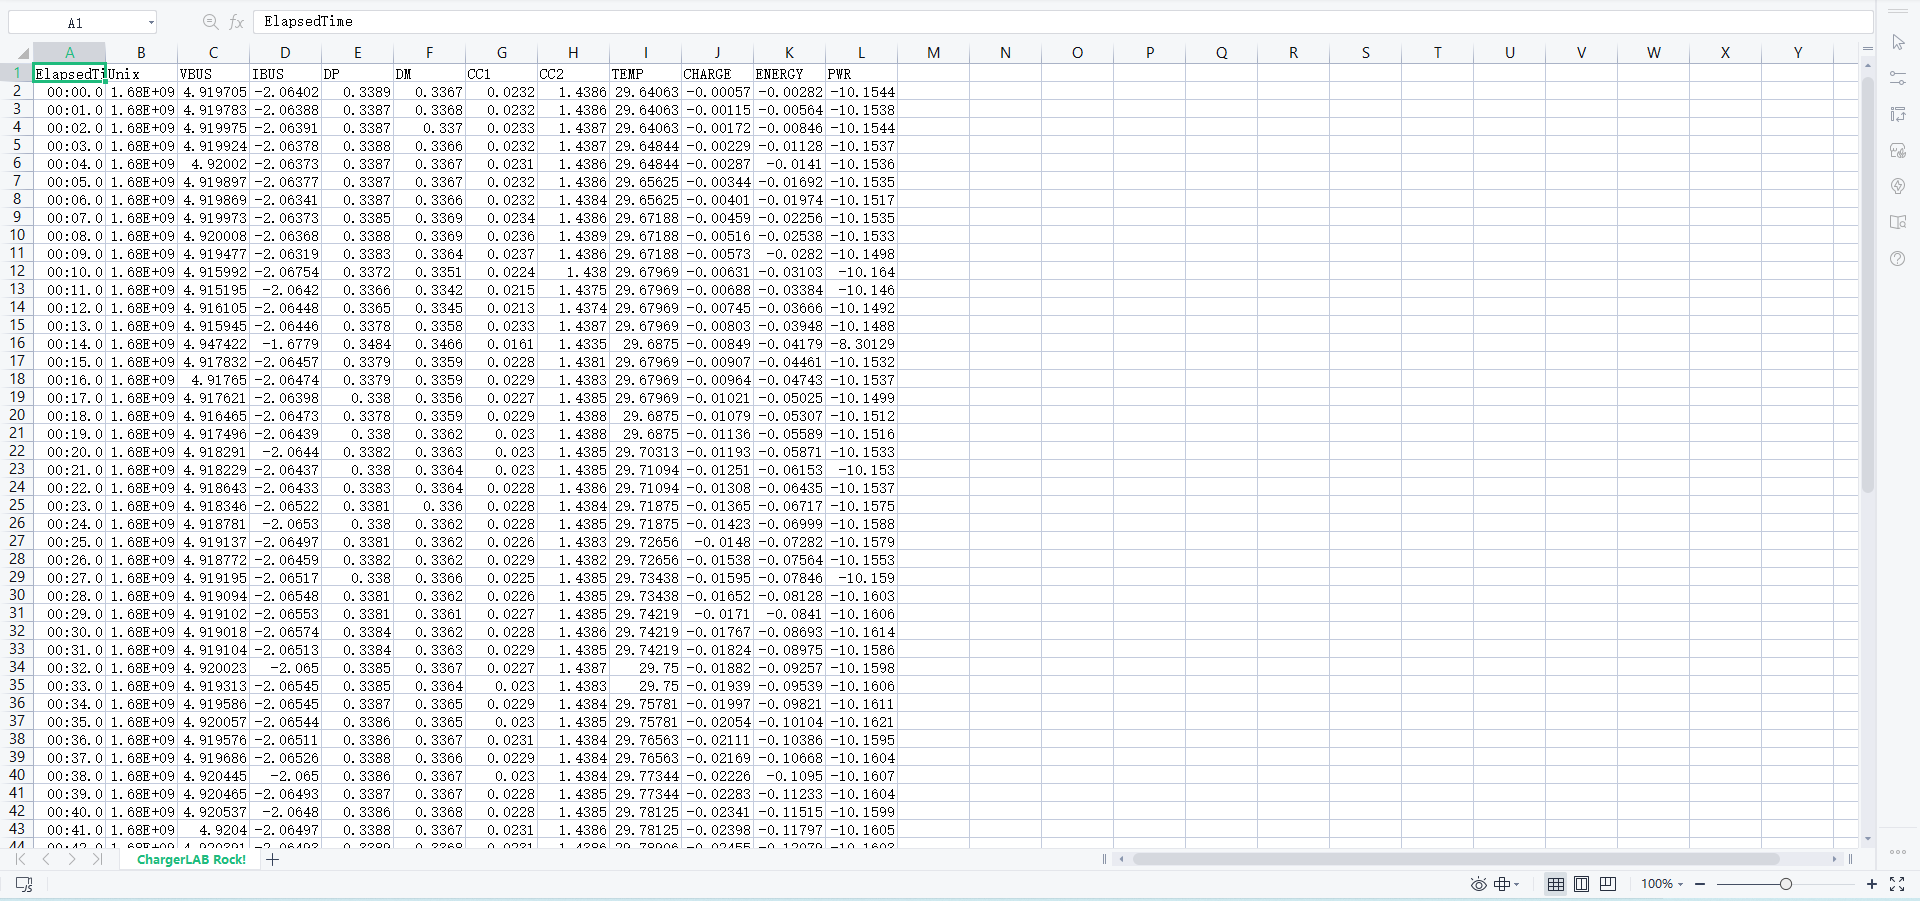
Open it to view the specific charging data.
In addition to saving in CSV format, it can also be saved in a format beginning with SQLite, but this method is more complicated, we will only do a brief introduction.
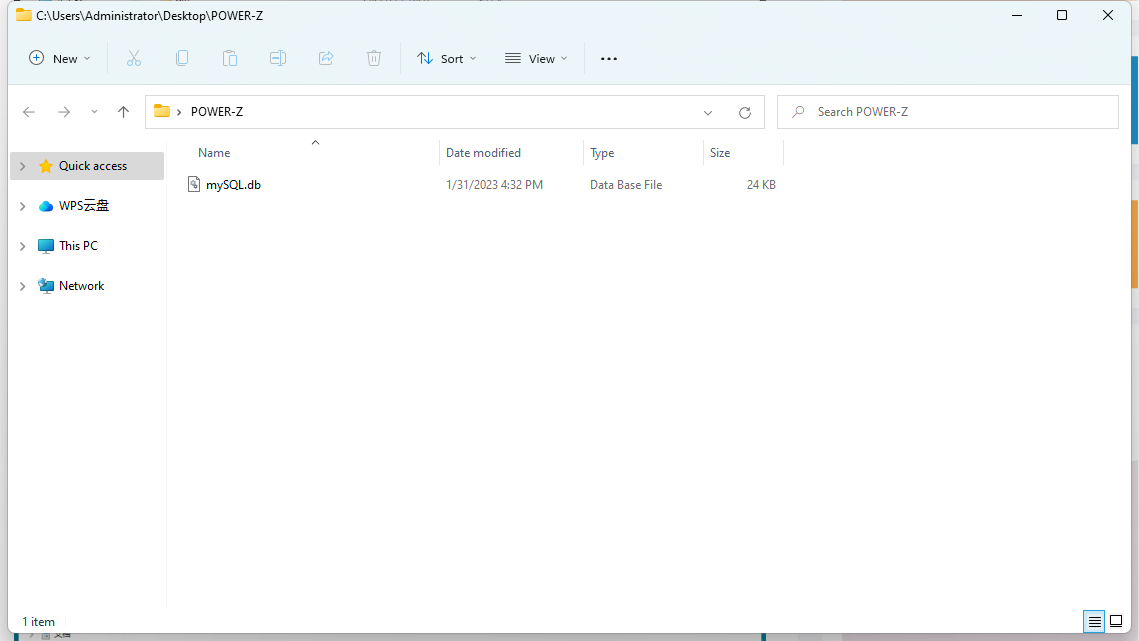
The file name is called mySQL.db. You need a specific database management system called MySQL to open it. Those who are interested can download it by themselves.
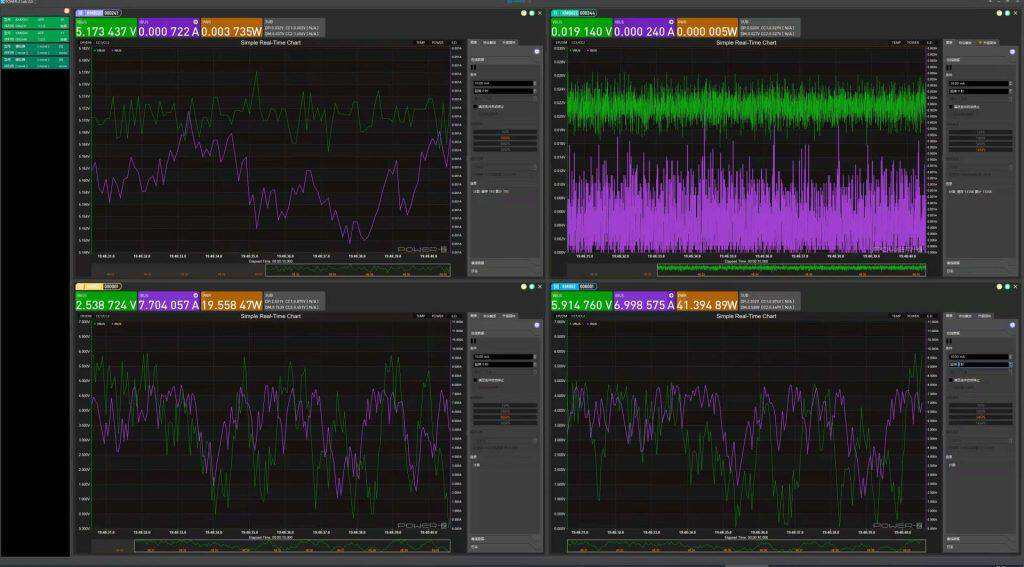
This is to use a computer to connect four testers to monitor the charging status of four devices at the same time.
Summary of ChargerLAB
That's all you need to know about how to use ChargerLAB POWER-Z KM003C tester to record charging data offline.
The brand new KM003C's screen size has increased from 1.3 to 1.54 inches, and four buttons on the side have also changed from golden to silver. Except for that, the UI color has become more vivid and dynamic. The advanced and simple design perfectly fits the temperament of geeks.
Related Articles:
1. Introducing the Brand New POWER-Z KM003C
2. Customizable Starup Page | The New Update of POWER-Z KM003C
3. The New Update of POWER-Z KM003C - New UI

