Introduction
Over a year ago, we demonstrated how to use the ChargerLAB POWER-Z KM003C to record charging data online. While this method is the quickest, it requires a PC to do so. However, you can also record the data offline on the tester and import it to your PC later on. How can this be done? Today, we will show you.
Testing Steps
Using the POWER-Z KM003C to record data involves just three steps:
- Connect the power source (power bank, charger, etc.).
- Connect the load.
- Create a new record.
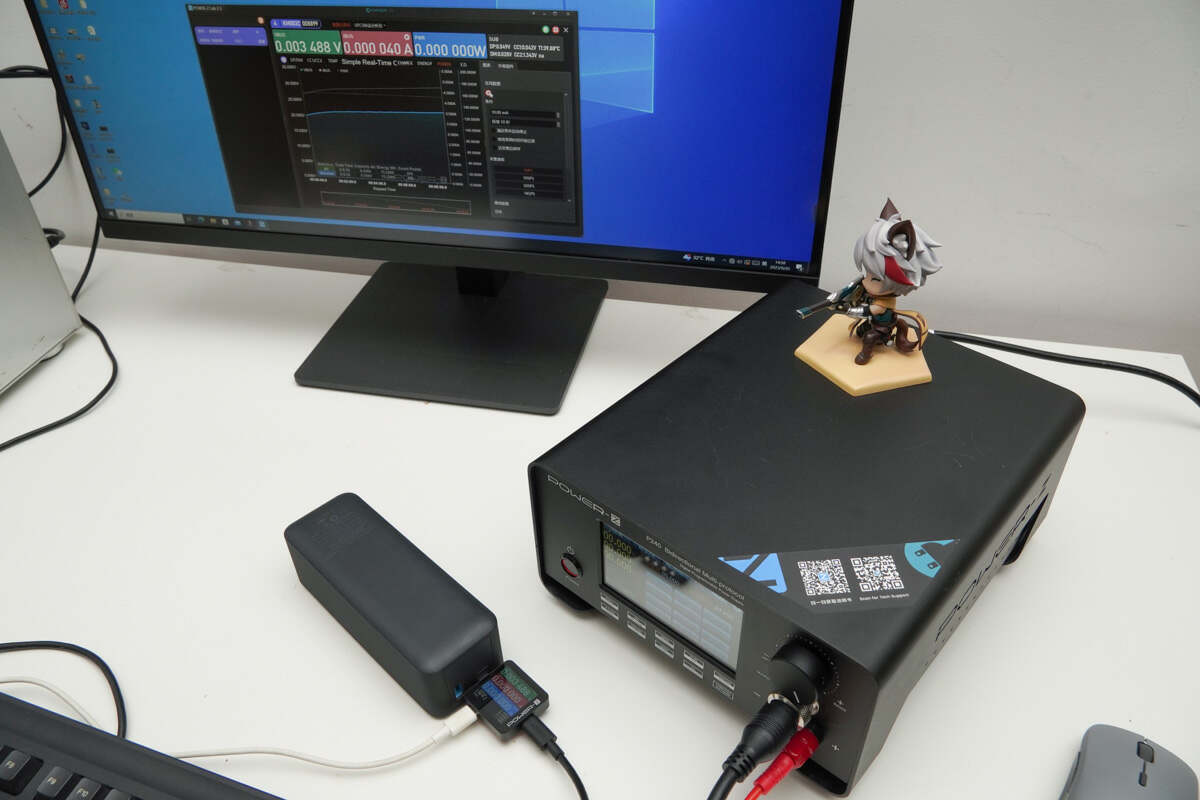
For this test, we're going to use the following equipment: Anker PD3.1 140W power bank, P240 (as the load), and KM003C.
Step 1: Connect the Power Source
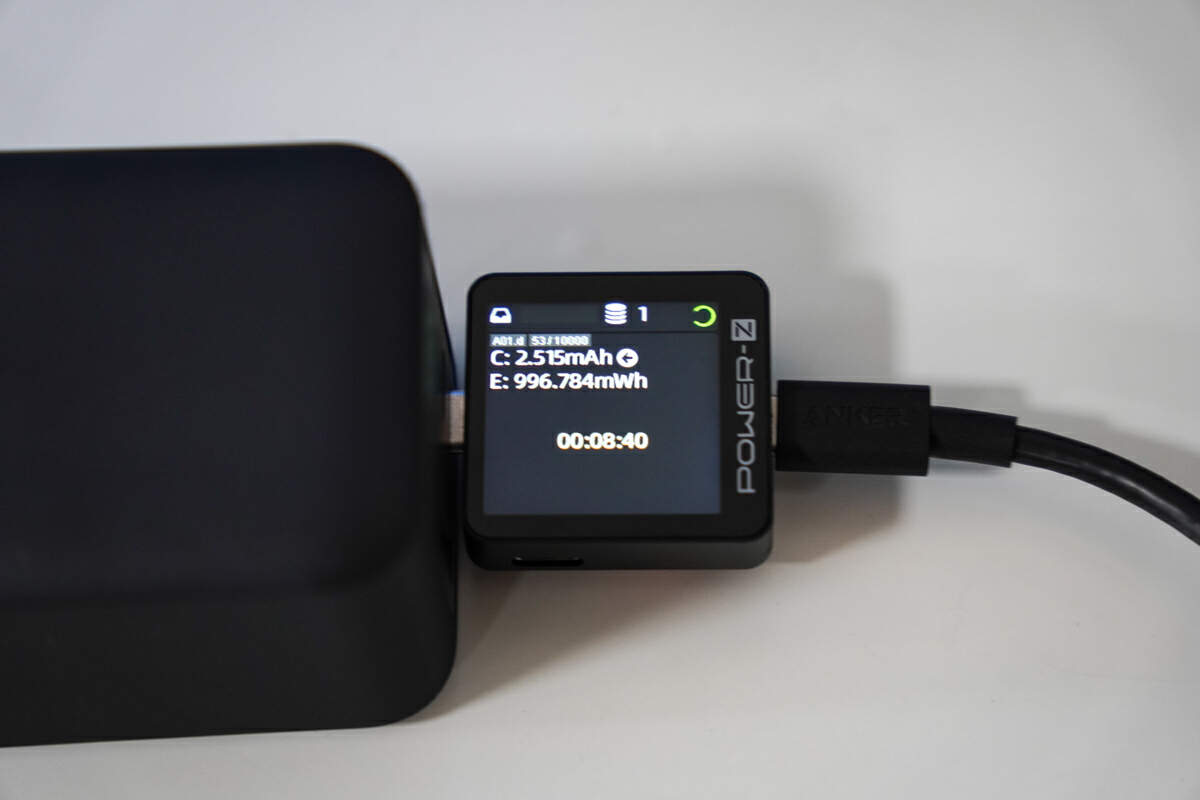
First, connect the male plug of the KM003C to the power bank.
Step 2: Connect the Load
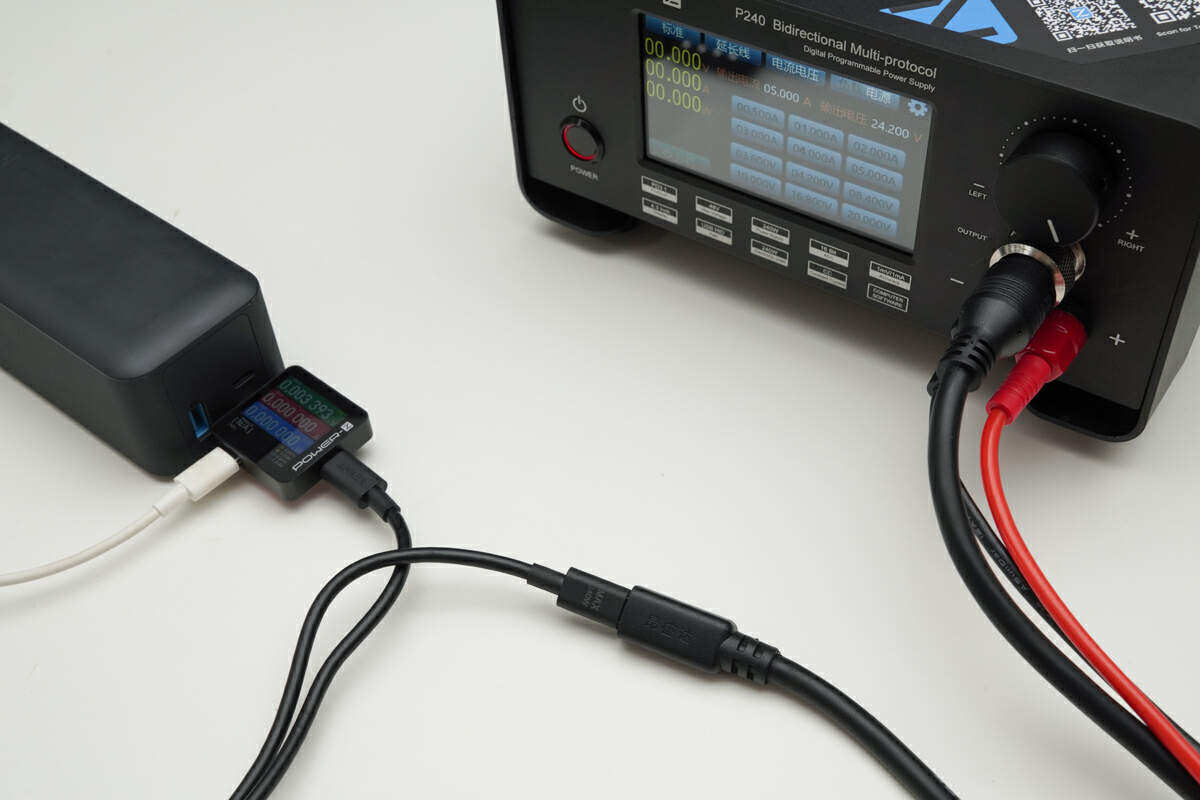
Next, connect it to the load to start discharging.
Step 3: Create a New Record
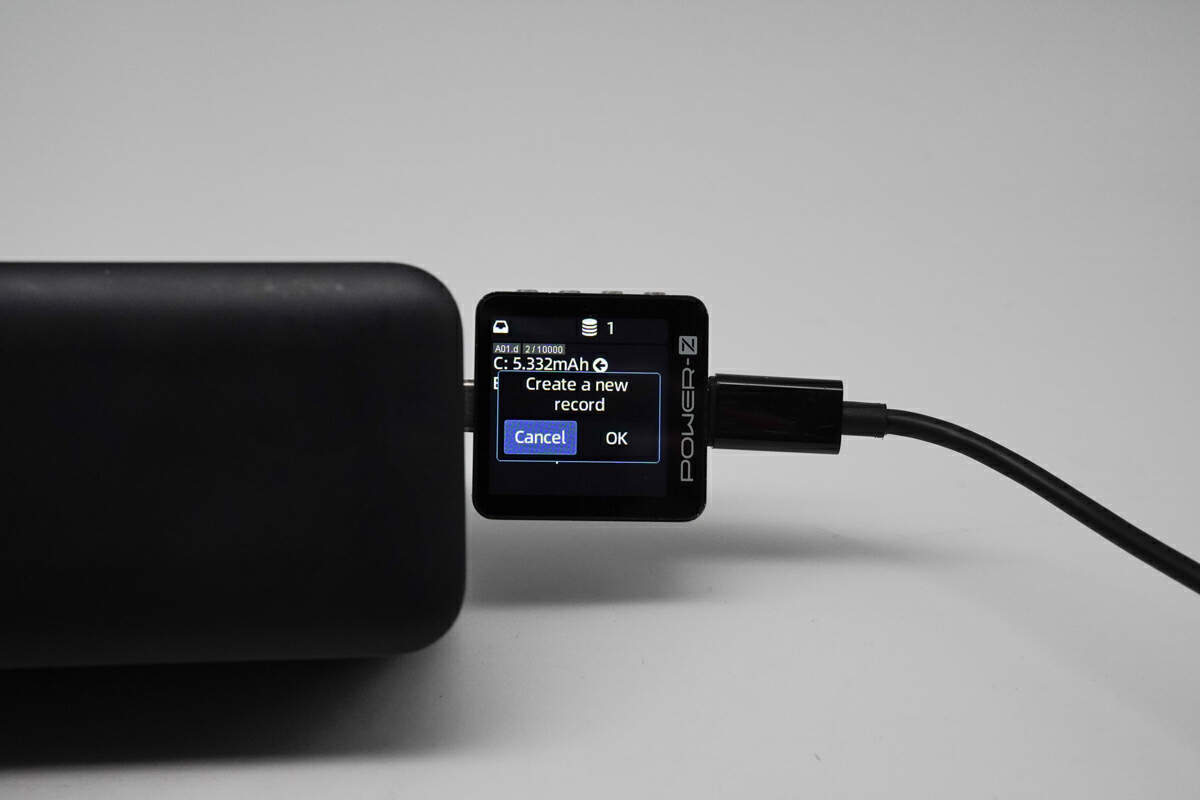
Go to the data storage page and create a new data record.
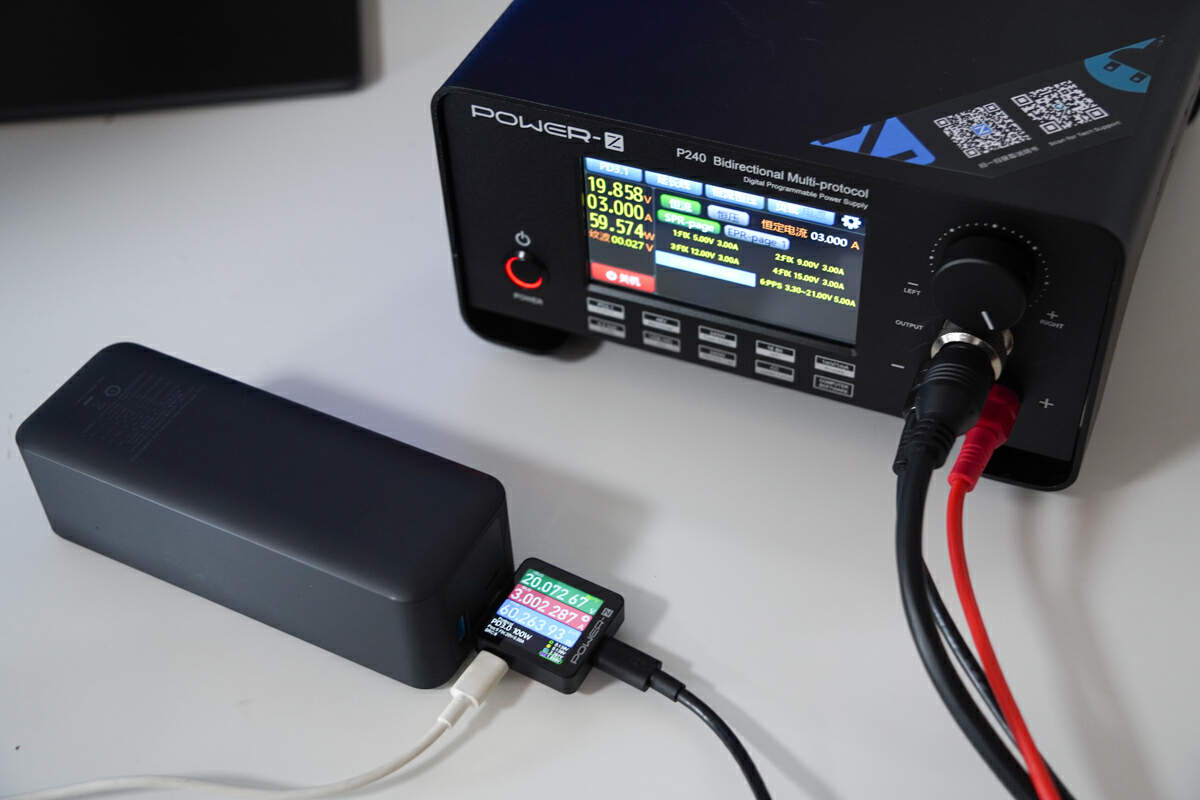
Set any desired output voltage and current values on the P240 to record the data in real-time.
Import to PC
After completing the data recording, you need to use our POWER-Z PC software to import the data. This allows you to plot curves and facilitate data analysis.
Step 1: Connect the Software
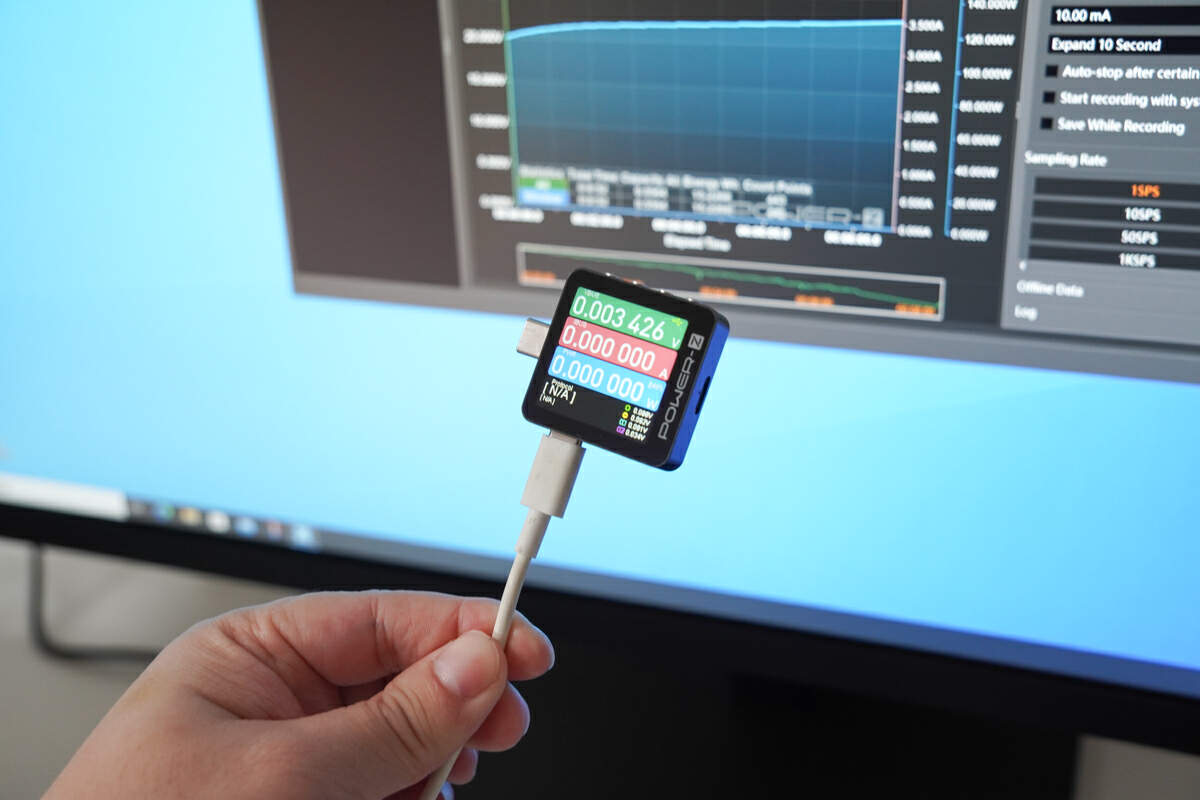
Download the software on your computer, then connect the tester's HID port to the computer.
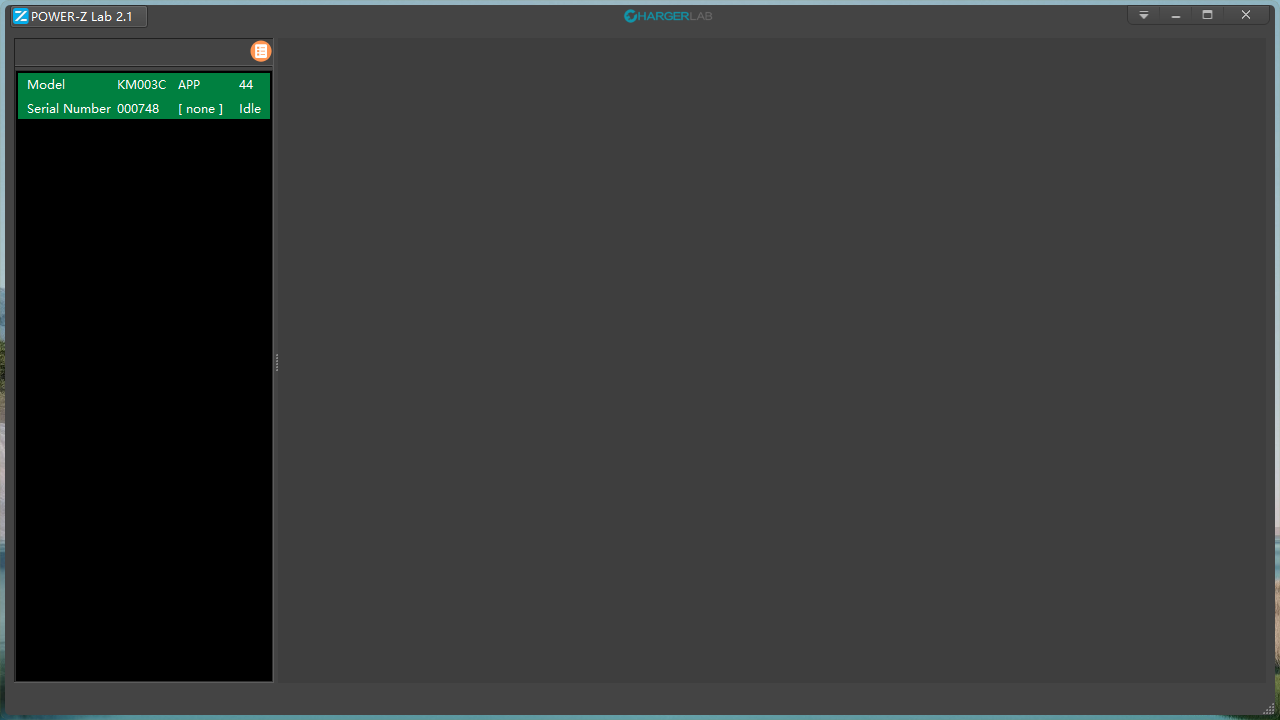
Once you open the app, you'll see the interface. You will also notice a green option box for KM003C on the left side, indicating a successful connection. Double-click to open it. The left area shows the number of testers connected to the computer, with a maximum of 32 devices.
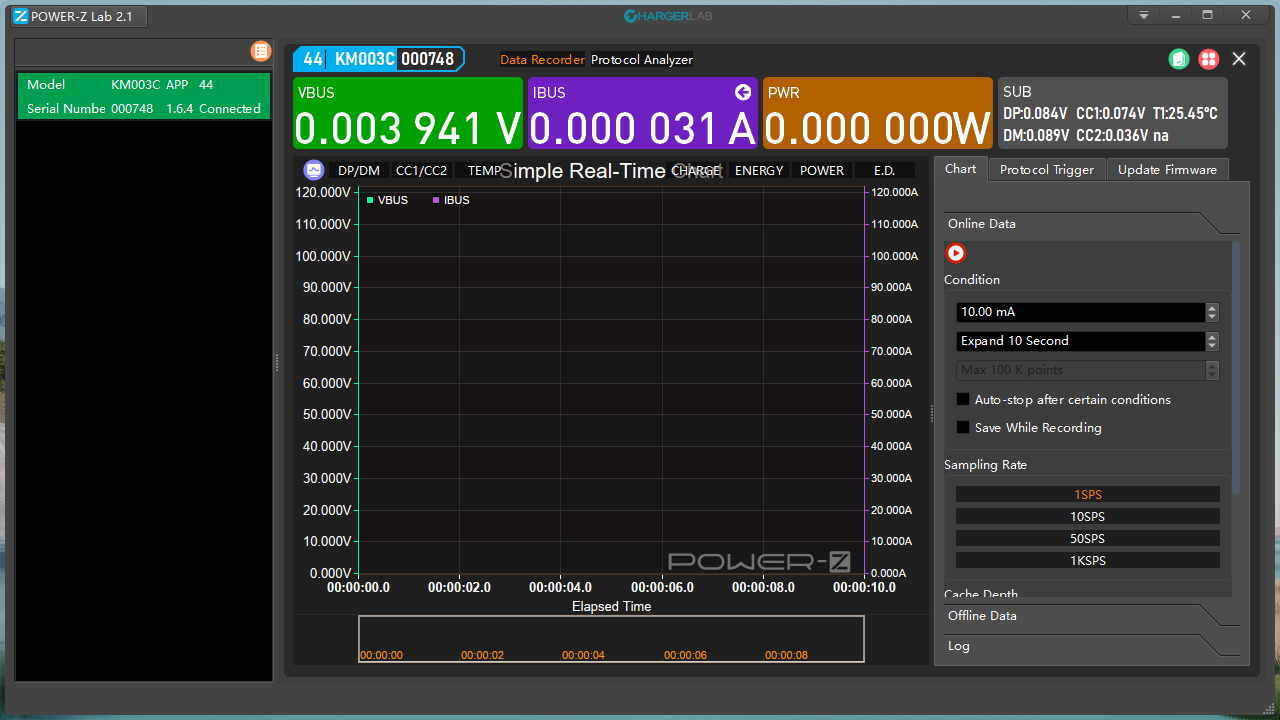
Once opened, you can see the changes in charging data here. The top section shows specific values for voltage, current, and power, while the bottom section is the time axis for the charging curve. The right side is the operation interface.
Step 2: Import Data
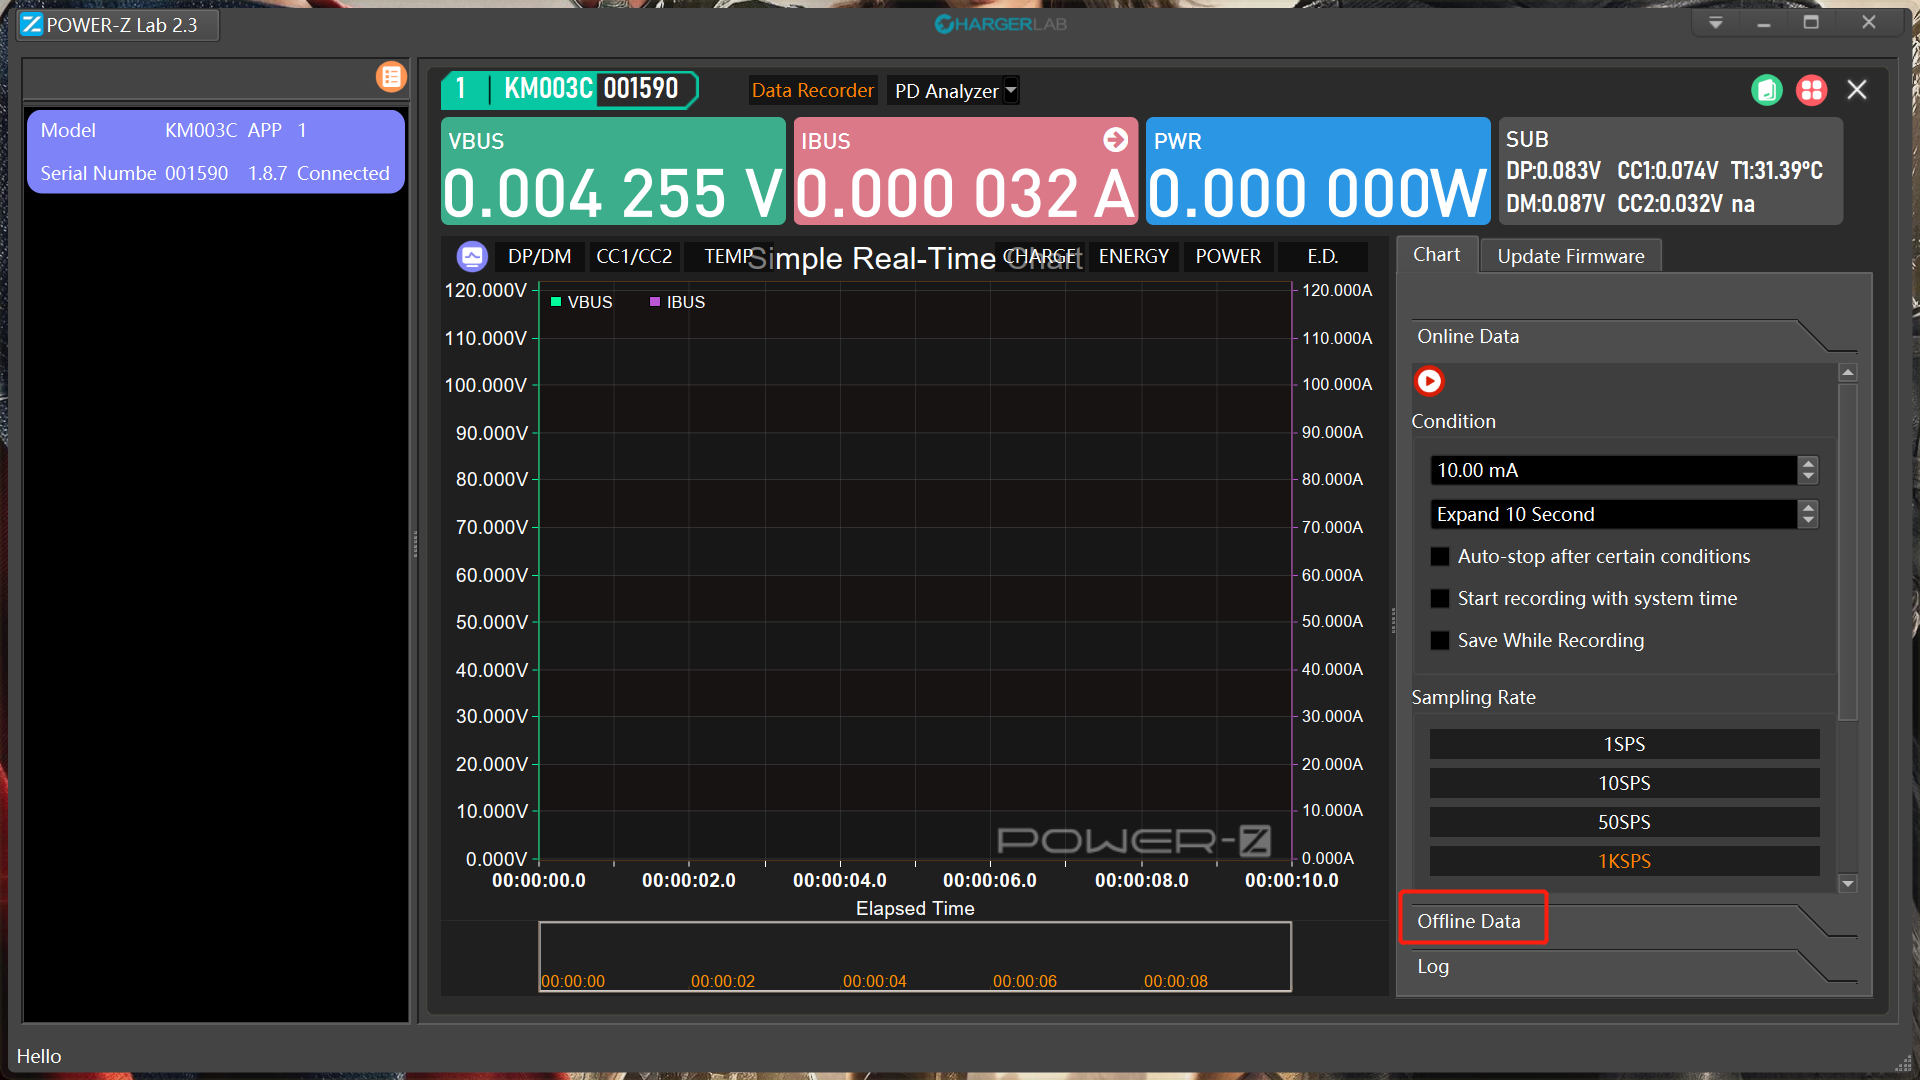
Next, click the "Offline Data" option in the red box to import the data.
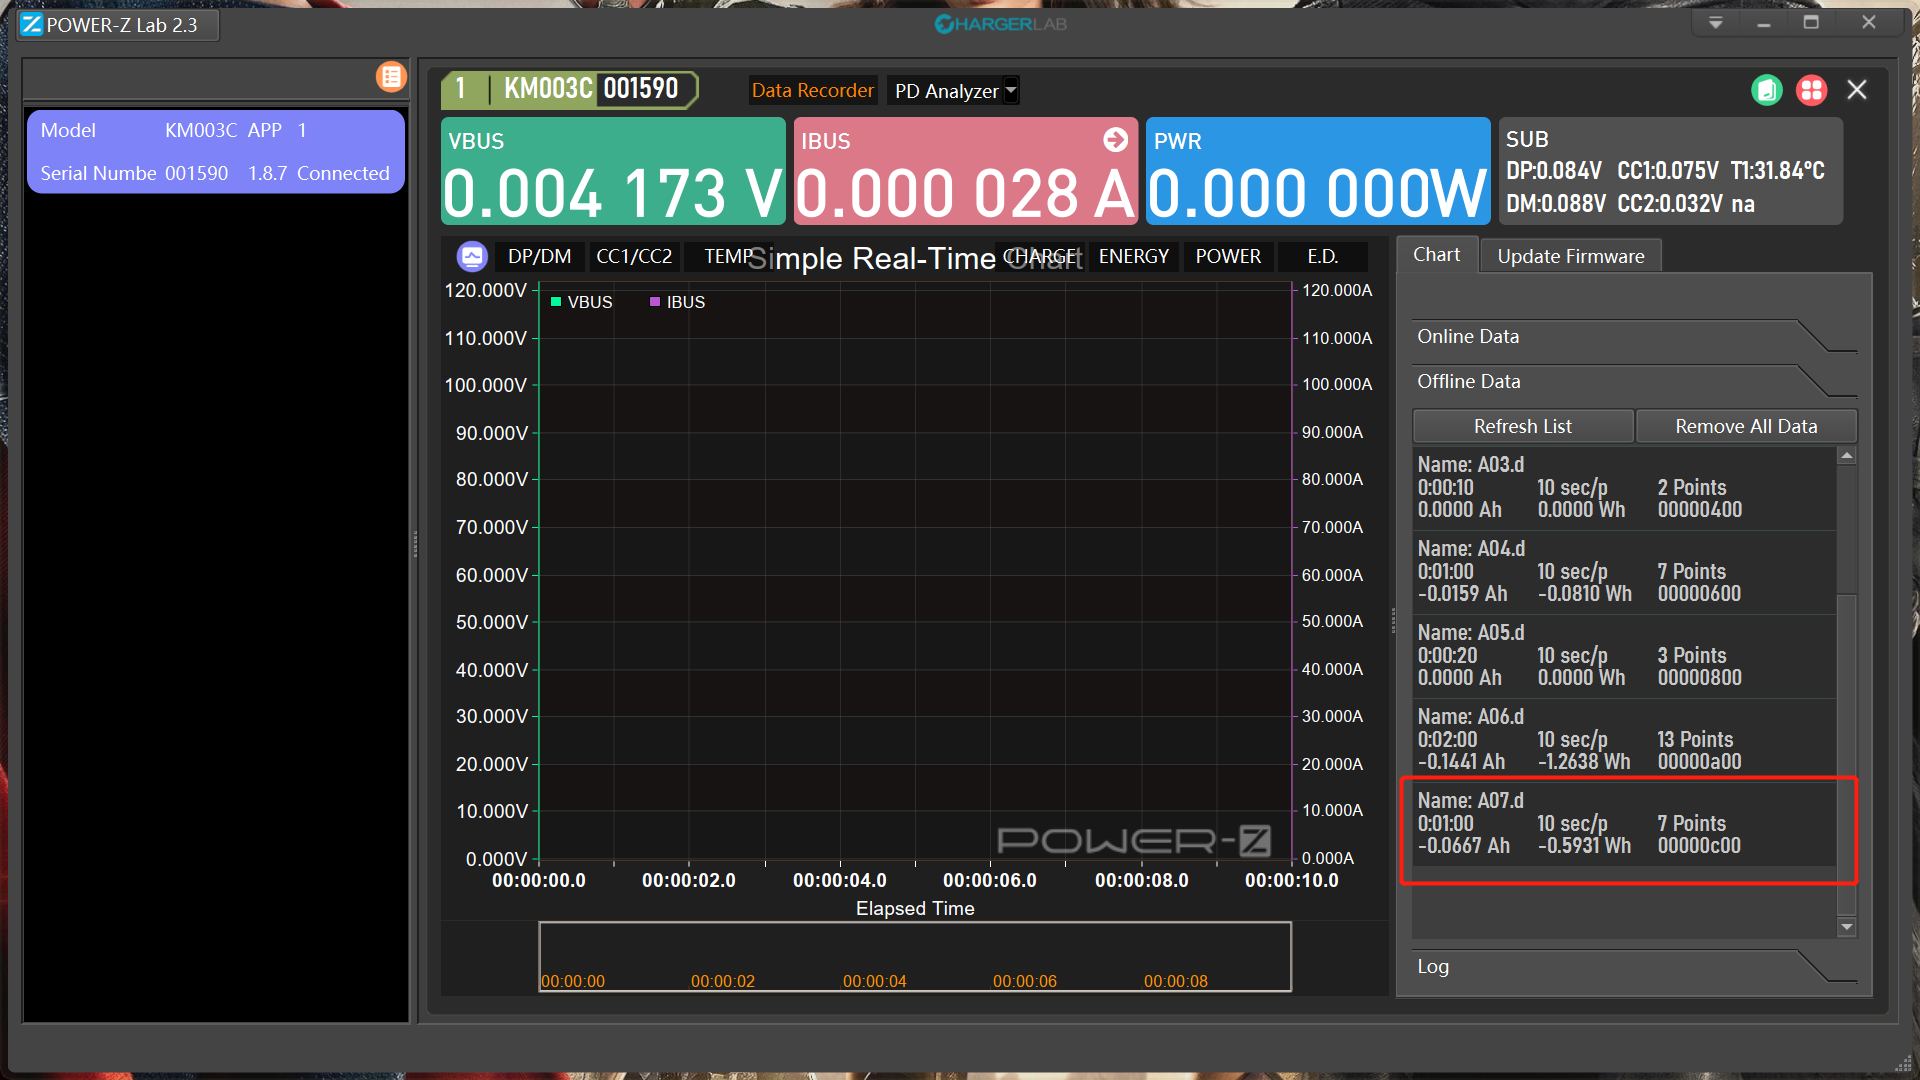
The latest data will be displayed at the bottom.
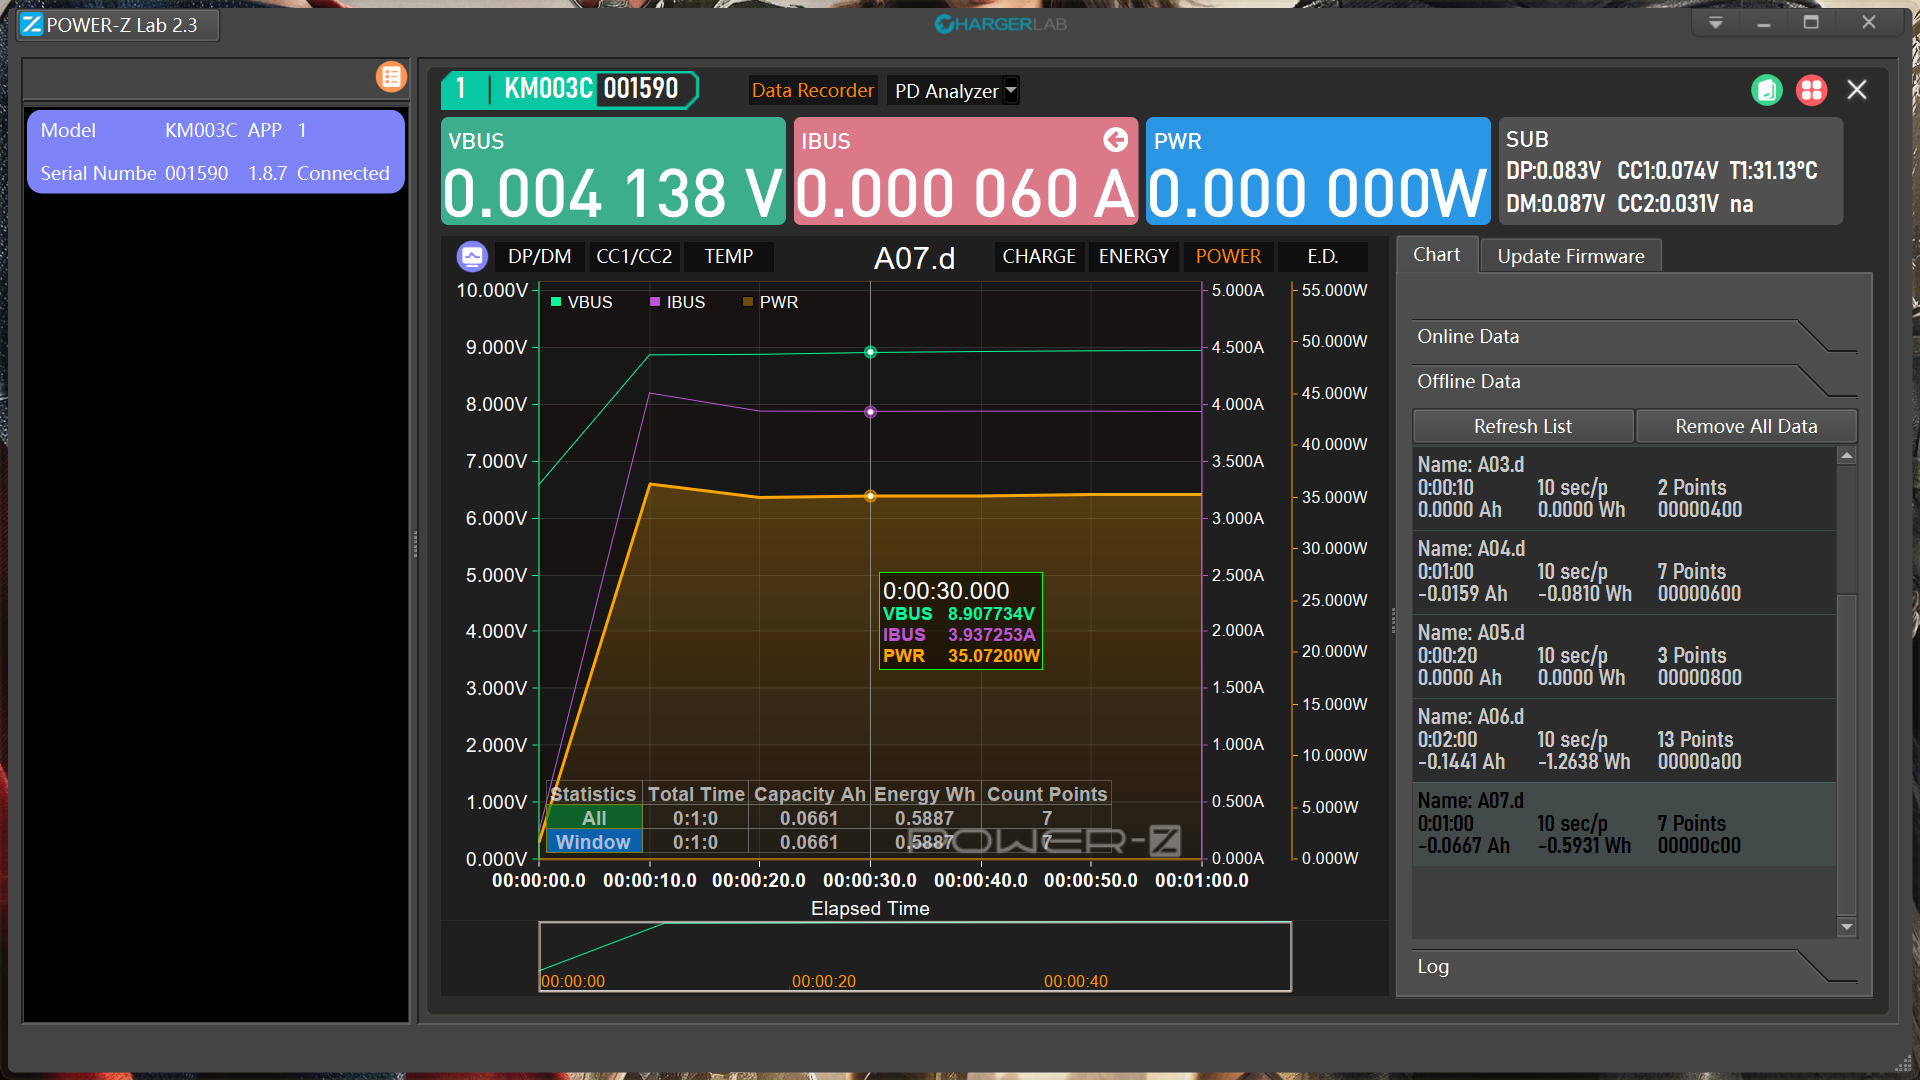
Double-click the data to view the detailed charging curve on your PC.
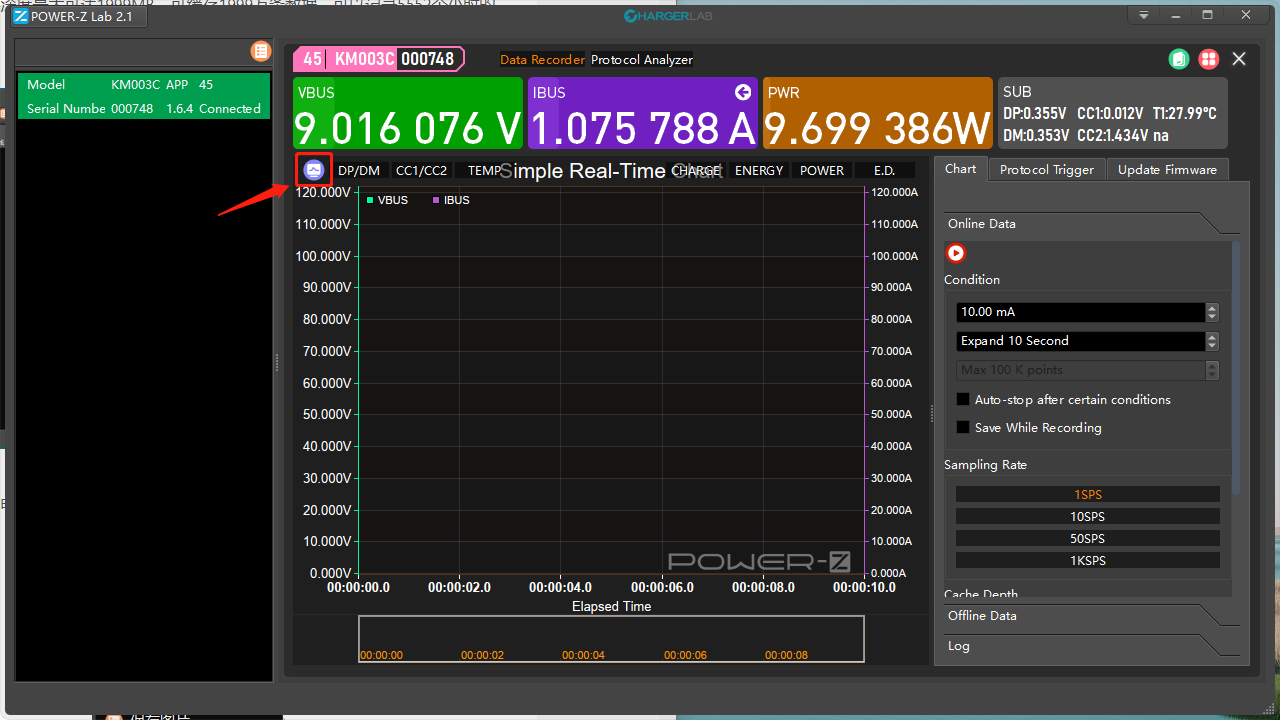
After that, you can click this icon to perform more actions.
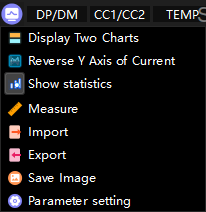
Here are all options.
Export
After clicking Export, the system will provide two file types.
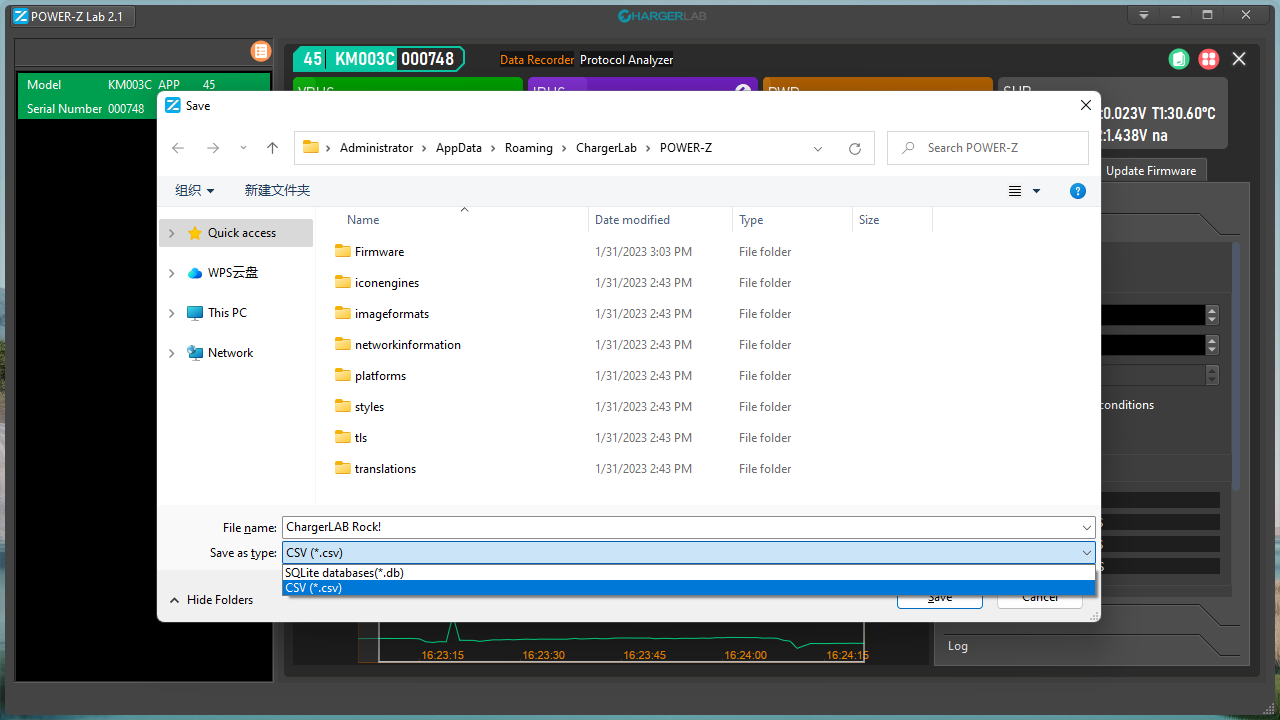
You can choose the file starting with SQLite or CSV. We mainly introduce the CSV.

Then, you can see the saved EXCEL file in the saved path.
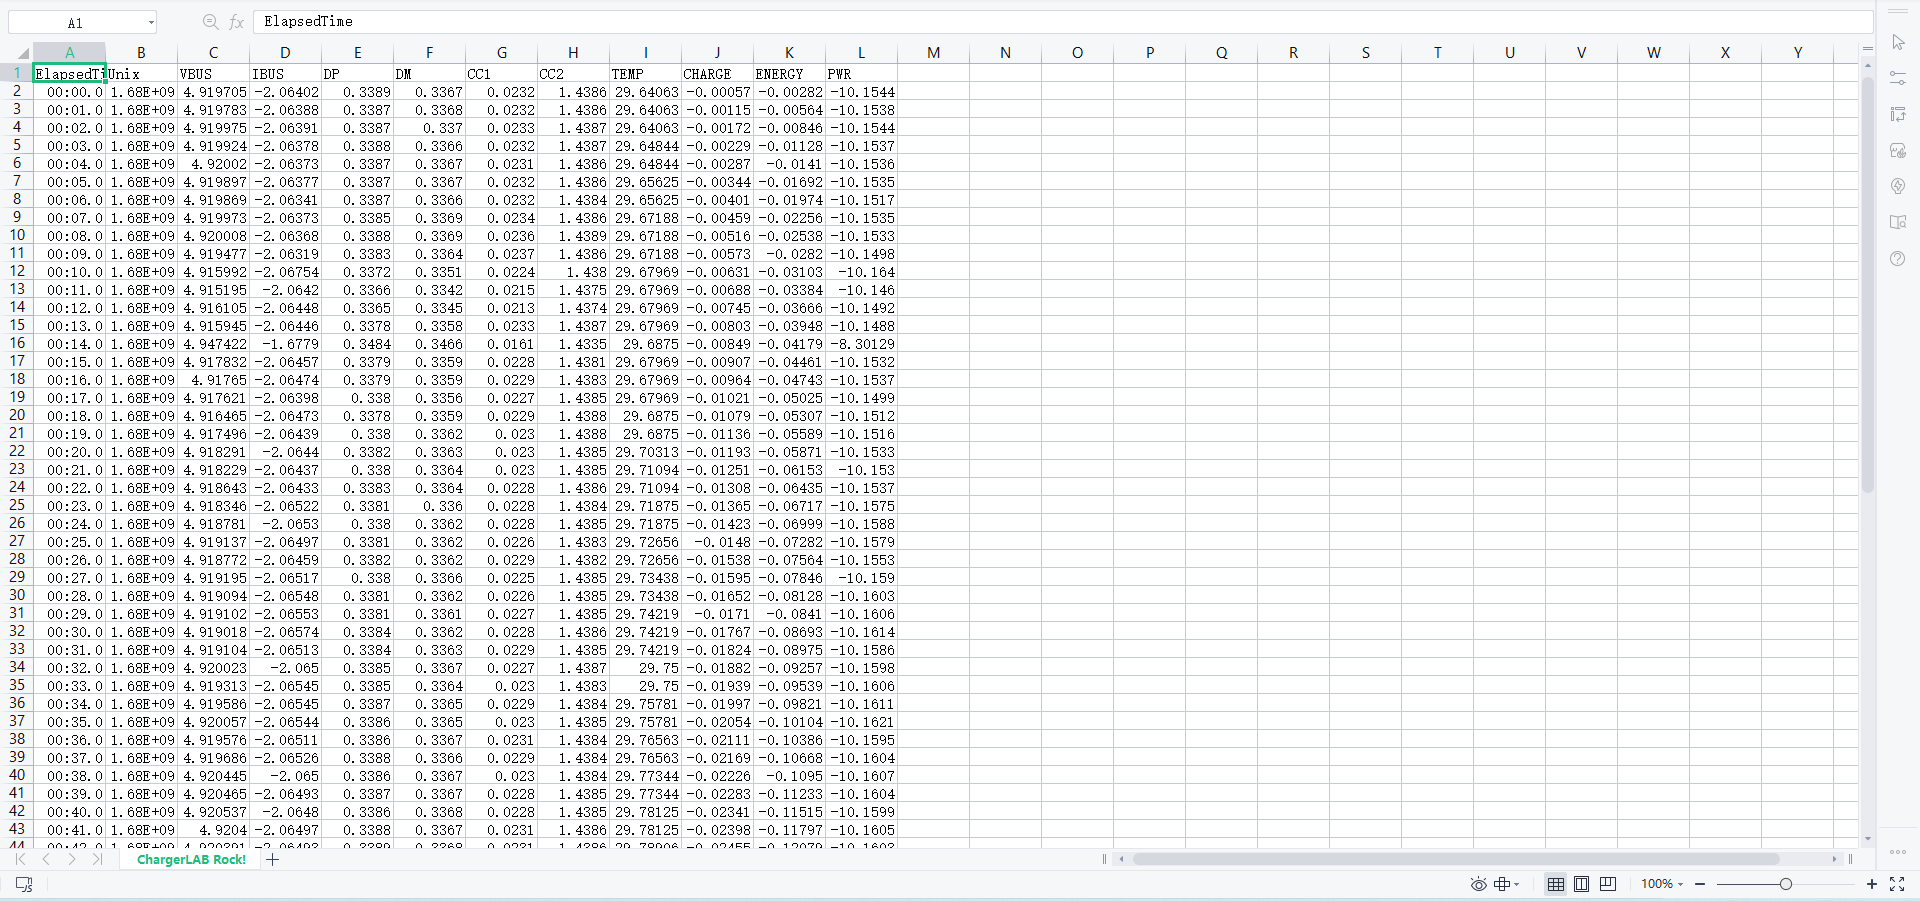
Open it to view the specific charging data.
In addition to saving in CSV format, it can also be saved in a format beginning with SQLite, but this method is more complicated, we will only do a brief introduction.
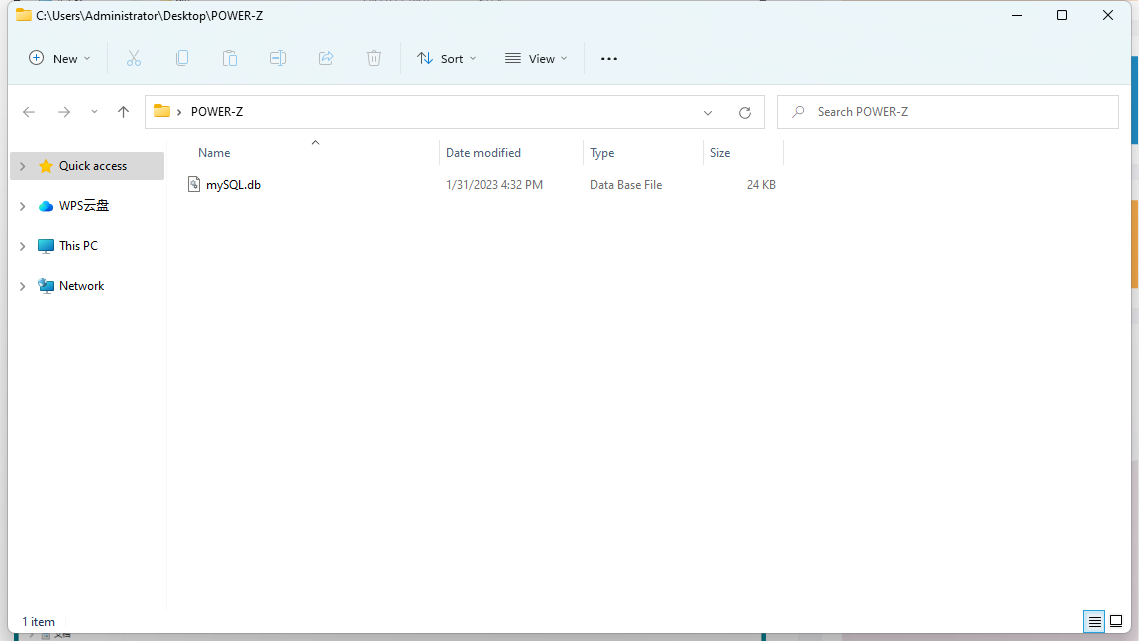
The file name is called mySQL.db. You need a specific database management system called MySQL to open it. Those who are interested can download it by themselves.
Summary of ChargerLAB
By following these steps, you can efficiently record and analyze charging data using the ChargerLAB POWER-Z KM003C. Whether you choose to record data online or offline, the process is straightforward and allows for detailed data analysis on your PC. We hope this guide has been helpful, and you are now ready to make the most out of your KM003C!
Related Articles:
1. Inventory of 10 Commonly Used Functions of Power-Z KM003C
2. Protocol Trigger Module on PC | The New Update of POWER-Z KM003C/2C
3. V.1.8.7 | The New Software Version of POWER-Z KM003C

