Introduction
Recently, we tested the USB-C inside the center console of the Tesla Model Y and Tesla Model 3. But if you need to charge multiple devices at the same time, two USB ports may not be enough for you. So, today, we're going to introduce and take apart a 45W expansion dock from Baseus for Tesla car.
Product Appearance
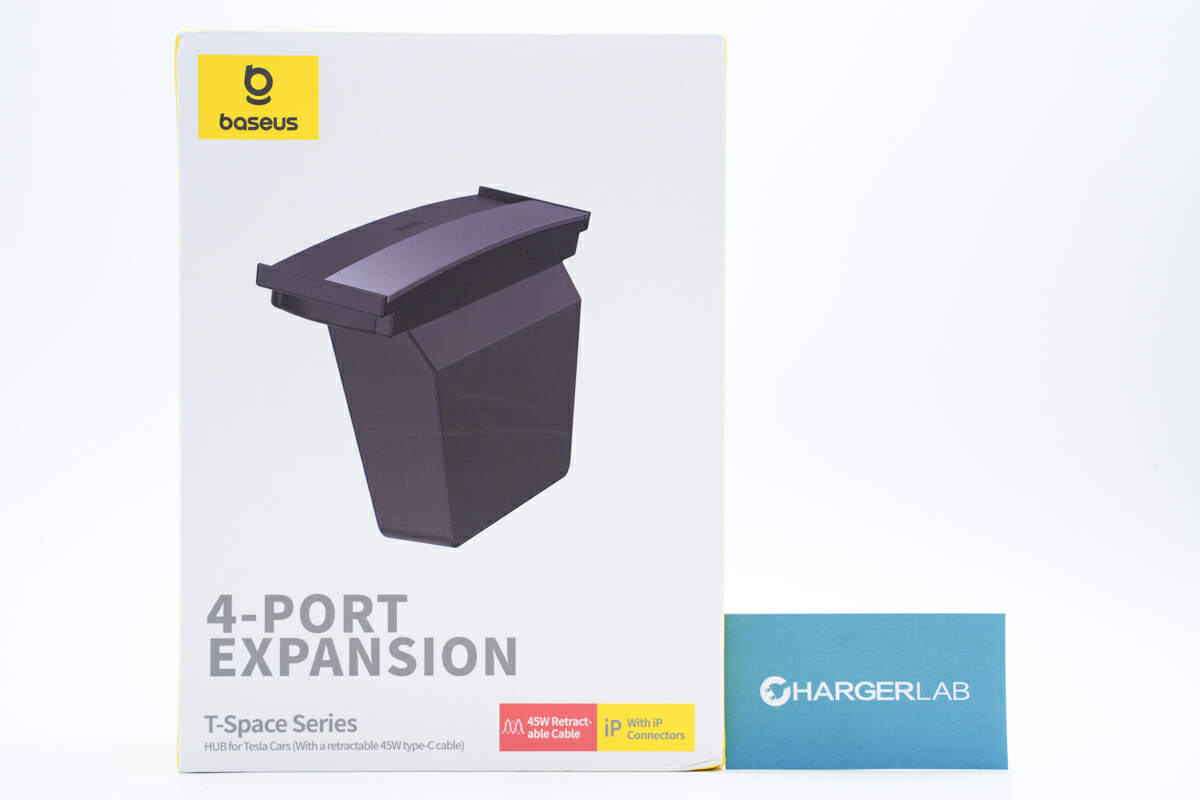
The packaging box got the biggest selling point printed on the front, which is 4-Port Expansion,
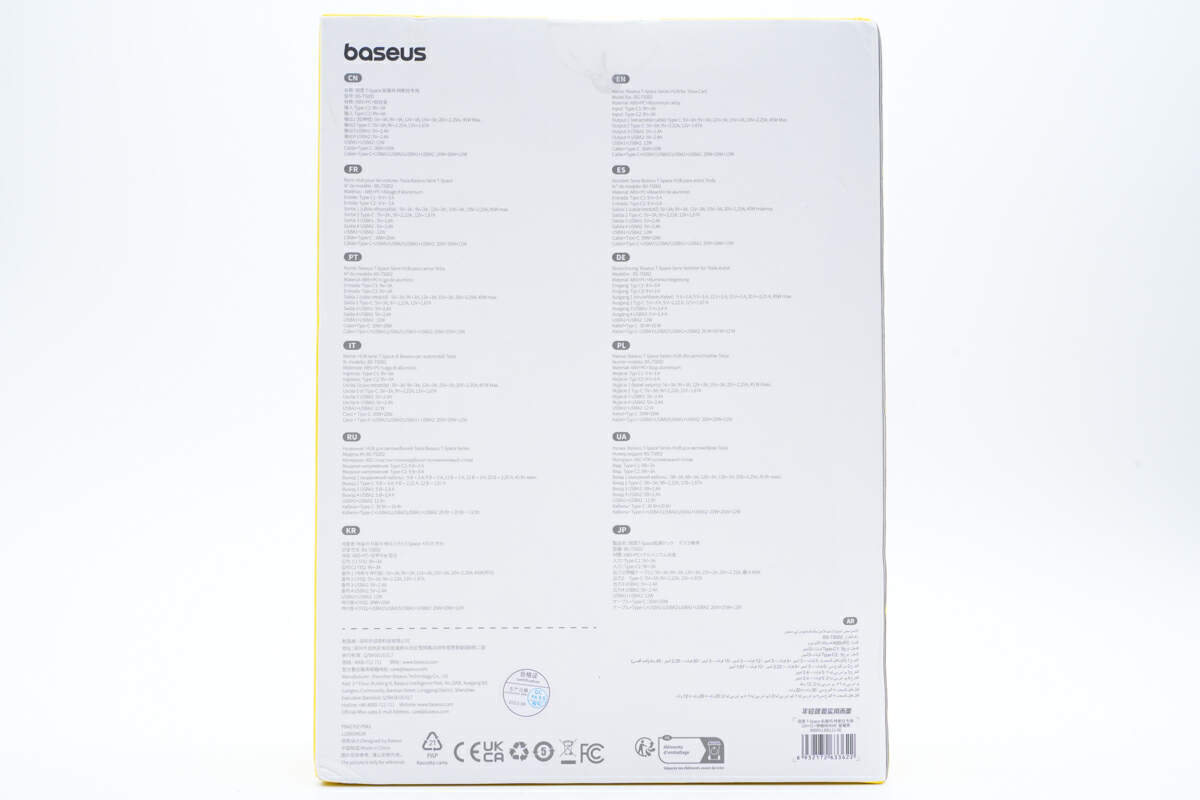
Flip to the back, here are the technical specifications in different languages.
Some specs are on the bottom. We will get to that later.
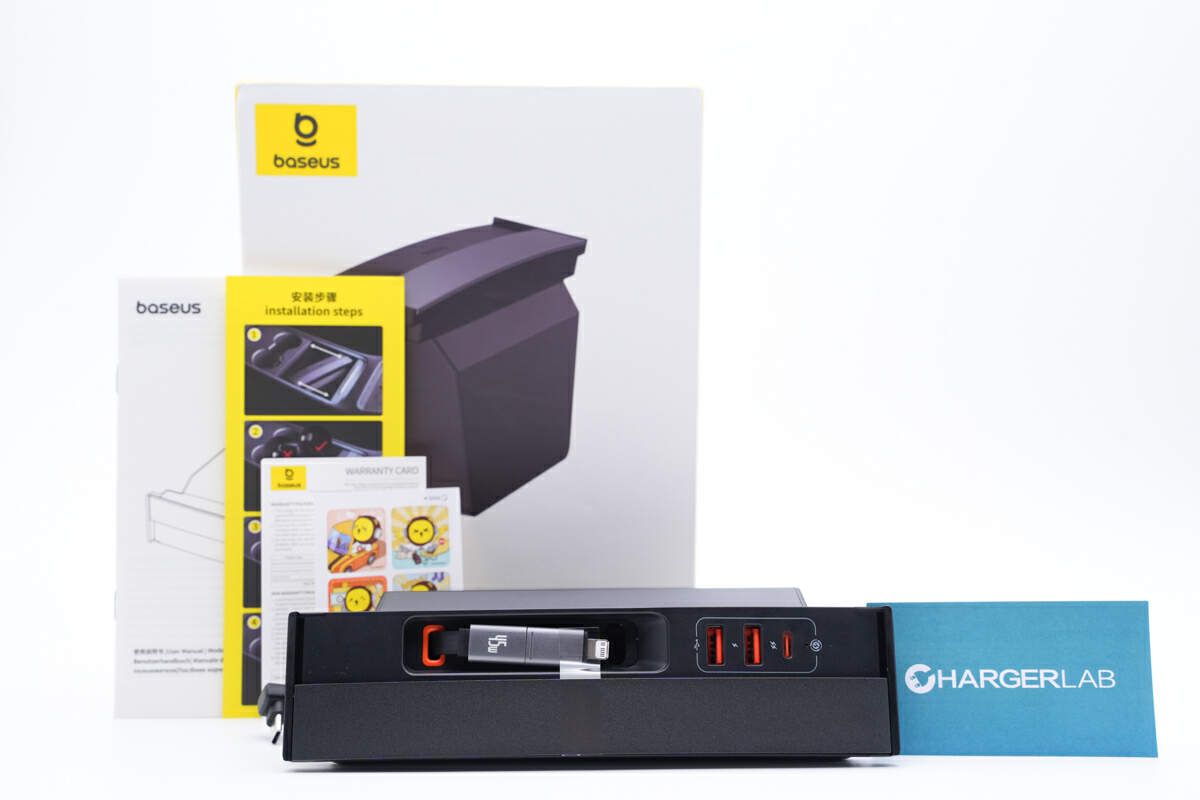
Open the box, these are some documents, like quick start guide, user manual, and stickers.
Then, take out the dock. It is made of ABS+PC flame-retardant material and features a black matte finish.
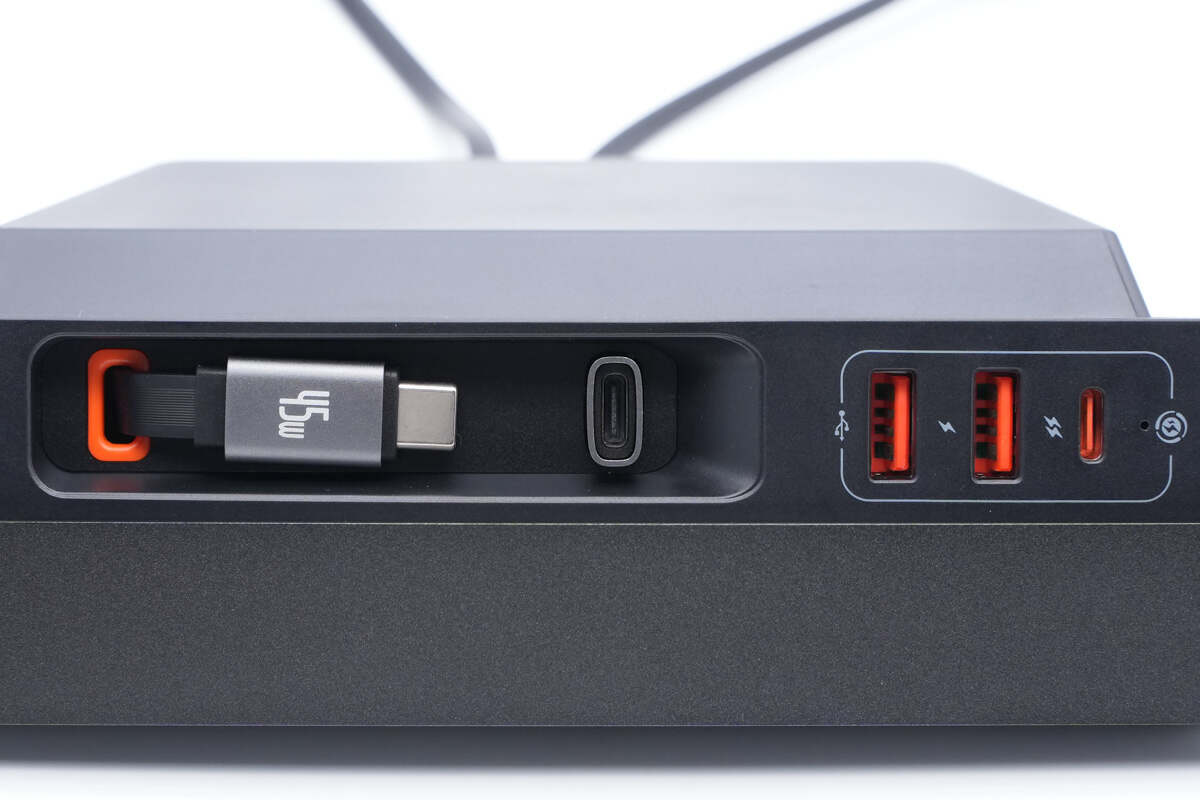
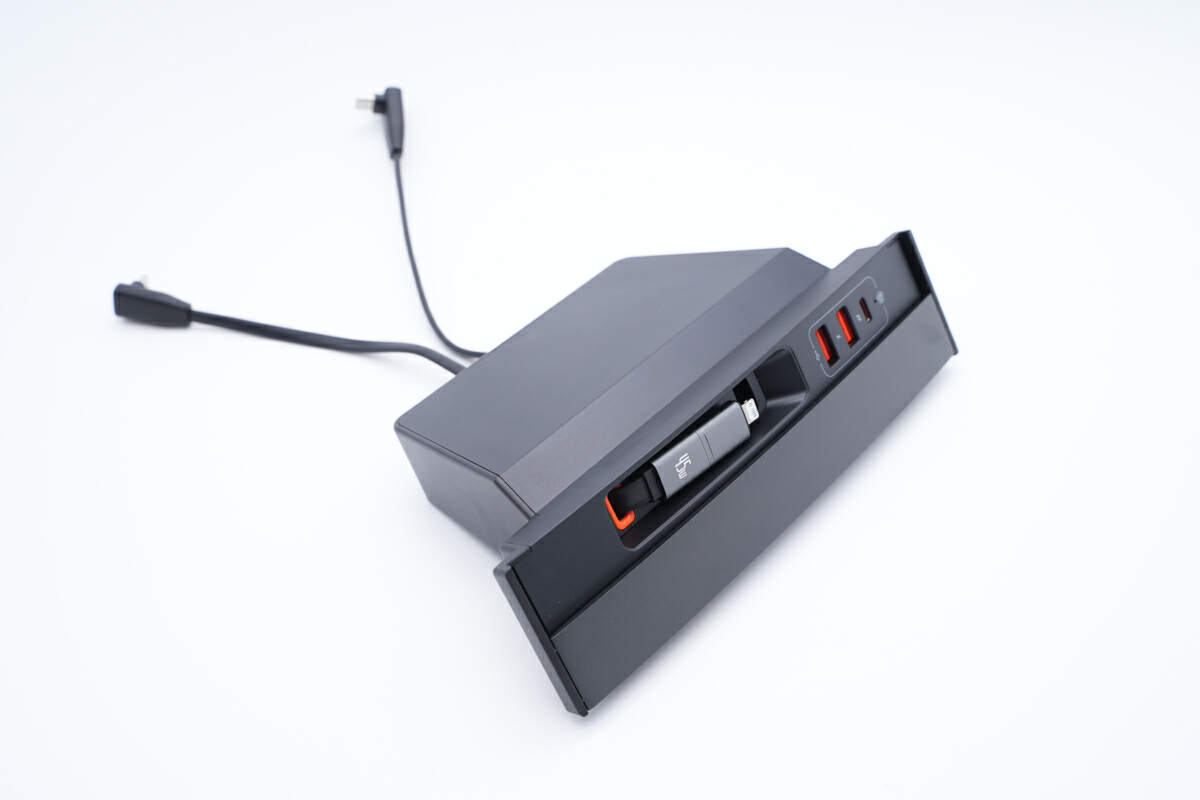
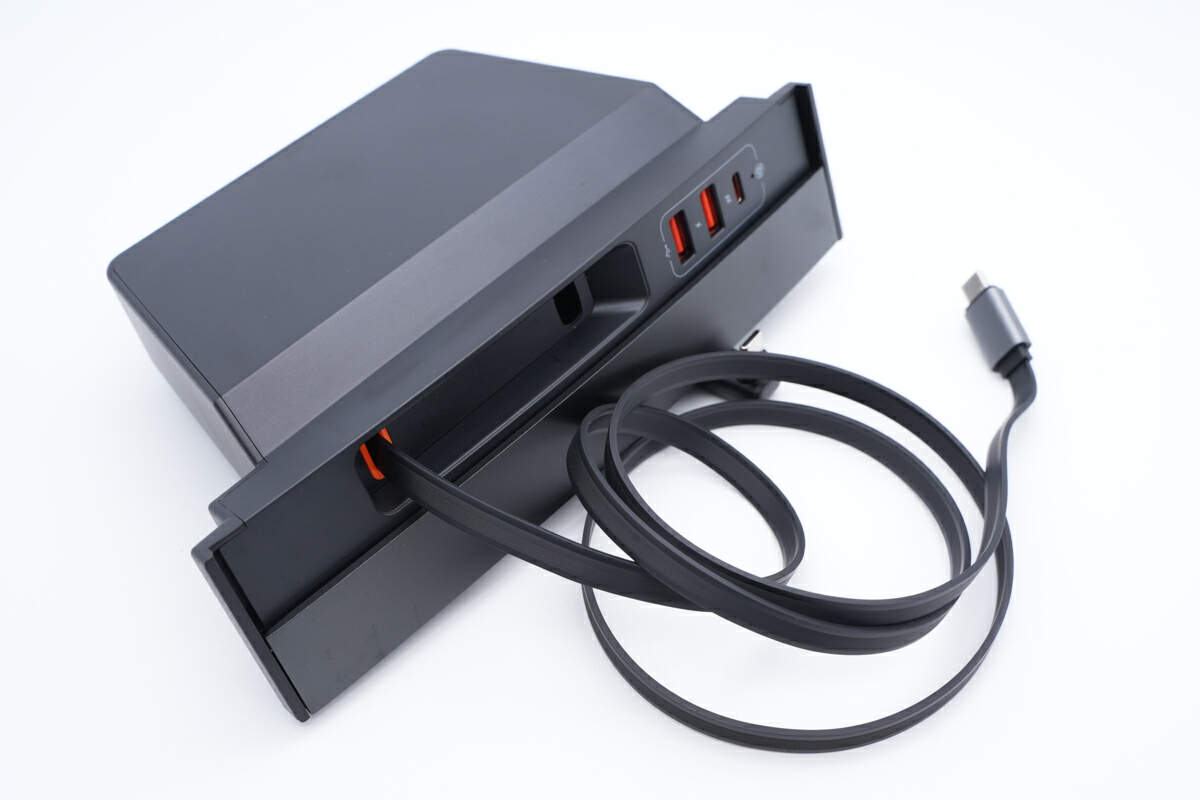
There's a retractable cable on the front. Two USB-A and a USB-C port are next to it.
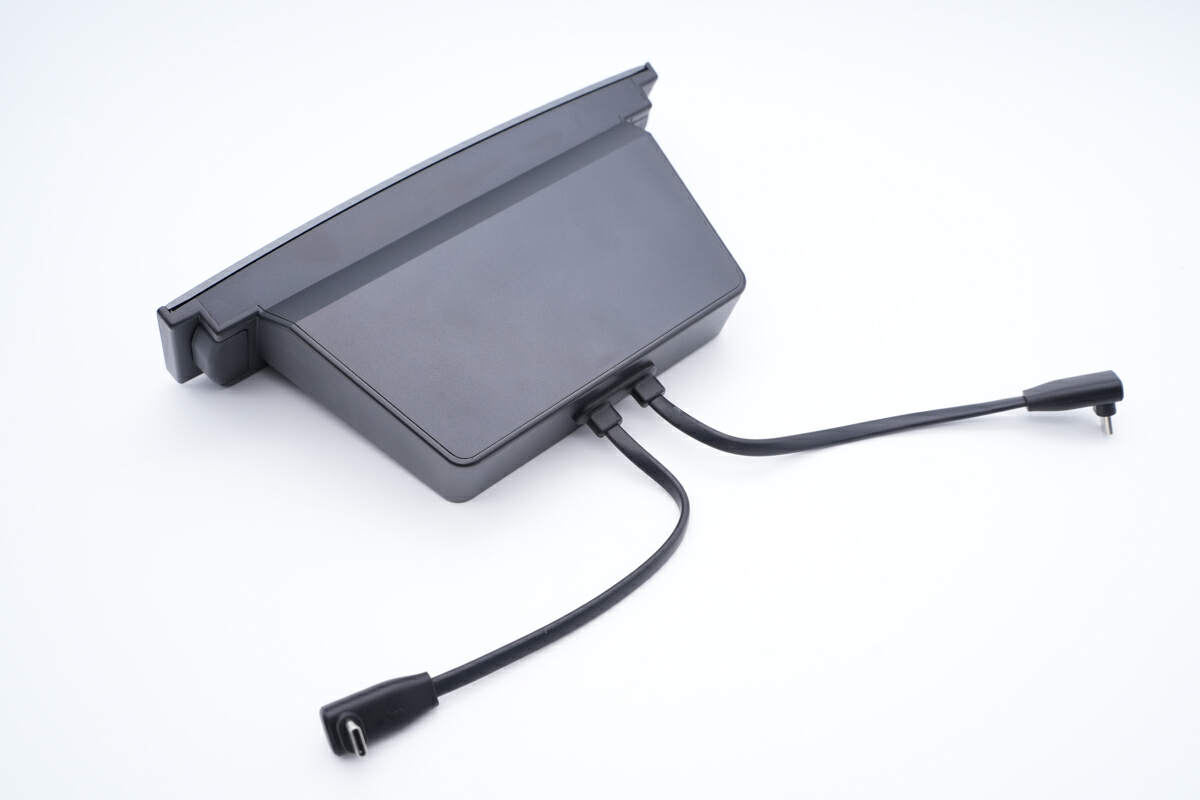
Two USB-C input cables are on the other side.
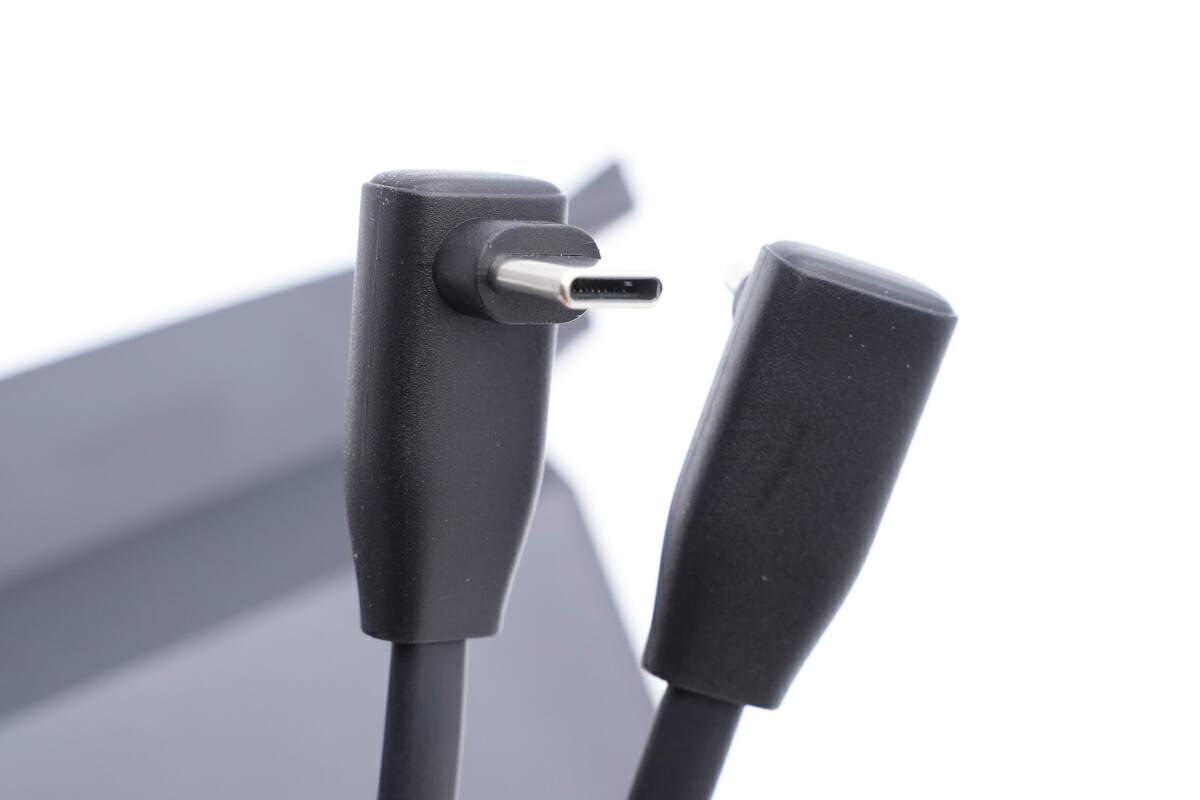
The USB-C connector is vertical to the cable, which won't affect other things you put into the center console.
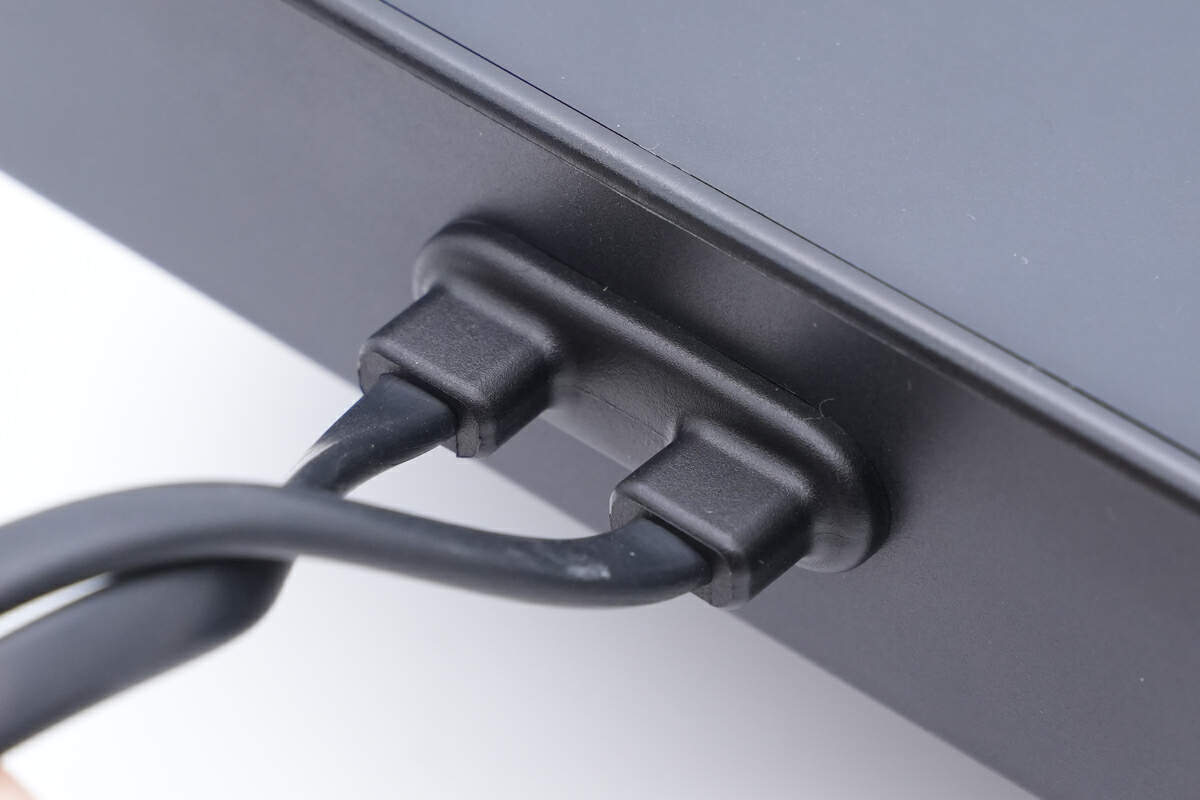
And the joint between the cables and the dock are protected by rubber sleeve.
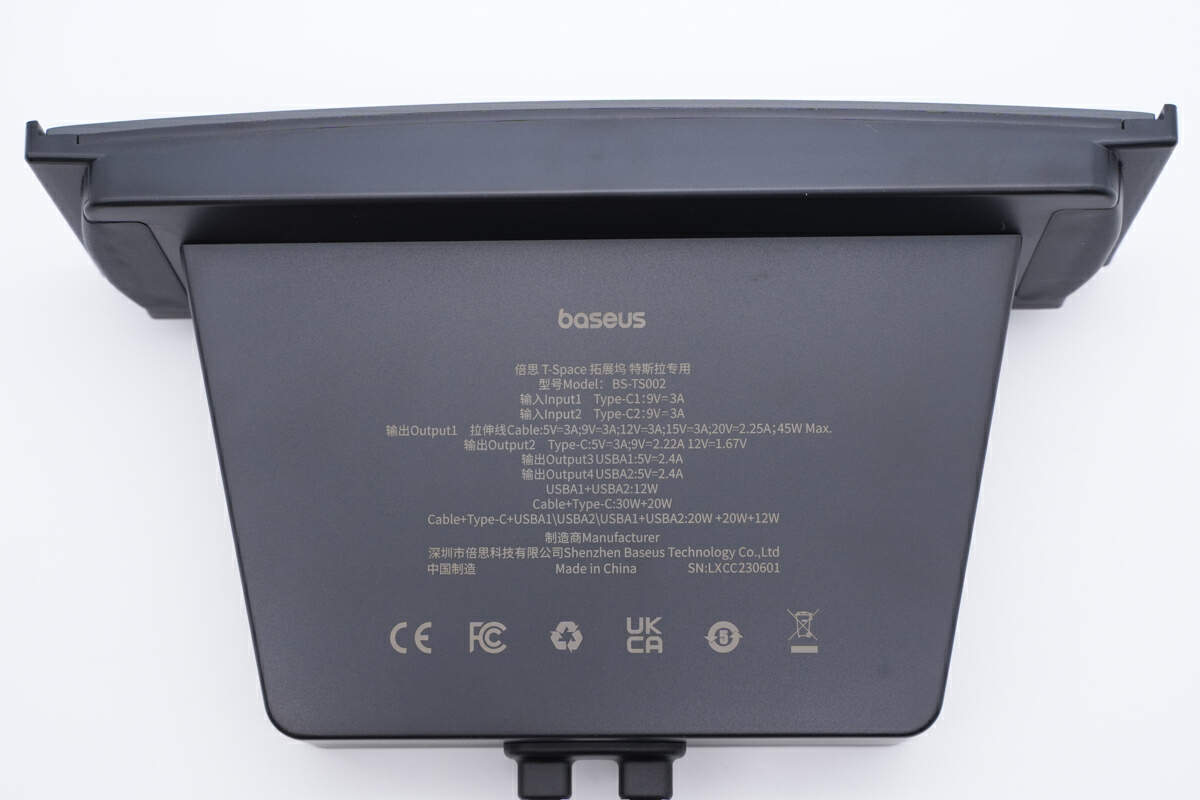
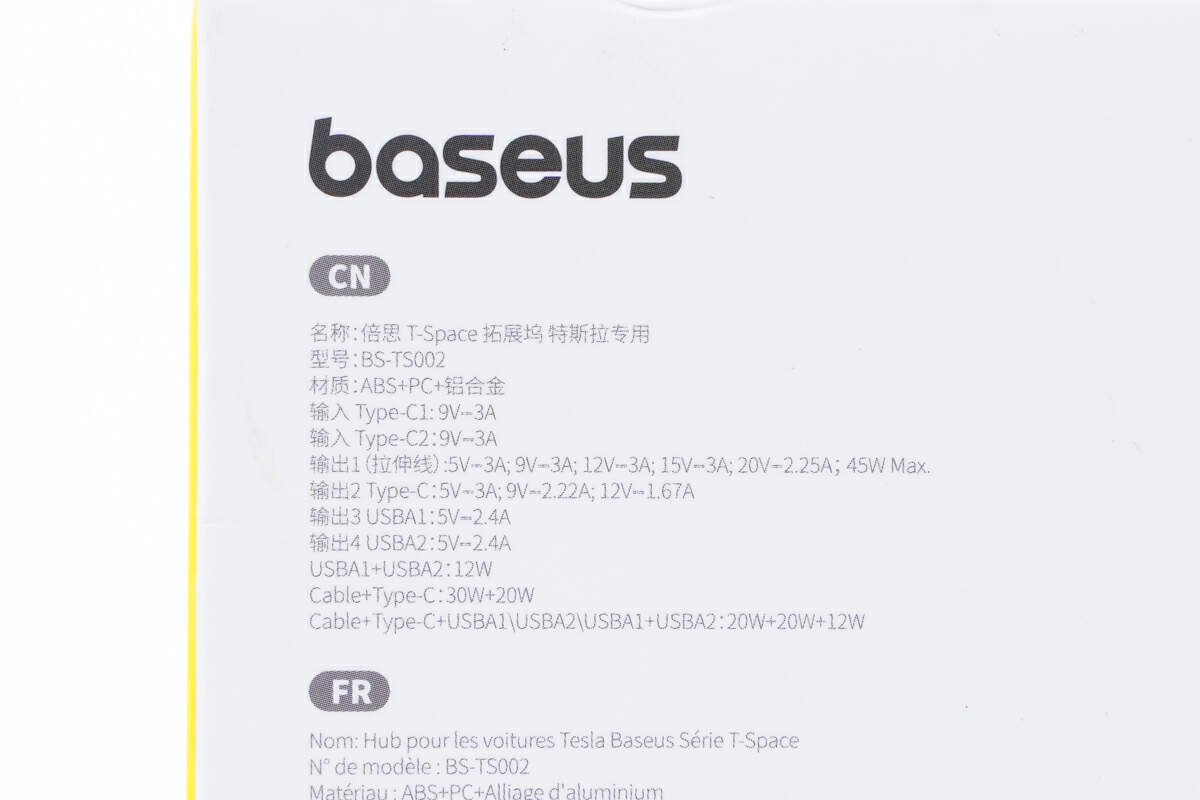
Here are some specs info on the back. Model is BS-TS002. The input of USB-C1 and C2 are 9V 3A. As for the output, the retractable cable can be up to 45W. And the other USB-C port only reach 20W. But two USB-A ports only reach 12W. It also passed CE, FCC, UKCA certifications.
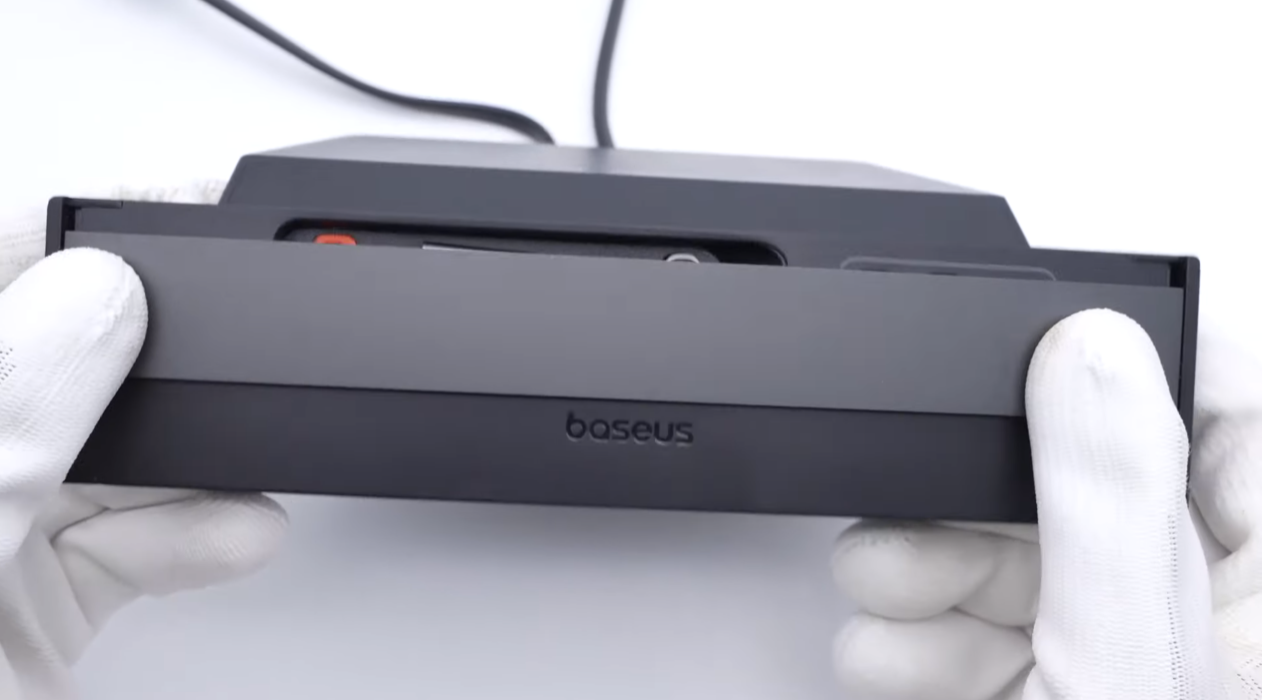
When you are not charging, the output panel can also be hidden to reduce dust and risk of damage.
It can be pulled out for passengers in rear seats to charge their phone.
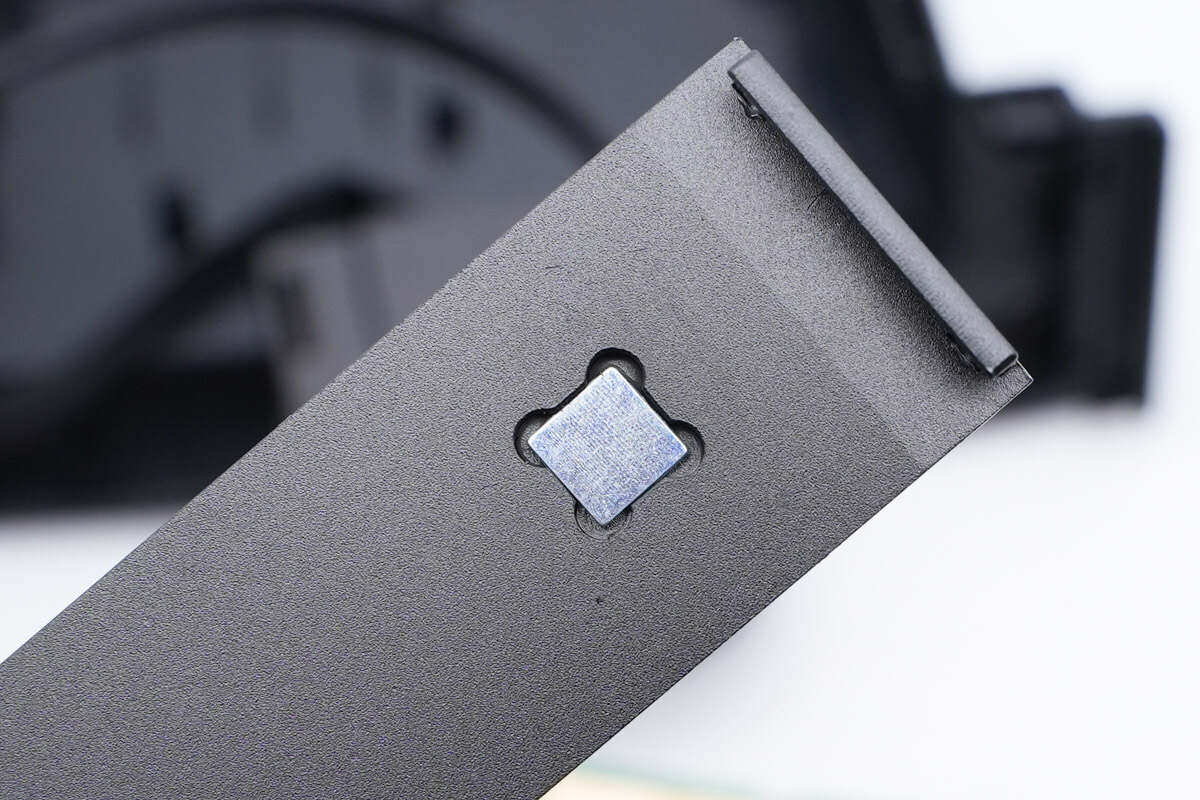
Inside this groove, there is a magnet that automatically attaches when retracted, making it convenient and aesthetically pleasing.
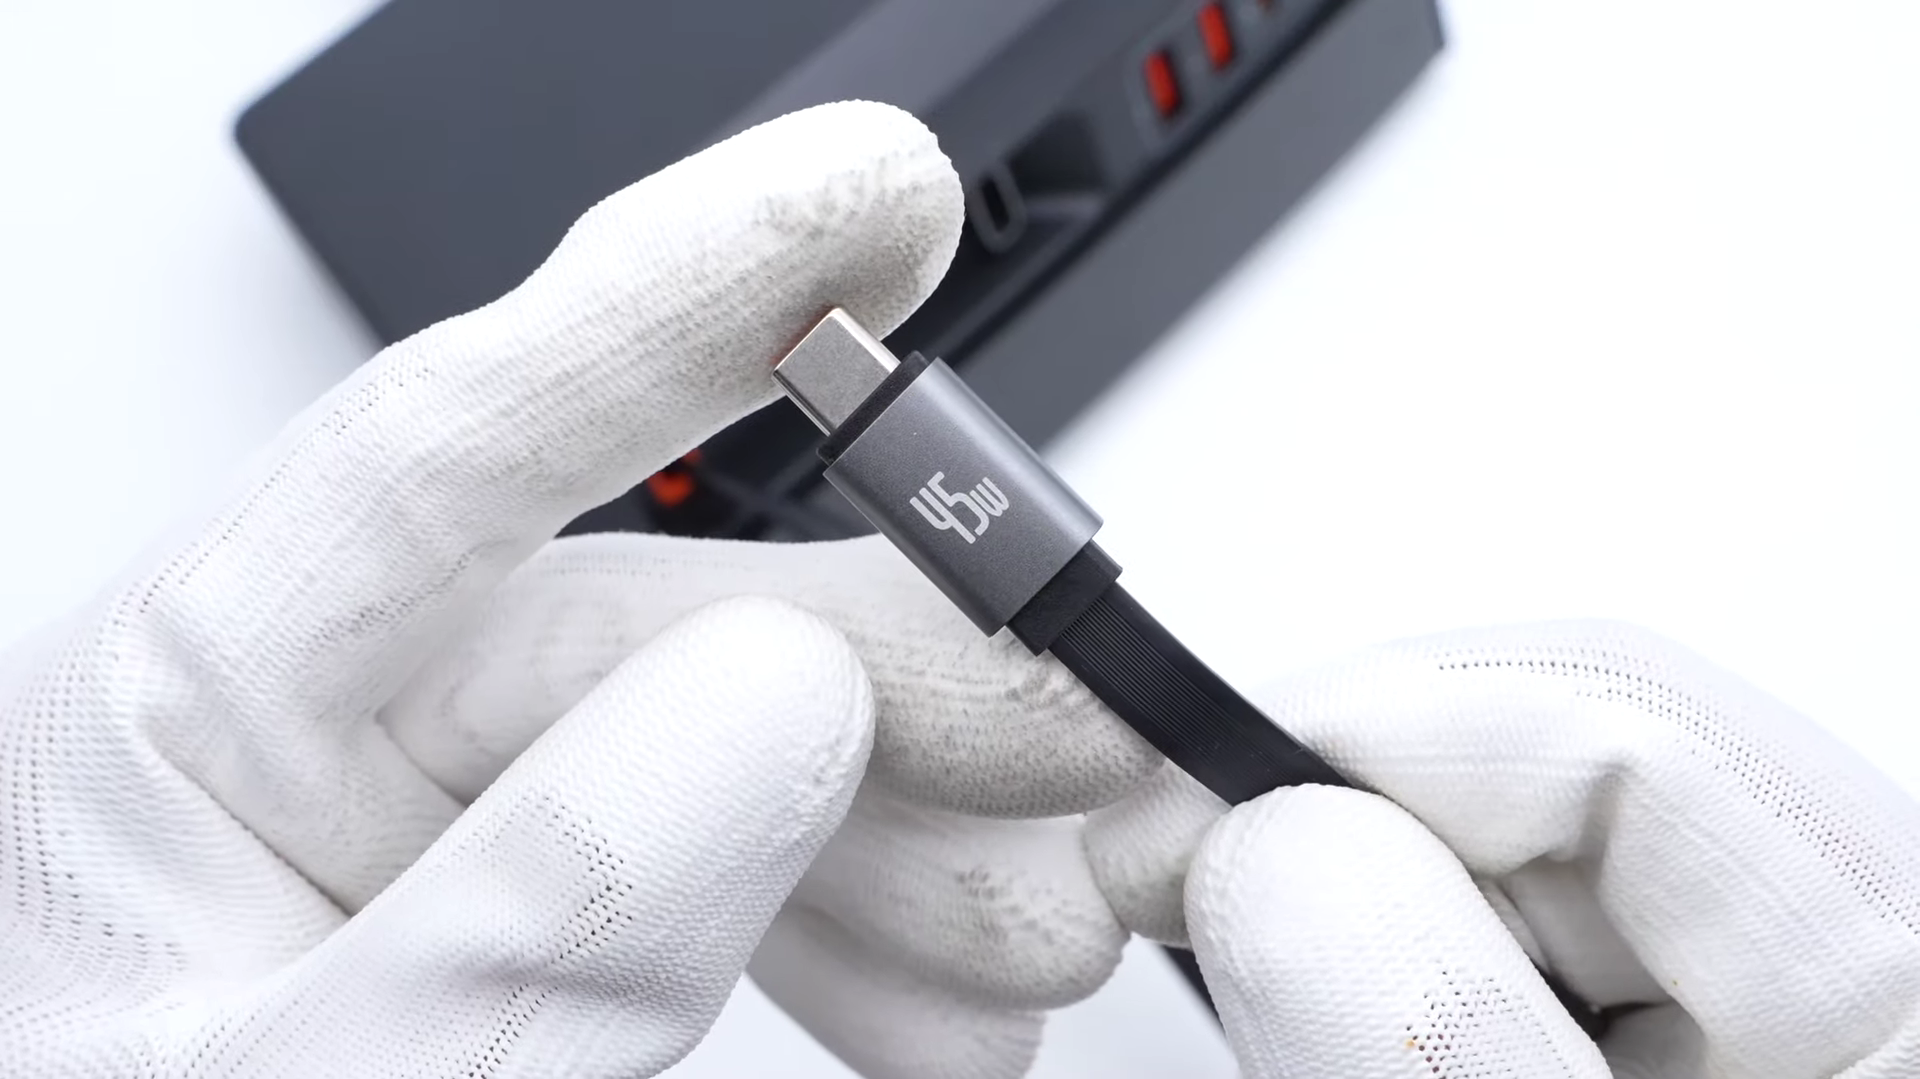
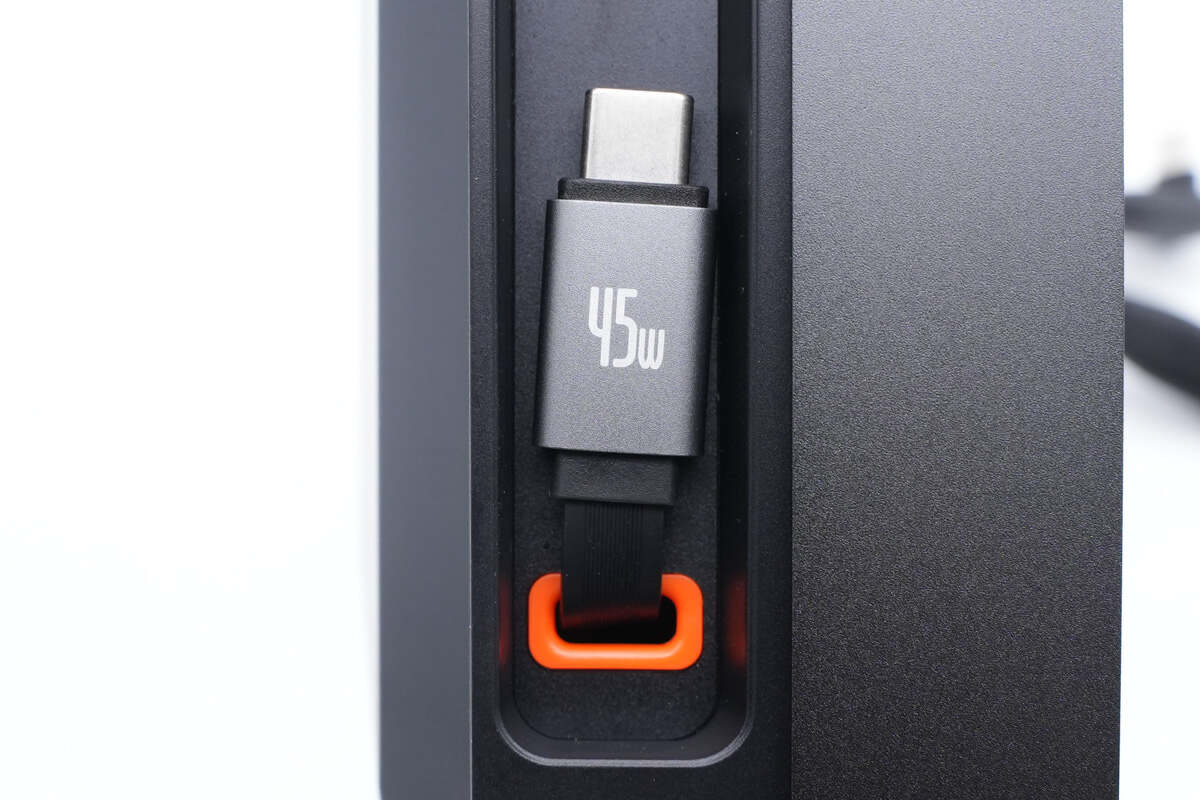
The shallow stripes on flat cable can increase friction.
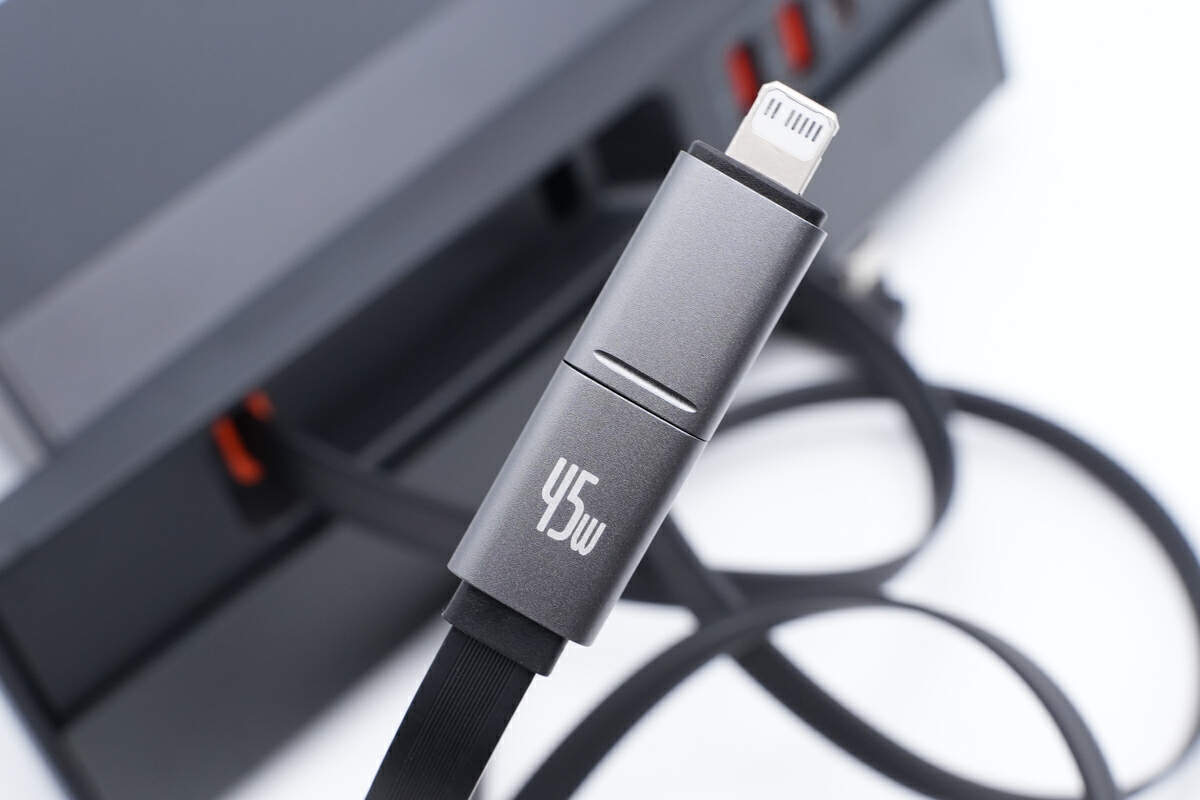
There's a Lightning adapter for you to convert the retractable cable into Lightning cable.
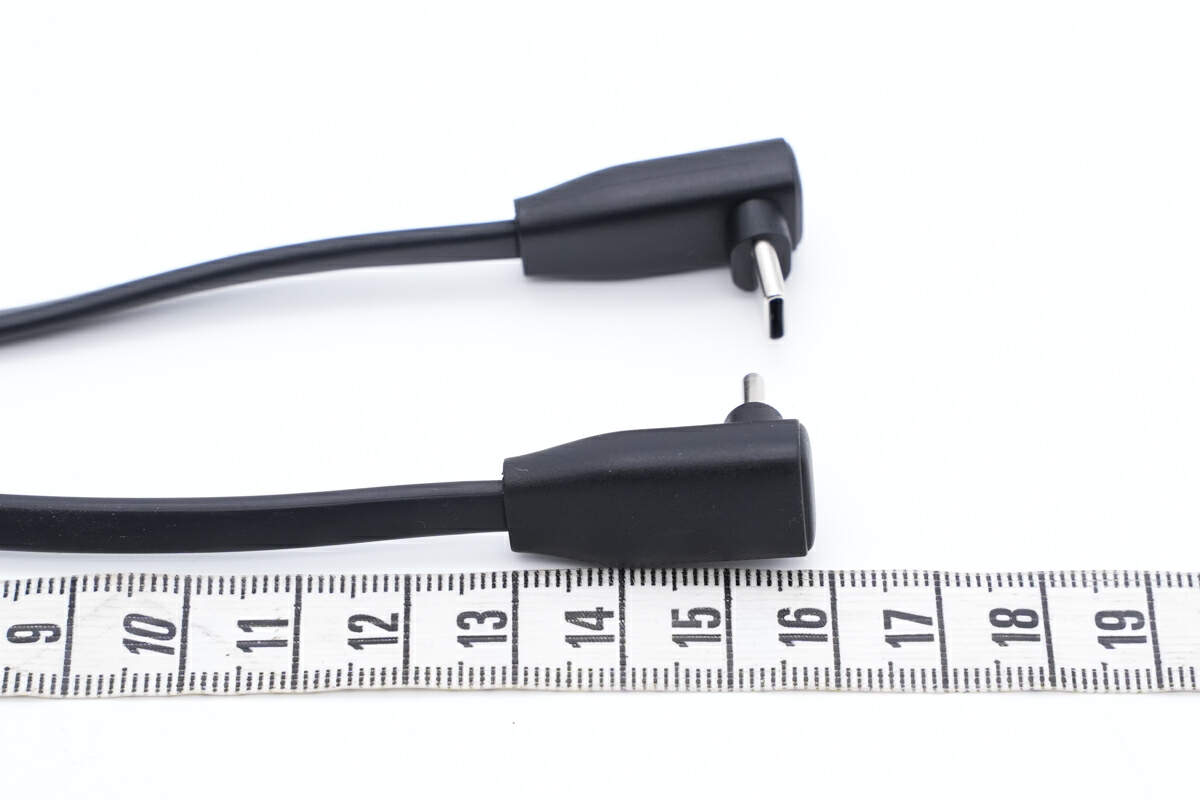
Both input cables are about 15cm (5.91 inches).
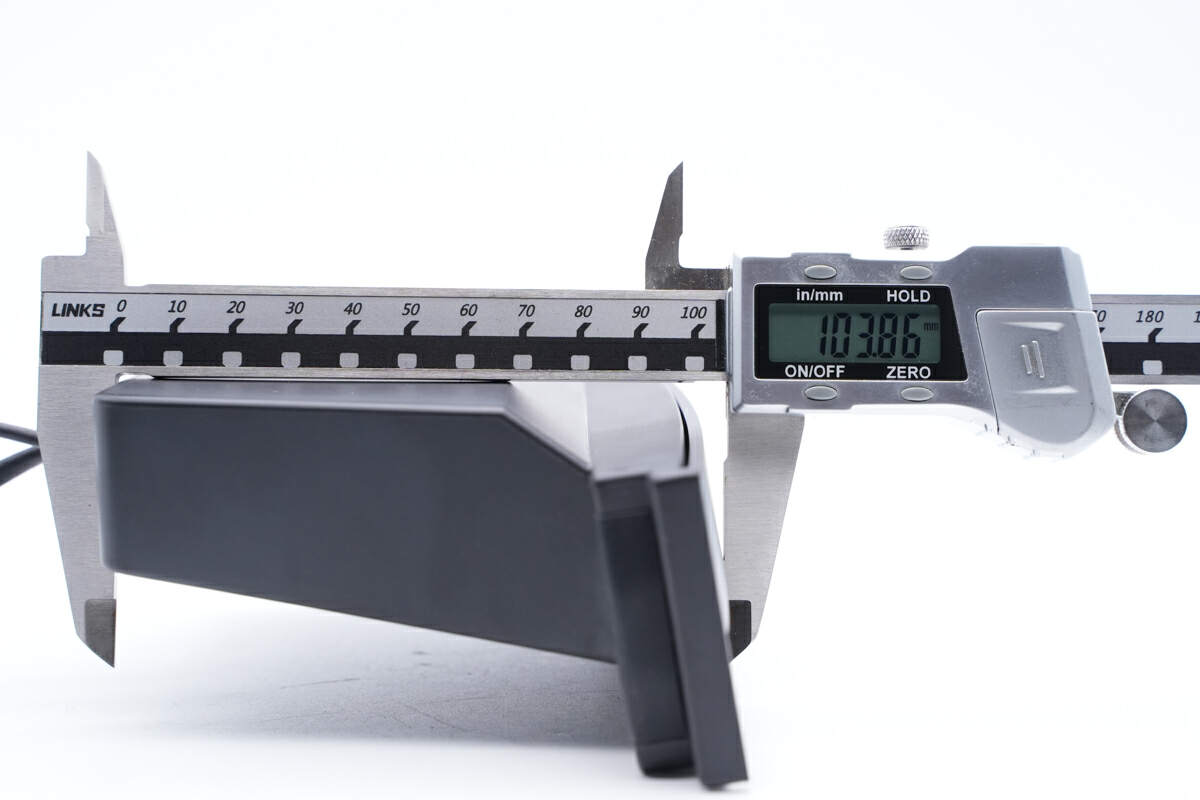
The length of this dock is about 104mm (4.09 inches).
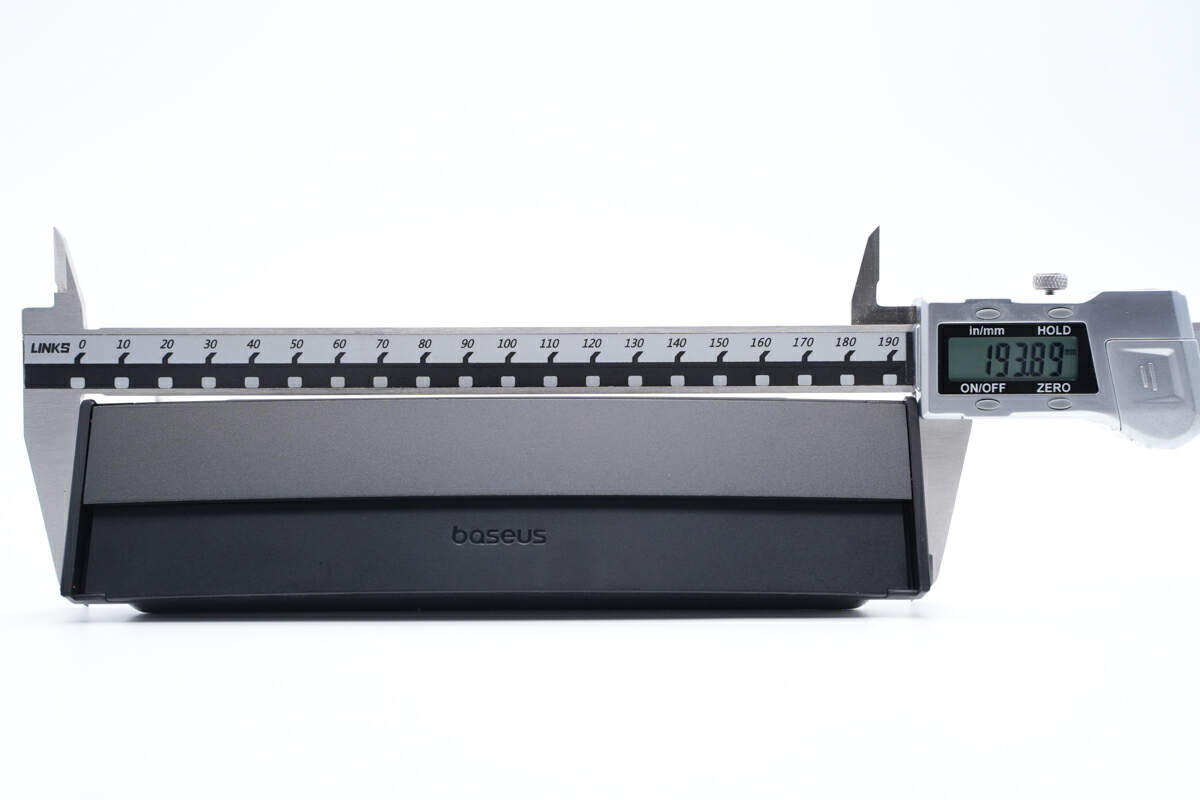
The width is about 194mm (7.64 inches).
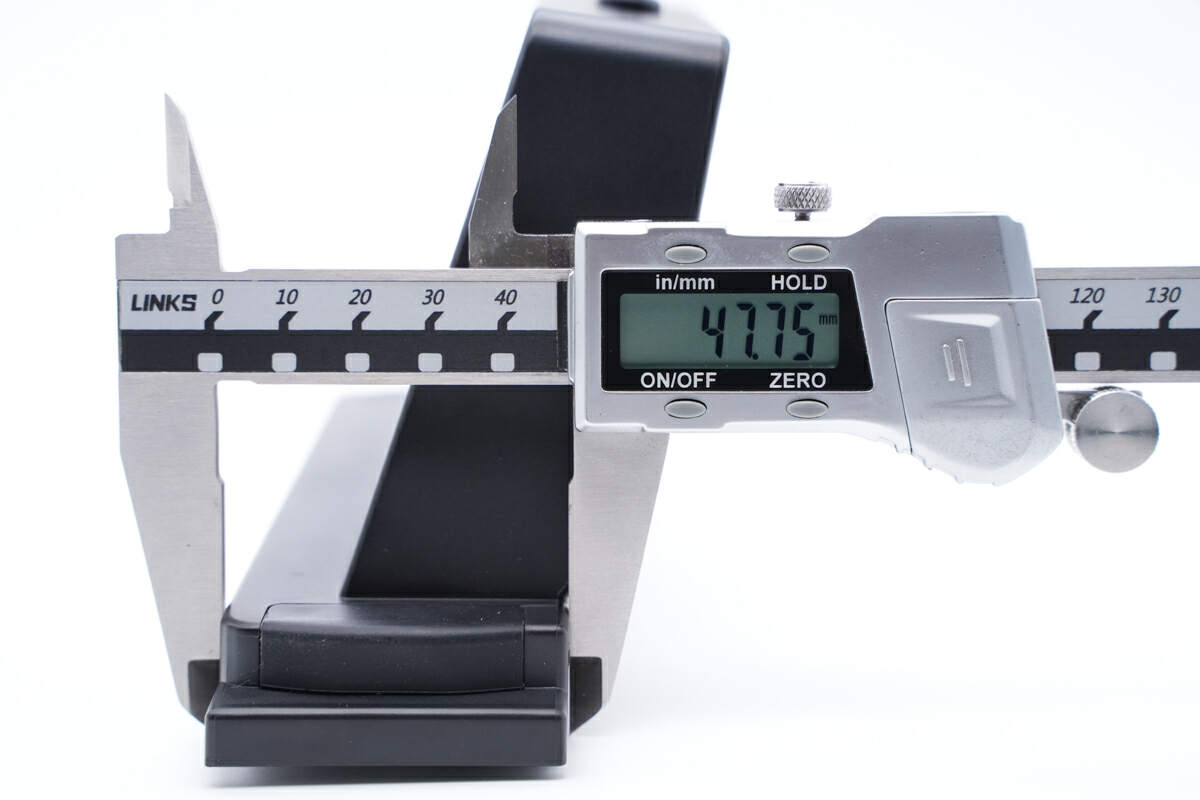
And the height is about 47.5mm (1.87 inches).
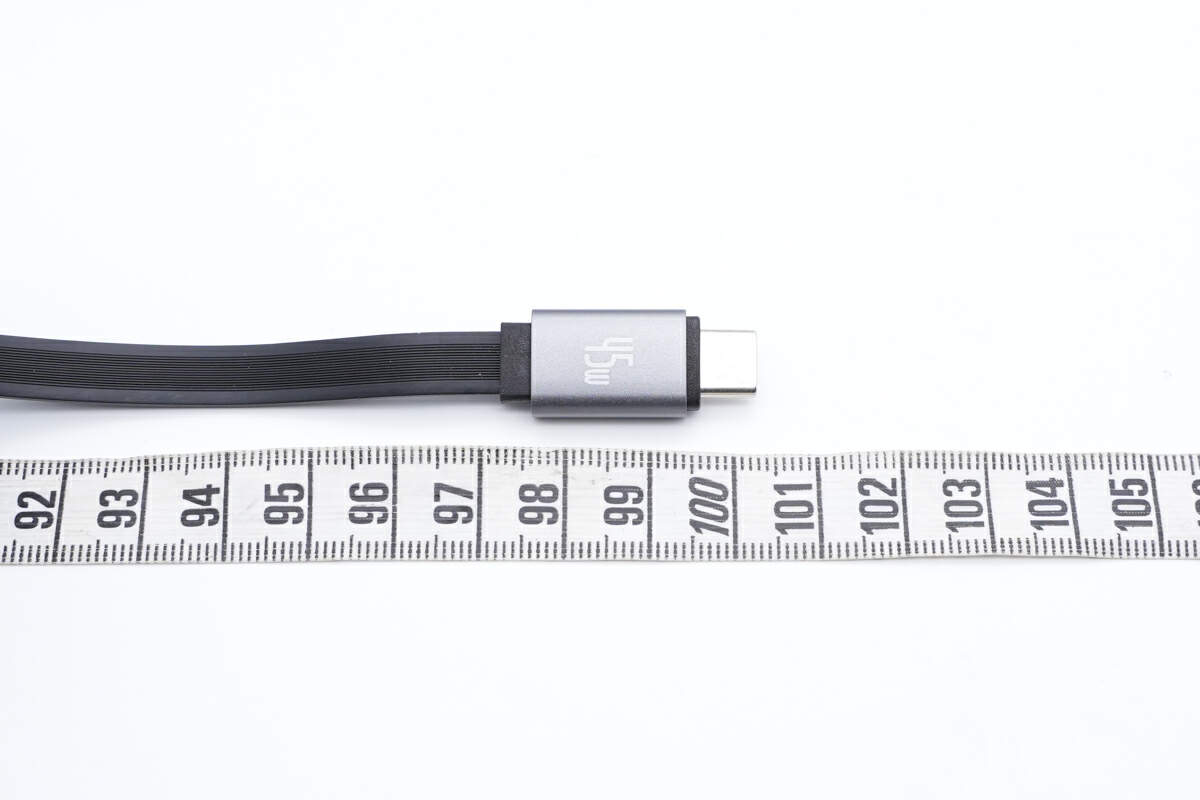
The length of the retractable cable is about 1M (3' 3.37'').
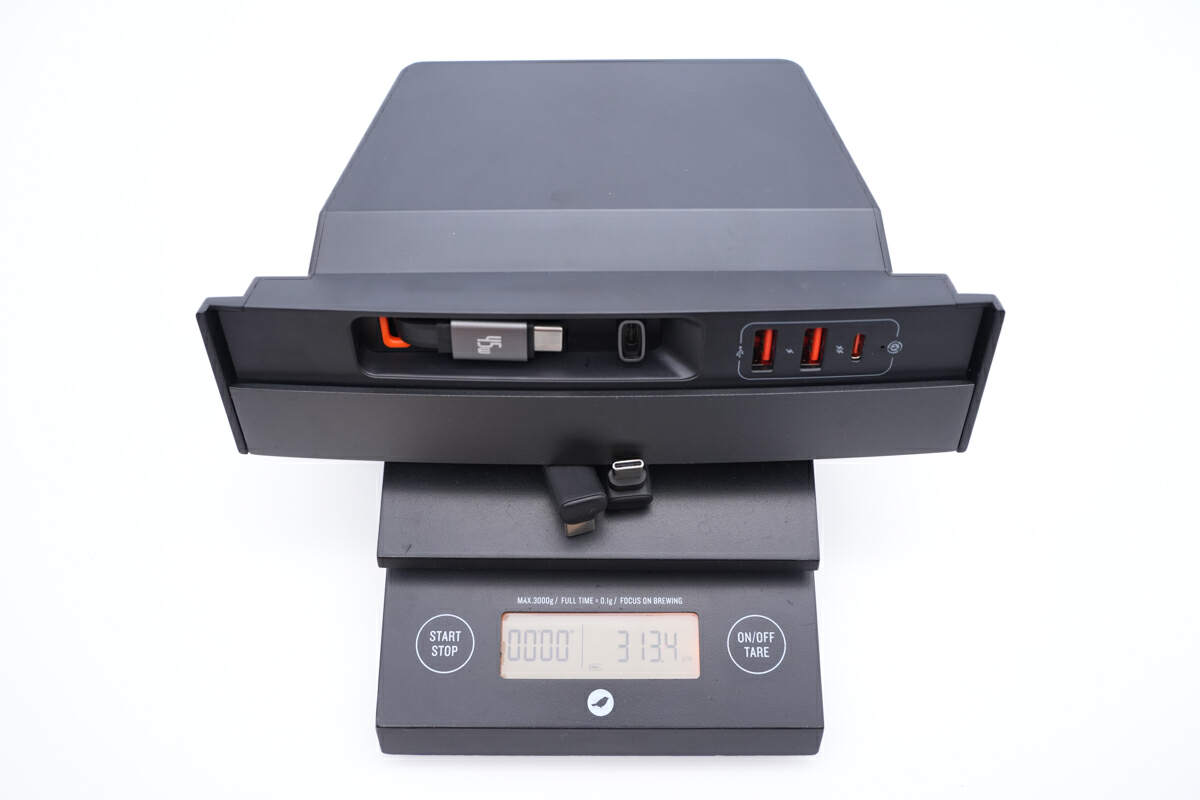
The total weight is about 313g (11.04 oz).
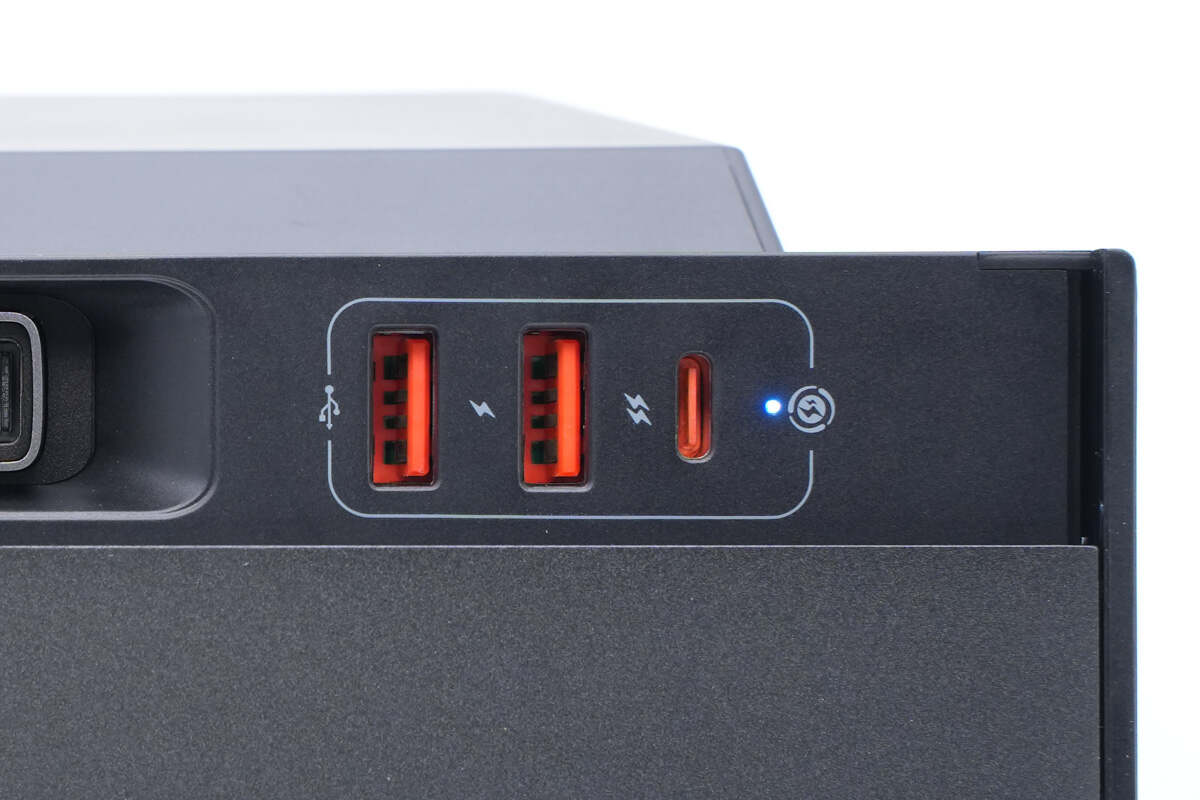
After powering on, the indicator light next to the USB-C port turns blue.
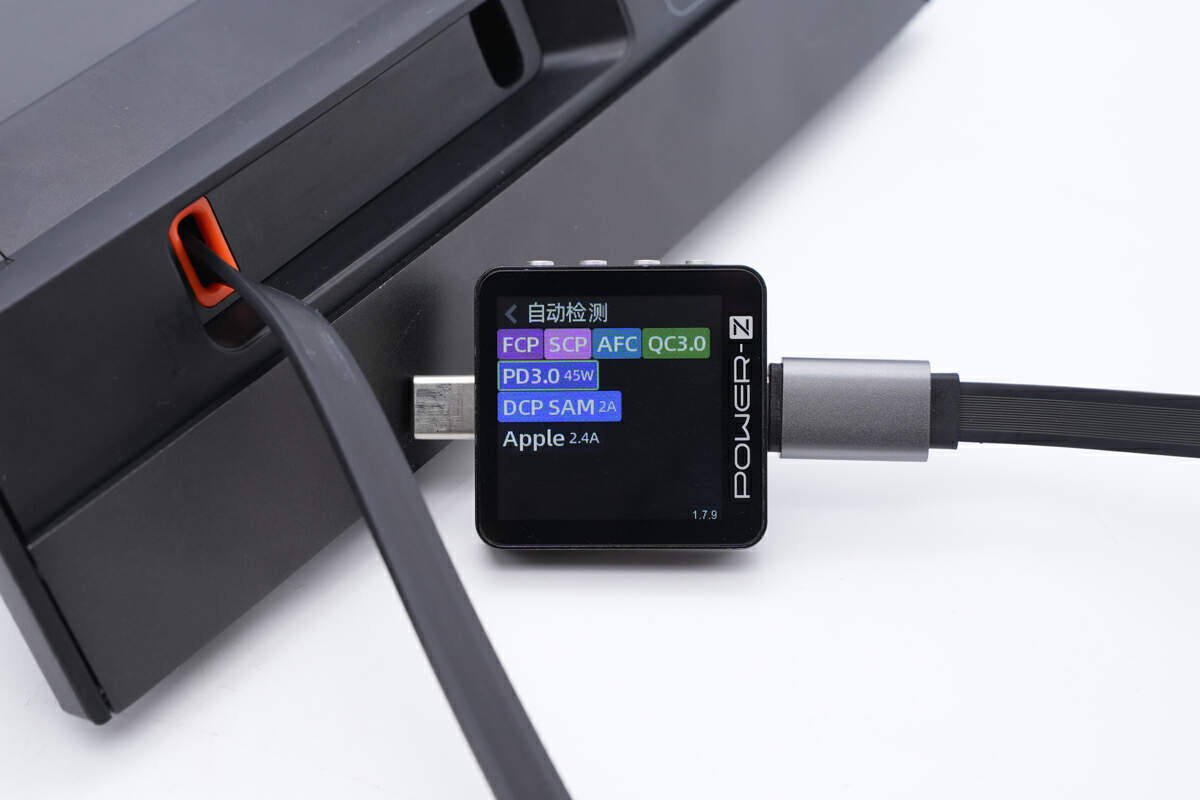
The ChargerLAB POWER-Z KM003C shows the retractable cable supports FCP, SFCP, SCP, AFC, QC3.0, PD3.0, DCP, Apple 2.4A protocols.
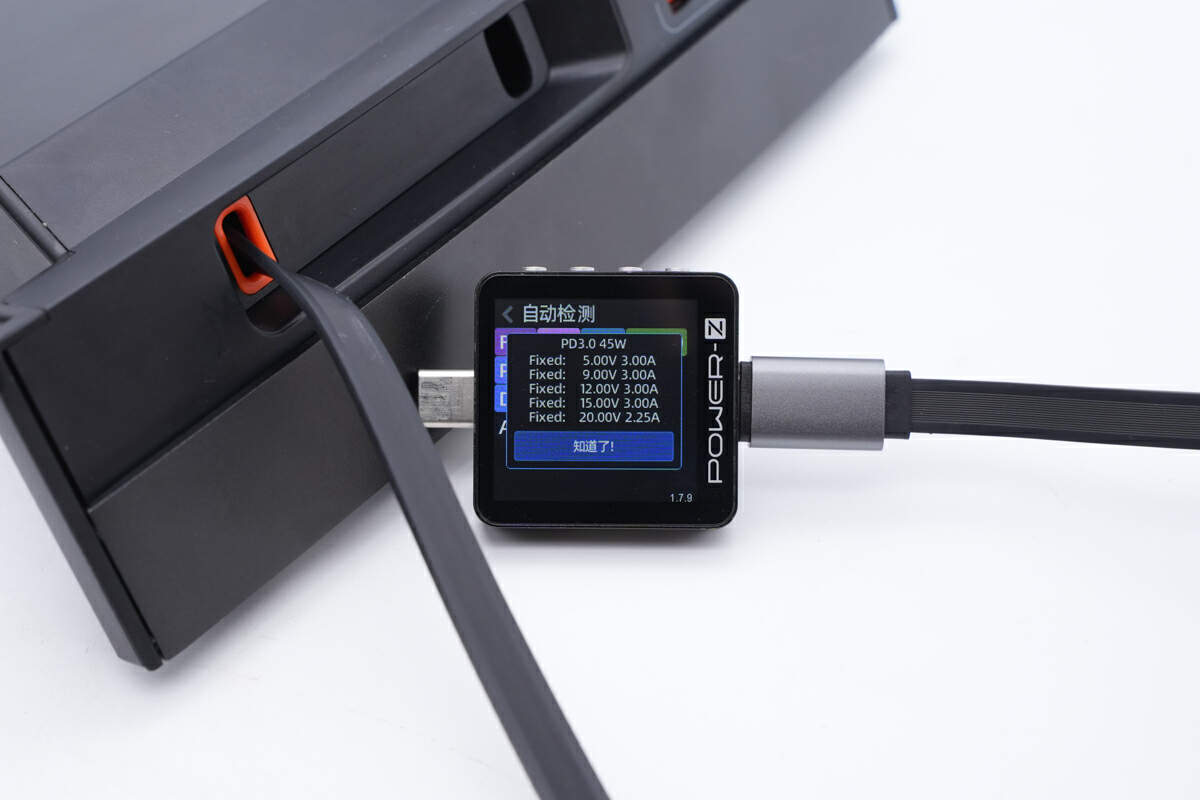
It supports five fixed PDOs of 5V/9V/12V/15V3A, 20V2.25A.
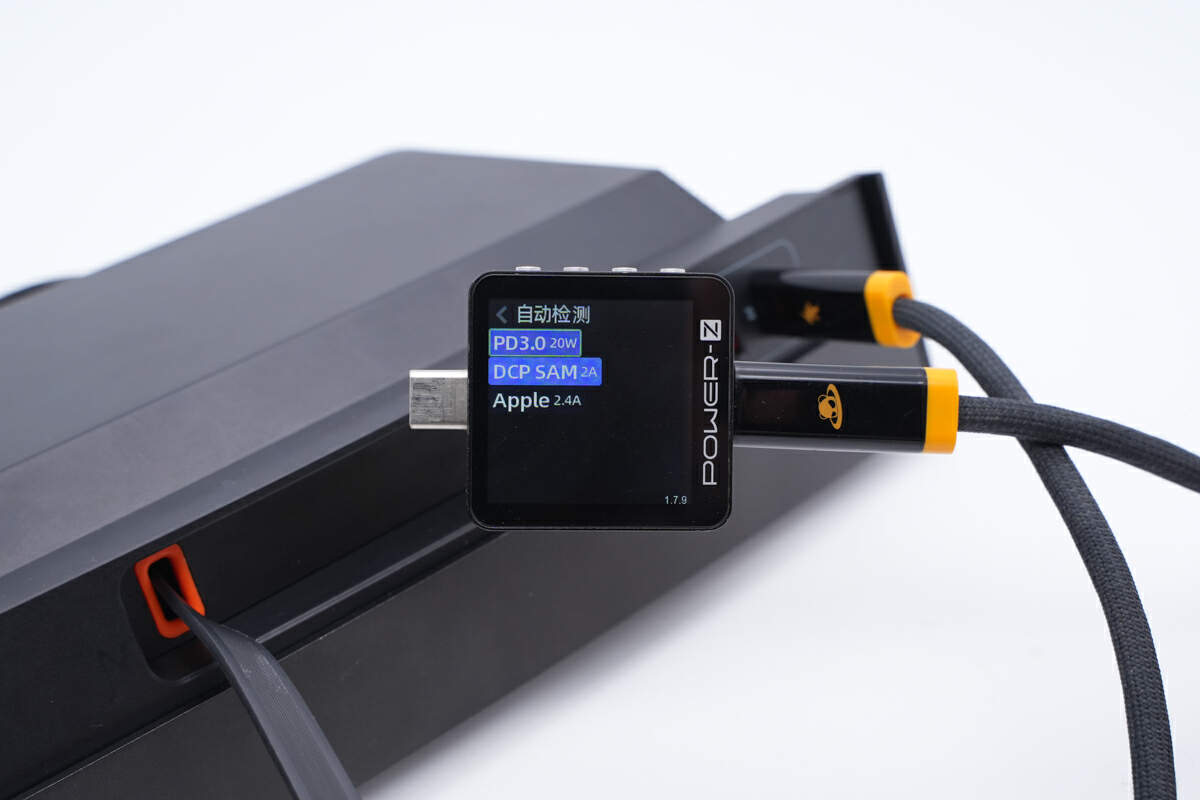
The other USB-C only supports PD3.0, DCP, Apple 2.4A protocols.

It supports three fixed PDOs of 5V3A, 9V2.22A, 12V1.67A.
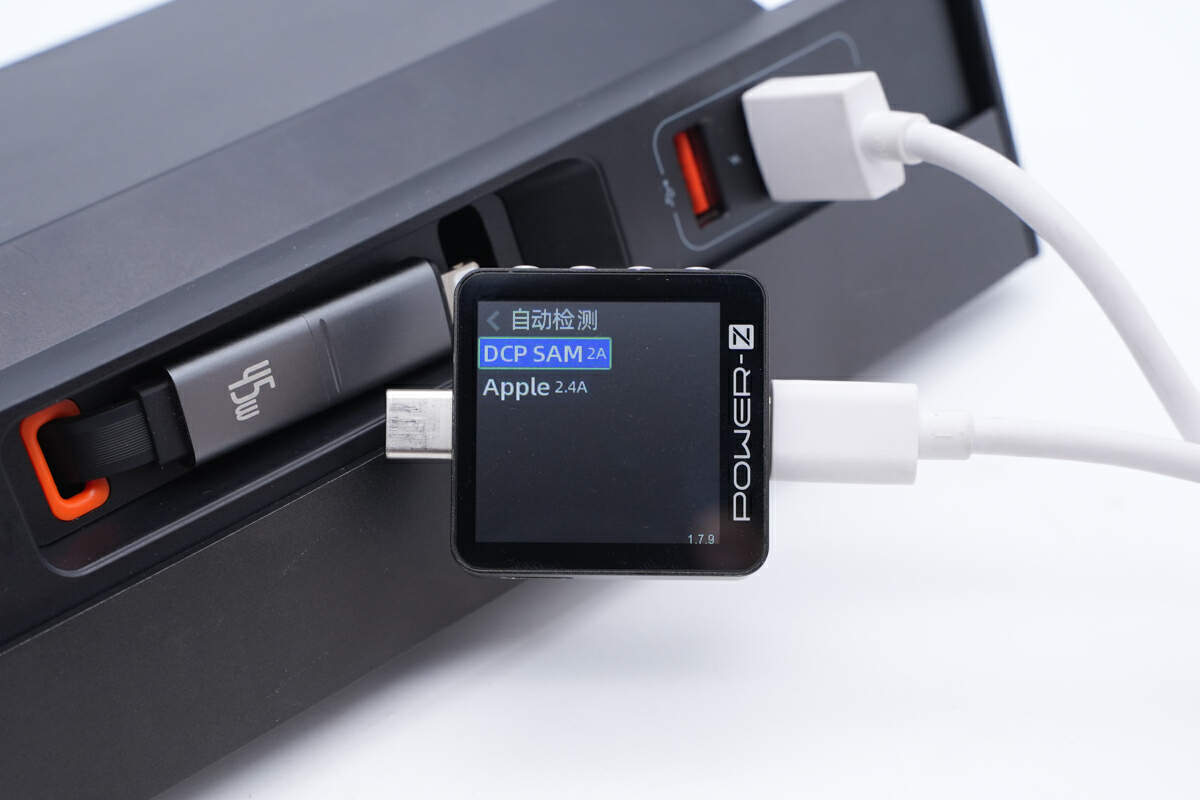
As for the USB-A1, it only supports DCP, Samsung 5V2A and Apple 2.4A protocols.
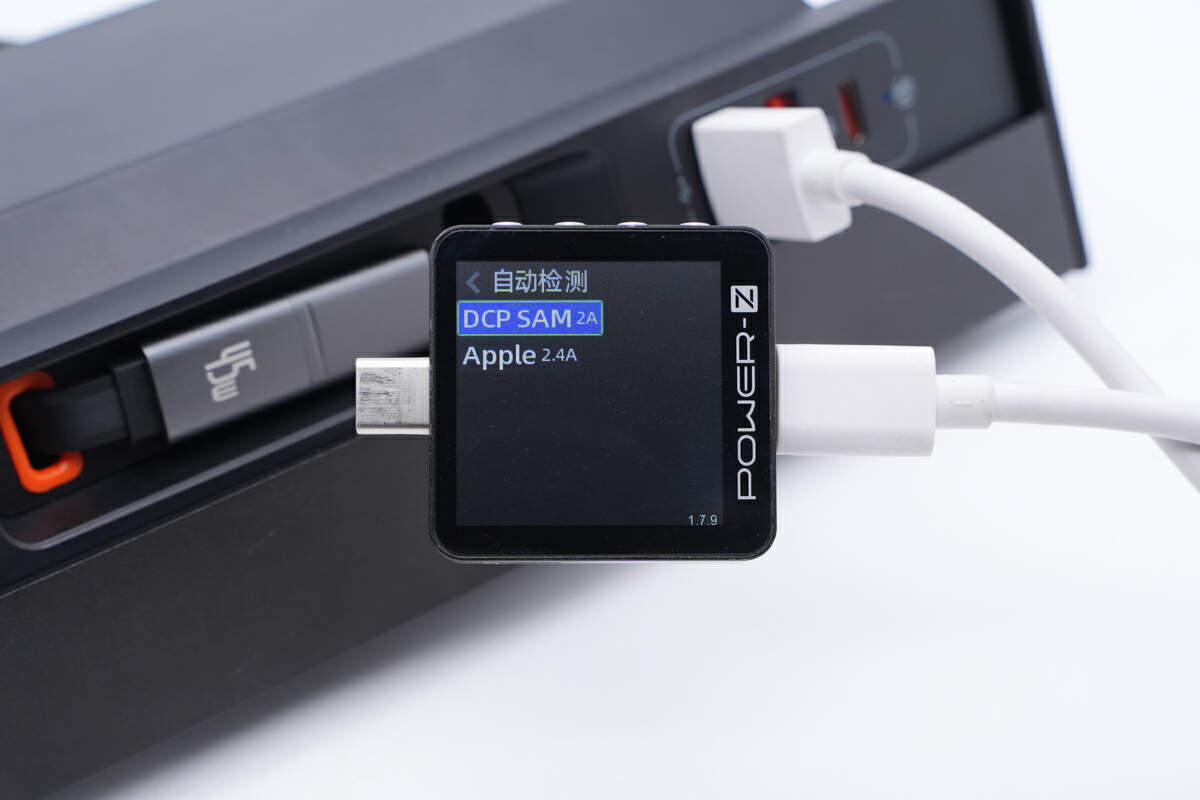
So is the USB-A2.
Teardown
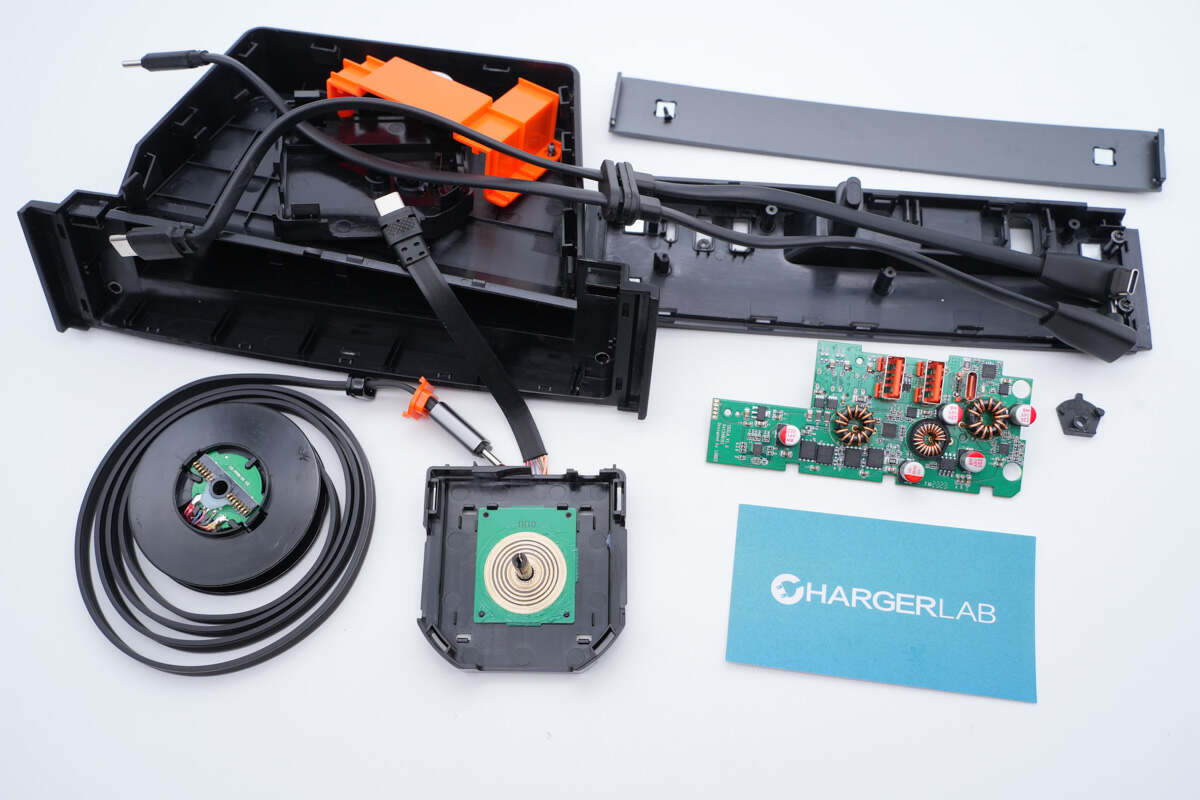
Now that we have completed our testing of this dock, it's time to take it apart and examine its internal components and structure.
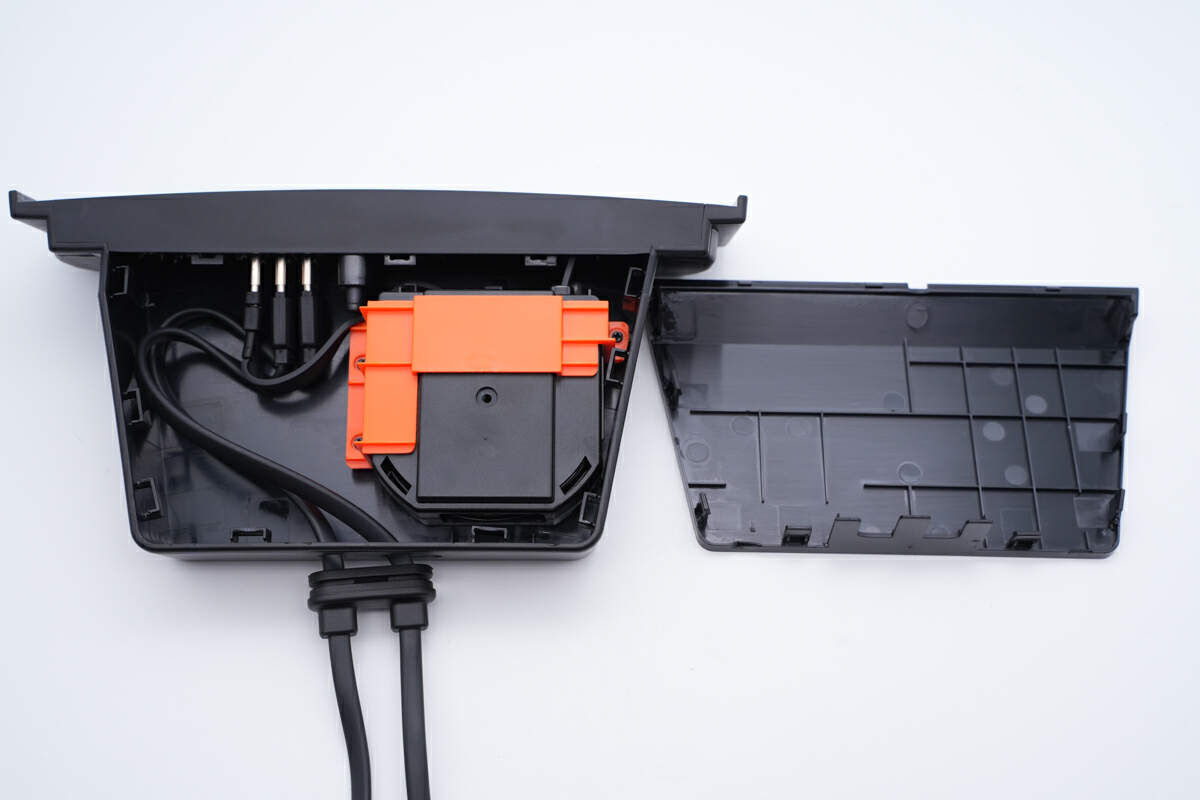
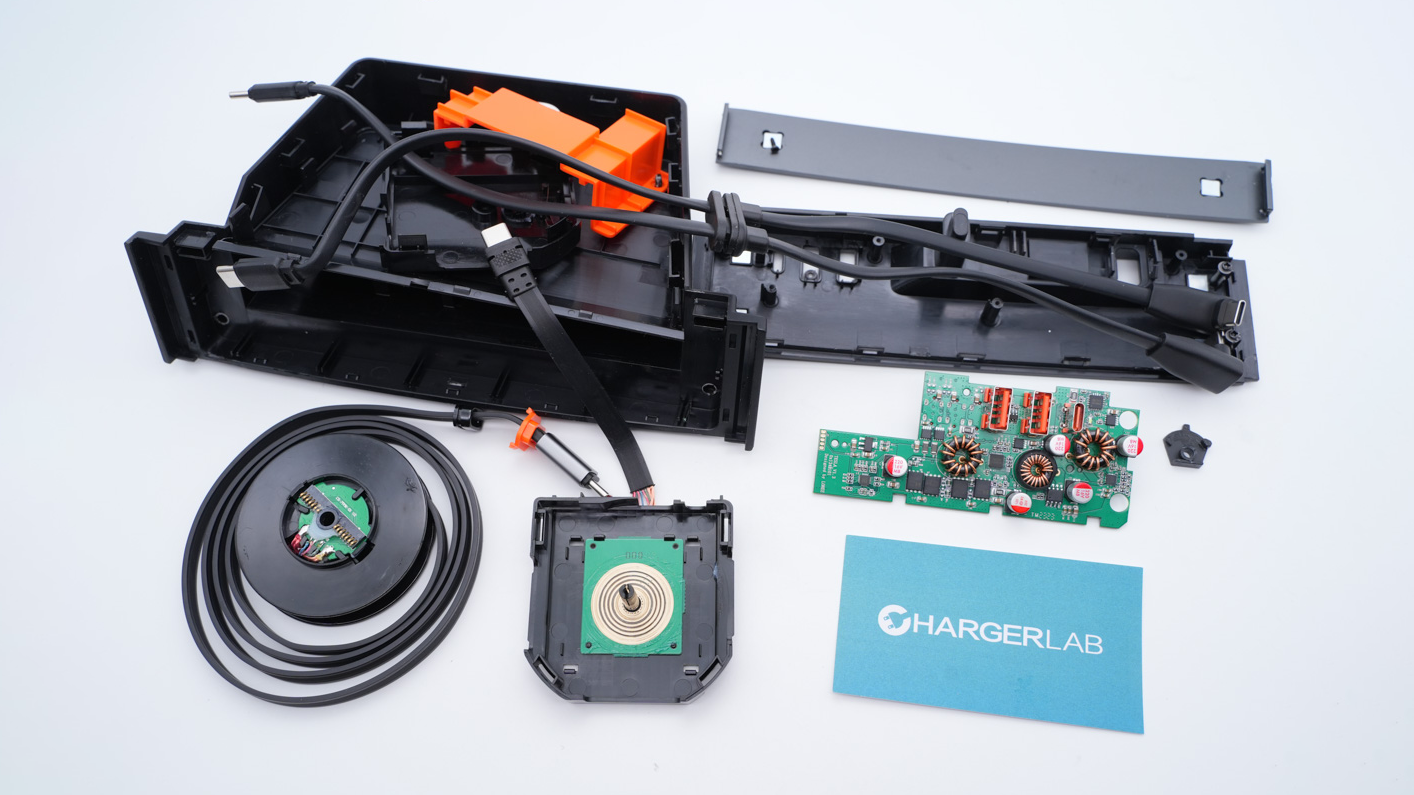
Firstly, let's pry along the gap to remove the cover. Most space inside is quite empty, cause there's no switching power supply.
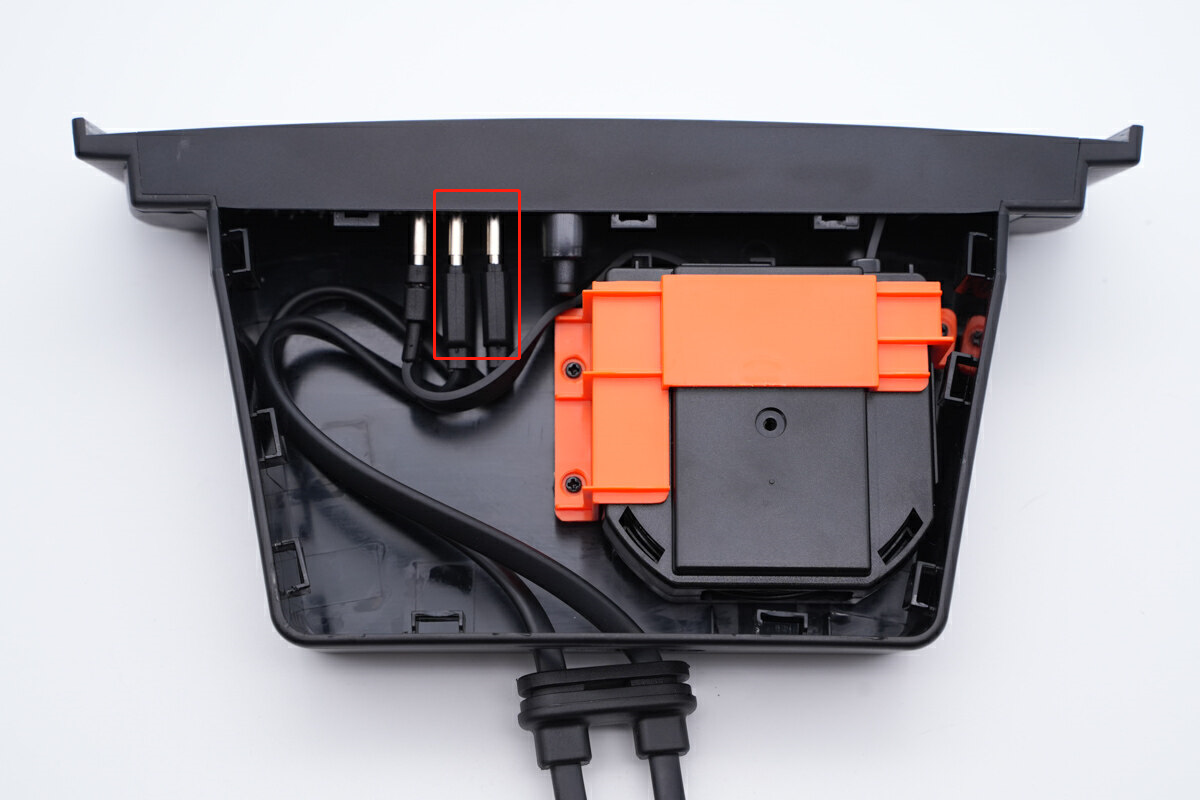
As we can see, there're three USB-C sockets inside the dock. And the last two sockets are connected to the two input cables below. The first one is used to connect main PCB to the module.
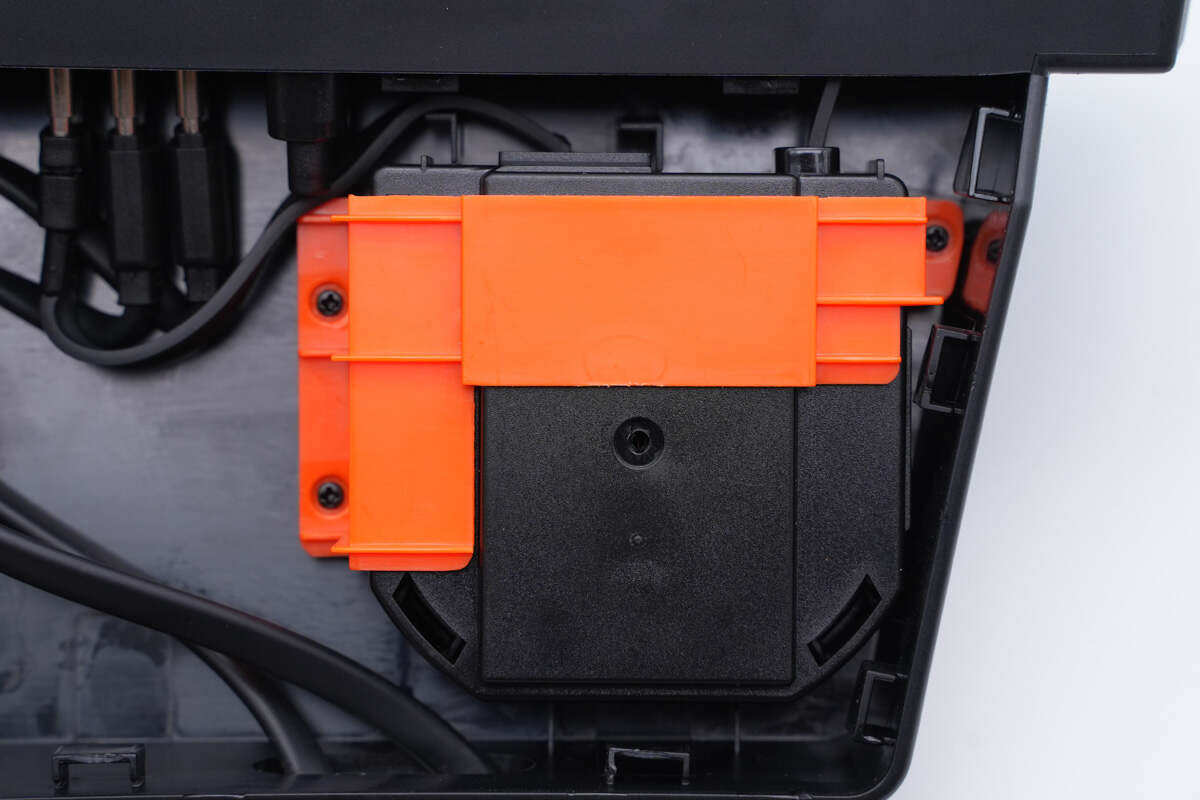
The retractable cable module is covered by an orange plate.
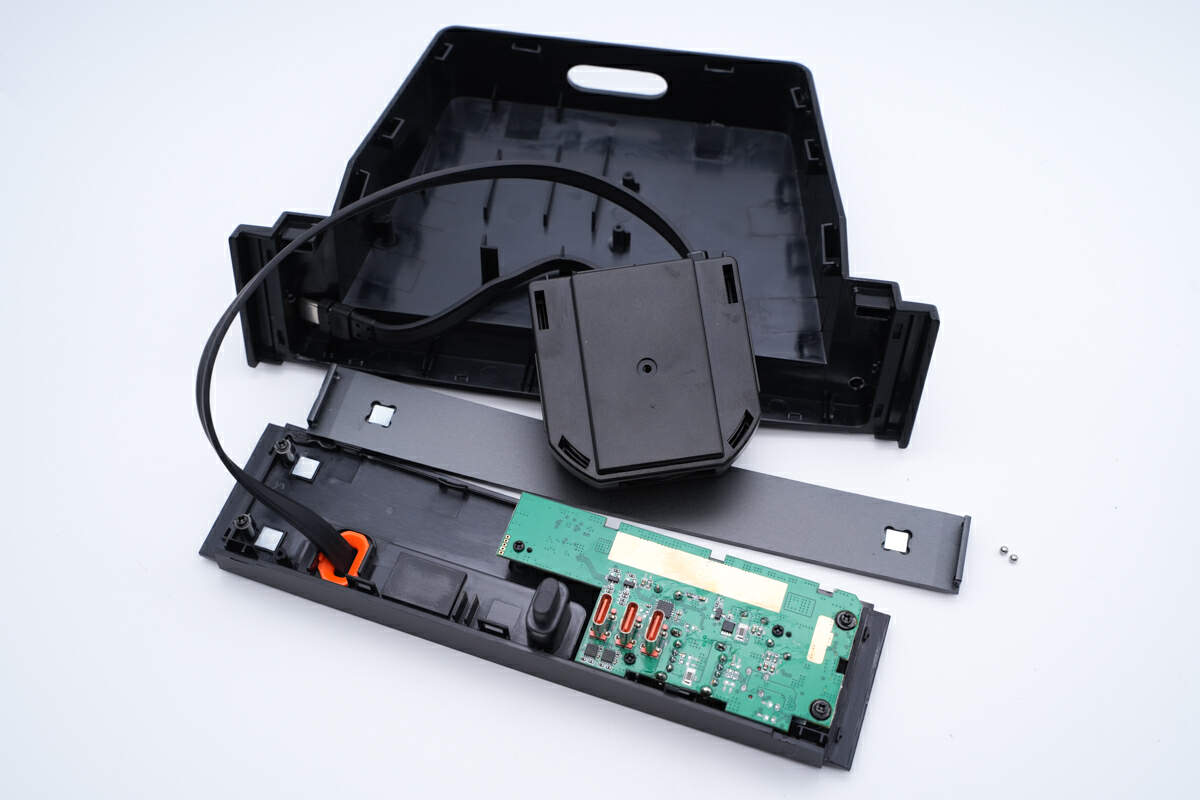
Continue the teardown.
The main PCB is fixed by screws.
And the dust-proof cover is fixed by magnets.
At this point, you might be a little confused. It clearly has two USB-A and one USB-C output port, so why are there three USB-C sockets on the PCB?
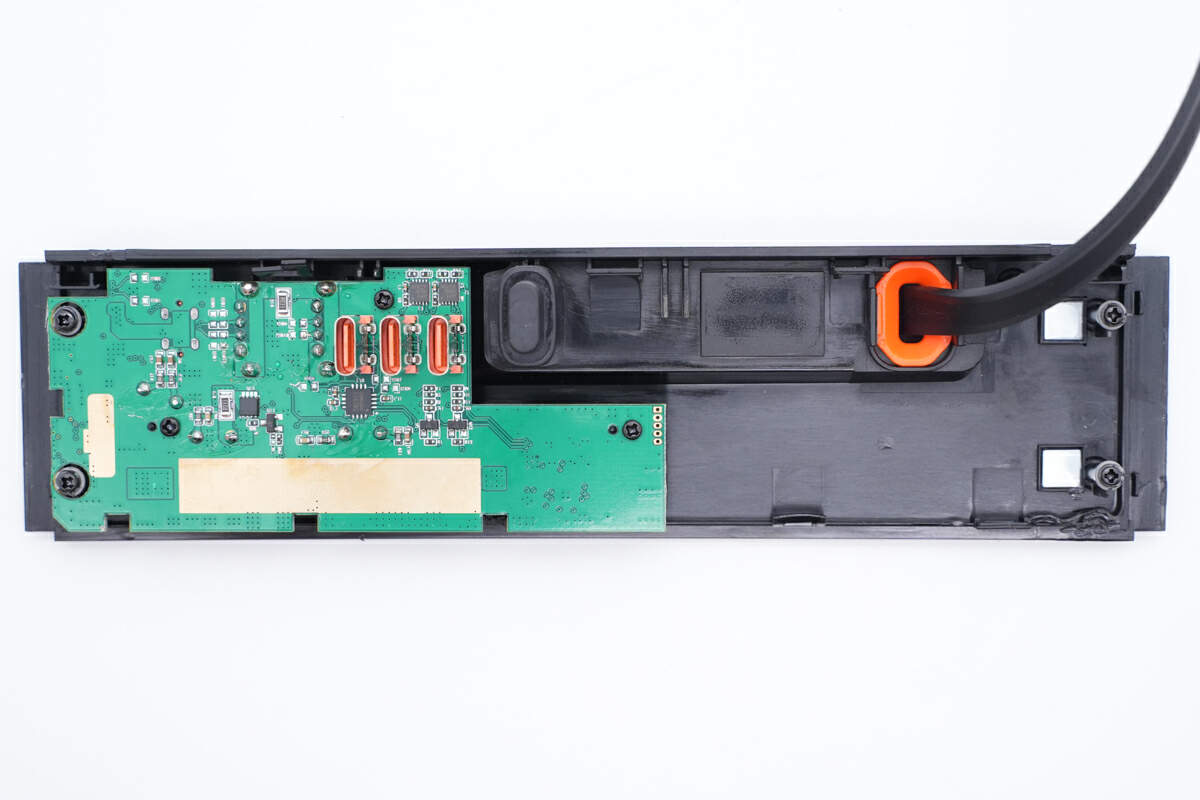
Looking at it the other way around, everything starts to make sense. In reality, it allocates the two USB-A ports on the output panel, one USB-C port, and one USB-C retractable cable, all to the two rightmost USB-C sockets at the back.
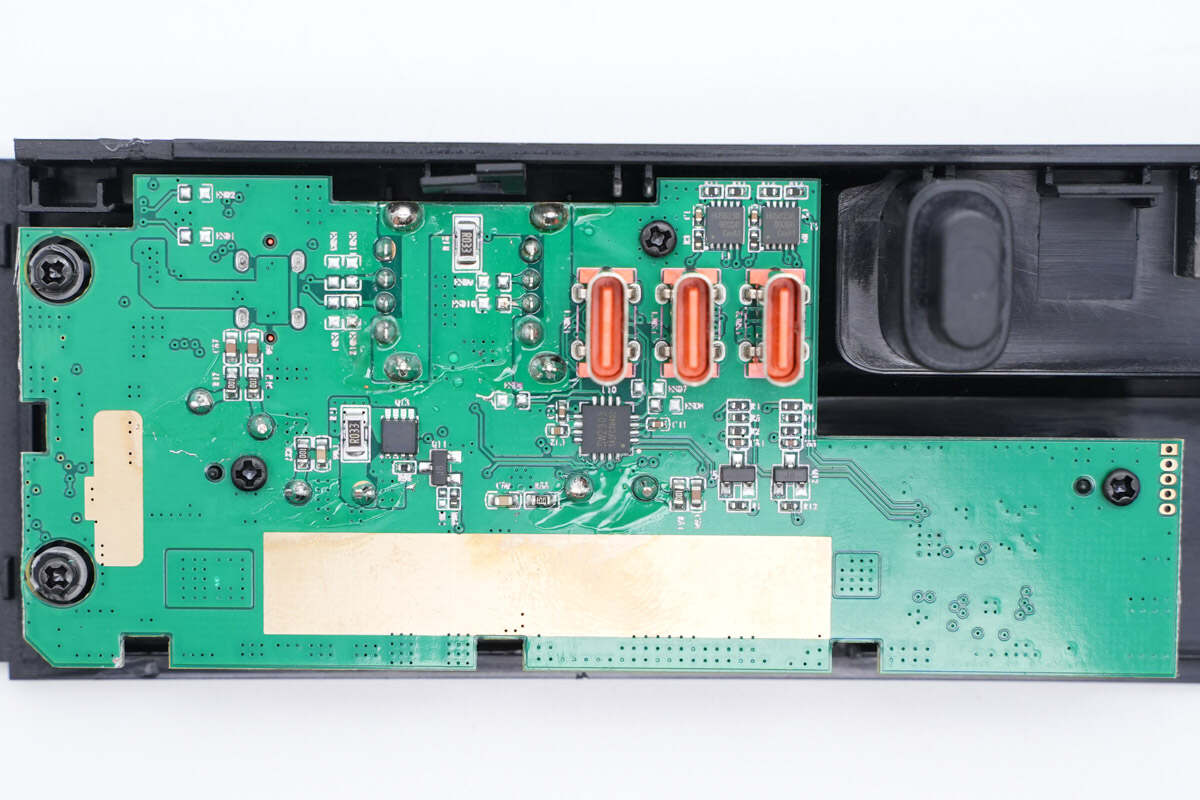
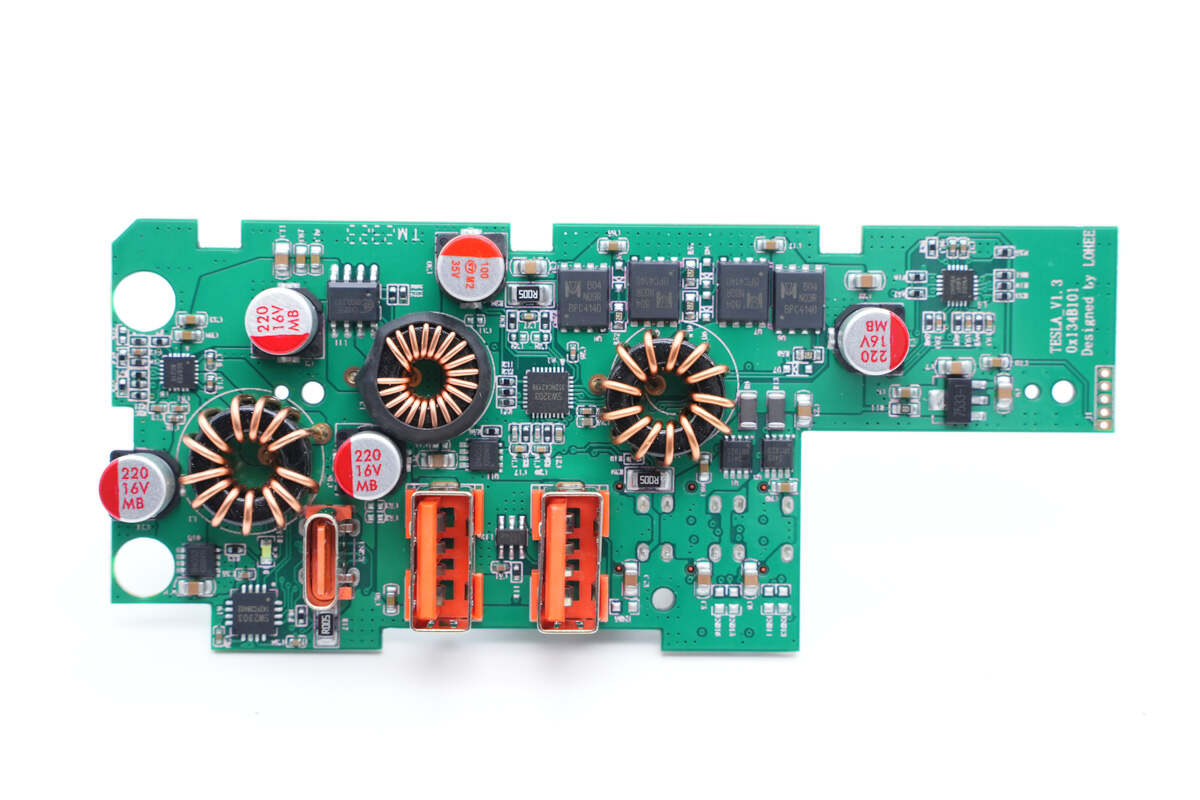
Besides, two synchronous buck-boost circuits for two USB-C and a buck circuit for two USB-A are on the front.
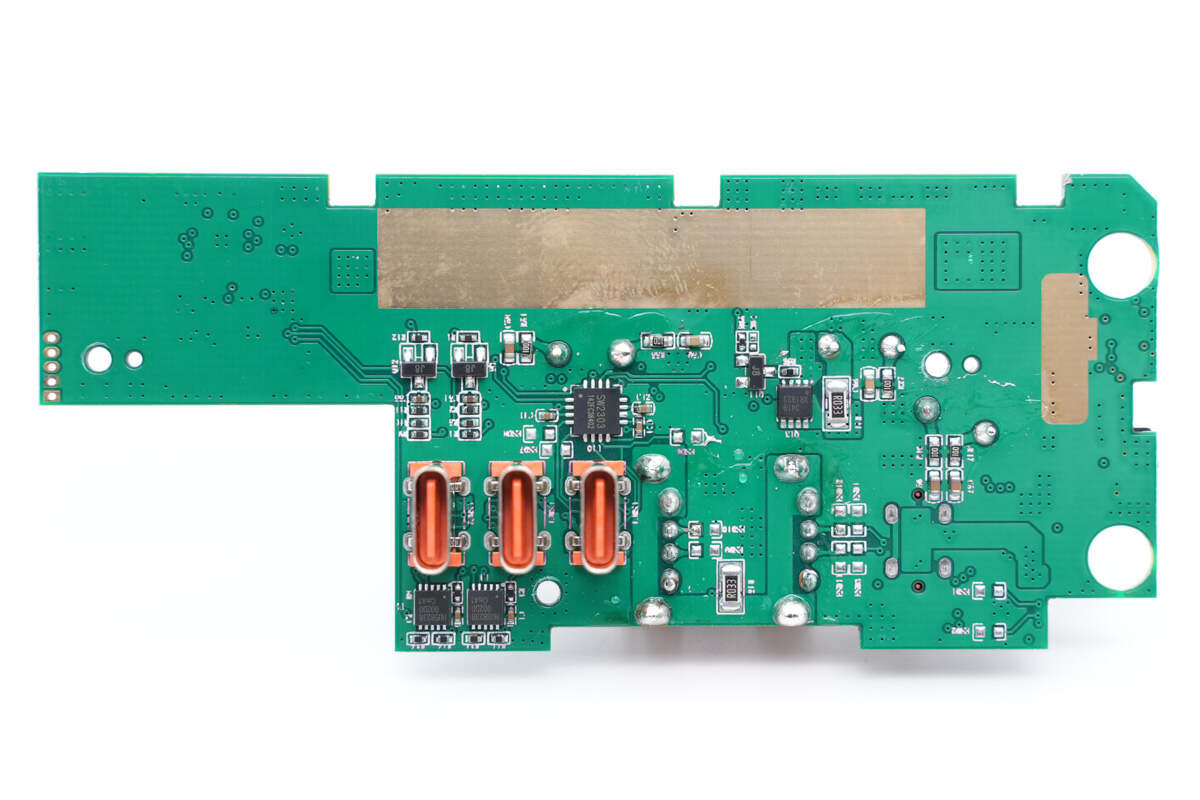
Those USB-C sockets and other chips are on the back.
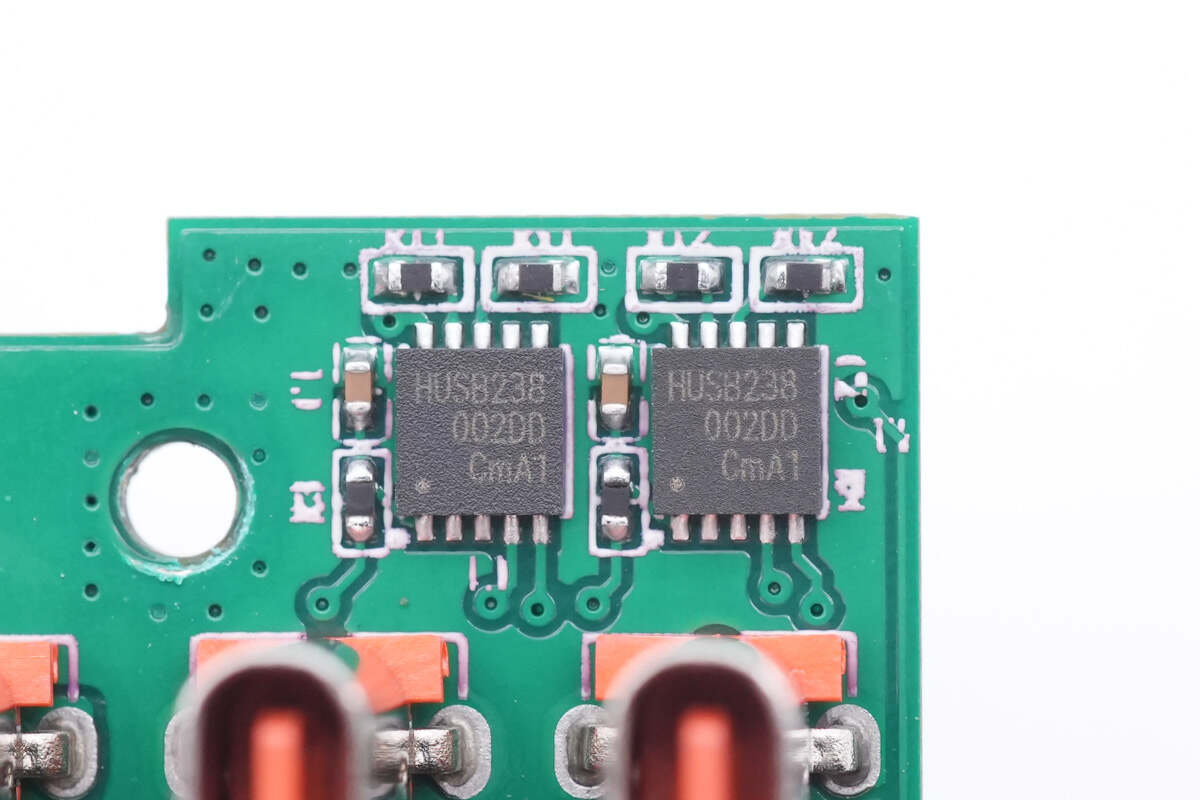
Two USB PD Sink controllers are from Hynetek. Model is HUSB238. They can control the output of two USB-C ports. And the output power can be up to 100W.
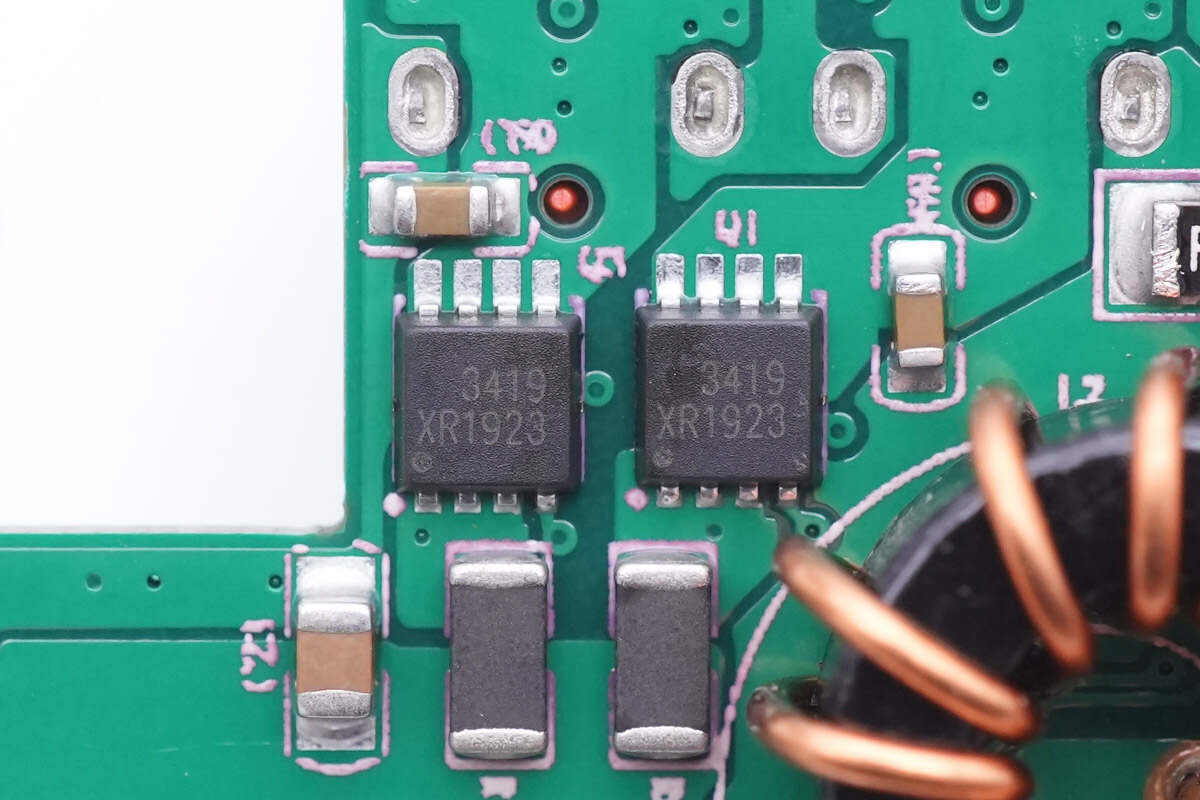
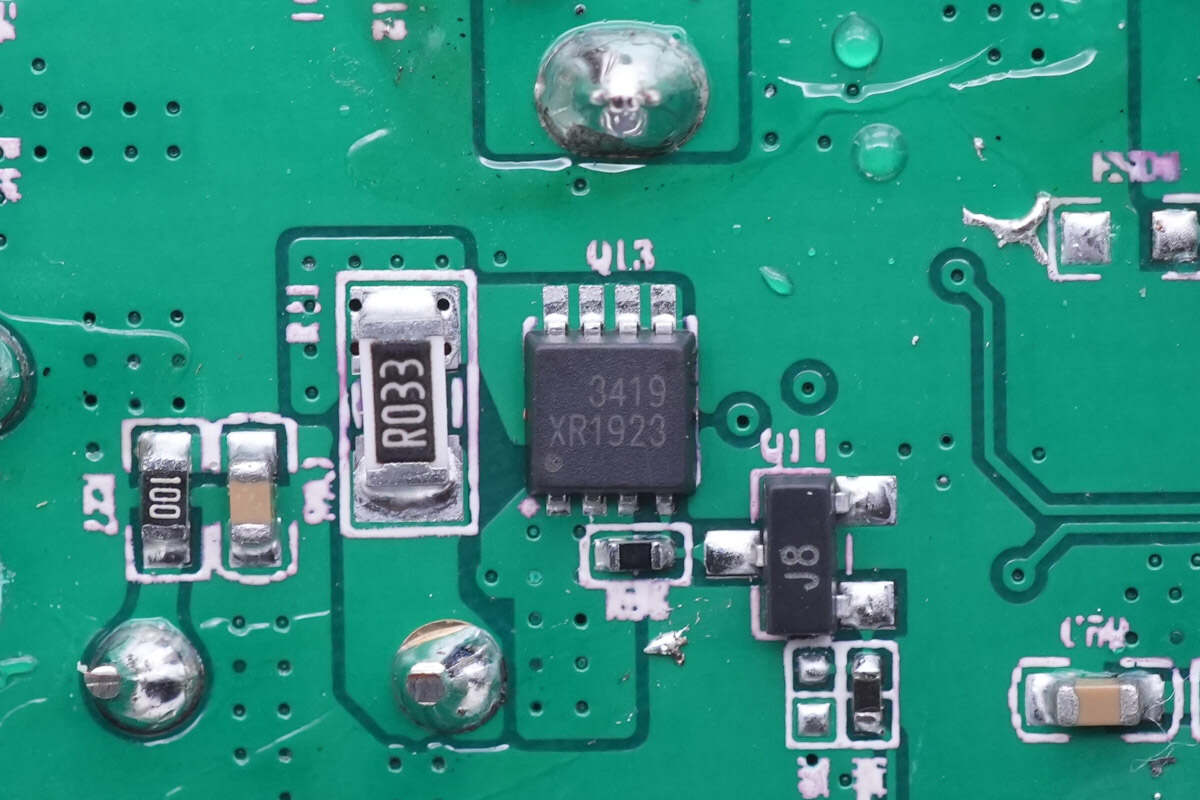
Two p-MOSFETs printed with 3419 are used for power supply control.
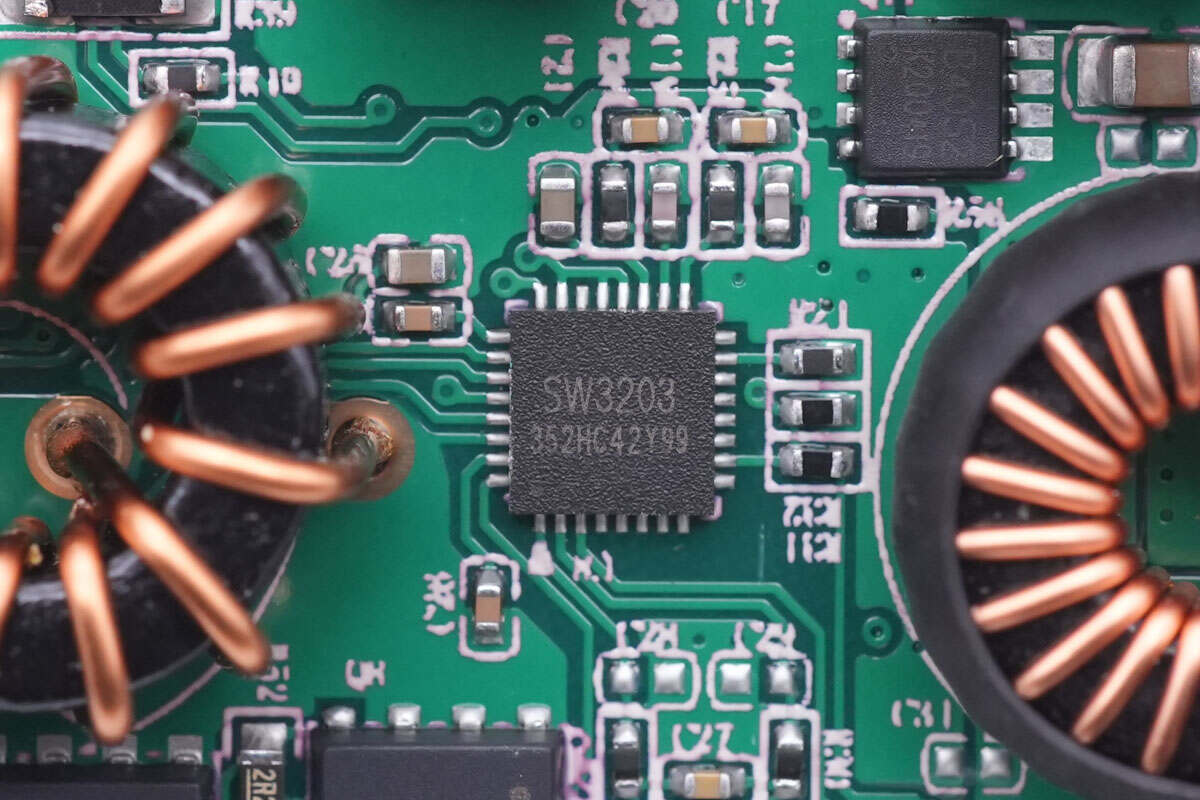
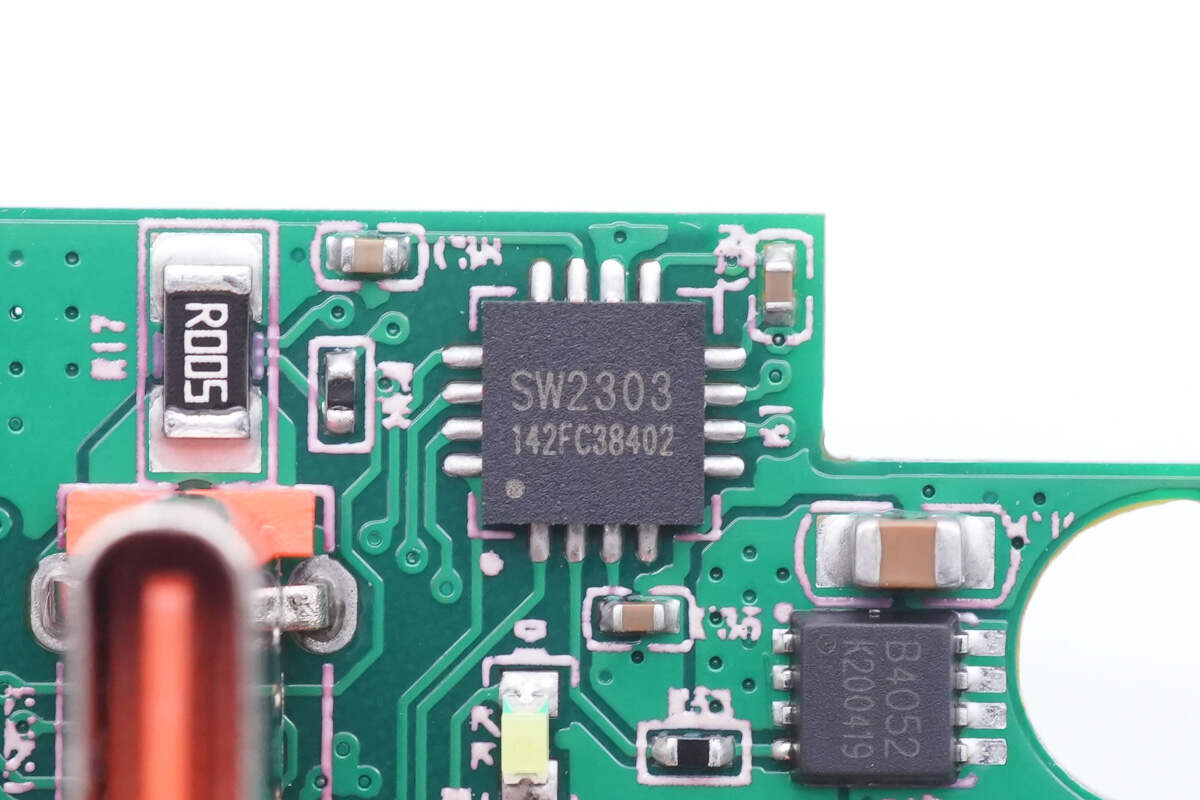
First, let's see the buck-boost circuit of 45W retractable cable. The synchronous buck-boost converter for the 45W retractable cable is from Ismartware. Model is SW3203. It integrates four MOSFETs and can be used for DC-DC conversion. It supports up to 6.85A and can provide up to 120W output power, and it adopts QFN-24 4x4mm package.
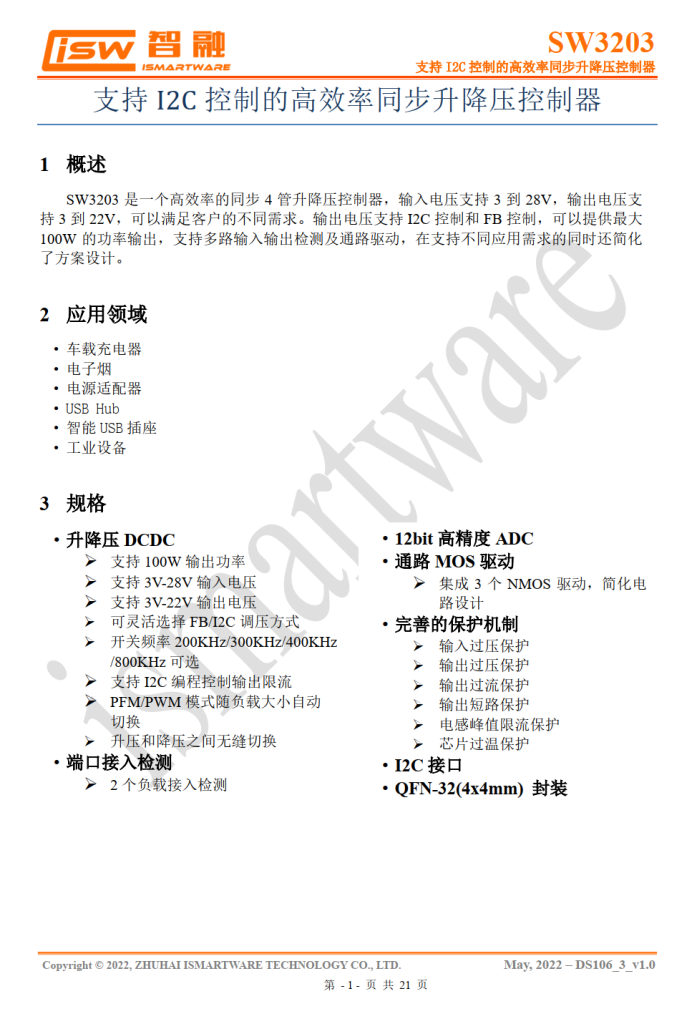
Here is all the information about the Ismartware SW3203.
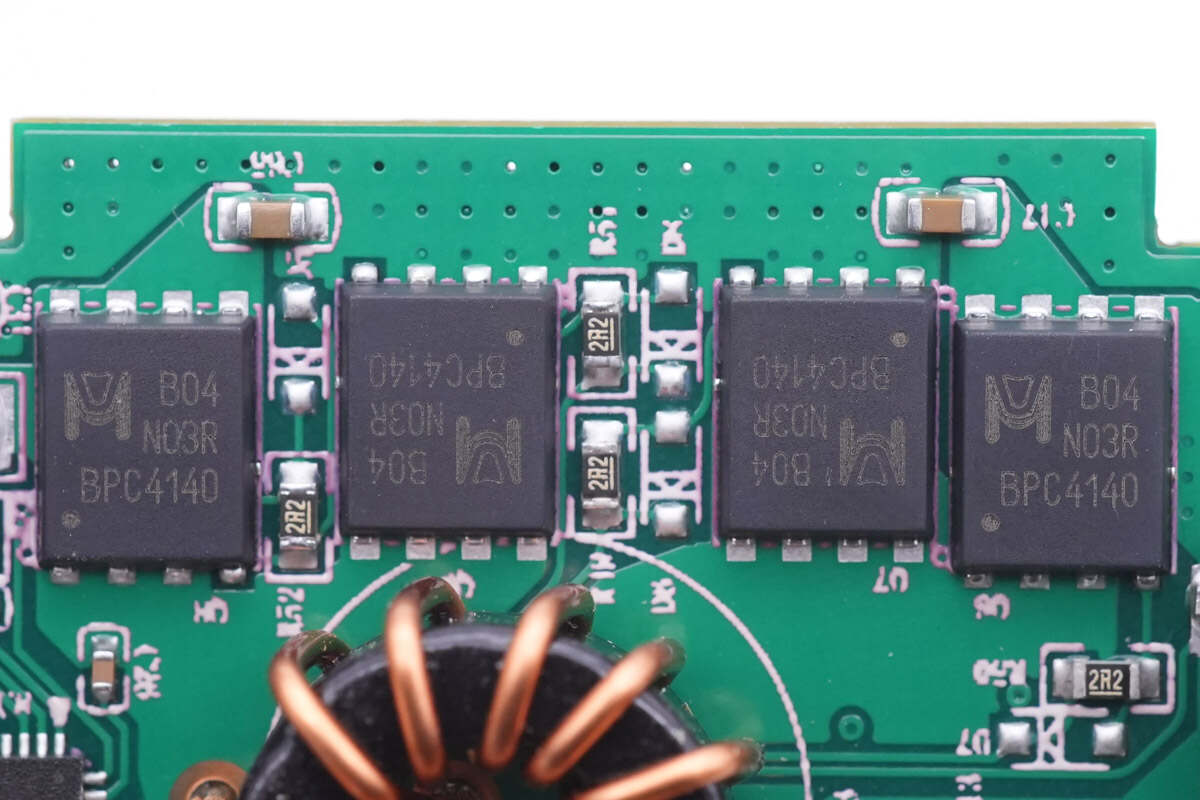
Those four MOSFETs for synchronous buck-boost are from Excelliance MOS and adopt EDFN5 x 6 package.
30V, 4mΩ. Model is EMB04N03HR.
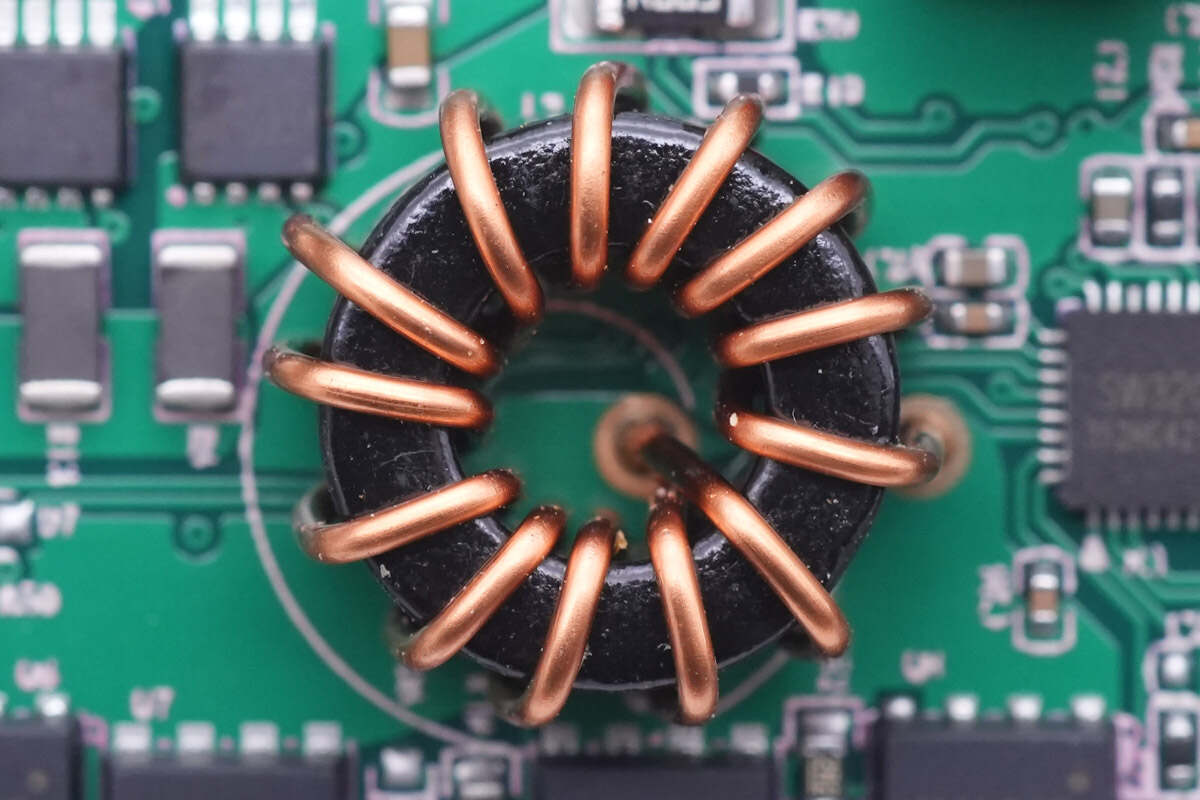
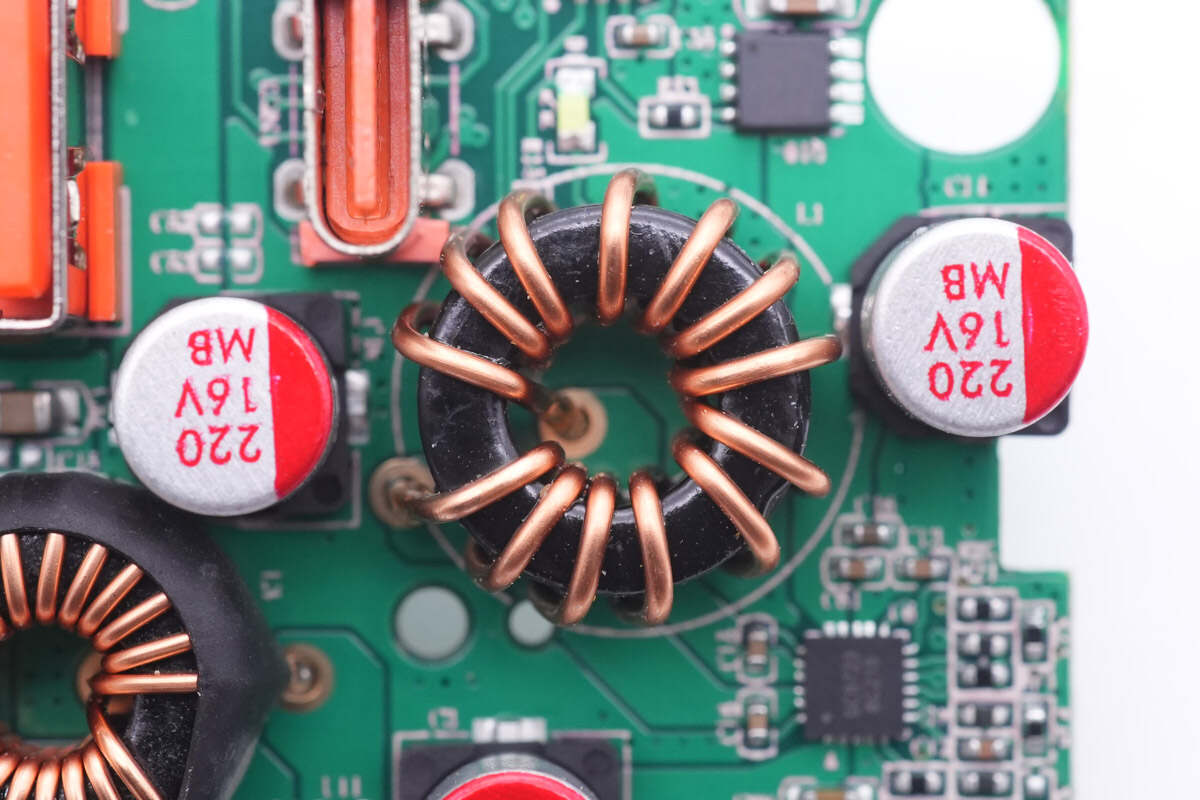
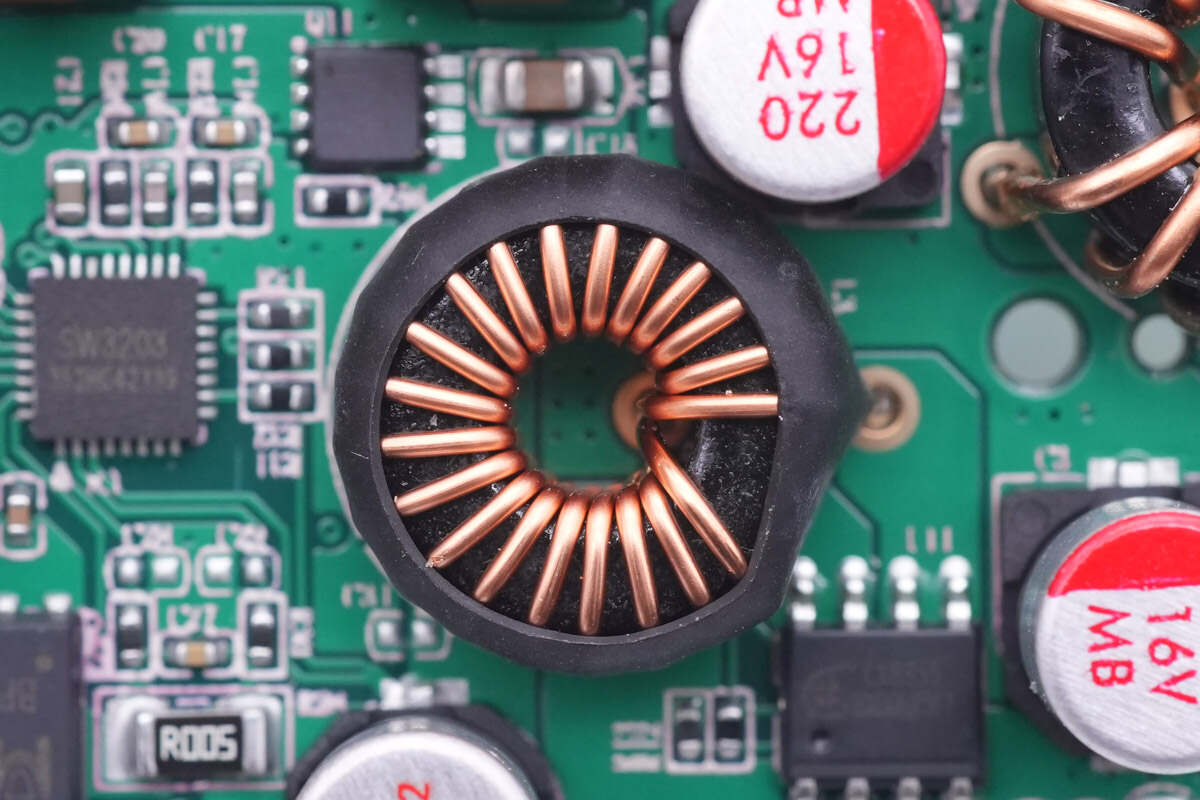
This is the synchronous buck-boost inductor.
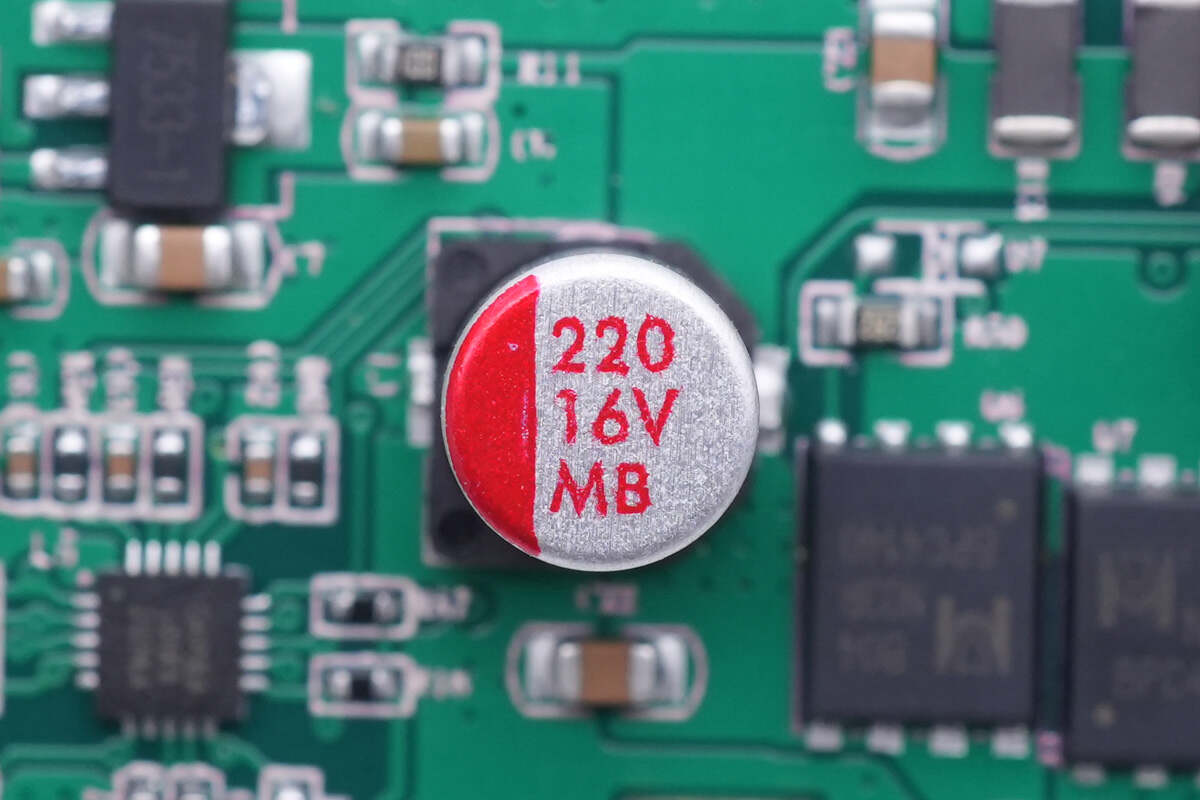
The solid capacitor for input filtering is 220μF 16V.
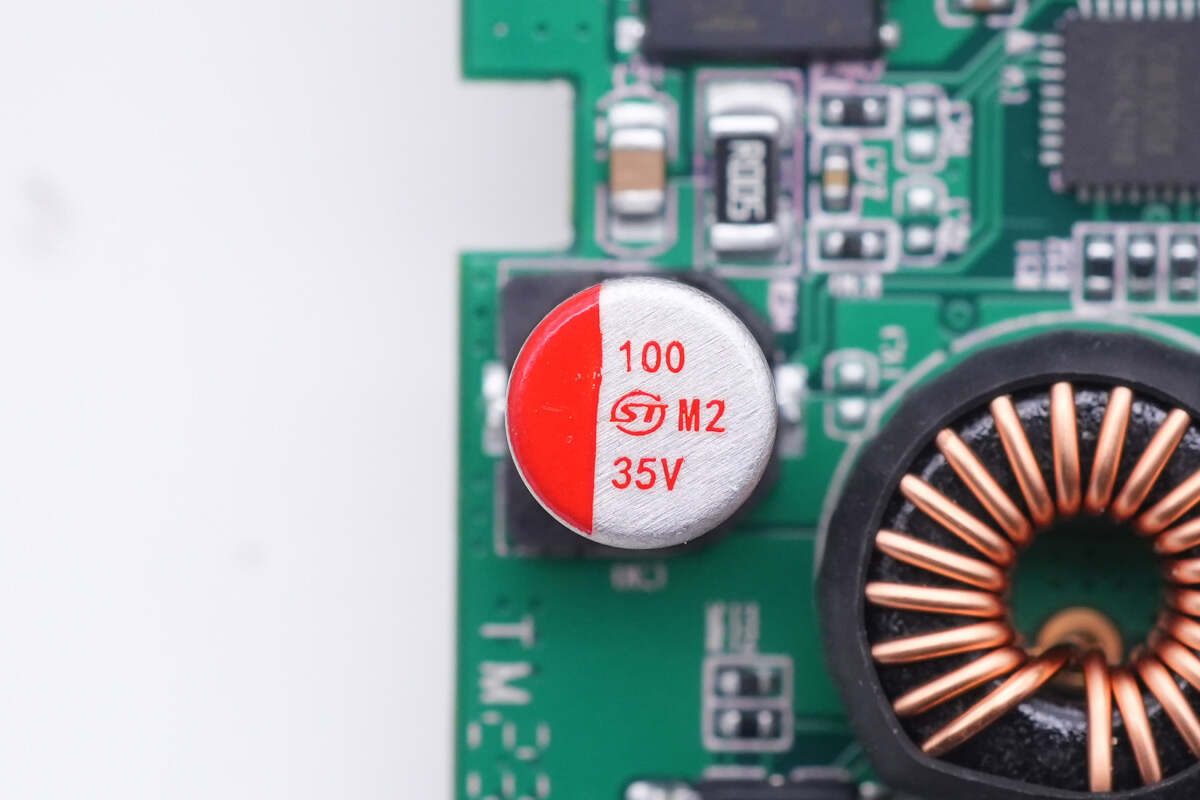
And the solid capacitor for output filtering is 100μF 35V.
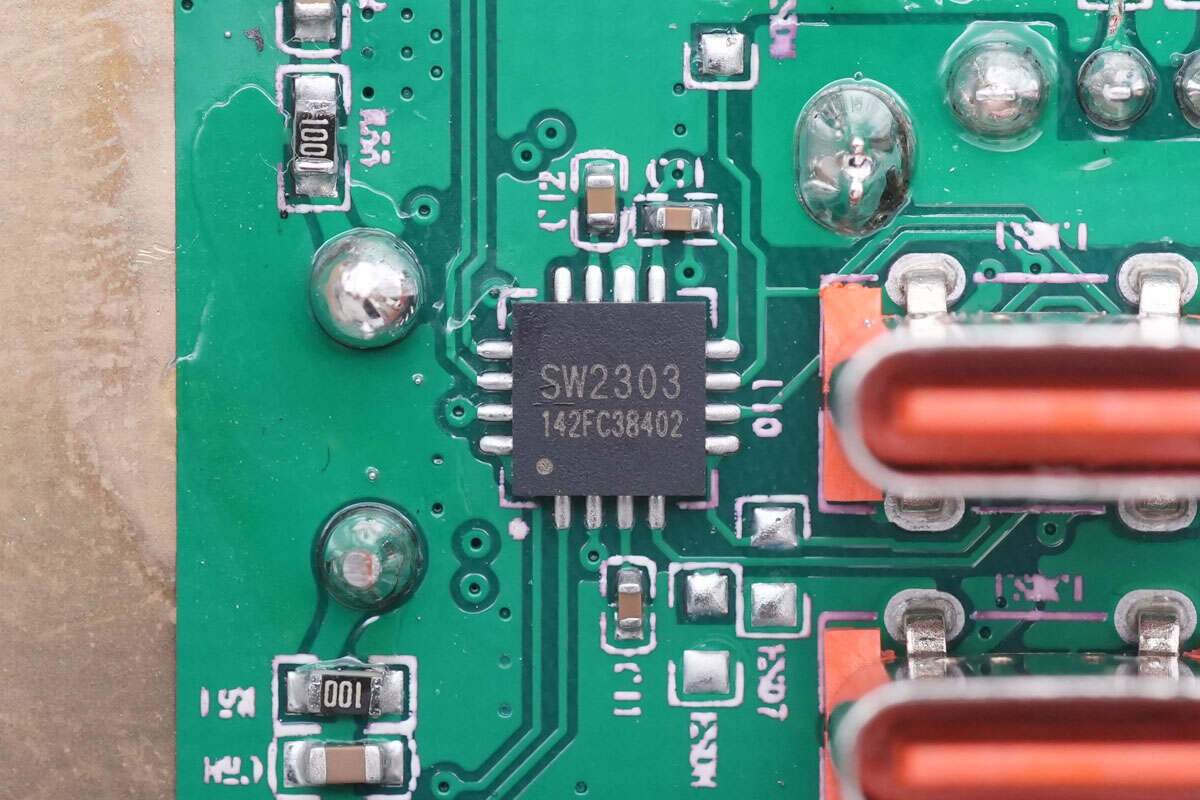
The protocol chip is also from Ismartware. Model is SW2303. It is highly integrated and can work with USB-A and USB-C. It also supports multiple mainstream fast-charging protocols.
Here is all the information about the Ismartware SW2303.
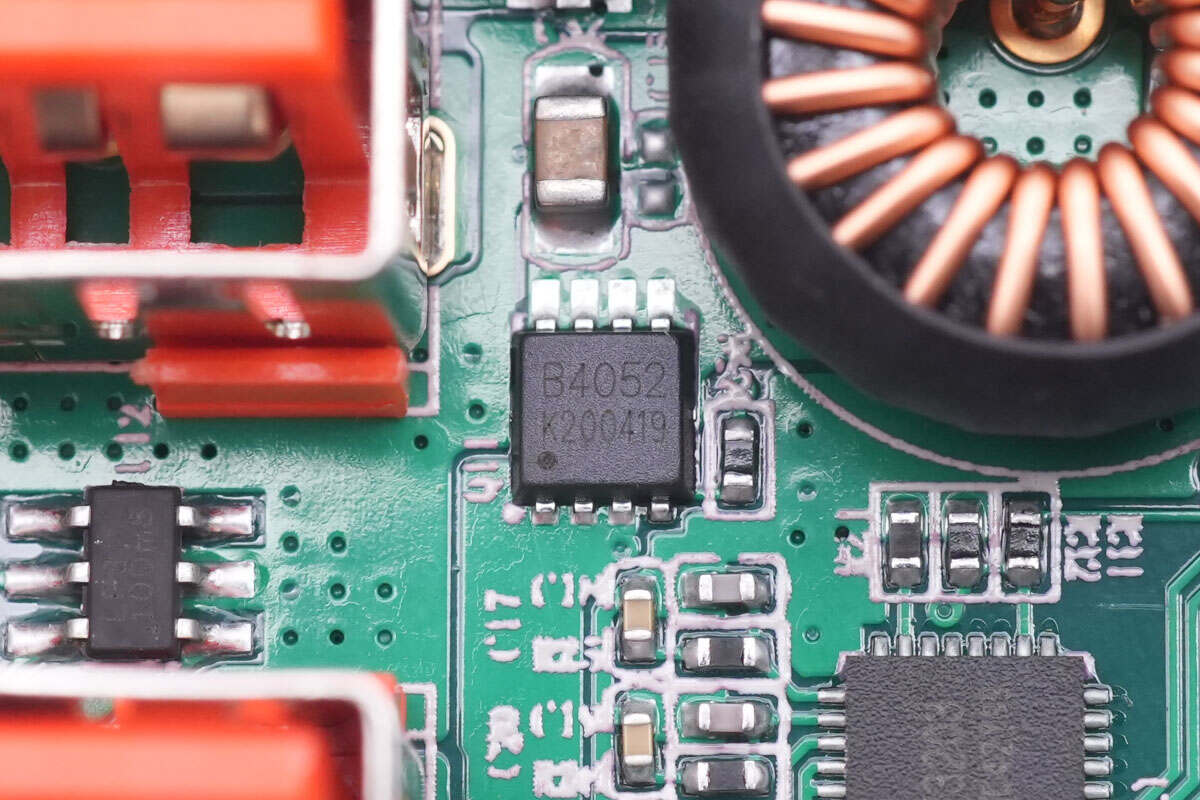
The output VBUS MOSFET is marked with B4052.
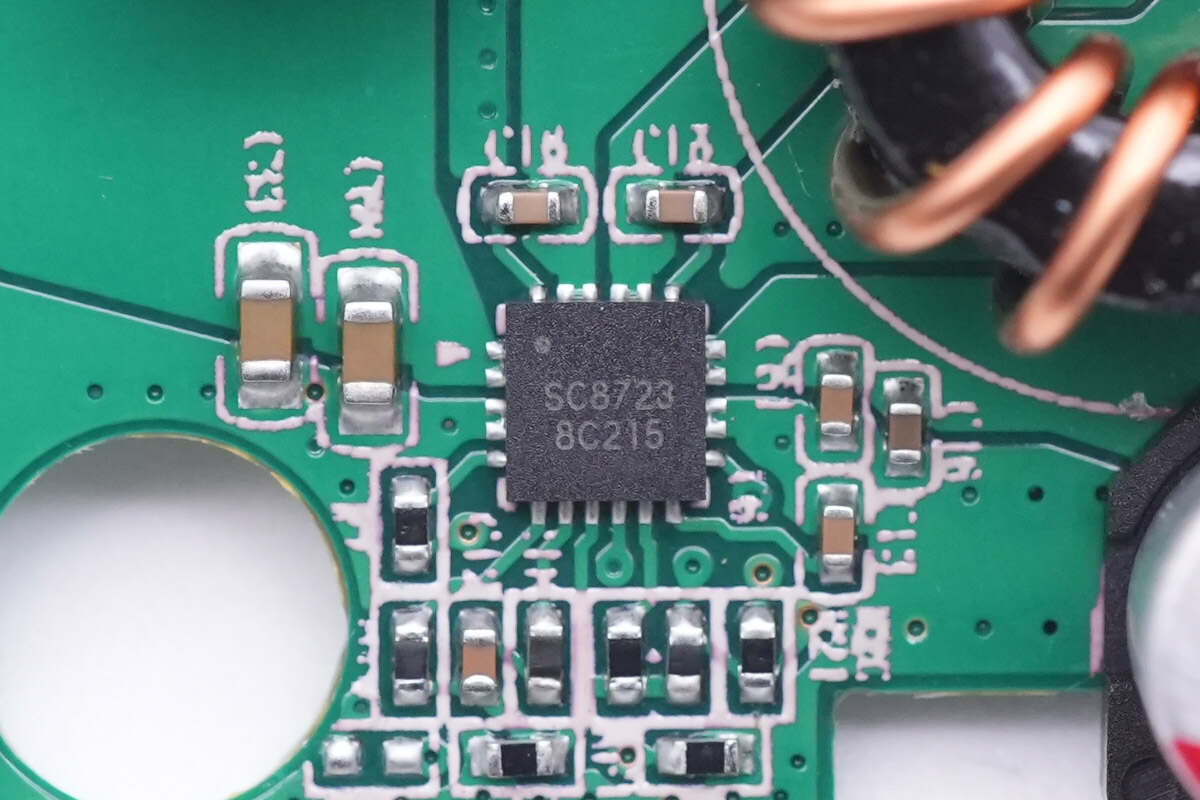
Then, let's see the buck-boost circuit of the other USB-C output port. The synchronous buck-boost converter is from Southchip, model SC8723, it integrates four MOSFETs and supports up to 3.5A.
Here is the buck-boost inductor. Two solid capacitors for input and output filtering are on both sides.
The protocol chip is the same as that used in the 45W retractable cable.

The output VBUS MOSFET is also the same.
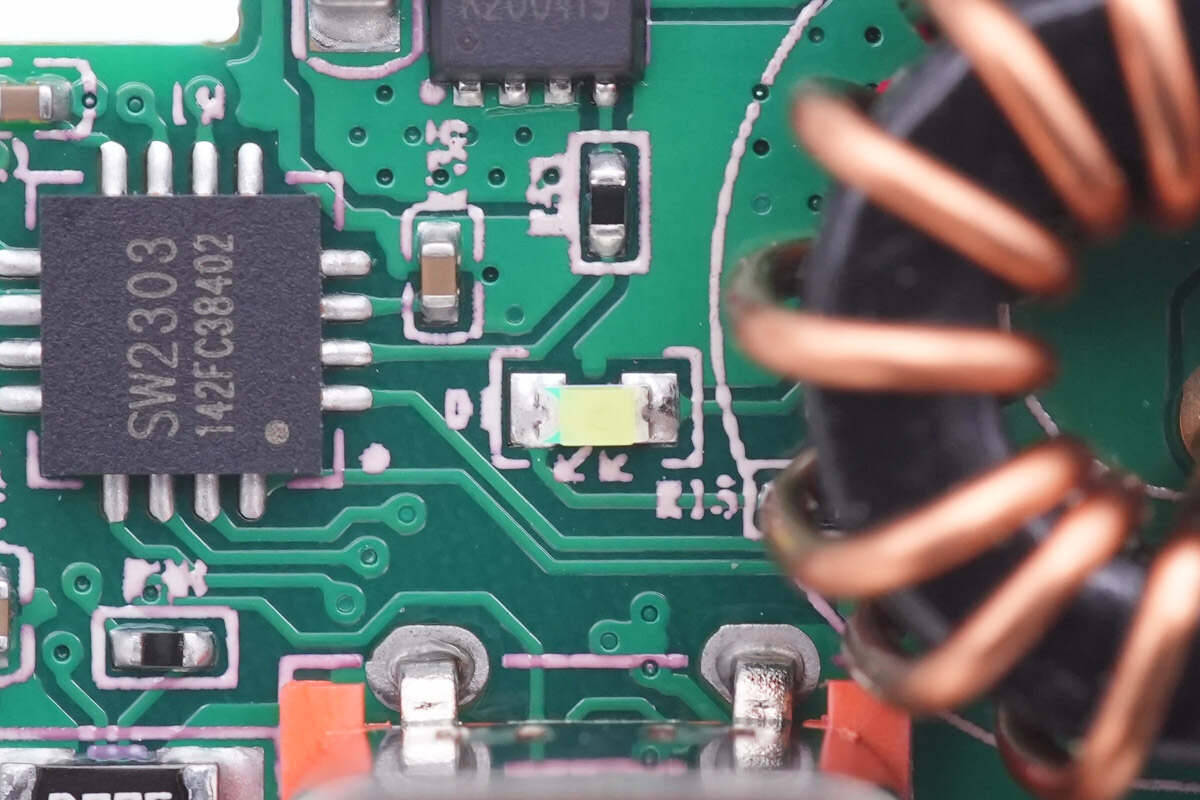
This is the SMD power indicator light.
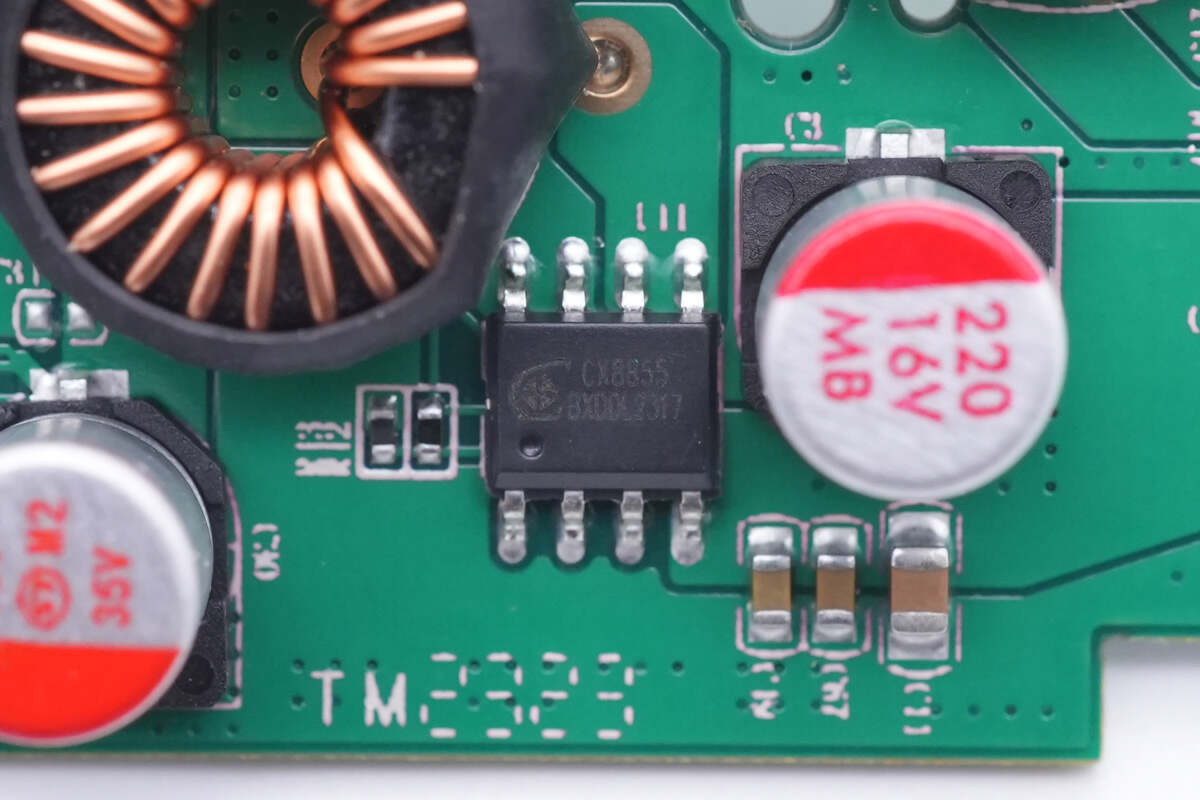
Finally, let's see the buck circuit for two USB-A ports. The buck converter for two USB-A ports is from Chengxinwei. Model is CX8855. It can be used for DC-DC conversion and supports constant voltage and constant current.
This is the buck inductor, wrapped in heat shrinkable tubing.
Here are the current sampling resistor and MOSFET for the output current detection of USB-A.
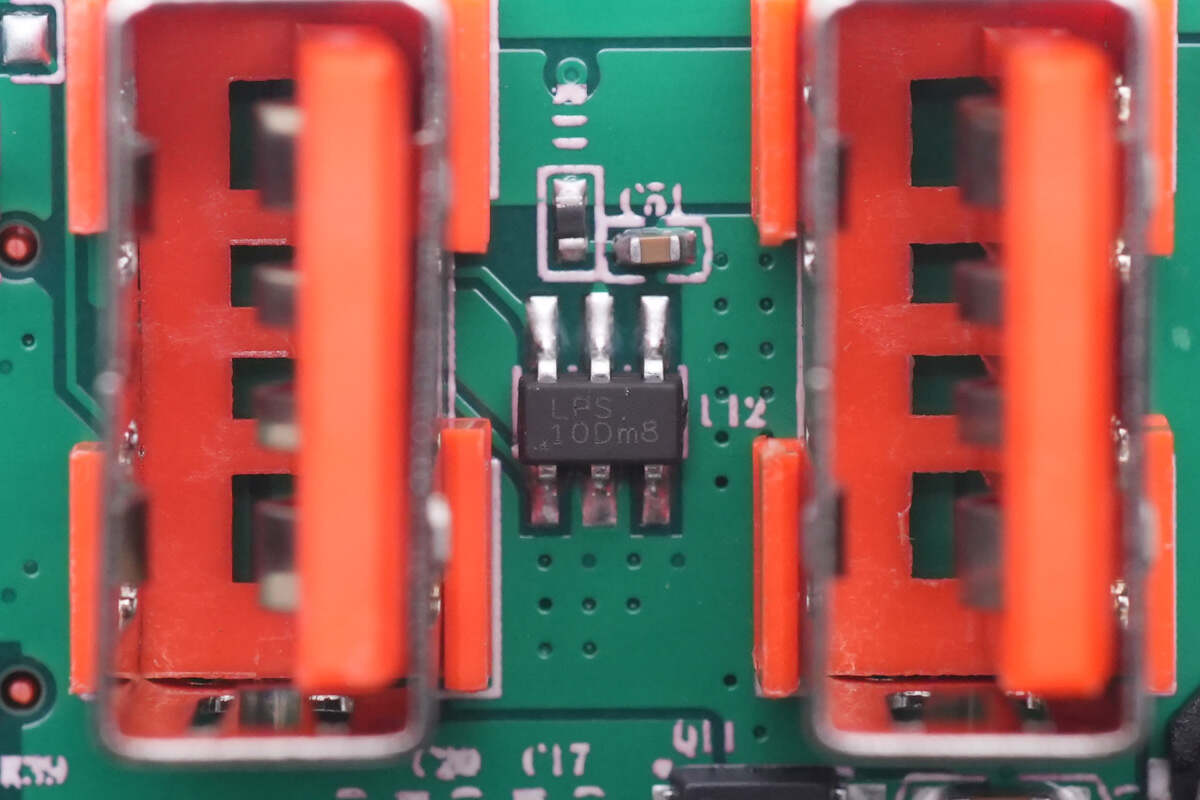
This chip marked with 10Dm8 can automatically identify USB-A ports and is from LOWPOWERSEMI.
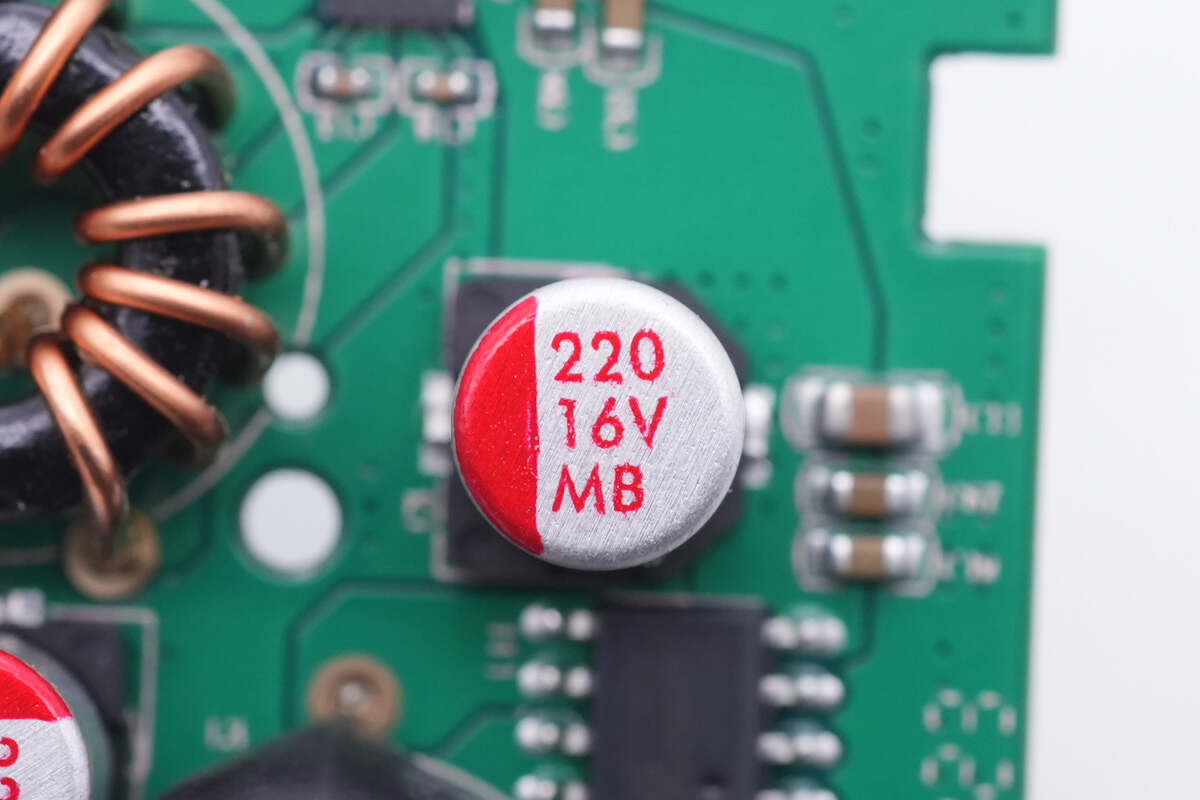
The solid capacitor for input filtering is 220μF 16V.

Finally, the 32-bit MCU with an M0 core is from Chipsea and adopts QFN20 package. Model is CS32L010F8. It integrates 64KB FLASH memory and 4KB SRAM. The maximum operating frequency is 24MHz.
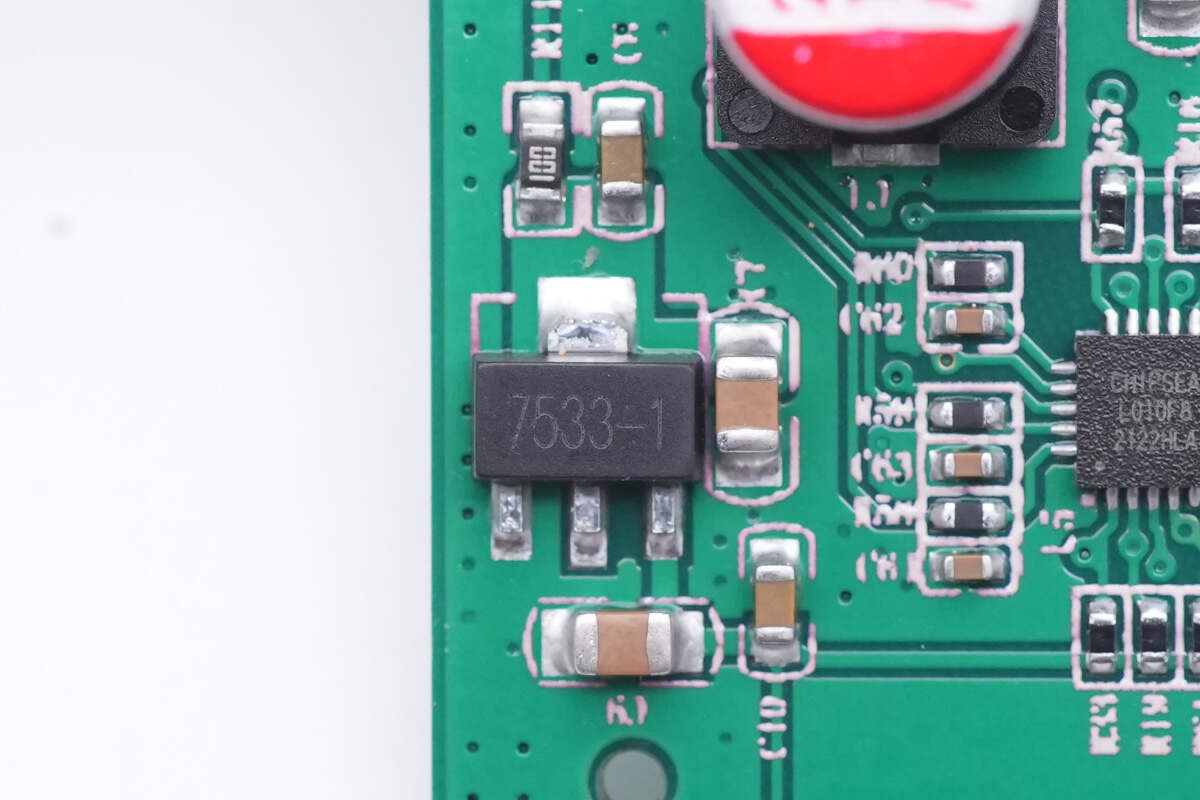
The 7533 voltage regulator is used to power the MCU.

Finally, let's see this black case, which is used to store the retractable cable. We've also seen this structure in other Baseus products, you can click here to take a look.
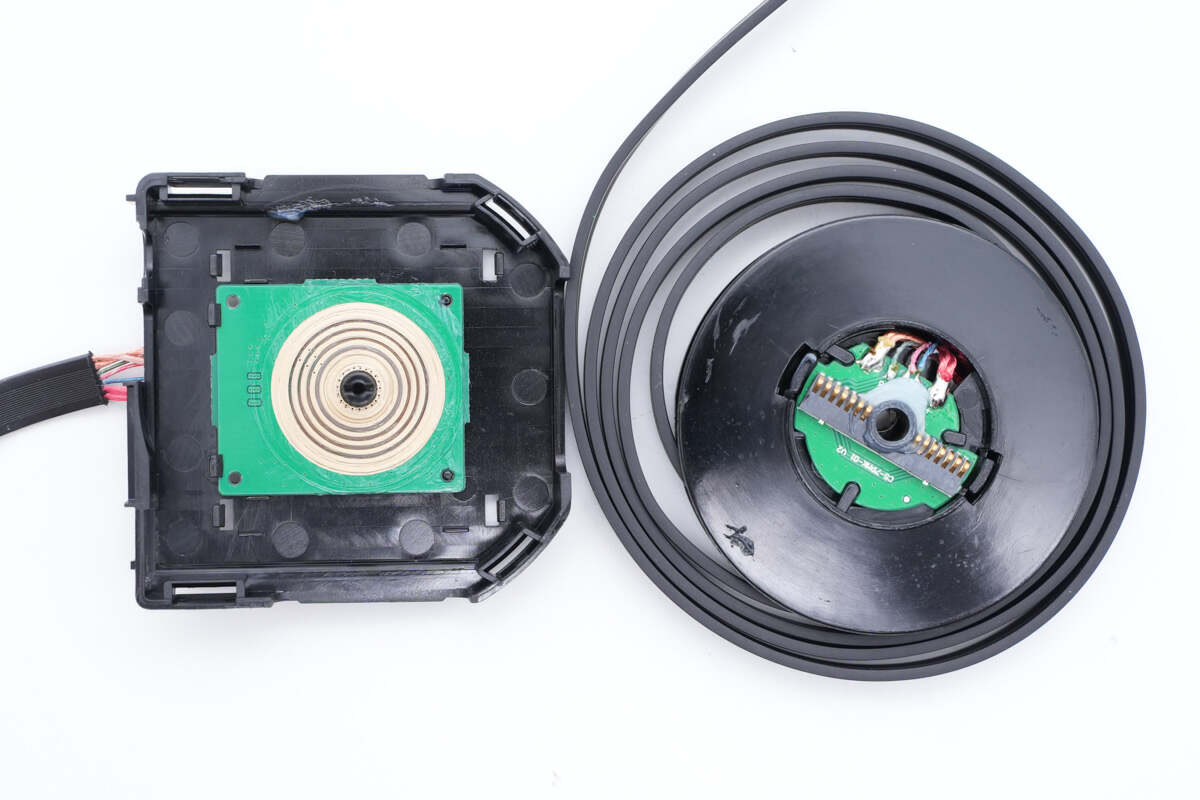
Those metal contacts on the right small PCB are connected to the metal grooves on the left part. And the USB-C cable is connected to the USB-C connector on the main PCB.
Well, that's all components of this 45W expansion dock from Baseus for Tesla cars.
Summary of ChargerLAB
It brings two more USB-A ports to your Tesla car and exceeds the 27W charging limit. So you can fast charge more devices than before. And the retractable cable is very convenient for passengers in rear seat to charge their devices.
It can perfectly match your Tesla's center console. And the internal structure is relatively simple. Different output ports correspond to different buck-boost conversion circuits.